


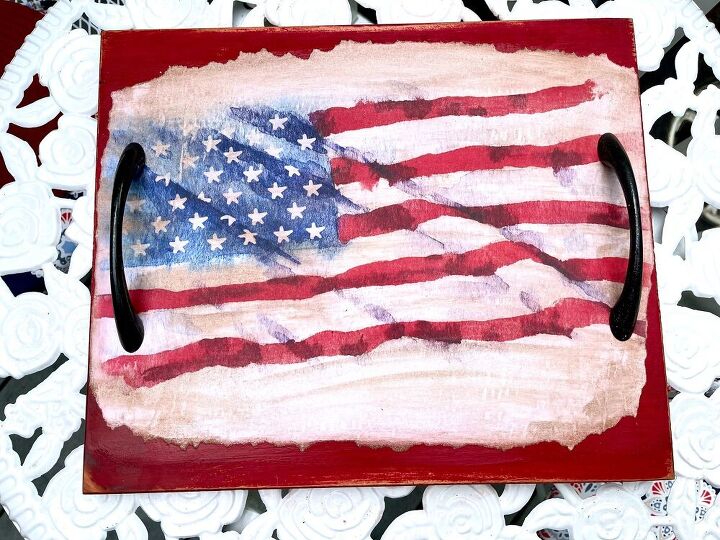
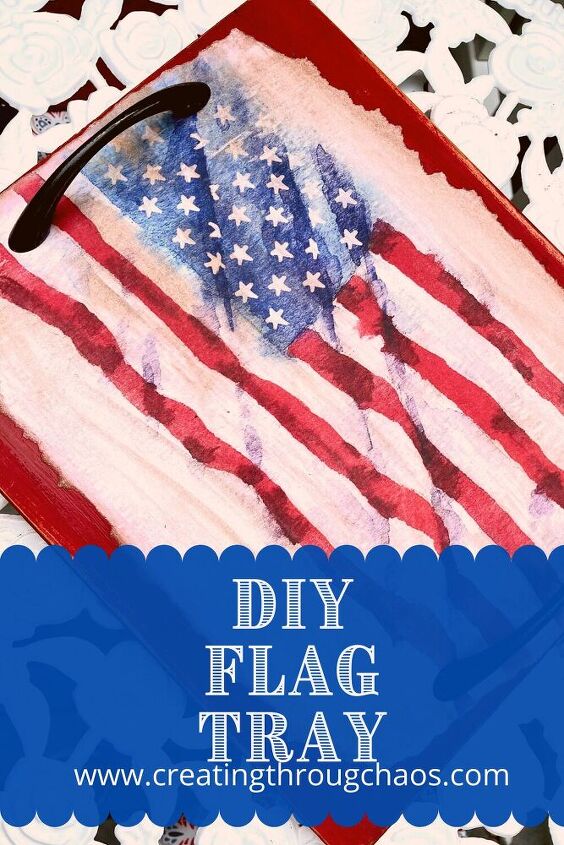
DIY Thrifted Flag Tray
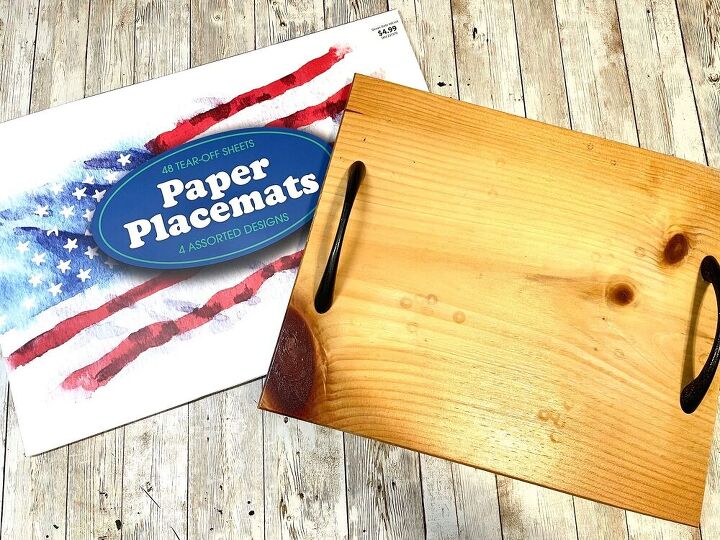
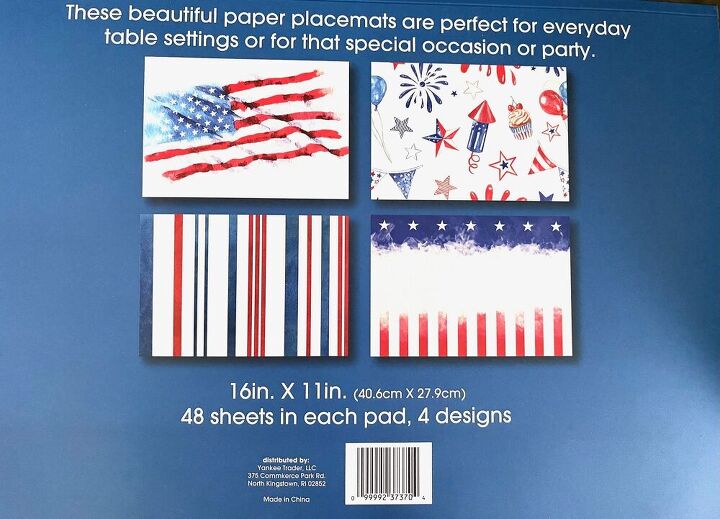
On another one of my thrifting trips to Second Chance Thrift Store, which seems to be daily lately. I found this super cute little tray, it was plain and boring but I had an idea! Right before I stopped at the thrift store I was at Ocean State Job Lots (a discount store here on the East Coast) and I found these Patriotic paper placemats, it had 4 different Patriotic designs. I had never even heard of such a thing, how did I not know about paper placemats?! They are so fun and can be used for so many things! Did you know about them? I knew that I wanted to add one of these placemats to my thrifted tray! Let’s get started on this DIY thrifted flag tray!
Supplies:
Wooden Tray (Thrifted)
Paper Placemats
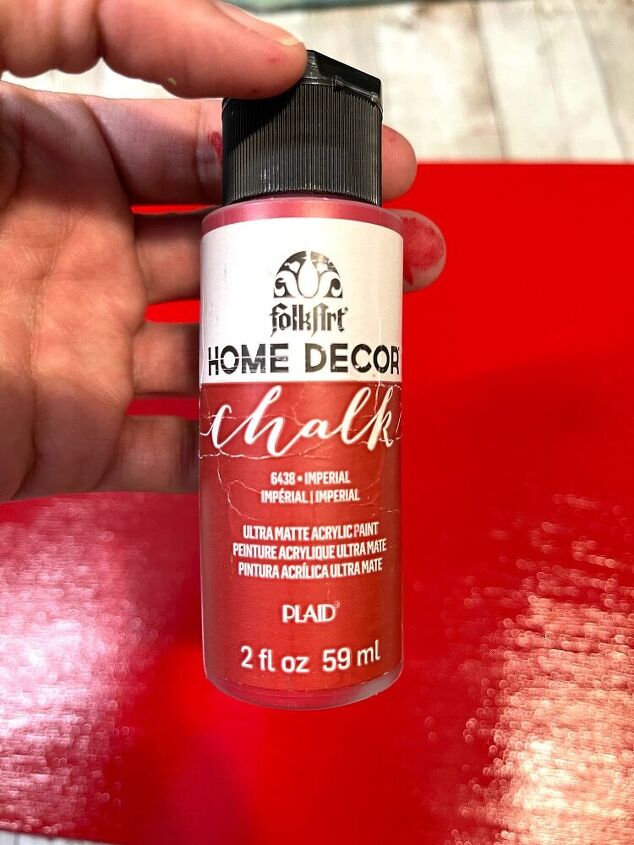
Imperial Red Chalk Paint (Plaid)
Brown Wax (Plaid)
Mod Podge
Before we get started I did find some other paper placemats on Amazon
You can find them here using my referral links.
When you use my links, I make a small commission, at NO extra cost to you.
The money helps me keep making fun DIY’s!
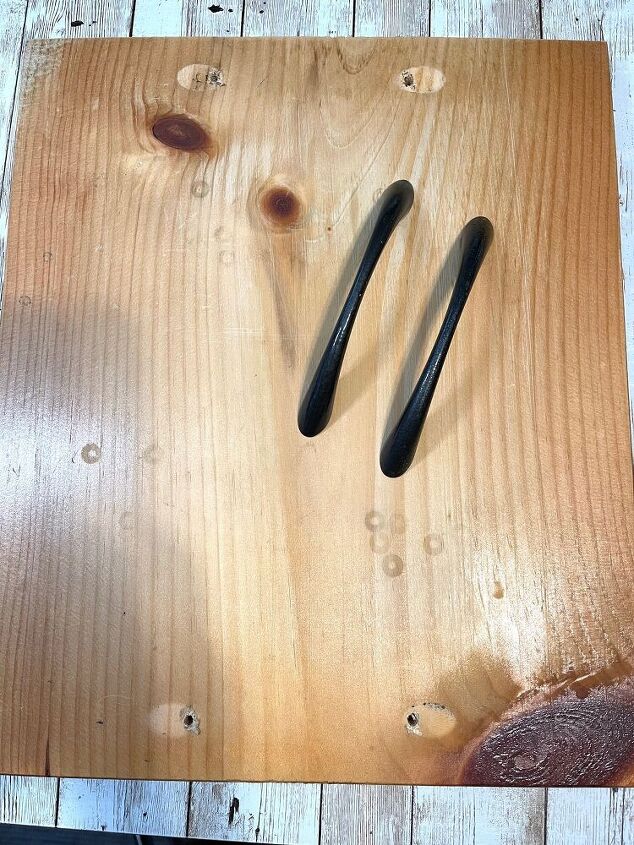
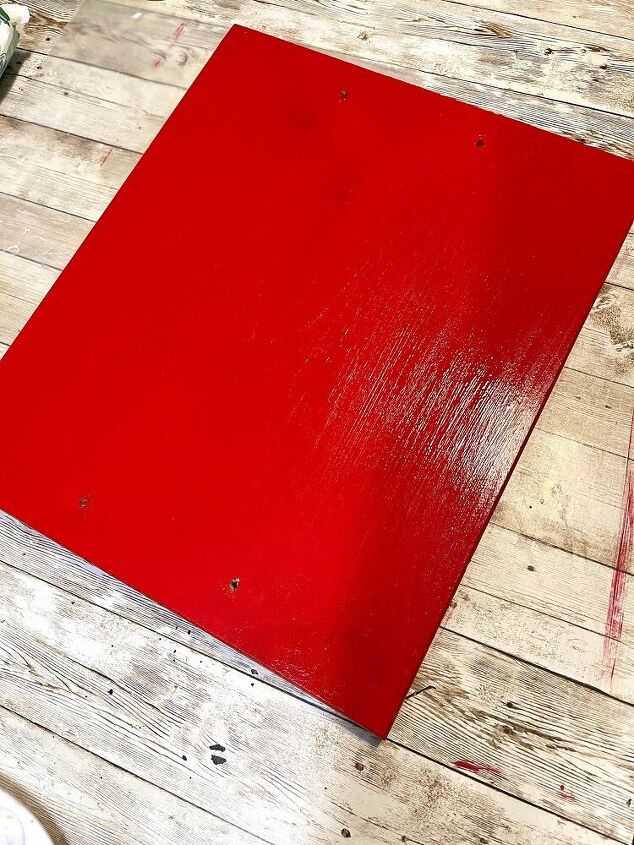
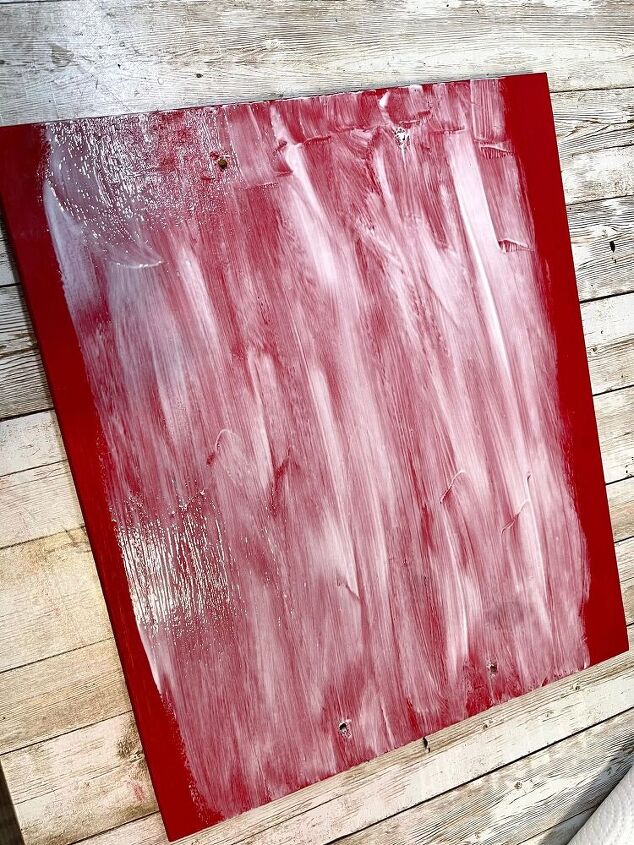
First, remove handles and paint the whole tray with the Imperial red chalk paint. I did 1 coat of paint, I wanted some of the original wood to show through.
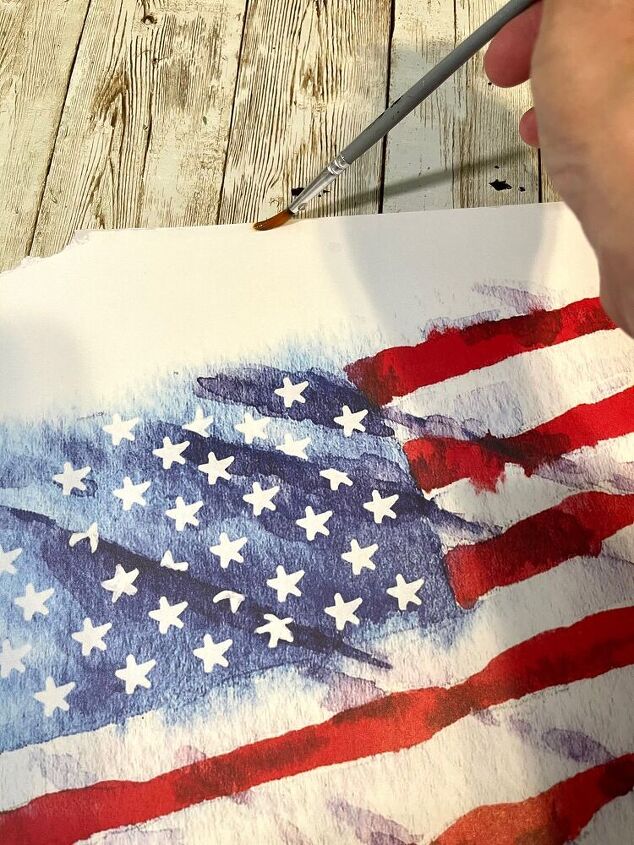
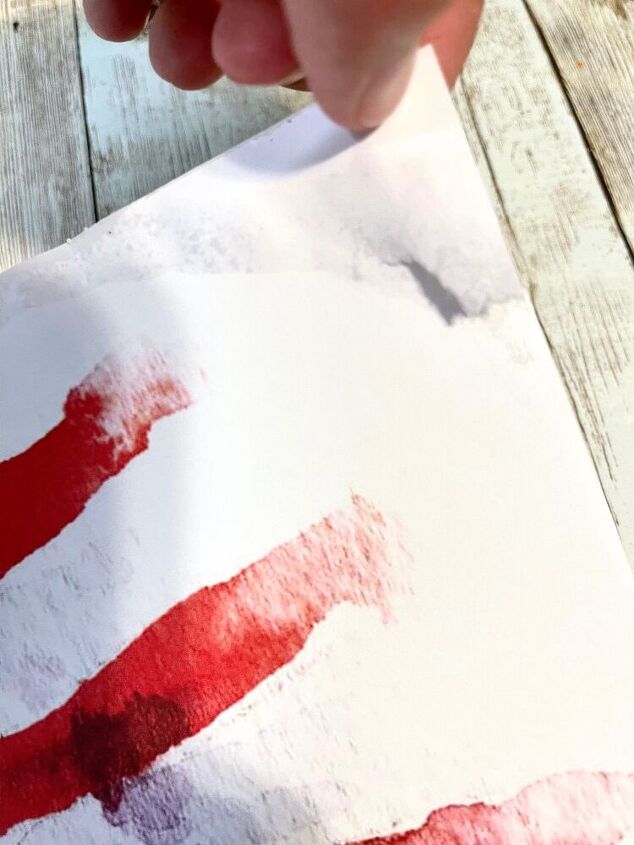
Second, I took the flag placemat and and tore it down to the size of the tray. If you use a thin paint brush with some water and wet the paper it makes it easier to tear.
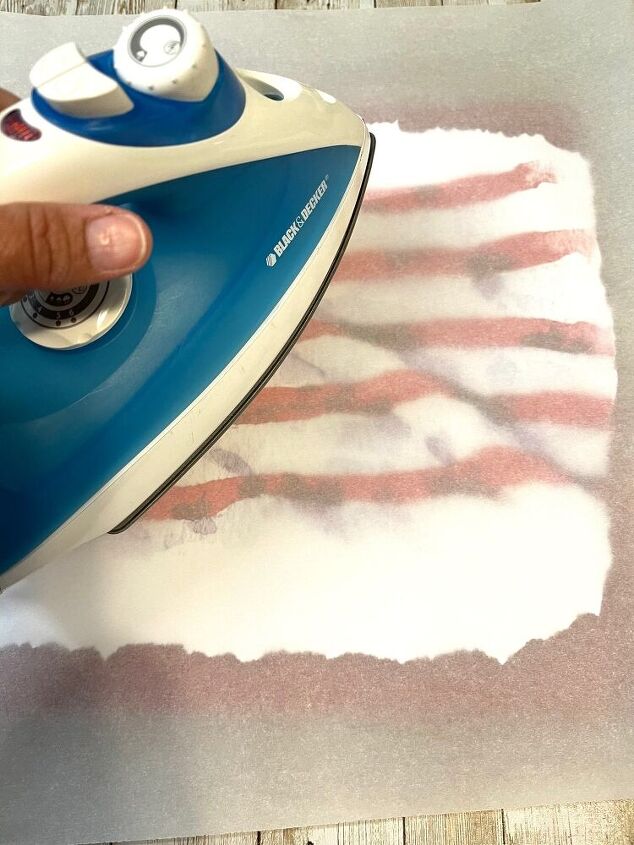
Third, I covered the tray with Mod Podge, waited for it to dry. Once it was dry I laid my flag over it and used wax paper and an iron and attached it to the tray. The heat from the iron reactivates the Mod Podge and you get less wrinkles. It works really well on projects such as this.
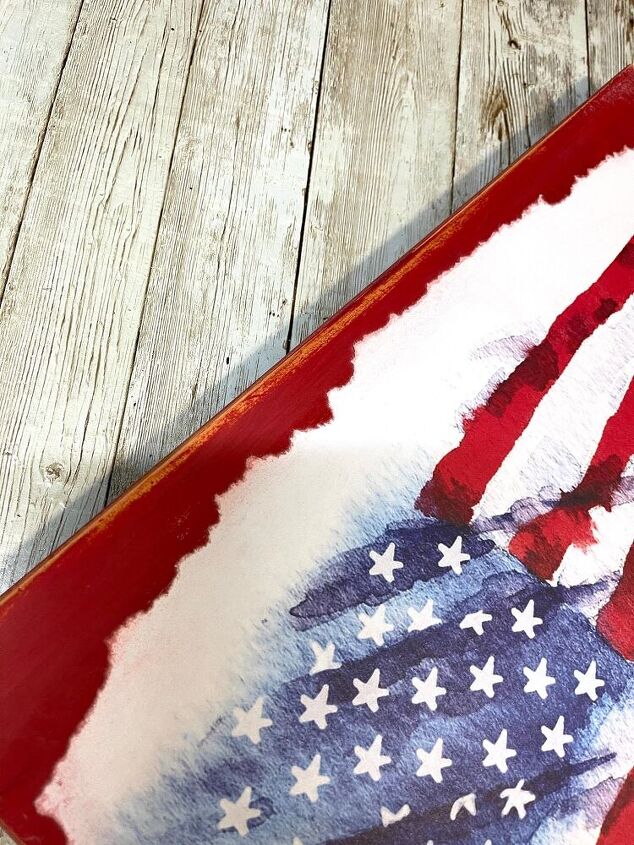
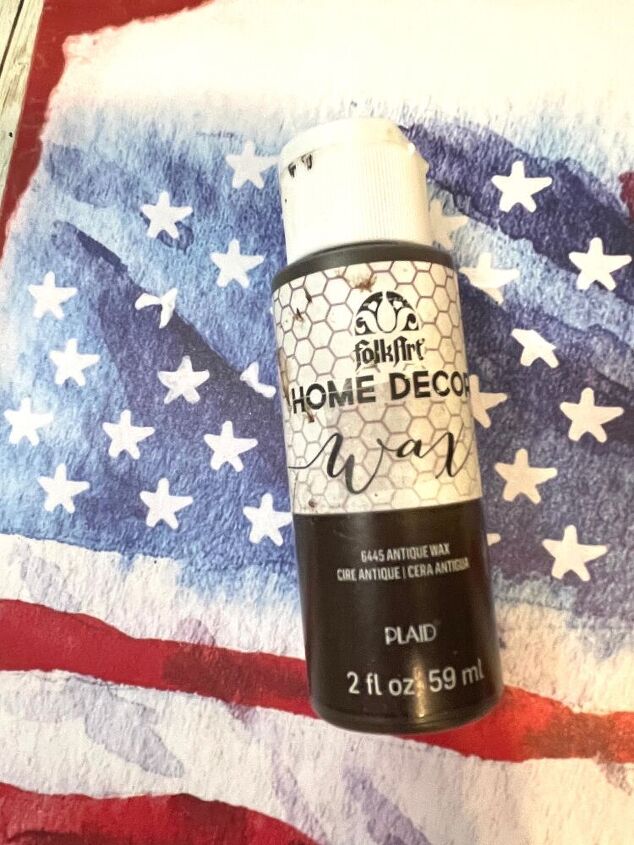
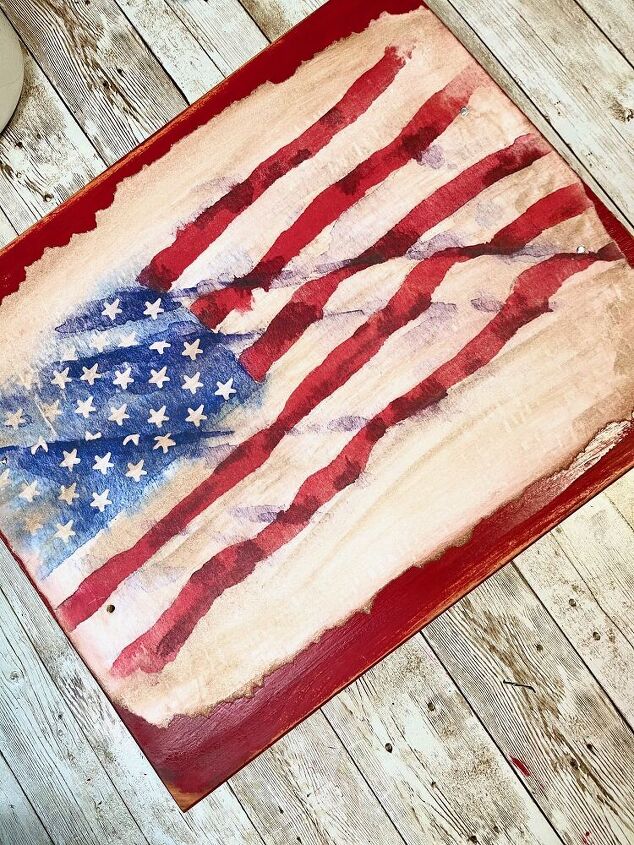
Fourth, I took a sanding sponge and sanded around the edges of the whole tray and even lightly sanded over the flag. It gave it an aged look. Then I took the brown wax and a rag and wiped the wax all over the flag and tray, wiping off the excess as I went along. If you want lighter use less wax, darker use more wax. If you want to keep the flag s it was skip the wax step altogether.
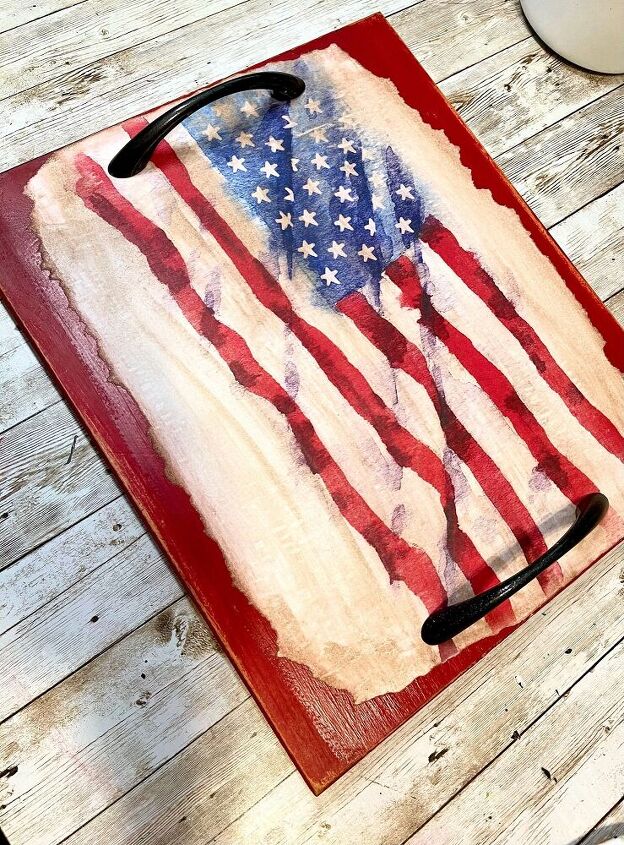
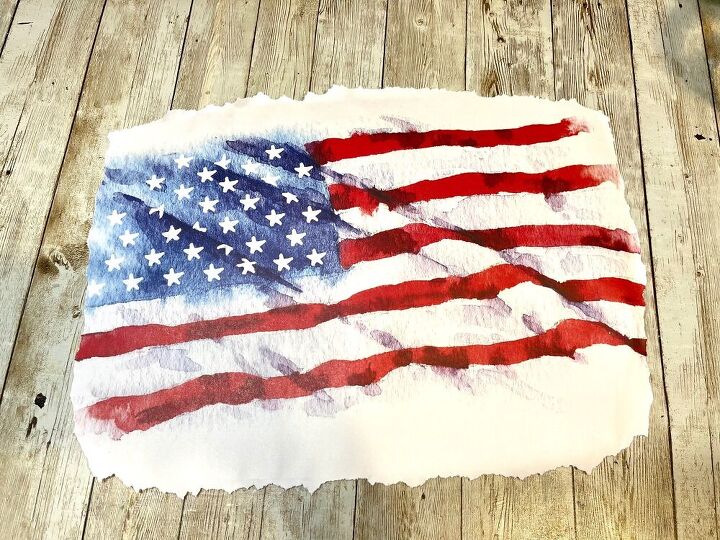
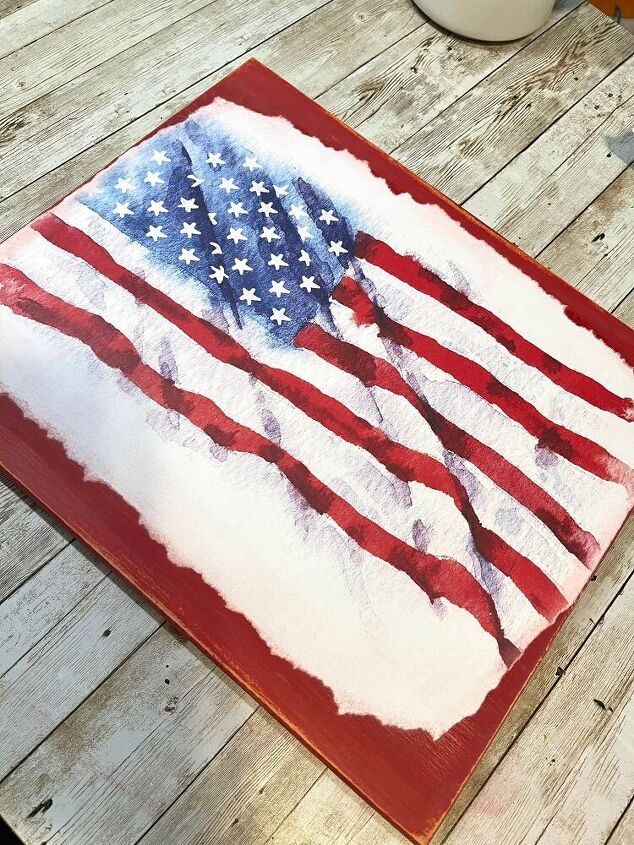
Finally, put the handles back on. All finished! I love how aged and primitive this came out! I will be on the look out for more paper placemats!
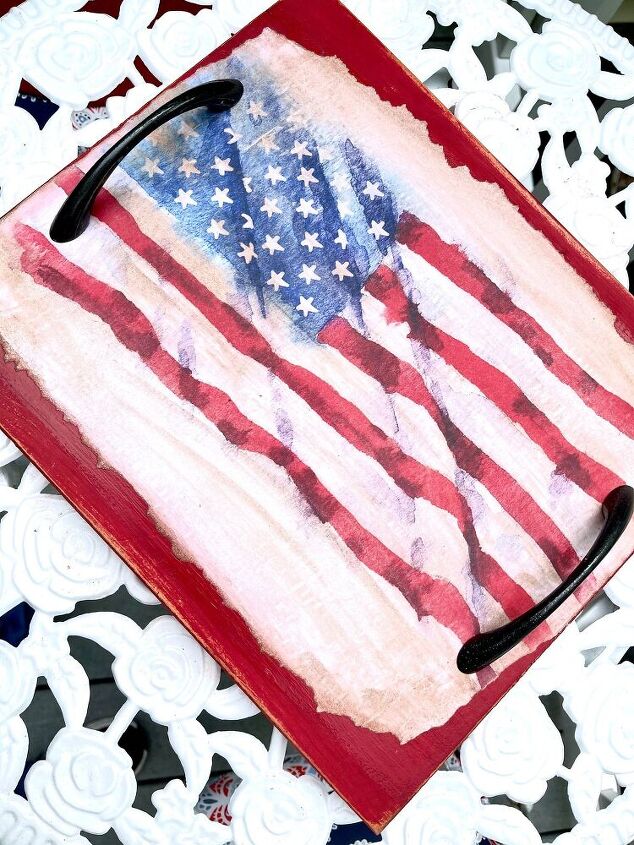
It looks so Primitive Americana!
If you enjoyed this DIY Thrifted Flag Tray, check out my other posts below!
- DIY Thrifted Flag Tray
- DIY Patriotic Door Topper
- DIY Lemon Mason Jar Sign
- My Thrift Treasures
- DIY Grow Garden Sign


Comments
Join the conversation
-
I've gotten paper placemats before at restaurants, mostly burger or breakfast joints, but I didn't know you could buy them for home use. I would think they would be a bit easier to work with cuz they are thicker/stronger than paper napkins. I'll have to keep my eye out for them here in North Carolina. Thanks!
Oh, I love love love your new patriotic tray!
-
I am pretty patriotic and after 2020 pandemic and everything going on in the political arena, feel the need to decorate and show more patriotism than ever..I love anything with flags...Love your little tray..Looks authentic!!! Happy upcoming holidays to all..Don't forget to display the flag!!!


Frequently asked questions
Have a question about this project?
Did you seal it with anything after all else was done? I’d think you’d need to if you planned to use it for anything beyond purely decorative purposes. Thanks.