


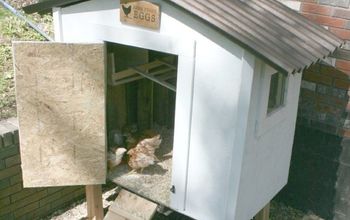
The Perfect Chicken Coop Floor

Hi Hometalk Friends! Today I am back with a post about how we did our chicken coop floor. If you have a coop, or are building one, we HIGHLY recommend this flooring not only for ease of installation, but also because it is a safe, easy-to-install, and easy-to-clean option! I did a lot of research on coop floors, and found that for raised coop floors, most people either use painted plywood (wears down over time) or linoleum (can be toxic and dangerously slippery for chicks). We were very happy to partner with Garage Royalty and use their ZOOMflor Interlocking Floor Tiles. These are such a great option - read on to find out why!
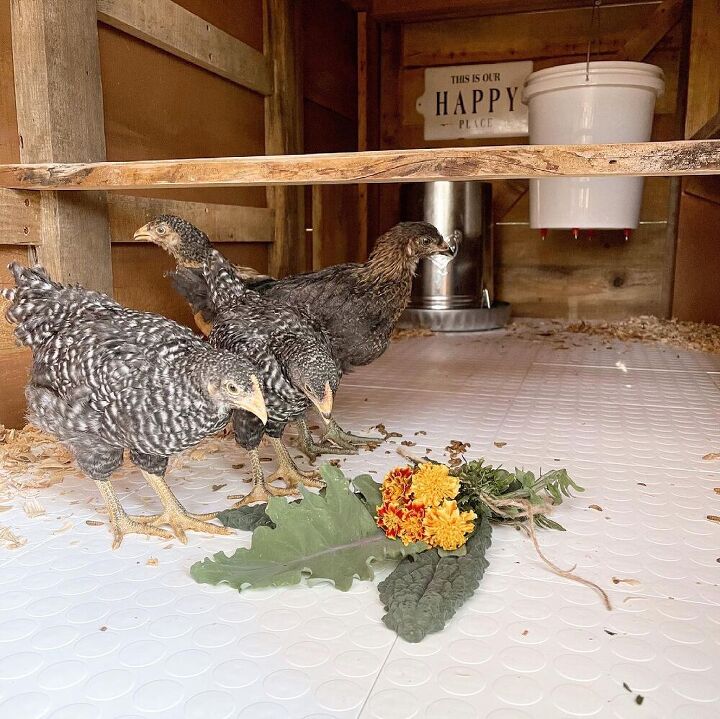
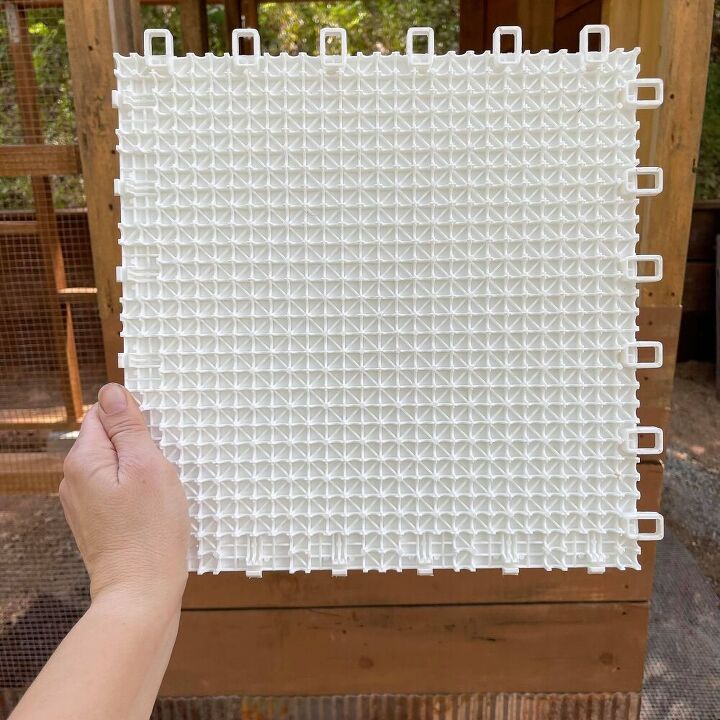
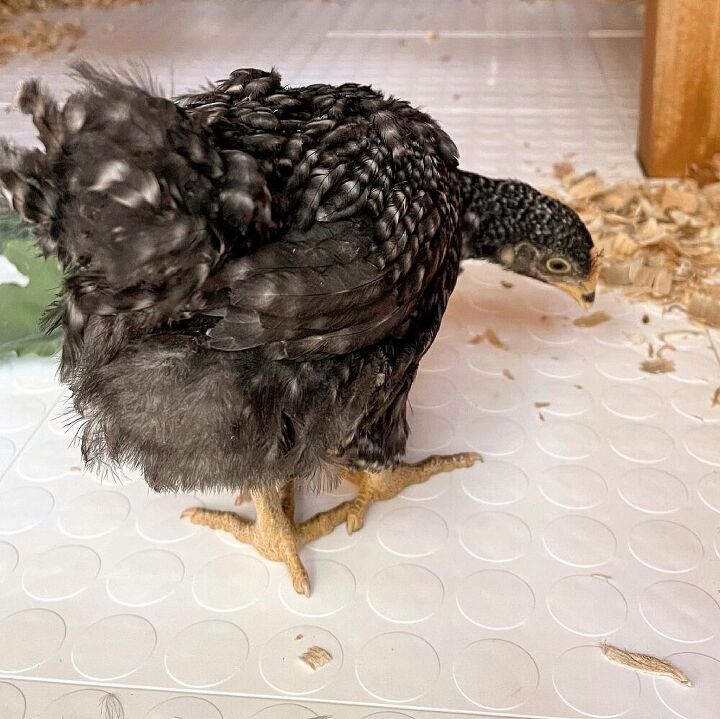
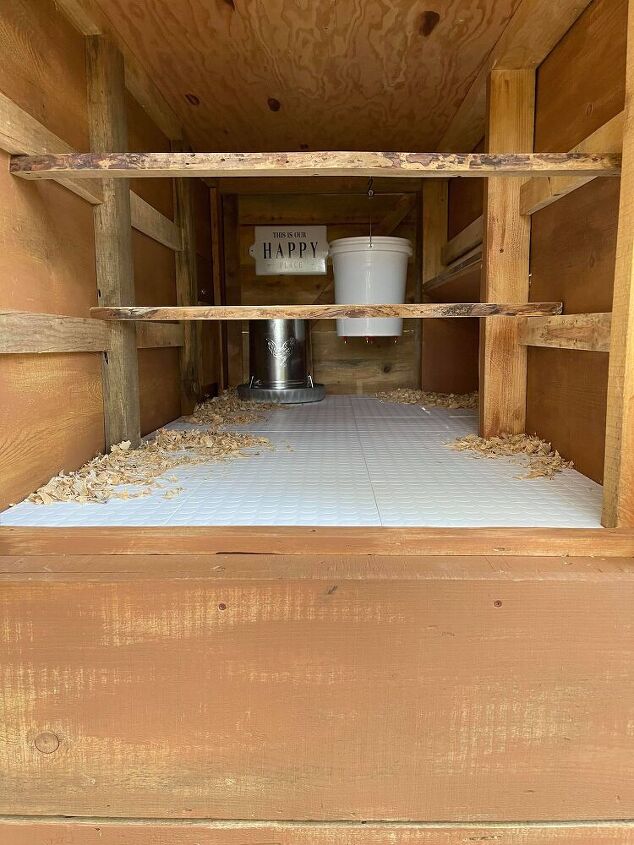
The floor comes in 1'x1' fully recyclable plastic tiles. Here is a close up of the top side, which is perfect because it has a bit of texture so that the chickens won't slip on it (like they can with linoleum)).

Here is the back side, which allows for the floor to float above the plywood, as well as keep moisture at bay:
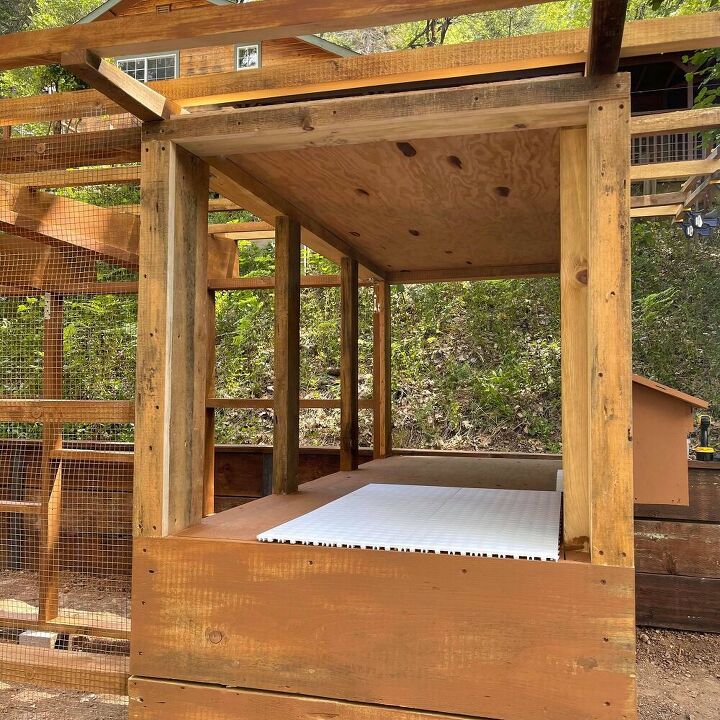
There are really good installation directions on the brand's website, and I suggest that you check those out. I'll just give you an overview of what we did. Our first step was to snap a few of the tiles together and then decide which wall to start with.
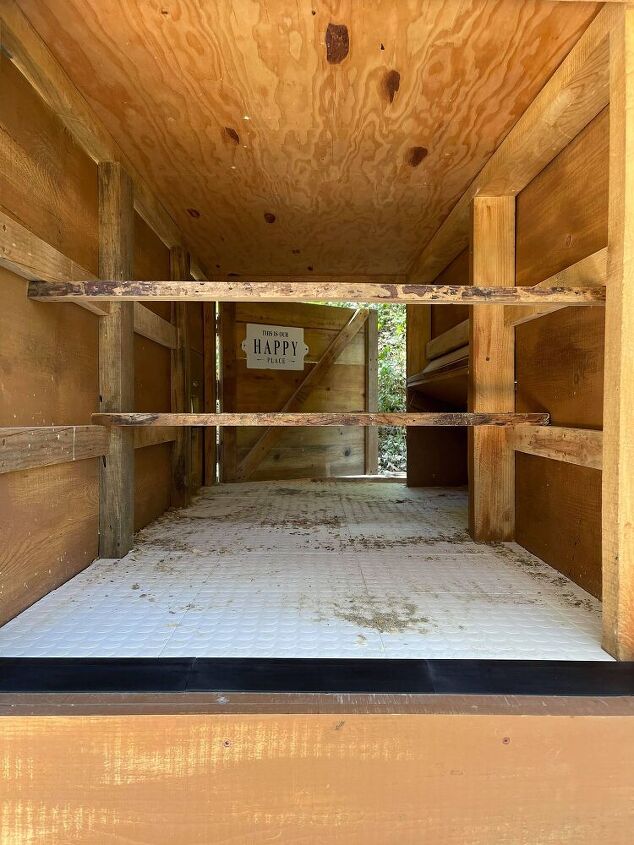
Note: We installed it before adding the coop's 2nd wall and doors. However, we could have easily installed it after we finished the coop. It just made it a little bit easier to get to everything, since the coop is elevated.
Then, we took a nap. 

JUST KIDDING! But I did catch this fun picture of hubby while he took a 5 minute rest before our next step, which was simply to snap tiles together, then measure and mark them where we needed to cut them to size.
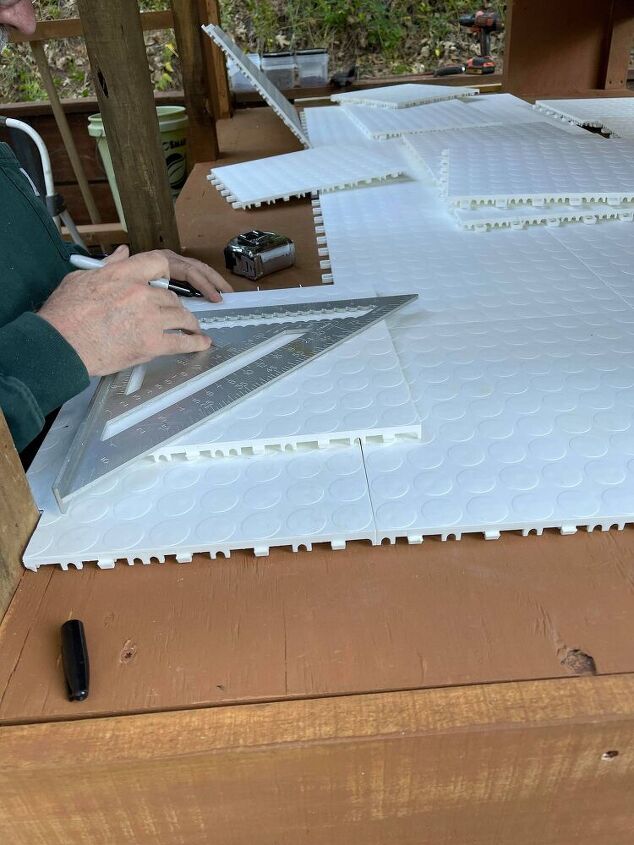
They were super easy to cut with the jigsaw.
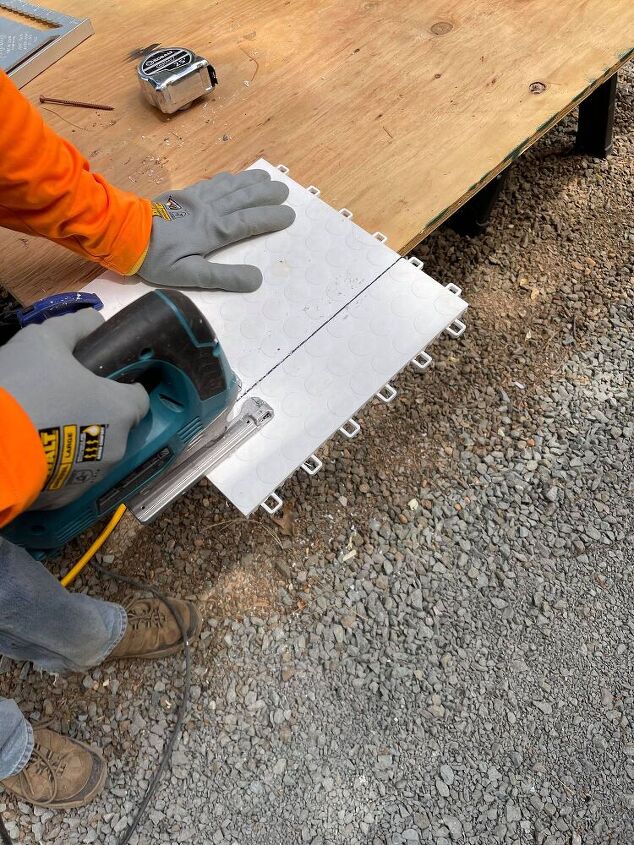
When needed, we used the sander to clean up the edge.
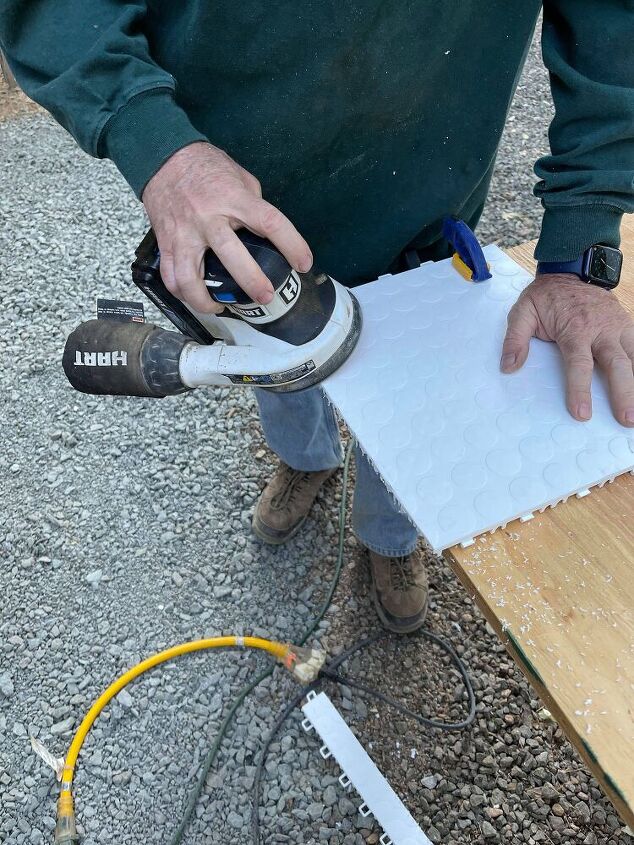
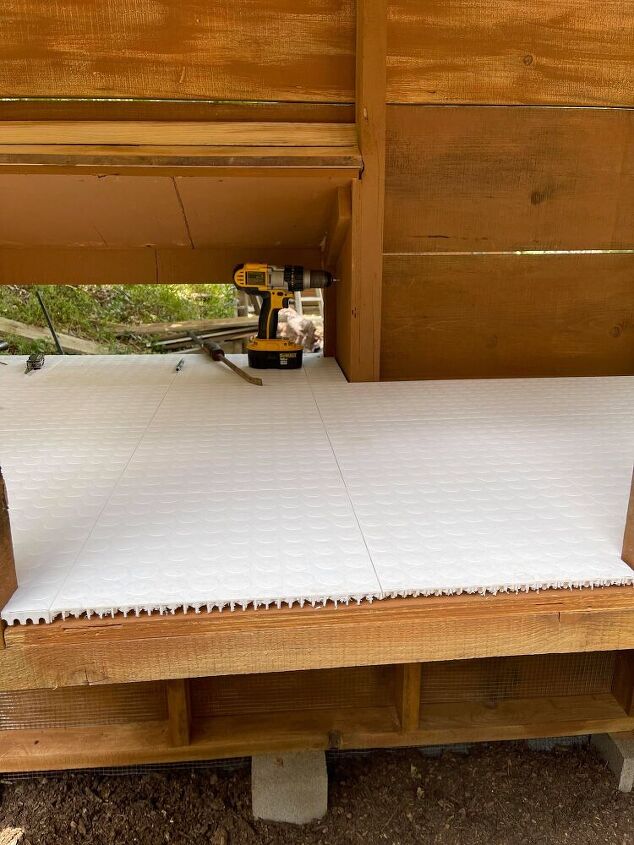
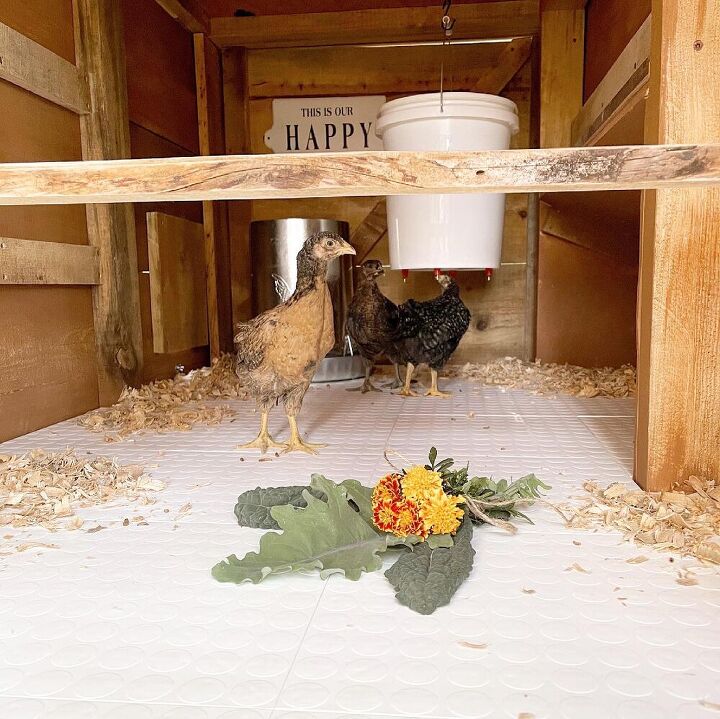
Once we got into a groove, it went really fast. It was so nice to be able to make the tiles fit the coop perfectly. I can't imagine trying to cut a large piece of linoleum around all of the nooks and crannies! We even fit them perfectly into the area where we will be placing the nesting boxes (that's where the drill is sitting, below. I don't know why we had the drill there - this floor does not require it. )
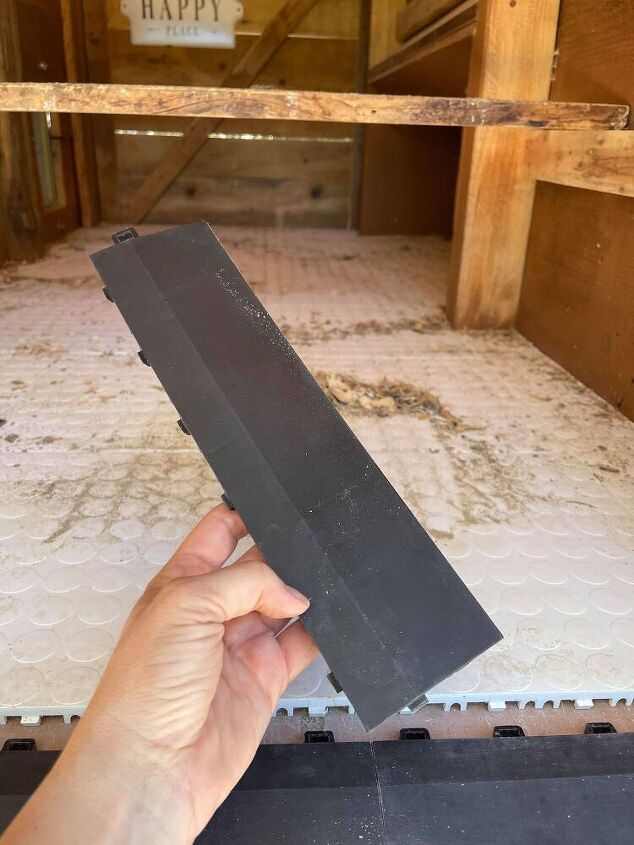
We were desperate to get the girls out of the house (they were getting HUGE!), and so we moved them into the coop before we added the Garage Royalty edging pieces (they arrived a bit later because we ordered them as an afterthought). It was fine without the edging - they loved it!
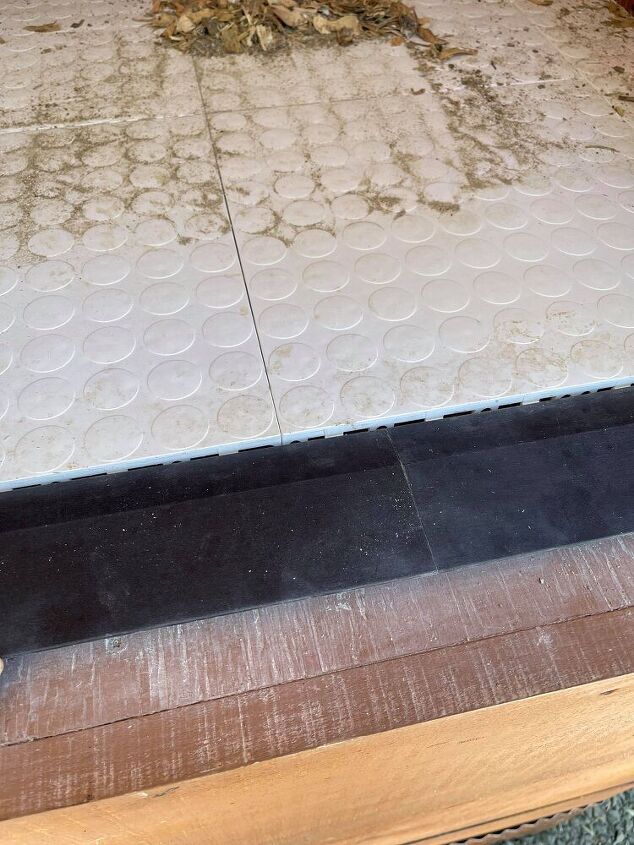
A few weeks later, we went ahead and added the edging. It is an AWESOME addition. Below is a photo of what it looks like before installation. Note the beveled edge. It snaps into place, just like the tiles.
(BTW, notice how clean the coop floor in the background is! Yes, I know.... there is a little dust and poop... but I should have taken a photo BEFOREI did a quick sweep, just so you could see what it looked like at that time. I was THRILLED at how easy and quick it was to clean this floor! If you have chickens, you know how messy they can get!)
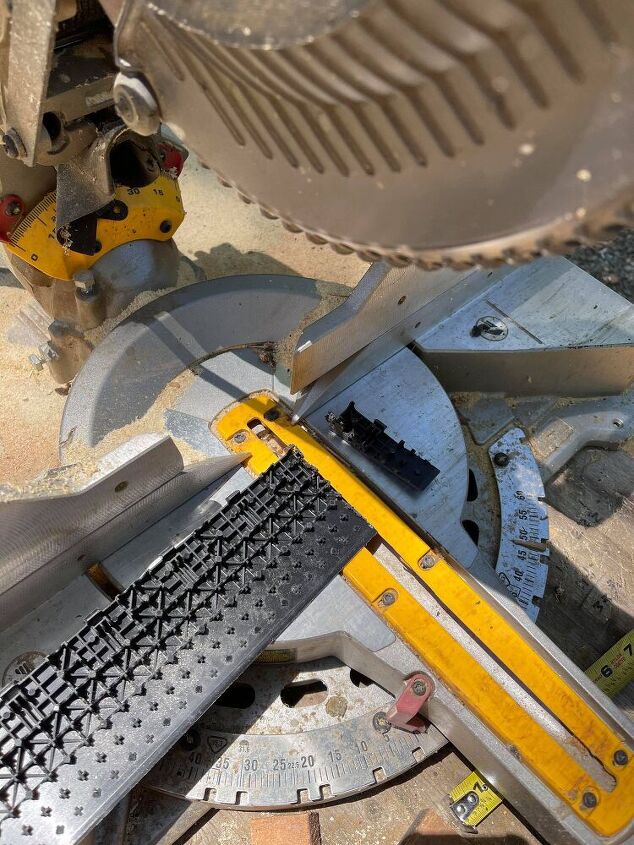
First, I layed it out and measured how many pieces I needed.
Then I cut it with the chop saw, and recycled the pieces I had to cut off.
It all fits perfectly, and now it will be even easier to sweep out the coop because of the beveled edge!
The best thing about this flooring is that it isn't attached to anything but itself! If needed, we can lift it out, spray it down for a deep clean, and put it back into the coop - easy peasy!
I personally think this is an AMAZING option for a chicken coop floor! We are soooooo pleased with it!
Thanks for reading my post. If you enjoyed it, please give it a "like". I'd also love it if you would follow me on Instagram or Facebook (@jagcagdesign), where I share a variety of DIY ideas for home and garden. I really appreciate all of your likes, follows, and comments... it inspires me to share more! And don't forget to go check out Garage Royalty using the link that I included at the very start of this post. They have an awesome wall storage system, too.
Happy DIYing!
Xo,
Jamey
Comments
Join the conversation
-
This is great! Thanks for sharing.
-
Love this! We are about to move and husband wants chickens. Will show y
this to him!


Frequently asked questions
Have a question about this project?