


From Outdated Little Dresser to Fabulous Apothecary Cabinet

I love apothecary cabinets...well actually I love little drawers...LOVE! So when the Habitat for Humanity Re-Store wanted to gift me a piece of furniture to update...I was on board.
This project was a bit step-heavy and you can see the entire process in my highlights over on Instagram @somethingpaintedwhite

The first piece I saw when I walked into the store was this darling little 3 drawer dresser! Quite outdated and a wonky drawer or two but it was just the right size for my vision.
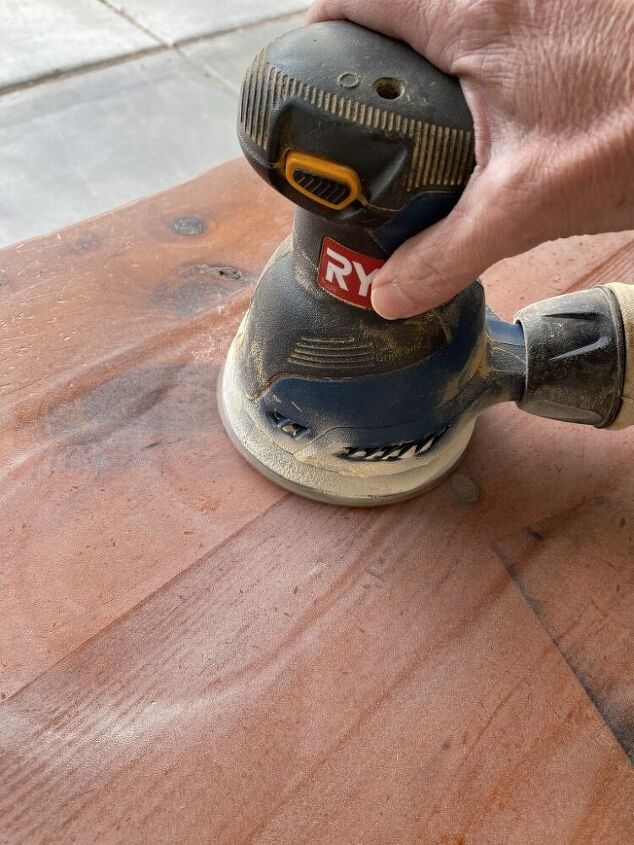
As soon as I got it home I went to work cleaning up this little chest with my Amy Howard Home Clean Slate and then I started sanding the top of it because it had some deep gouges and scratches and I wanted to smooth them out as much as possible. I knew I would be chalk painting it so sanding wasn't necessary for that.
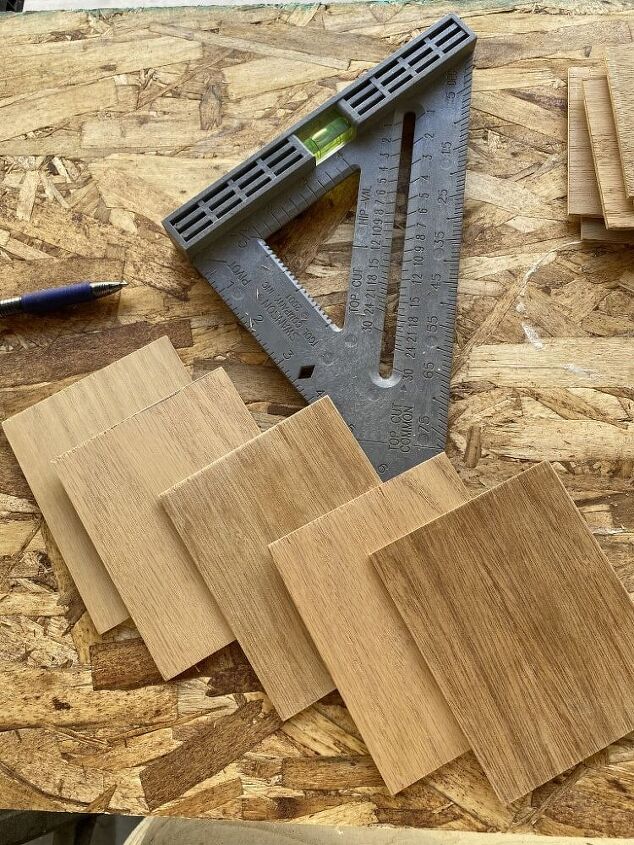
I had these thin pieces of wood, I'm not sure what kind they are but they used to be little dividers in the drawers of an old roll-top desk that I have (that no longer has dividers in the drawers).
I cut them into squares and rectangles (the top drawer is slightly different in size from the other two) and then I glued and clamped them onto the drawer fronts.
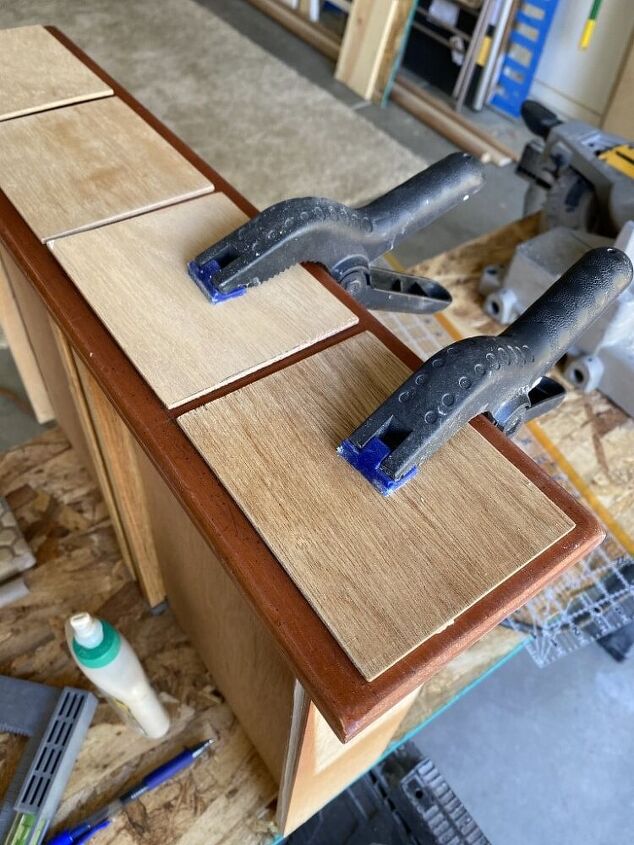
I let the glue set for just a bit while I put 2 coats of Amy Howard at Home One Step Paint in the color Java on the body of the dresser because I wanted to make sure to cover up the original orangy color. Amy Howard at Home is my very favorite chalk paint. One of the things I love about it is that it DOES NOT NEED to be waxed!
After the Java dried I applied a coat of AHAH Cracked Gesso (for a chippy finish) ..followed by Toscana Milk Paint in Strausburg White.
This is a process but I know what I wanted this to look like so I just kept going.
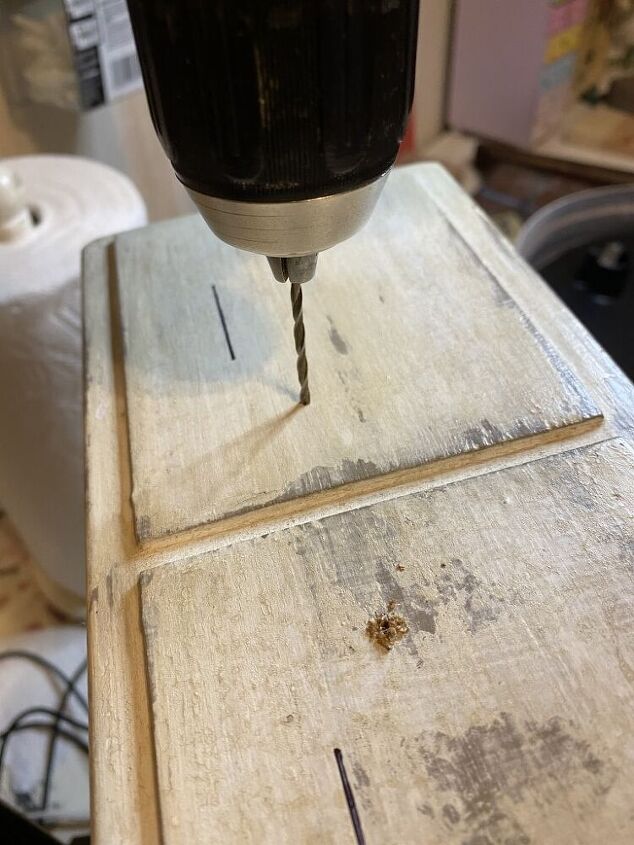
After getting the paint to the chippy that I liked it's time to add the hardware. I love the vintage-looking brass catalog pulls and they're quite inexpensive on Amazon.
I laid them on the fake drawer fronts and put marks where the screws would go and then drilled little pilot holes.
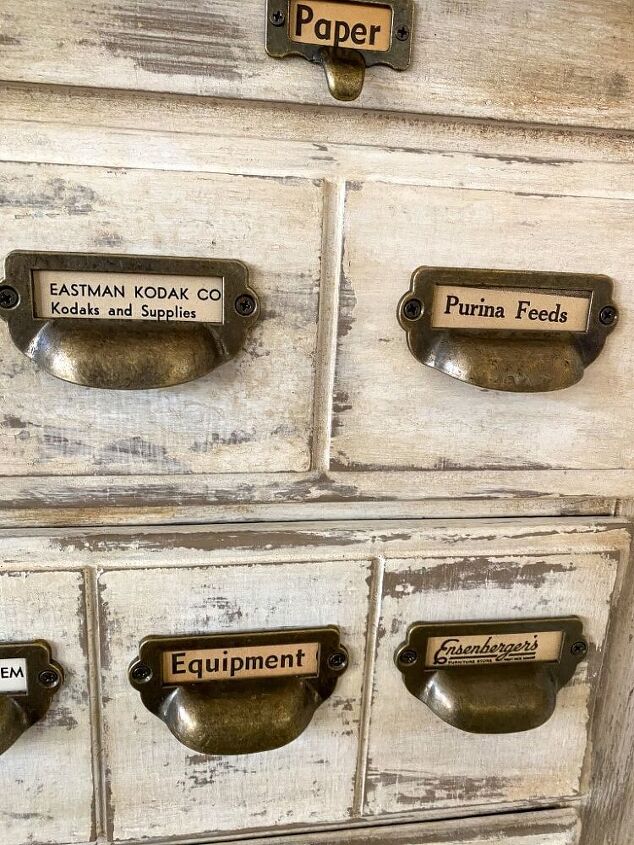
Next, I attached them to the drawer fronts and then cut little labels out of an old newspaper that I found at an antique store. I love all the little labels!
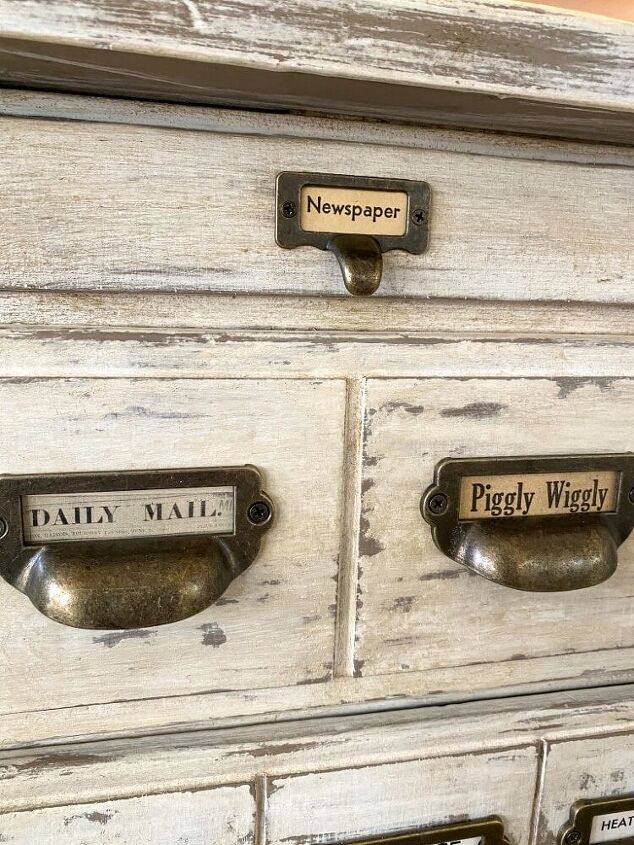
I wonder what's in the Piggly Wiggly! LOL!!!
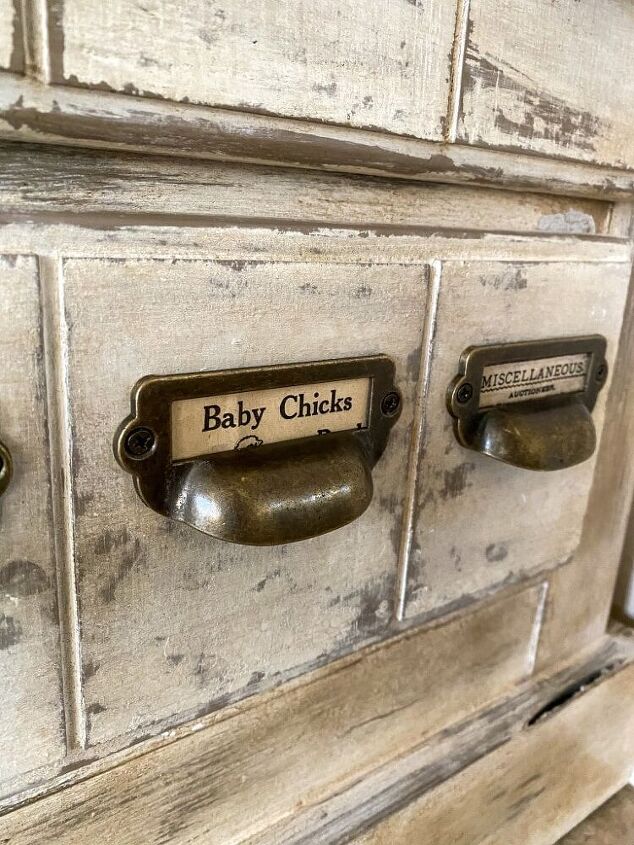
Be real careful when you open that drawer! LOL!!!!
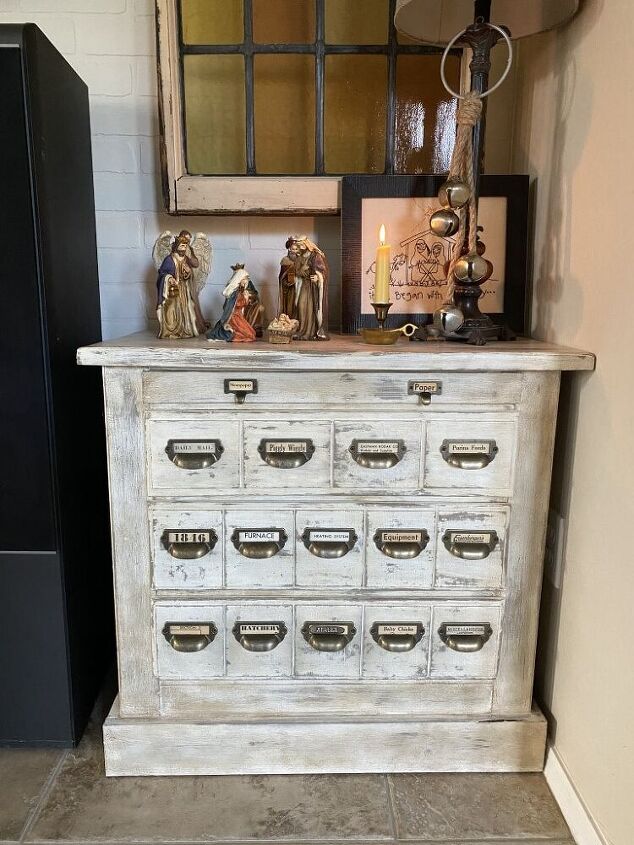
This cute little apothecary cabinet turned out better than I imagined.
I love turning outdated furniture into fabulous new pieces with a paint and a little TLC!


Comments
Join the conversation
-
This makeover certainly was inspired!
When I was into refinishing furniture , we didn't have all those great new paints. We actually had to use hide glue when we wanted the "crackle" finish! I was stripping furniture with chemicals when I was 12! It's a wonder I have braincells left!
-
By the way, Piggly wiggly was the brainchild of Clarence Saunders of Memphis and it was the forerunner of the modern grocery store where the customers did their own shopping! Yes, I do live in New Mexico now. :)


Frequently asked questions
Have a question about this project?
Absolutely LOVE it!!!!!!! Thanks for sharing!
I love your finished piece, but what did you do to take the bottom from the original curved front to such a solid base? I think I would like it even more if the bottom front were not so solid, maybe with some cut away so it has little legs and space underneath. Hope that makes sense.
I love the idea for the printed part of the labels! I have an old sewing machine cabinet with 6 little drawers that is waiting for me to do something with, maybe a coffee table and put metal wheels underneath???