


Radio Cabinet Makeover

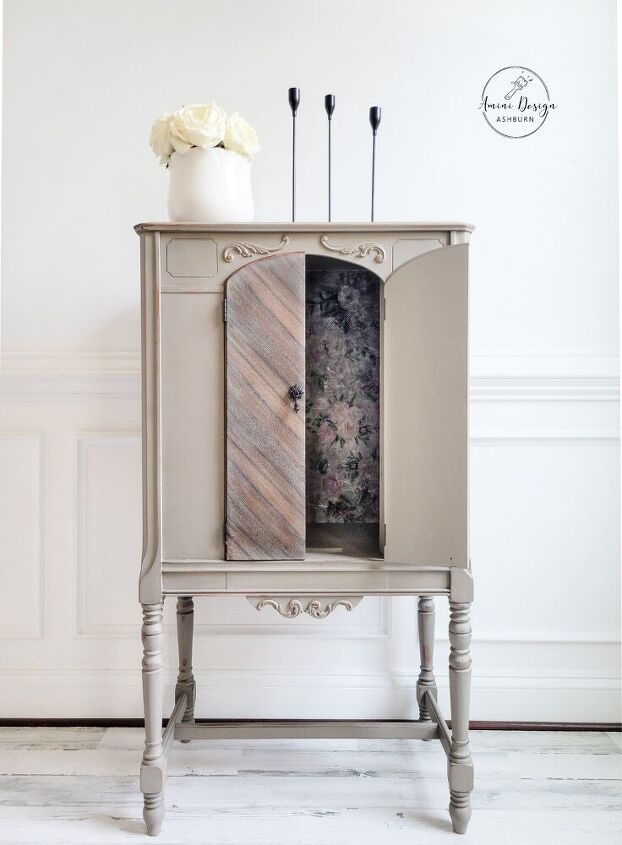
Transformed this antique into a cute blanket storage cabinet.
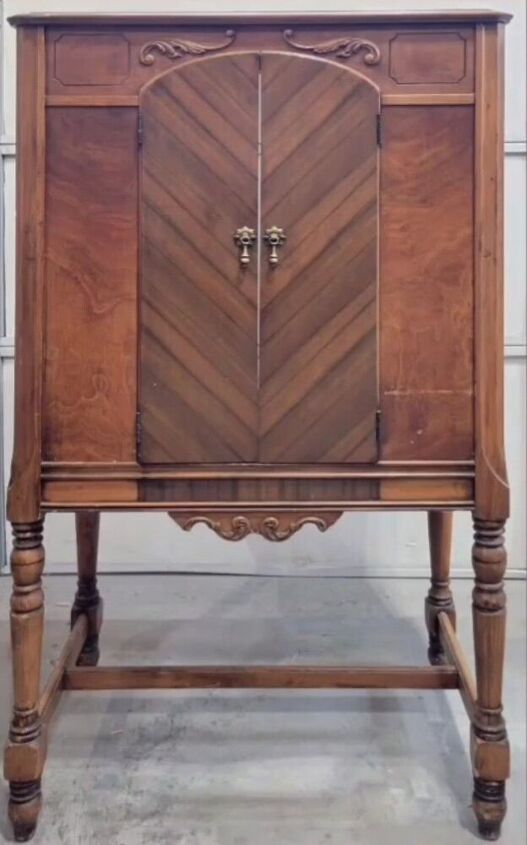
We fell in love with the details of this piece. The owners were giving it away free and listed that if no one claimed it they would put it out for trash pickup. We couldn't let that happen so we picked it up within the hour it was listed! It needed a lot of tlc, a new back and tons of cleaning and sanding but we knew it could be beautiful again.
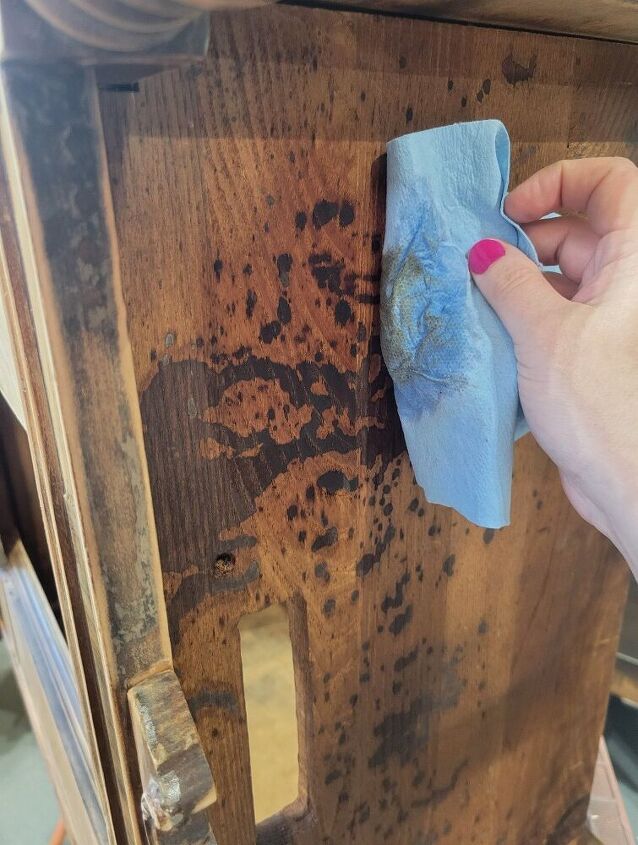
We started by cleaning the piece with Krud Kutter, making sure to rinse it off. We repeated the rinsing process a few times.
Next we sanded the piece with 80 to remove the old broken down finish and to remove the scratches, and went through the grits, ending on 220.
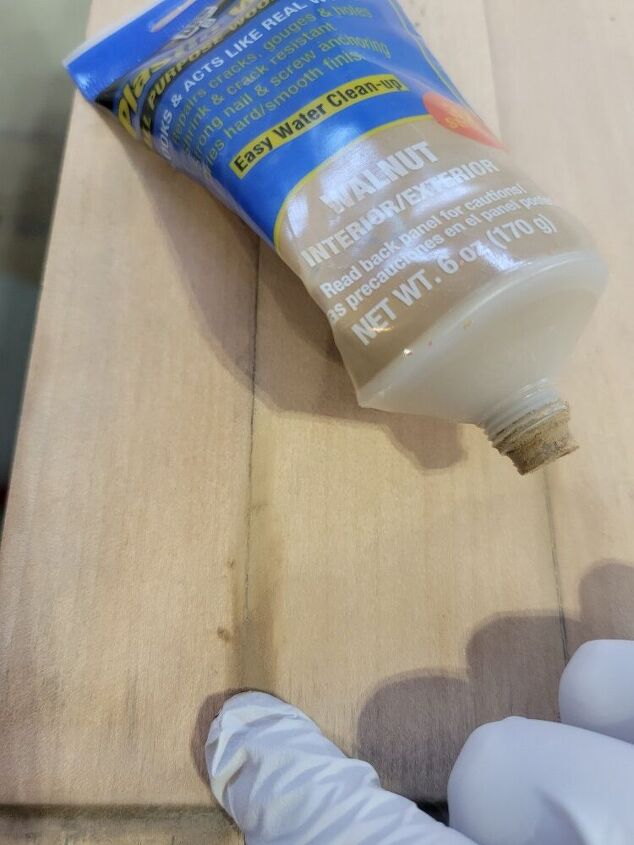
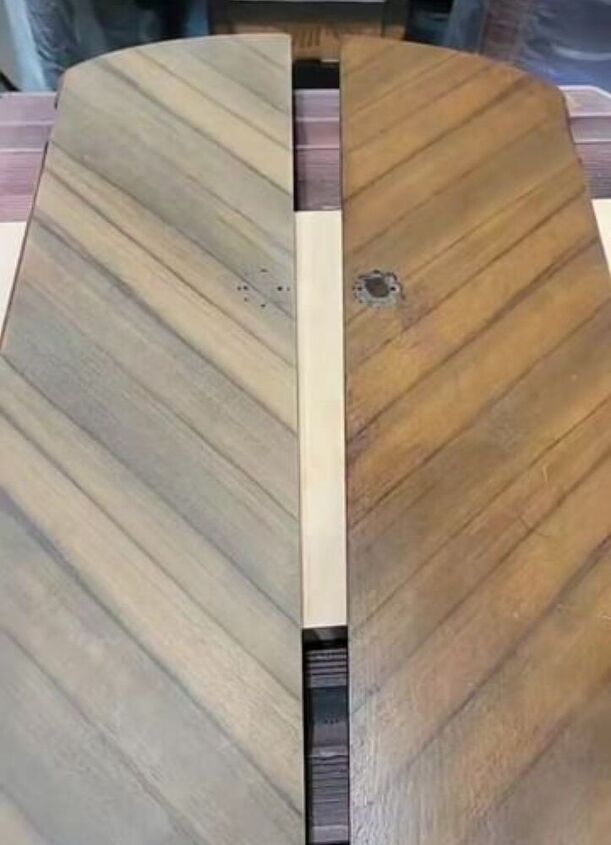
Next we filled in areas with Plastic Wood. The top was constructed of wood planks that had been glued together but over time had separated just a little at the seams. Clamps and glue would not work to bring the seams together so that is primarily where the filler was used. After it dried we sanded it smooth.
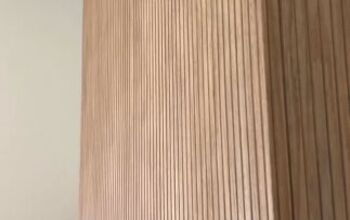
Next was shellac to seal the grain before painting to ensure a nice even starting point. We painted two coats of Country Chic Paint in Driftwood over the piece except for the front of the doors. We wanted to do something special for those, making sure to show off the grain.
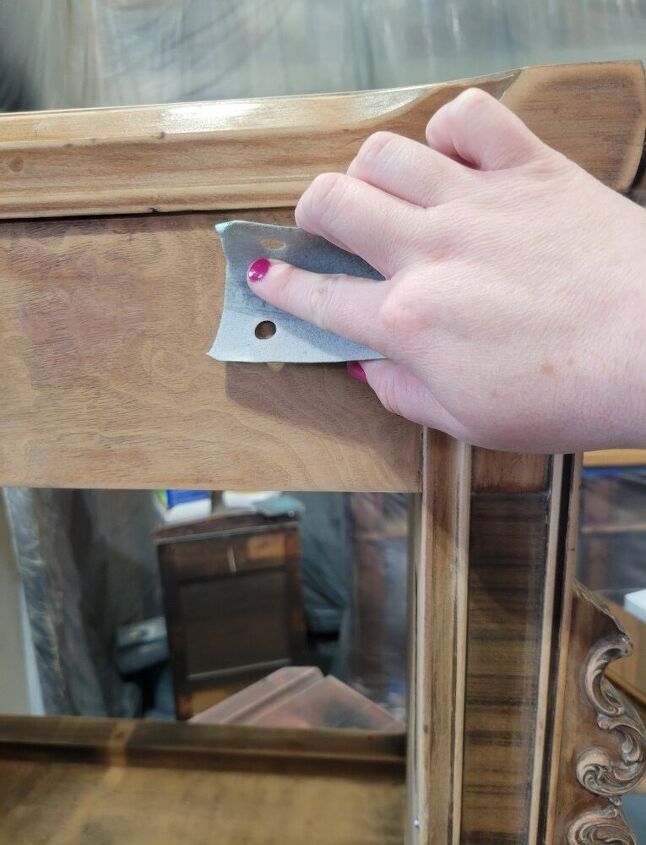
After sanding the doors (sanded on the left - the before on the right) the grain was too pretty to completely cover up so instead we diluted the paint with water - a 50/50 mix and applied it as a wash.
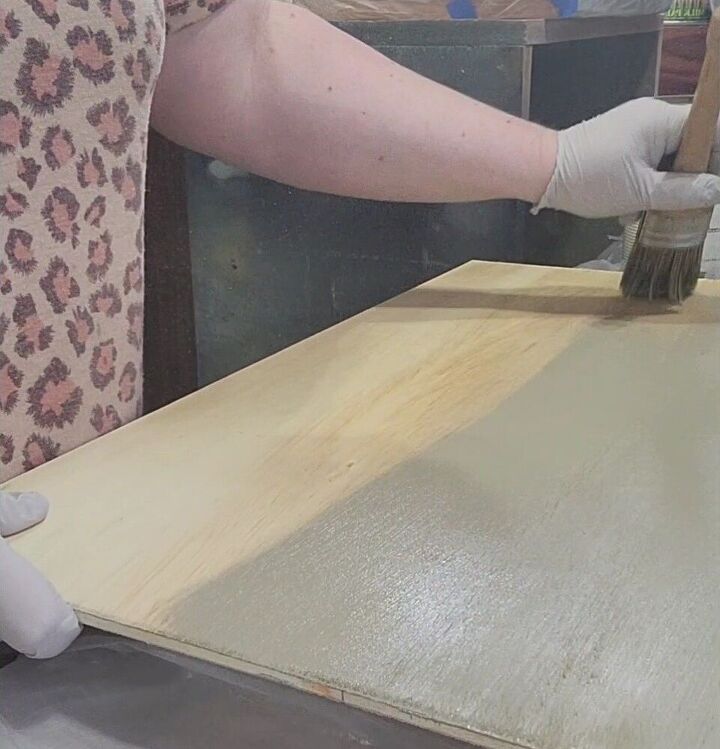
Next we cut a new piece of backerboard, sprayed it with shellac and brushed a coat of paint on it. We decided to do decoupage on the panel so got put the Mod Podge to begin.
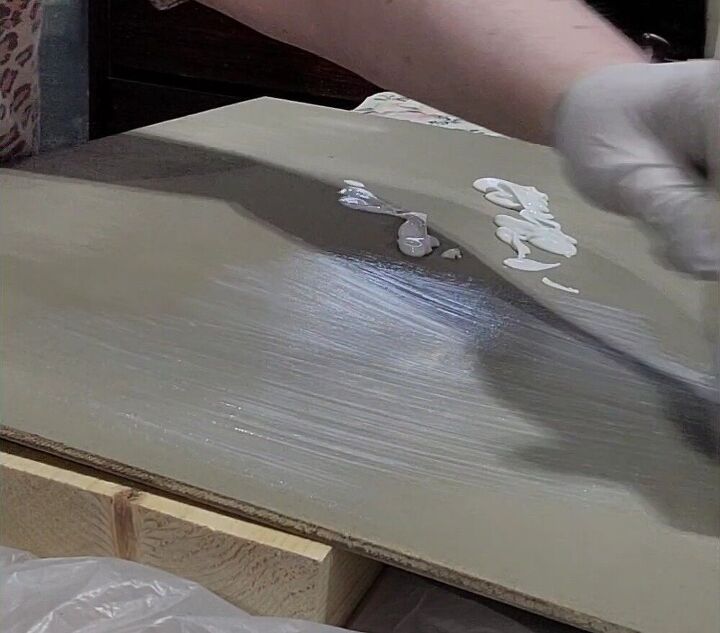
After applying a coat of Mod Podge while it was still wet, we laid out the decoupage paper.
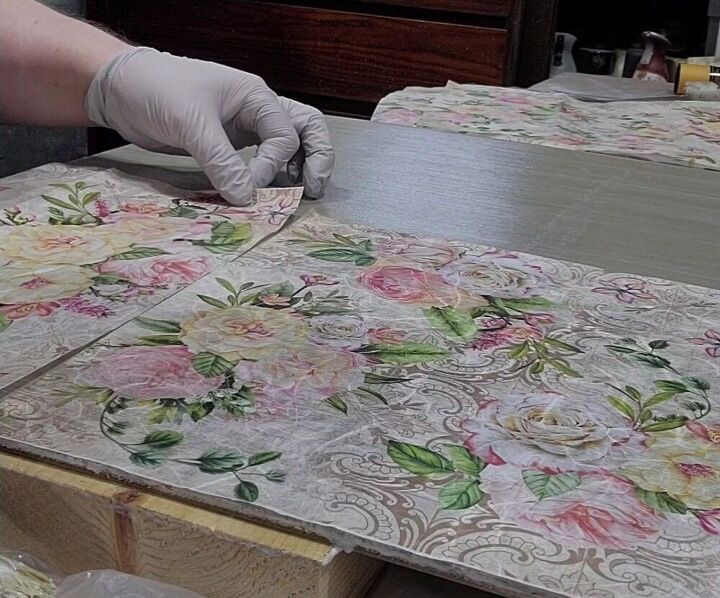
This one is called Amiable Roses by Redesign with Prima. We lined it up and covered the entire panel. Then we smoothed out any bubbles and immediately applied more Mod Podge as a top coat.
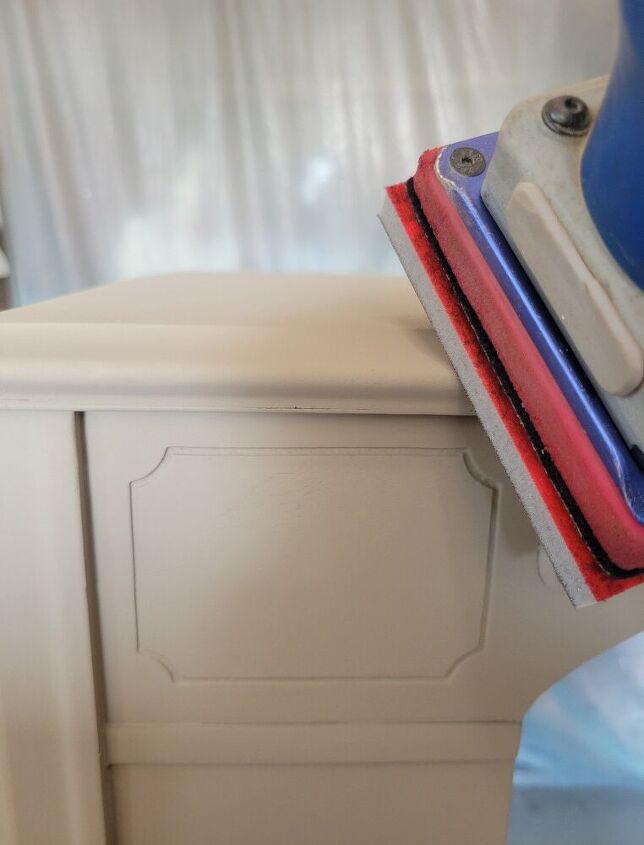
Next we used our favorite Surfprep sander to lightly distress the edges and raised parts of the piece for a farmhouse look.
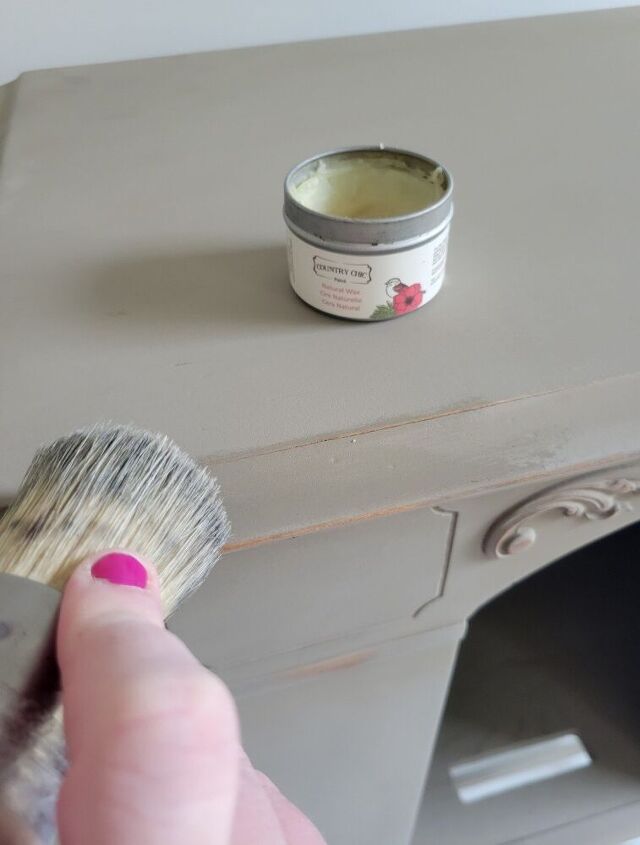
Then it was finally time to seal the piece. We used Country Chic Paint natural wax with a waxing brush and wiped off any excess.
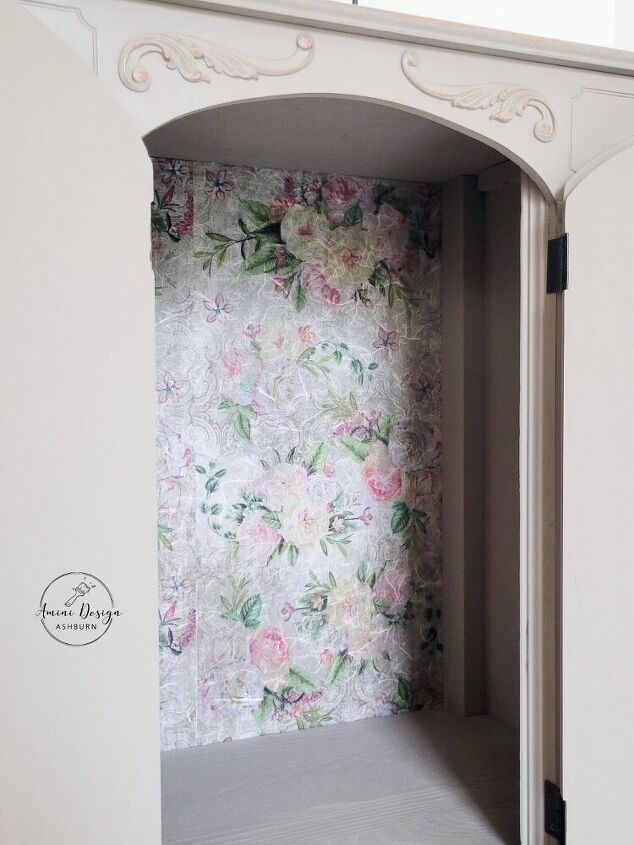
The paper turned out so pretty.
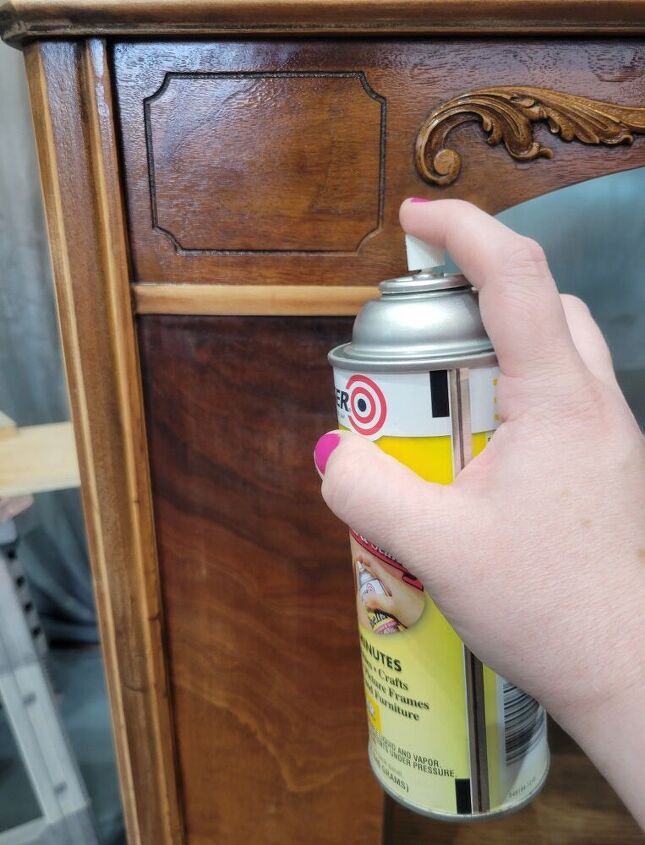
We cleaned the hardware with Barkeepers Friend then sprayed the hardware with Rustoleum oil rubbed bronze.

She's a real beauty now. Be sure to follow along in Instagram for all the behind the scenes.
Resources for this project:
See all materials


Comments
Join the conversation
-
STUNNING!! I wish I had your vision!
-
I appreciate that you gave new life to this beautiful older piece. And I love the design, multi-purpose, and uniqueness of it. It is stunning now! Thank you for sharing with all of us.


Frequently asked questions
Have a question about this project?