


How to Make a Fabric Covered Pinboard
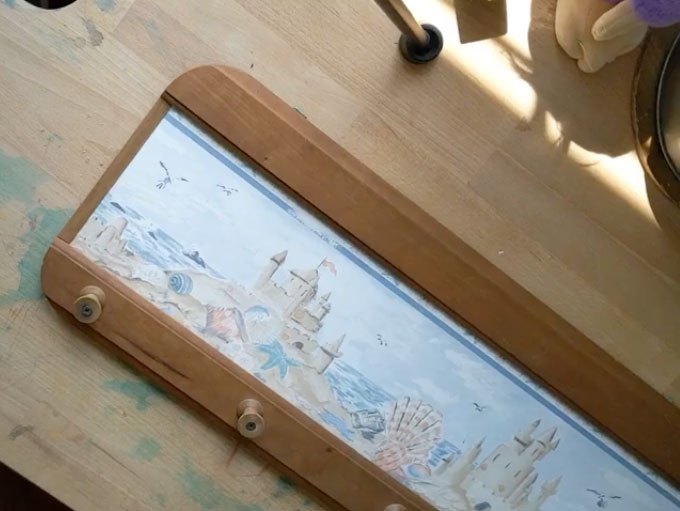
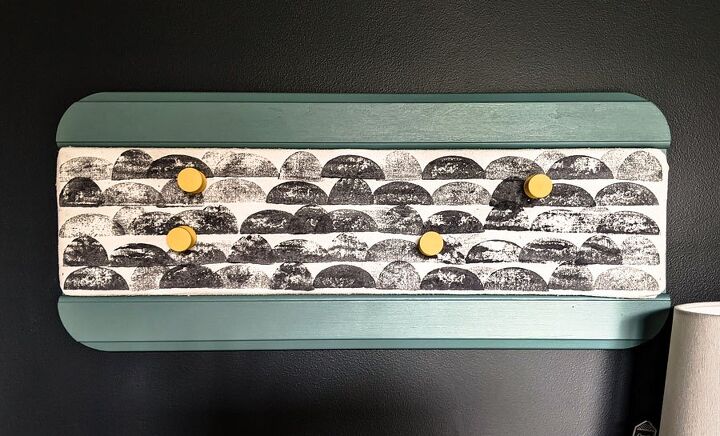
I recently did a thrift flip challenge with my friend Stacy from Peony Lane Designs, and my “challenge” was to transform an old, not particularly nice, hanging rack into… something.
I definitely didn’t need a rack but I did think my daughter might like a pinboard to display all of her favorite pictures and magazine clippings.
In this post, I’m going to show you how to make a fabric-covered bulletin board, without cork.
Materials and Tools
- Foam board
- Medium weight fabric (I used a potato printed dropcloth)
- Frame (optional)
- Hardboard (optional)
- Glue gun ( this is my favorite budget model)
- Command Picture Hanging Strips
- Craft knife
Step 1: Determine what size your board needs to be
If you plan to use a ready-made frame or backer like I did, measure the space where you plan to add the pinboard part. If you’re making a more custom size, decide how large you’d like your display board to be.
You can just make your board the exact size of your foam board sheets and make things super easy, or you could measure the space on the wall where you’d like the notice board to go and build the board to that dimension.
My thrifted rack was pretty tiny, but I plan to make a huge one for my office in the near future.
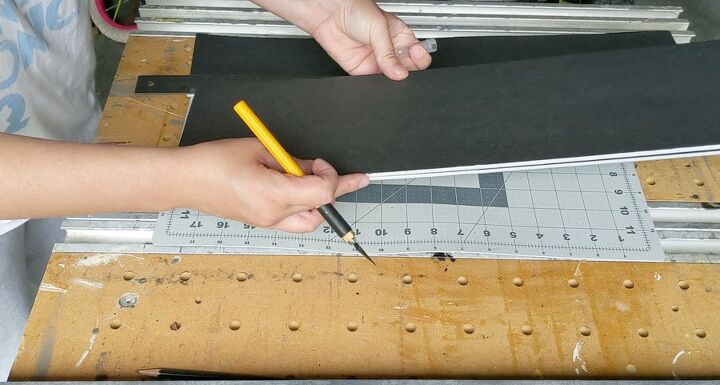
Step 2: Cut the foam board to size
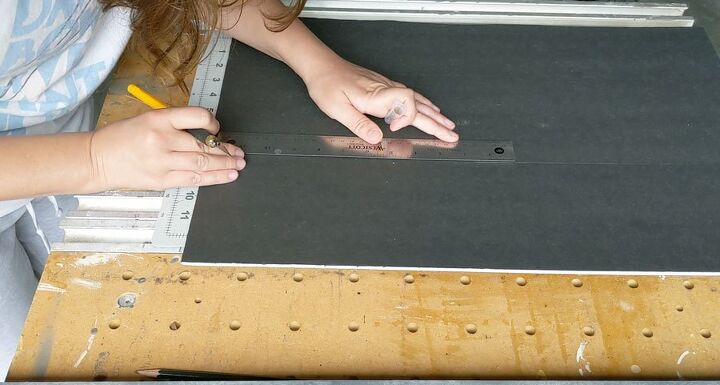
Once you’ve determined the size of your board, cut the foam board to size. This is incredibly easy!
Measure your board and mark where you need to cut with a pencil. Use a sharp craft knife and a straight edge to cut along the lines you marked.
Cut two boards to size because we’ll be stacking them in the next step.
Why? Because it’s better to have a deep pinning surface than one that’s too shallow. Otherwise, your pushpins will fall out and that’s annoying.
To make a large pin board, simply cut multiple pieces of foam to piece together to make the full board size.
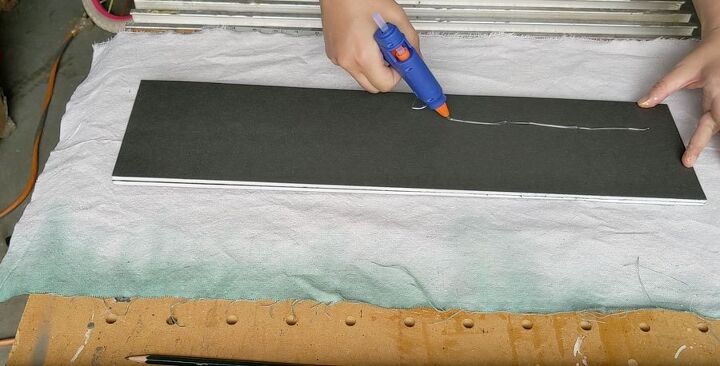
Step 3: Glue foam together
You’ll want an extra thick layer of foam to stick your pushpins into, so using a glue gun, stack your boards and glue them together.
Step 4: Wrap foam in fabric
Cut a piece of fabric that is 3″ wider than your pinboard all around and lay it on your work surface, right side down. Place your foam board in the center of the fabric, taking care to ensure that if you have a pattern, that it is aligned to the board.
If your fabric bulletin board has a crooked pattern it’s going to drive you bananas.
Pull the fabric tightly around the board, and glue the edge to the back side, all the way around.
Step 5: Attach to your backing (optional)

You could easily attach this fabric-covered pinboard directly to your wall using Command strips (which is what I would do), however, you might choose to attach this to a backing of some kind.
In this project, I used the wall rack because it was a thrift flip, but I think this would look far chicer on its own, at a much larger size.
Get a even more ideas in my office and homeschool room idea hub!
To attach the pin portion of the board to my rack, I simply used a generous amount of hot glue and called it a day!
You could use hardboard as a backer if you wanted something frameless but with more rigidity. If you’re looking for something with a bit more glamour, you could fit the board into a vintage frame.
A DIY bulletin board adds much-needed organization to an office or a homeschool room above the desk (you can DIY a homeschool desk while you’re at it!).
If you need even more paper organization, try this clipboard wall! I included my surefire strategy for busting paper clutter in that post too.
Here are some more ideas for your new fabric-covered pinboard!
Want more? Here’s the full collection of Bloom in the Black DIYs.


Frequently asked questions
Have a question about this project?