


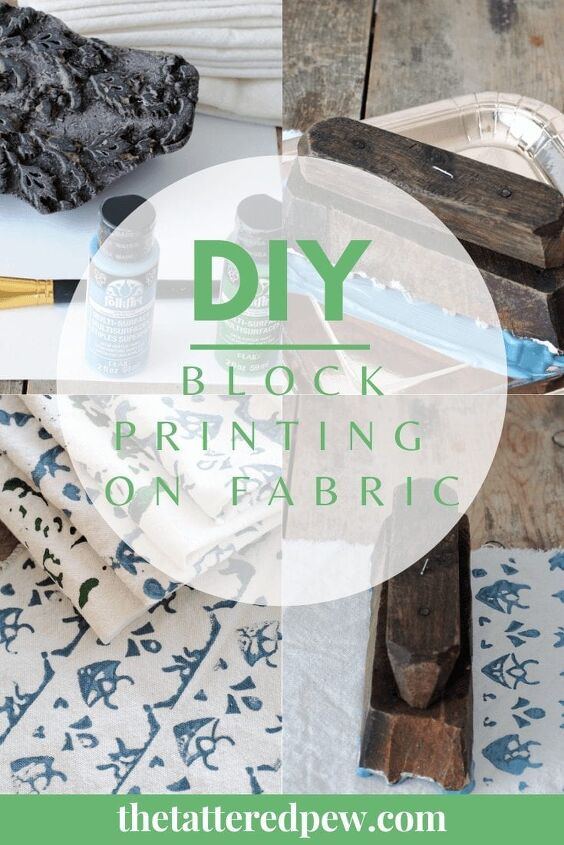
DIY Block Printing On Fabric
Have you heard of block printing? I’ve always loved block print patterns on blankets, tablecloths, placemats, you name it. But sometimes those can be so expensive. So when I found these gorgeous vintage textile stamps in my friend Brooke’s darling shop I got so excited! I decided to try my hand at some DIY block printing on fabric.
You can see more of my DIYs here!
DIY Block Printing On Fabric
Block printing is basically a way to create patterns on fabric by hand. Large wooden hand carved blocks are dipped into paint or ink and used just like stamps to create patterns mainly on fabric. Here is some of my inspiration.
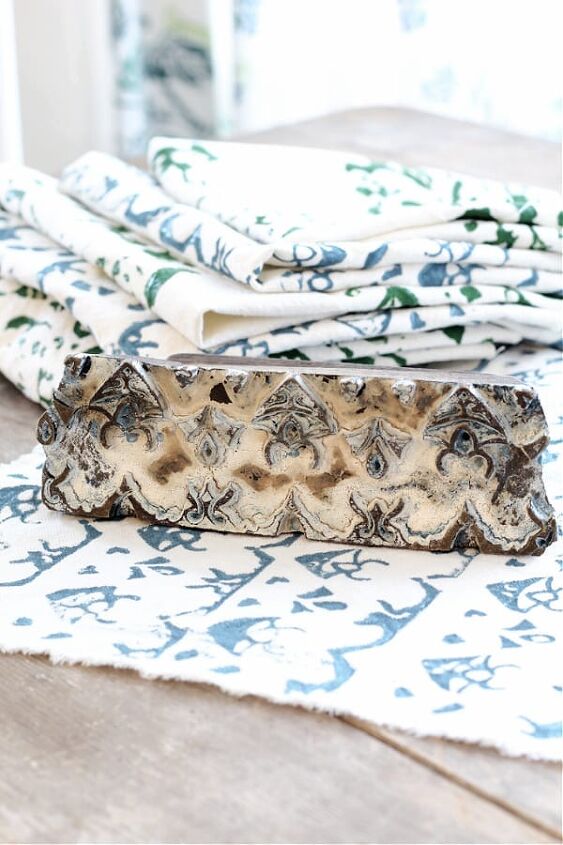
Here are the blocks I found and used. If you are local to Northern Colorado my friend Brooke has several more beautiful ones in her shop! Brooklyn Finds Designs Co.
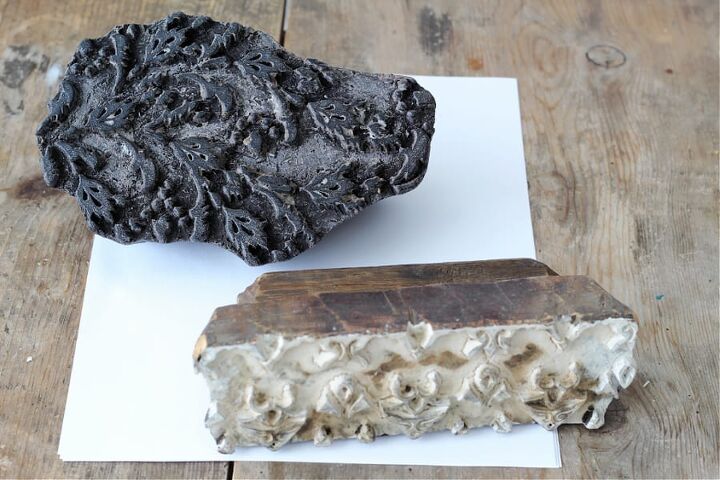
Aren’t they just beautiful? I not only plan to use them for projects but in my decor as well.
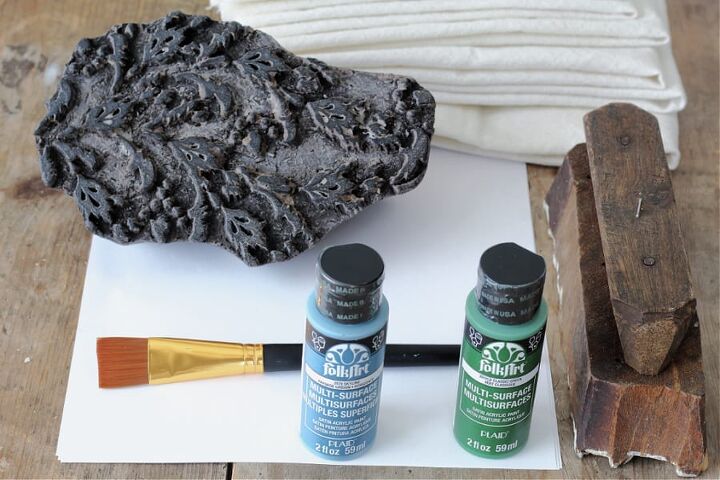
Here Is What You Will Need For DIY Block Printing
These are the supplies I gathered to do my own DIY block printing on fabric.
- Fabric (I used my no-sew drop cloth napkins)
- paint (multi-surface acrylic paint or fabric paint) I found mine at Michael’s
- wooden textile stamps or rubber stamps ( Etsy has some gorgeous ones)
- paint roller or paper plate
- table covering
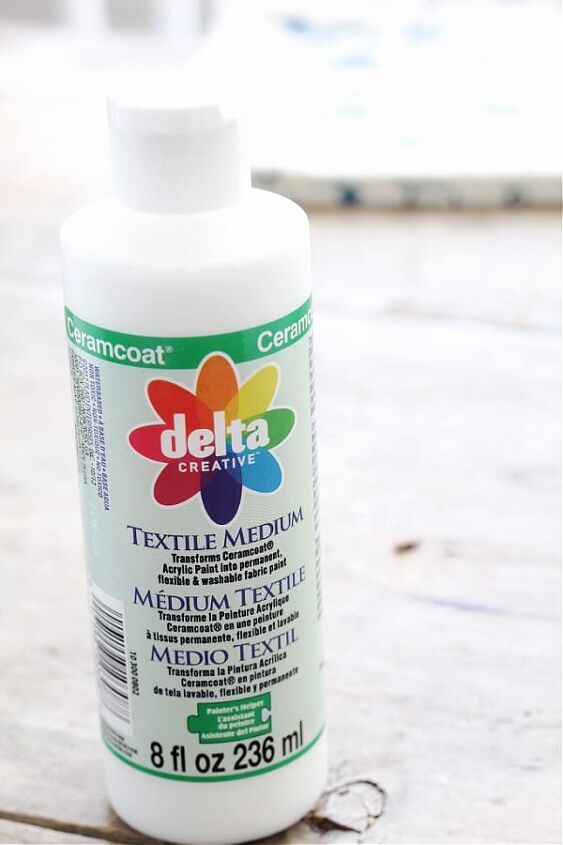
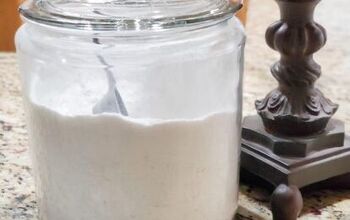
- textile medium (this is what makes the acrylic paint washable)
- iron (to set your paint to make it washable)
This is the textile medium I used since my paint was not fabric paint!
How To Block Print On Drop Cloth Napkins
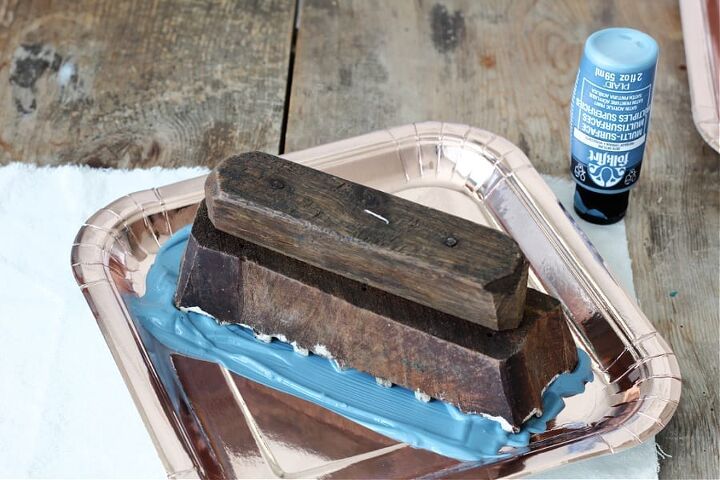
Once I gathered all of my supplies I decided that I better try out the wooden textile blocks on a piece of paper first and figure out the best way to apply the paint to the block. After mixing the paint and the medium I experimented with using a foam sponge brush to apply the paint to the block. It worked just…ok. But then I tried dipping the block into a paper plate full of paint and it worked better.
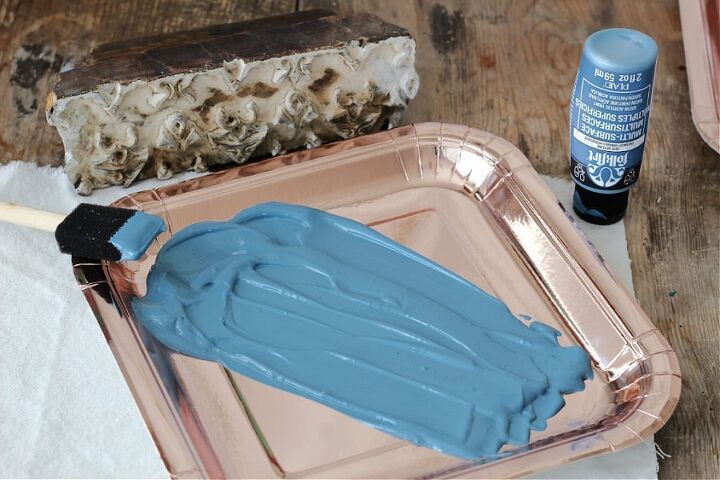
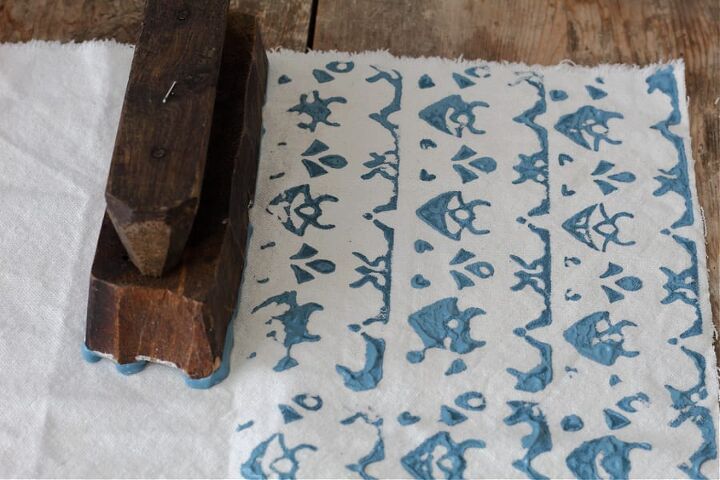
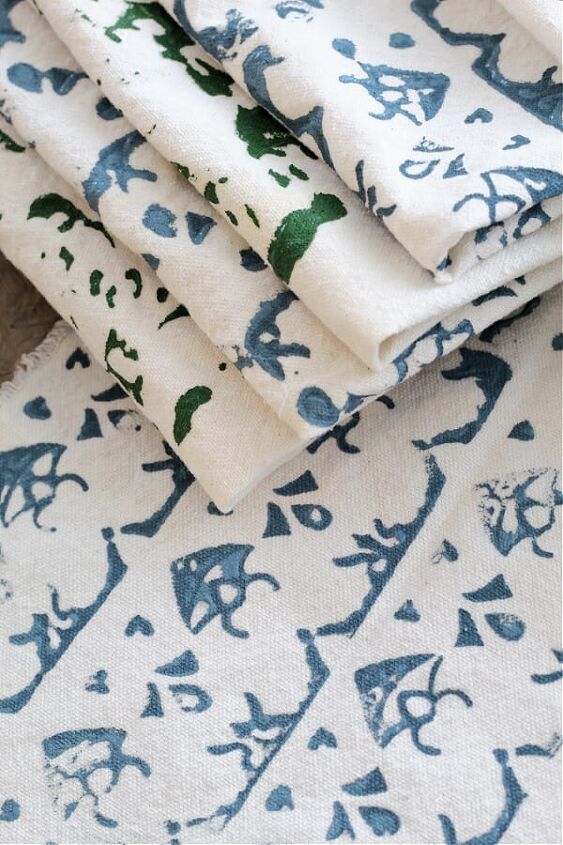
I decided to use the skinny block first and try the beautiful blue paint. At this point most people would either plan or mark out their pattern. But not me, I just went for it. Luckily I loved it immediately.
Stamping The Fabric
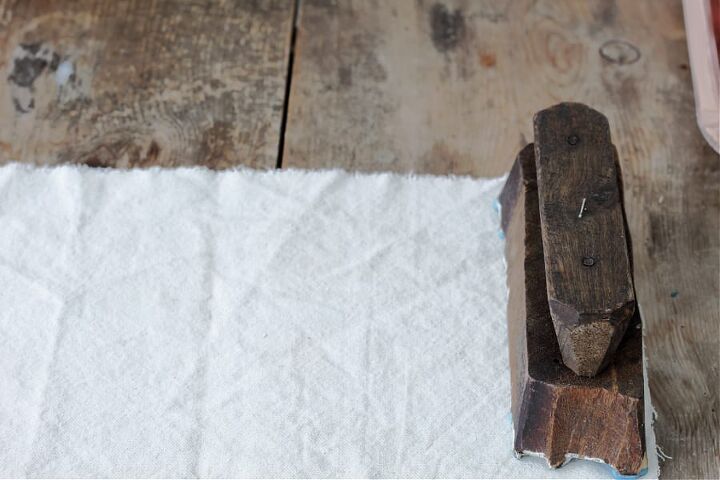
After loading the paint onto the wooden block I laid my square drop cloth napkin onto a trash bag (to protect my table) and placed the block on the bottom edge to begin my first row.
I continued this pattern and repeated adding the paint to my block. One 2oz bottle did one complete napkin.
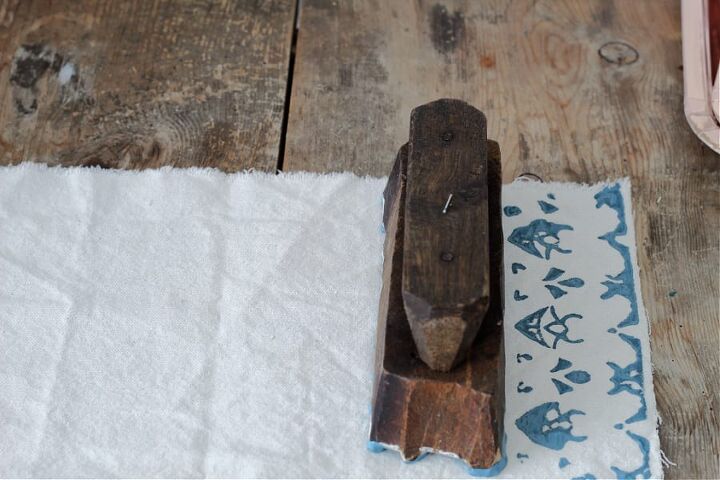
It took me a bit to get in a routine and figure out how to add just the right amount of paint to the block. It’s quite possible that a foam roller would have been best to roll the paint on the block but I didn’t have one.
I did this color and pattern on 3 total napkins and I definitely got better each time. For me I learned that I needed to add more paint before each stamp was pressed onto the fabric. I love the look of this pattern and paint combo.
Is it perfect and even? Nope. But I think that is what adds to the beauty and character of this fun little DIY project. If you can stamp or have stamped before then you can do this too.
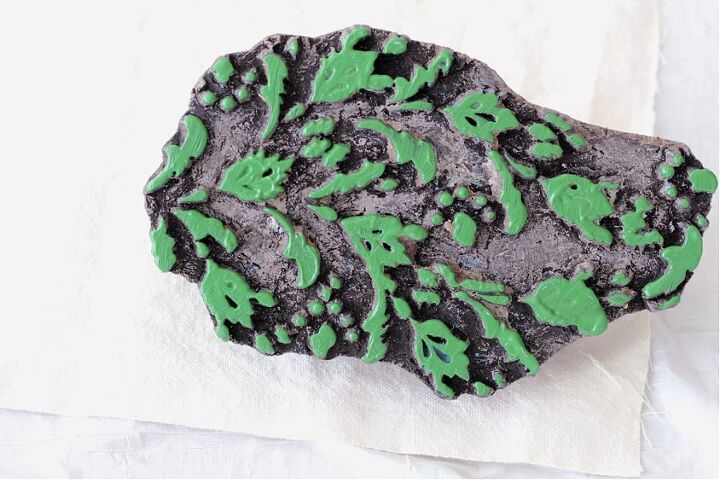
A New Color And Pattern
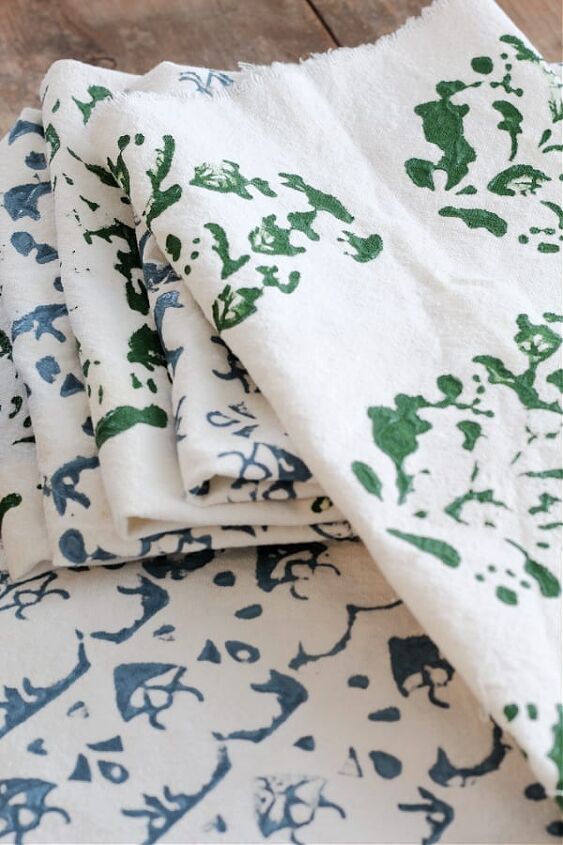
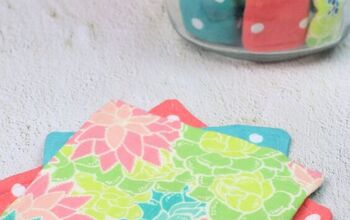
Next, I tried the second vintage textile block. This one has a bit of a rounder floral look to it so I decided to spread it our on my napkins. I also used a new color, green.
Does that surprise anyone? Probably not since I seem to always use blue and green. 🙂
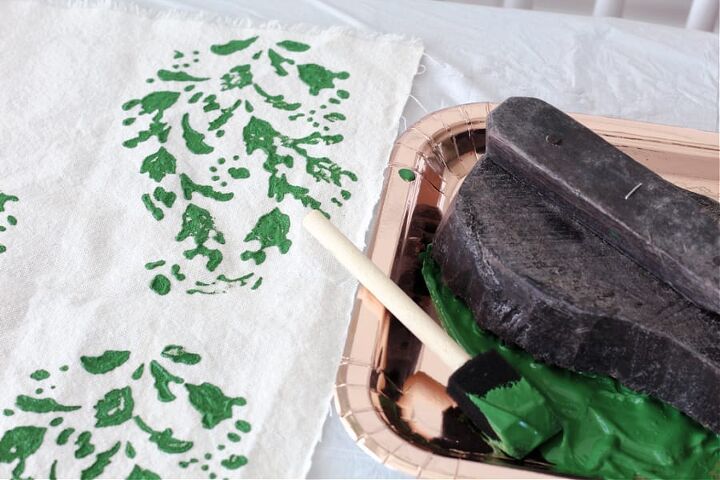
This time I used the stamp method and the sponge brush to smooth out the paint. It worked well. Maybe it was because I had practiced with the other block. Or maybe it was because this stamp had a bit more even carvings. I used this pattern on three napkins as well and ended up DIY block printing a total of 6 napkins.
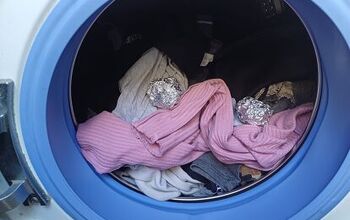
The final step is to set your iron on the hottest setting and run it over your fabric to heat set the paint. You can find exact directions on the back of the textile medium bottle. Finally, run your fabric through a delicate cycle in your wash and enjoy them!
That’s it! Crazy easy and crazy fun.
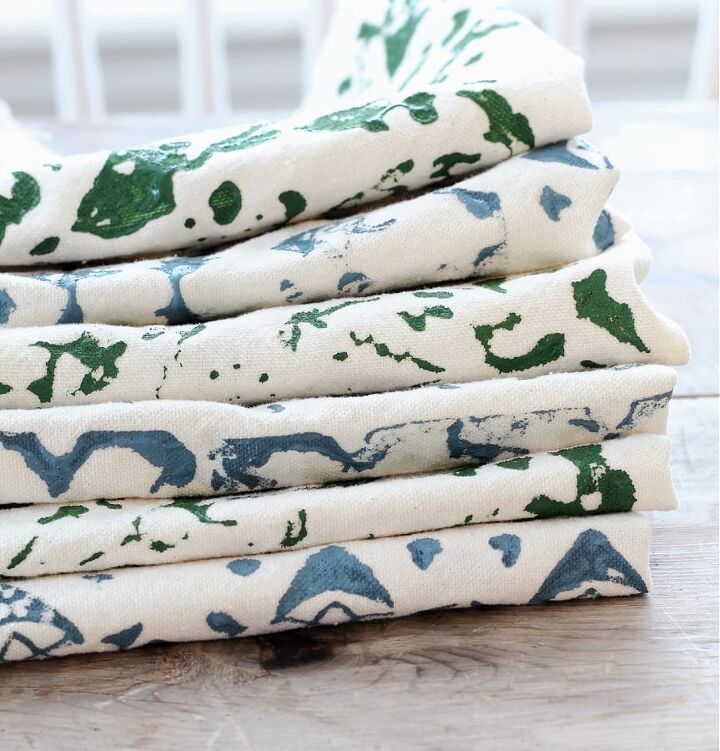
DIY Block Printing On Fabric
All in all this was a rather simple and inexpensive DIY. My drop cloth napkins turned out to be the perfect fabric to experiment on for this project. I love how easy it is to do DIY block printing of fabric and of course I am already scoping out other fabrics, paint colors and projects. I’ve had my eye on my drop cloth curtains. They might need a little block stamping next!
I love the combo of these two colors together. I think these beautiful block printed napkins would be pretty both indoors and outdoors. What do you think?
So are you intrigued by these vintage wooden textile stamps as much as I am? What would you stamp them onto? I really appreciate you hanging out with me today. If you had fun I would love for you to stop by my blog, The Tattered Pew, for my DIY projects and sign up for my newsletter!
XOXO,Kelly
8 DIY Home Decor Projects

Resources for this project:
See all materials


Comments
Join the conversation
-
So creative❣️
-
Can this block painting be done on walls,


Frequently asked questions
Have a question about this project?
did you finish the edges of the material or just leave them ragged ? and how long before you are able to wash these? Do you air dry or are they dryable in a dryer along with other clothes or fabrics?