


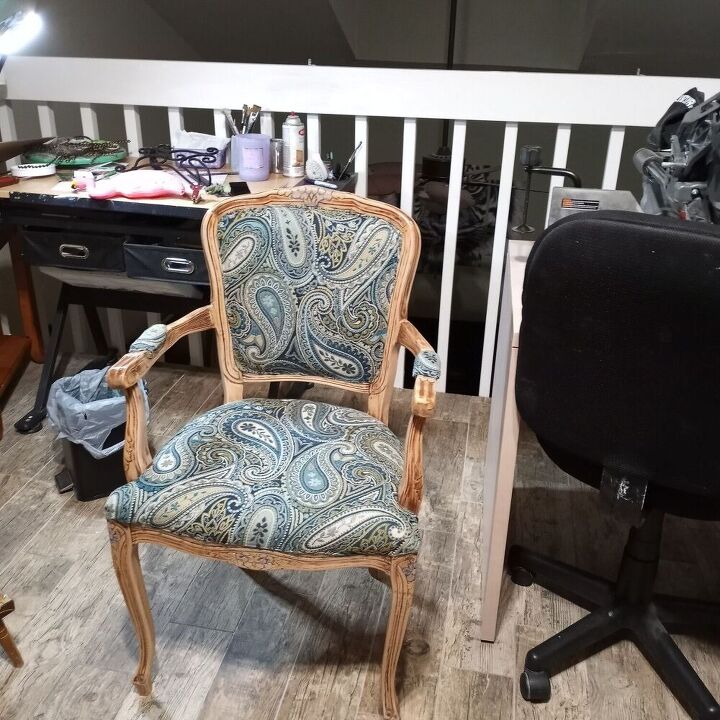
Chair Rescue. From Disfigured Trash to Focal Piece.

I have a deep appreciation for intricate detail, particularly antique (or old) items. While driving through my community I came upon a gorgeous chair sitting beside a dumpster & had to stop... Well, it seems a dog (other animal or hungry child?)
used the arms as a chew toy, now wonder it was being tossed. However, I love a challenge and a beautiful free chair so in my car she went. I have no experience with furniture repair or upholstery and had no idea what I was going to do with this thing but I just knew it needed to be rescued.
At the time I had two other chairs in line to be redone, coupled with my lack of knowledge on how to repair this chair so it took me a VERY long time to complete it. I didn't work on it consistently either but over a period of months when I was well enough so, please don't let my calculation of time deter you from your own DIY. That's what makes it YOUR DIY, you can work on it when, where, how you want to.
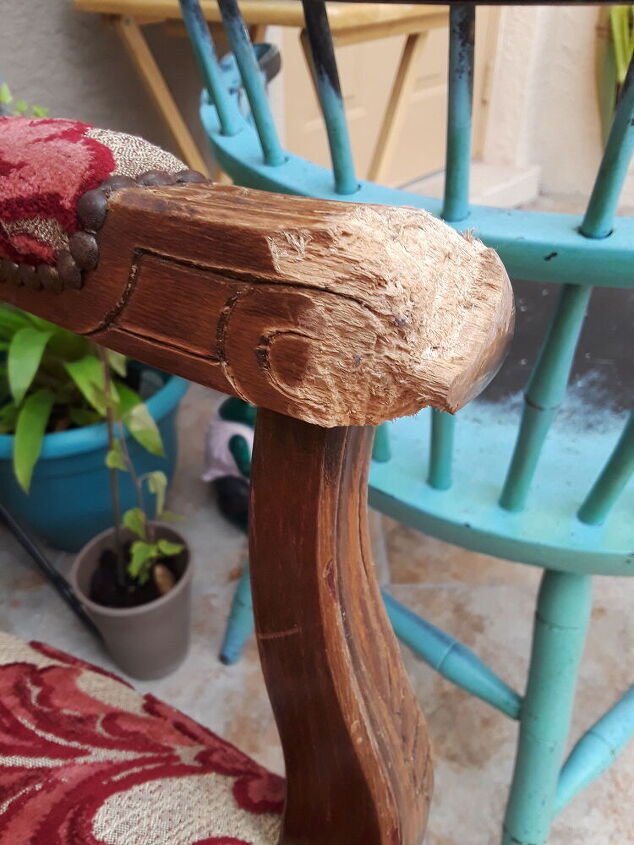
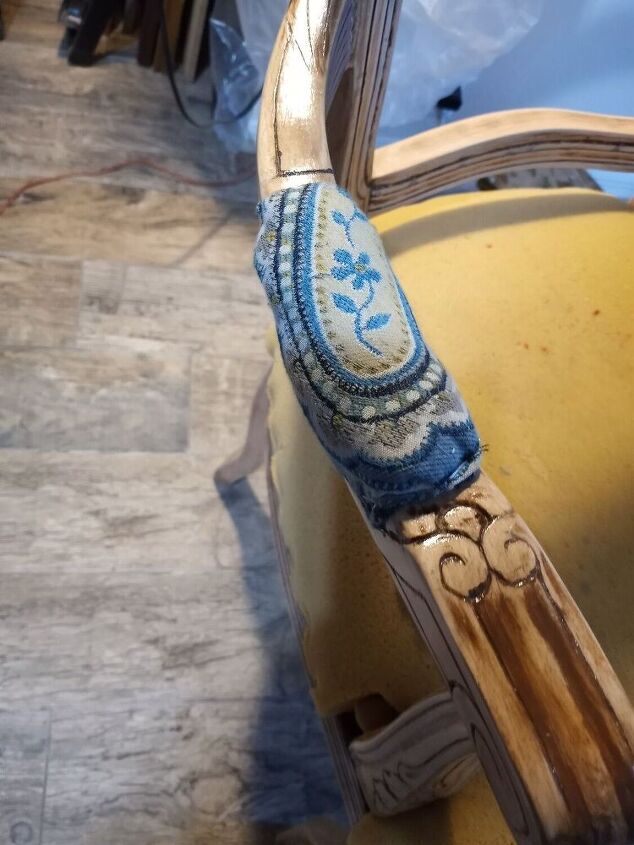
Here's a close up of the left arm with one of my other chair re-do's in the back ( https://www.hometalk.com/diy/kitchen-dining/kitchen-dining-furniture/family-heirloom-chair-make-over-44381000)
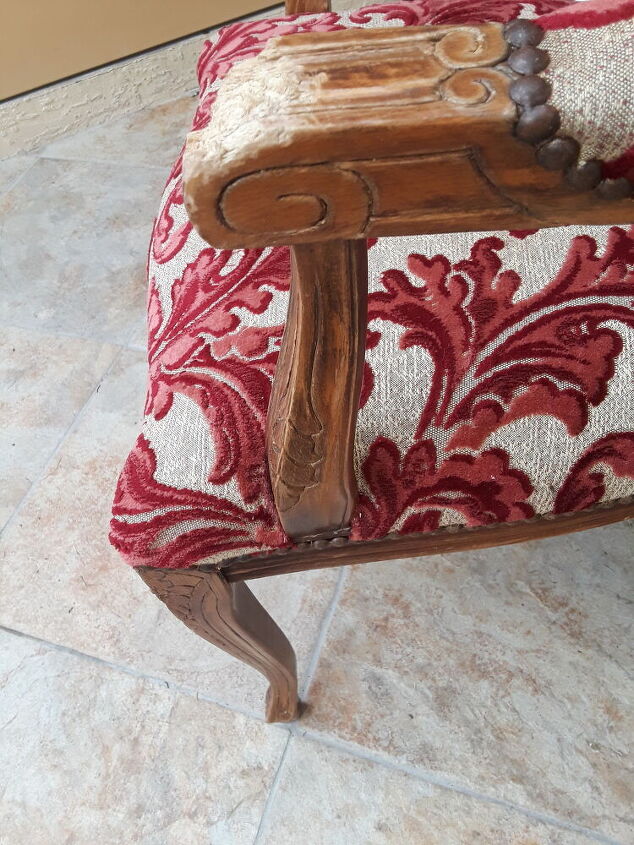
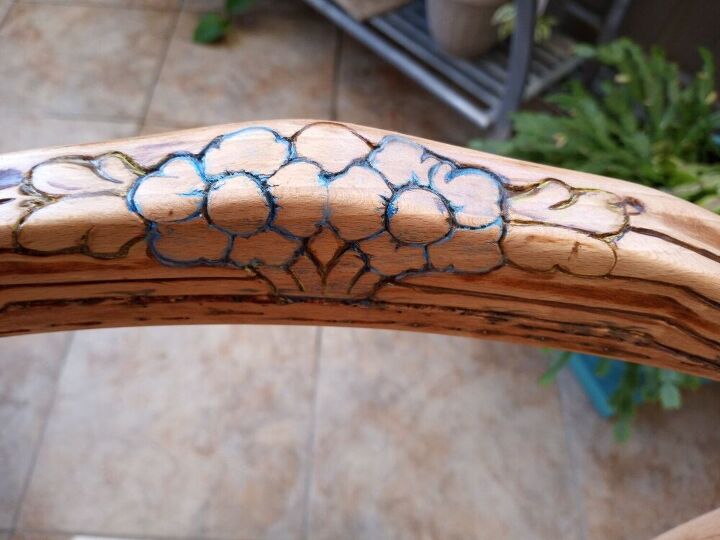
The right side wasn't as bad thank fully.
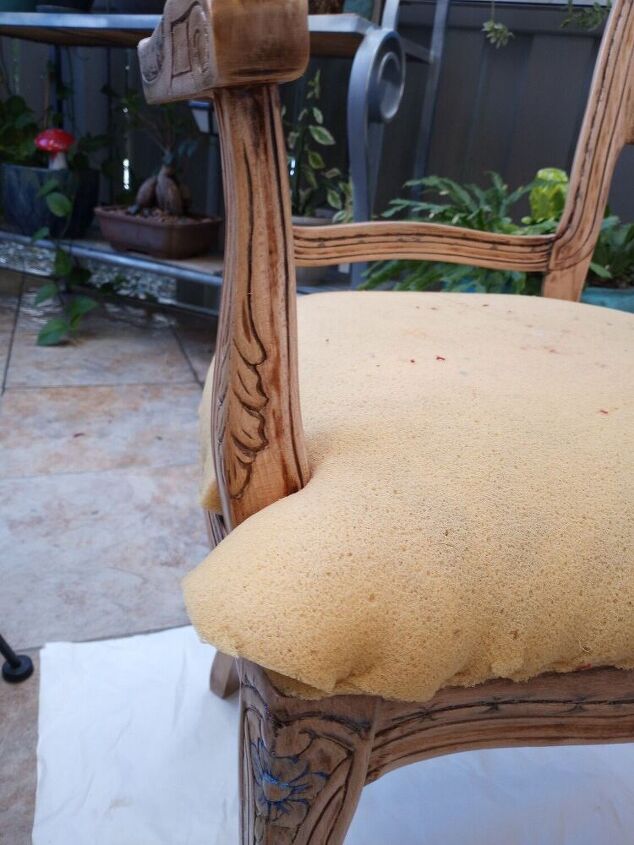
Before I did anything with the upholstery I wanted to be sure I was capable of repairing the arms so I started by smoothing out the edges around the damage with a medium grit sand paper.
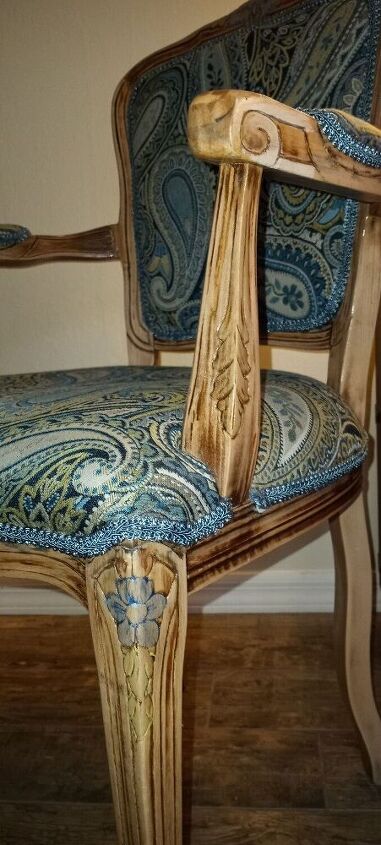
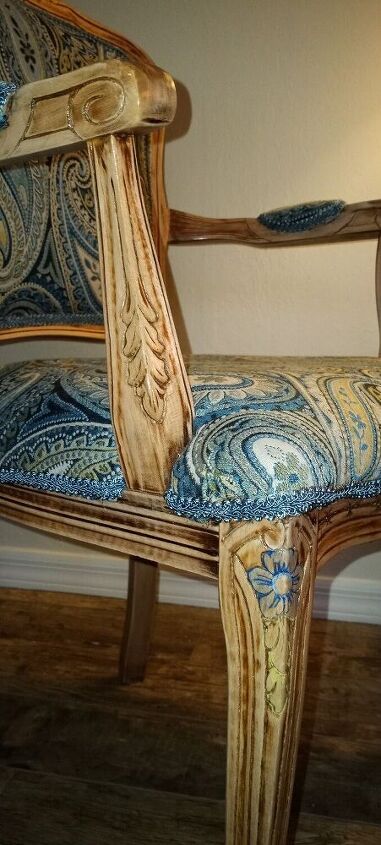
After sanding, I used Minwax stainable wood filler to fill and mold new arms. I also engraved scrollwork into the damp wood filler on the left arm to the best of my ability so it would match the right.
WOW, I did it!! holy cow, I guess I'm going to re upholster this thing. OK, here we go... Step 1: Remove everything
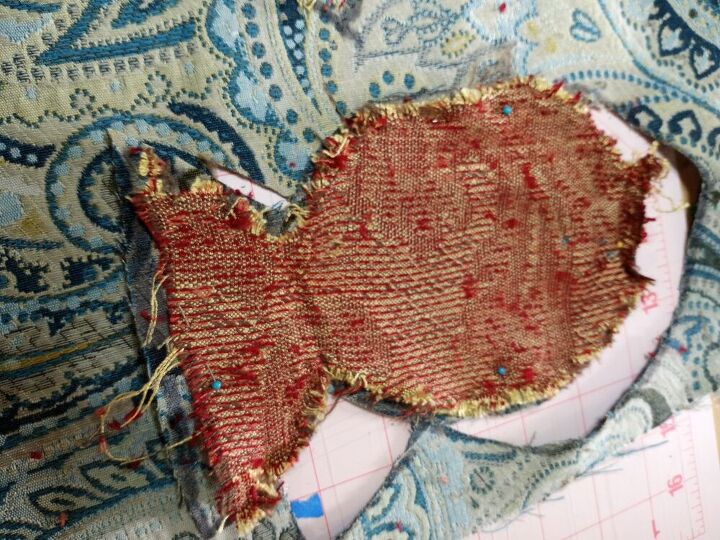
Since I've never done this I removed everything very carefully, labeled it and stored it in the order it was removed. I really liked this trim and planned on re using it. Well, key word in that sentence is planned.
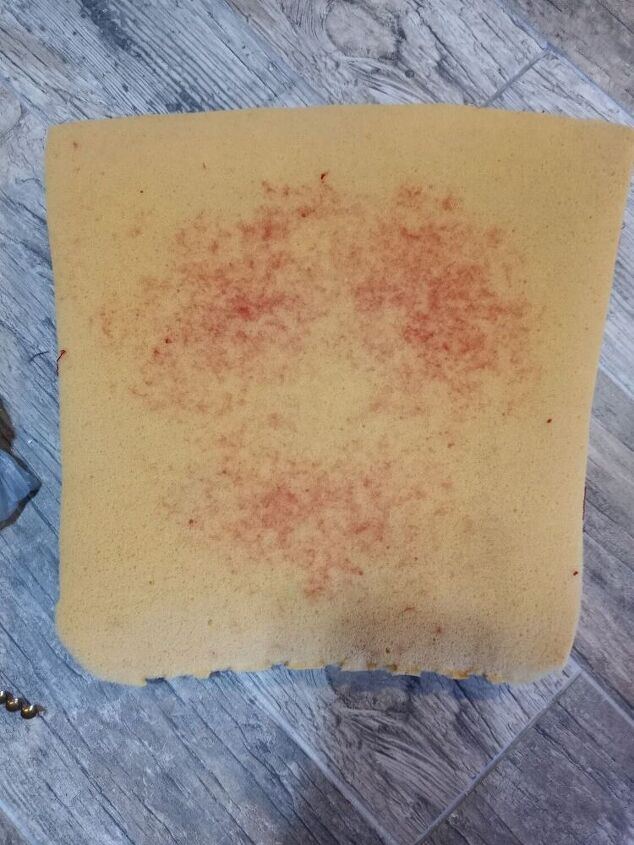
While I planned to remove the seat cushion I found that it was both stapled with approximately 10 billion staples AND glued. I was so afraid of mutilating it and not having a template that I just left it. After I was done sanding I vacuumed and sprayed it with disinfectant.
I used both fine and medium grit sand paper only to remove the top part of the finish which was dry and cracking.
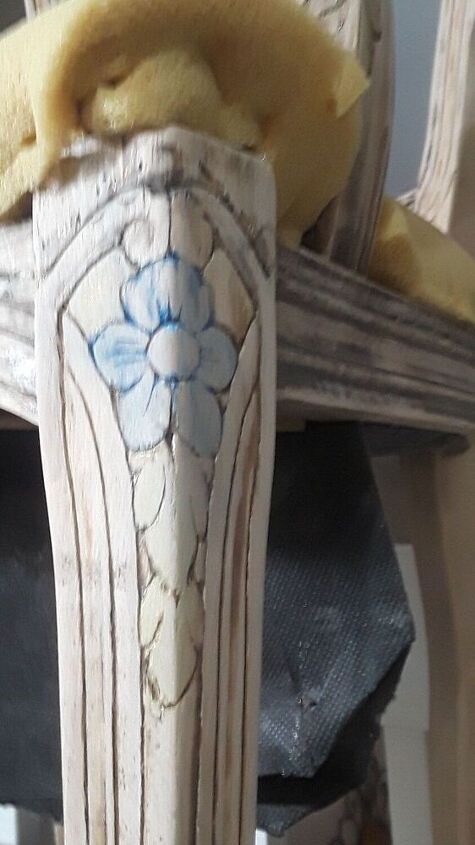
I just love the intricate details of this chair and really wanted to highlight them so, after sanding I used watered down acrylic paint and gave each of the flowers a bit of color.
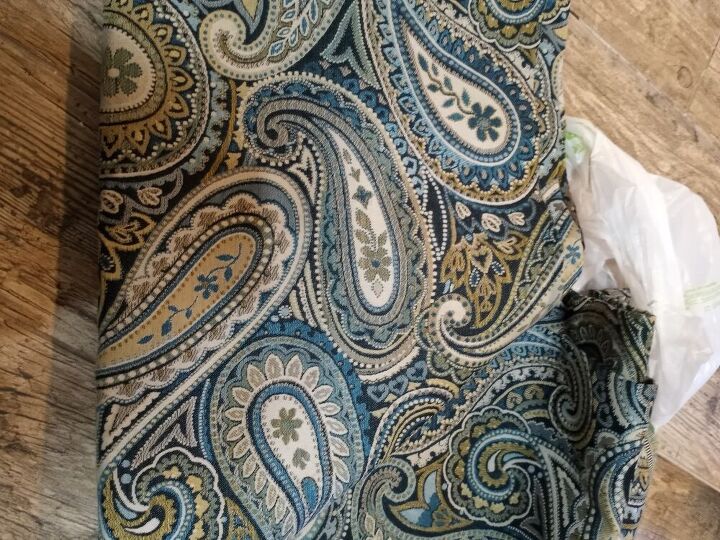
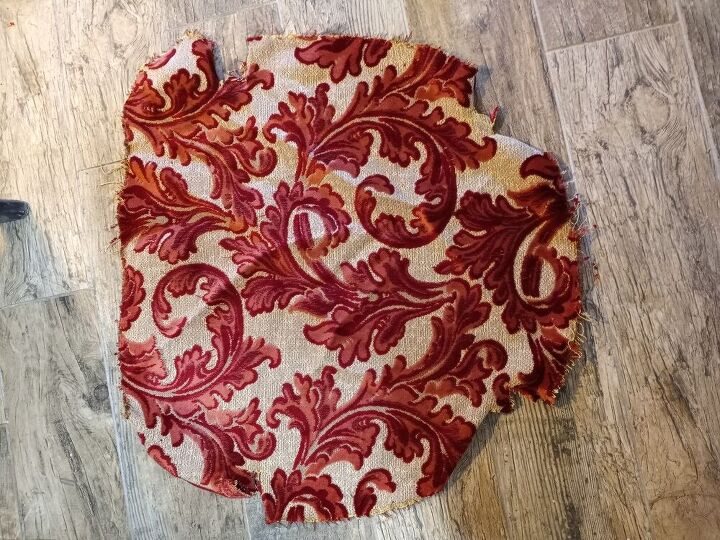
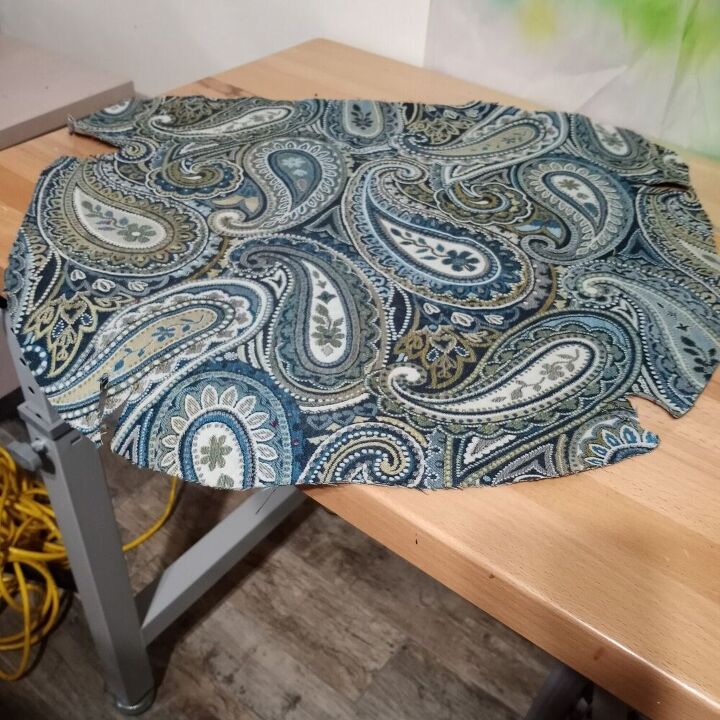
I purchased far more fabric than I actually needed because I was afraid I'd mess up. Fortunately I had a 40% off coupon at Joann.
I pinned the original pieces onto the wrong side of the fabric, traced it with a sharpie (only because this is thick, upholstery fabric and it won't seep through). Once that was done I placed everything on my cutting mat & used my Dollar Tree Rotary Cutter to cut out my pattern.
*The rotary cutter is fantastic
I started with a small area first, so far so good but many of the staples are visible. I assume this is why the trim is used.
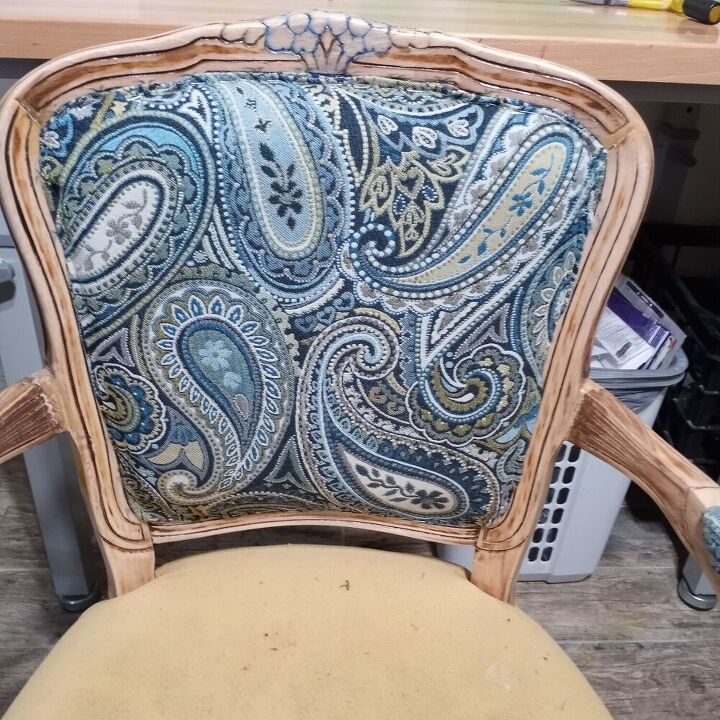
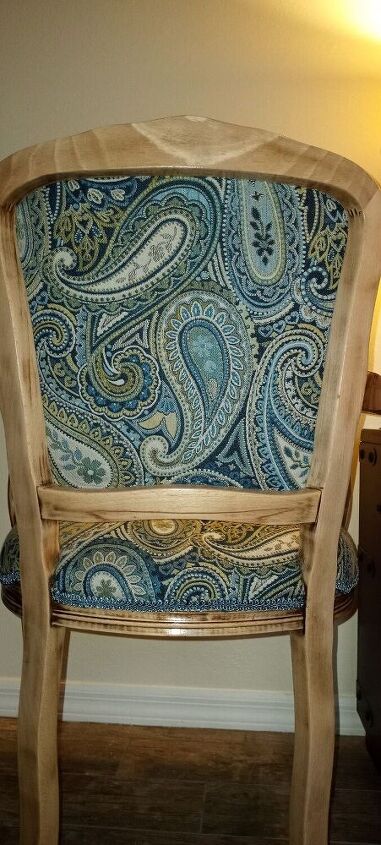
The back was tricky because both sides are covered and I had to be careful to place the staples so they didn't come through the other side. I was beginning to wonder who's bright idea this was.
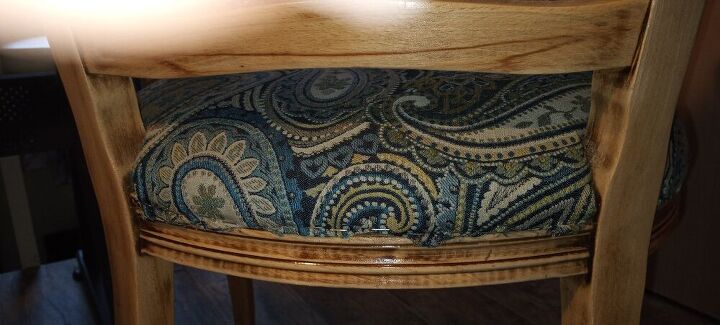
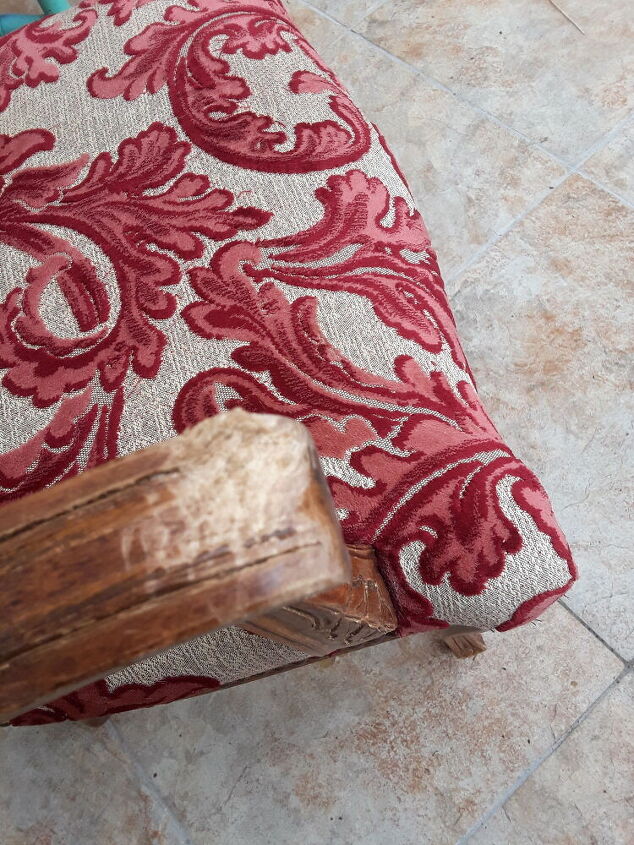
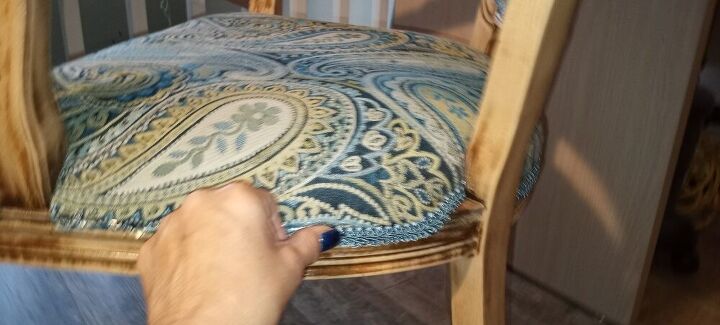
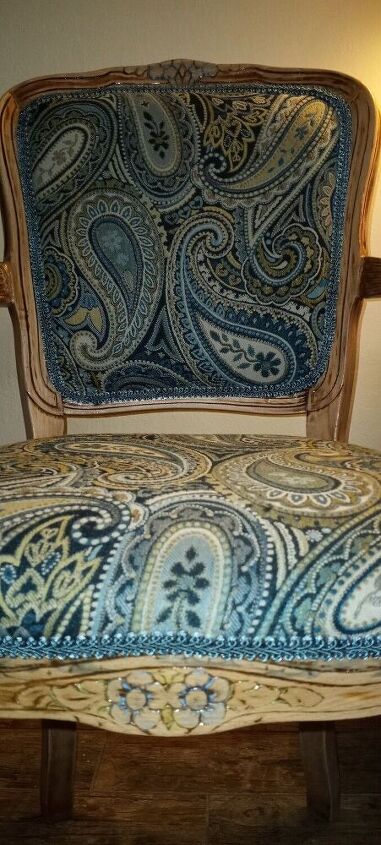
Close up of the seat cushion from behind. For sure need to cover the staples.
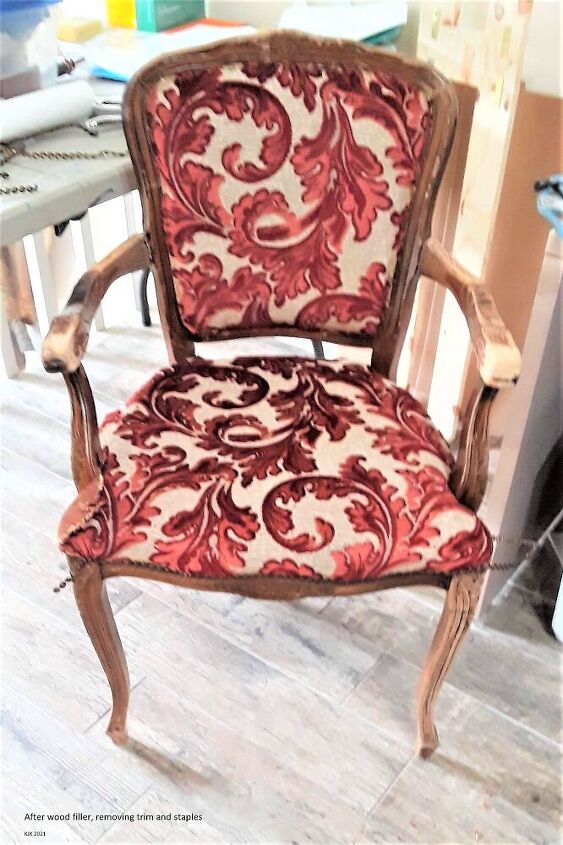
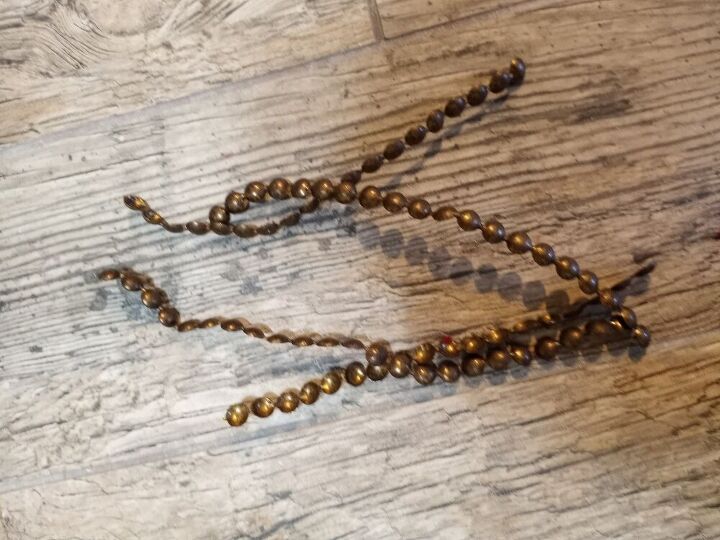
Here she is, all repaired, sanded, highlighted and wearing her new clothes  Now to cover the staples. This is surprisingly where the difficulty came in, I first attempted to re use the original trim but it was brittle and broke, who knew finding nail head trim would be so difficult. I searched on line, went to two Joann and countless other places but could not find trim like what I'd taken off this chair. I finally gave in and ordered some very pretty nail head trim from Amazon. Unlike the original, the pieces were only a few inches in length and required a nail at each end. After many, many unsuccessful tries and countless bent tacks/nails I through in the towel on this idea and moved to the next- gimp trim. I ordered some beautiful trim from Amazon but the pattern clashed with the pattern of the material so I returned that and ordered a gimp trim in steel blue.
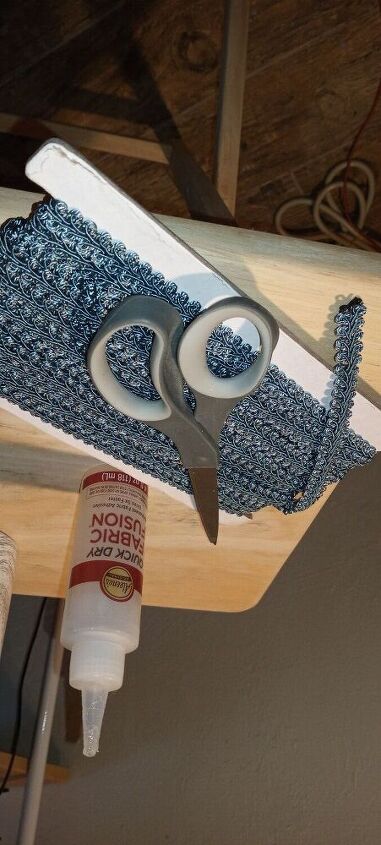
This is the trim from Amazon and fabric glue I purchased from Michaels
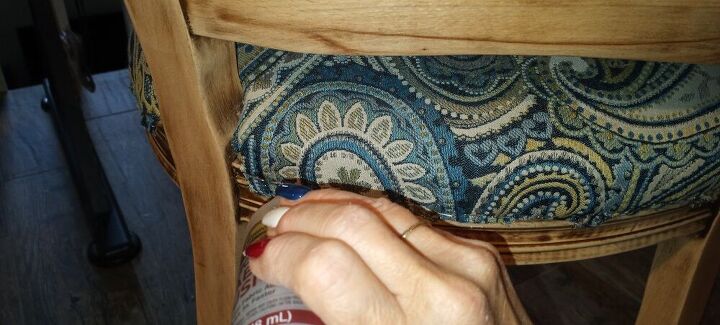
I think I held my breath the entire time.
Holy cow was that easy! If I'd only known that in the first place.
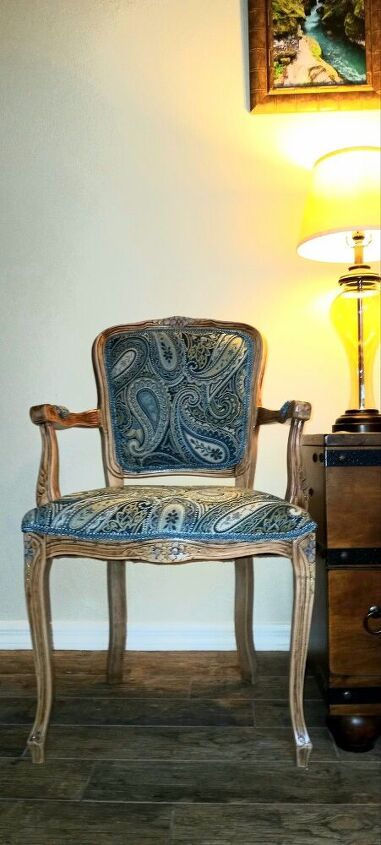
I have such a feeling of achievement after successfully completing this project. It's not perfect but it's perfect for me and I learned so much.
This is what I spent:
fabric- $35.00
fabric glue- $10.99
gimp trim- $10.99
While it did cost $57 I have tons of each left so I'm sure they'll get used for more projects. I feel that the cost really should be prorated since the cost will be spread out.
Comments
Join the conversation
-
I will definitely try this project.
-
I love this!!! I have the same chair and the fabric is worn but I've been too afraid to try to reupholster it myself. Yours turned out beautifully and I can only hope mine does as well!!
Thank you for the inspiration!!!


Frequently asked questions
Have a question about this project?