


How to Mod Podge a Photo Onto Wood
Easy
A couple weeks ago, I got a coupon for a free 11" x 14" poster. I've always loved this picture, so I decided to redeem the coupon for this photo.
I had planned on getting a frame for the picture, but then I decided that I would use some of the scrap wood that I have in my basement. I mod podged the poster onto a piece of plywood and I'm really happy how it turned out.

Here are the steps I took, so you can make one of your own.
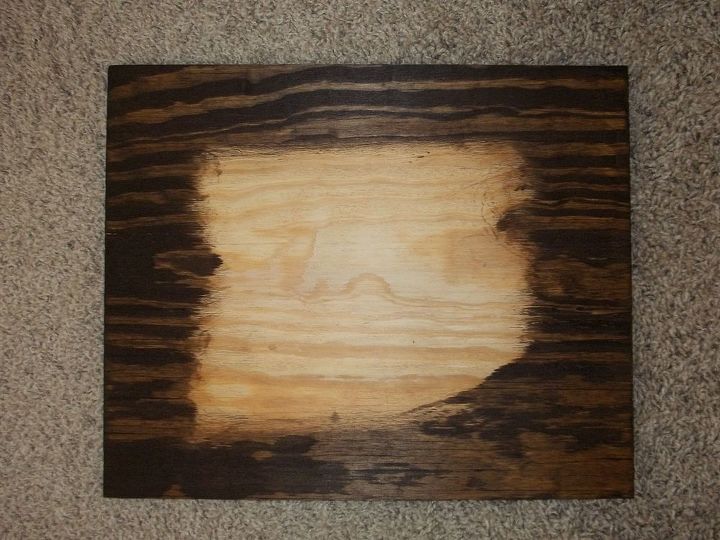
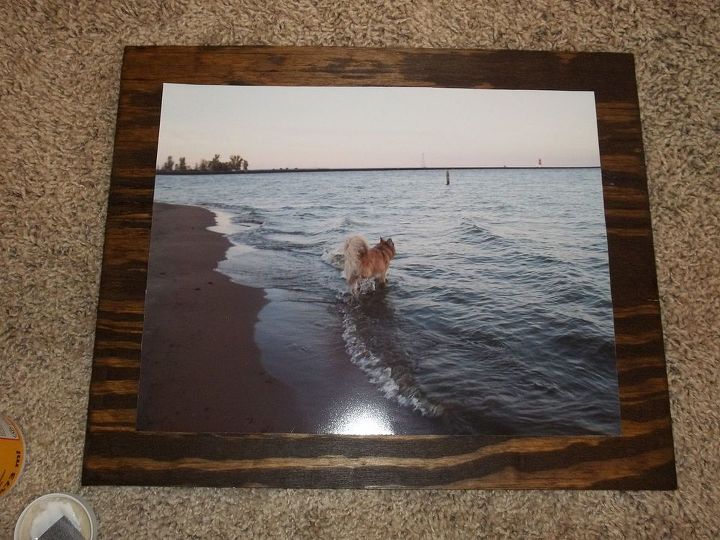
Step 2: Stain or paint your wood. I used some Minwax Dark Walnut stain that I had leftover. Since I wanted a 1 1/2" border, I did not bother staining the middle. If you want a more rustic look, you may want to use sand paper to roughen up the edges at this step.
Step 3: Using a foam brush, spread the Mod Podge on the back of the picture.
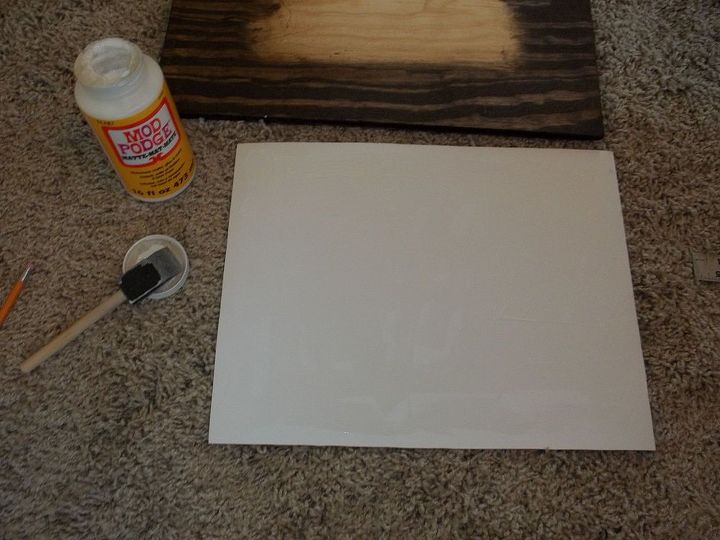
Step 4: Place the picture on the board.
Step 5: Seal the edges of the photo with the Mod Podge.
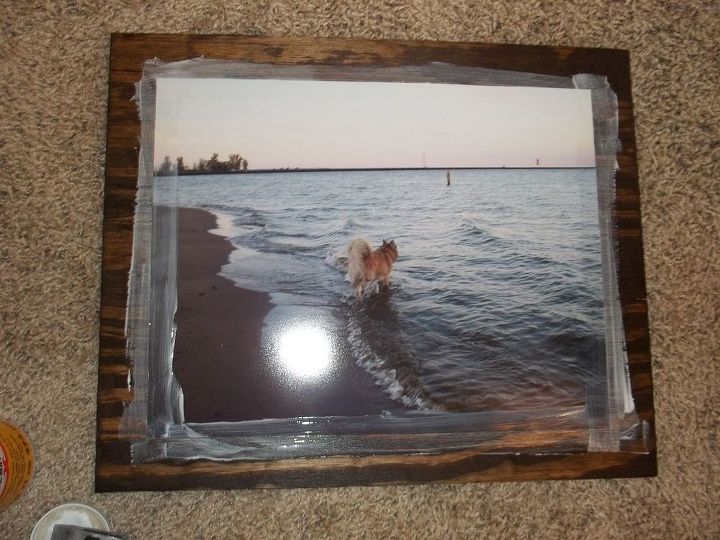
Step 6: Brush a thin layer of the Mod Podge across the entire board and picture. Keep your brush strokes in one direction. Don't worry, it is supposed to look like this.
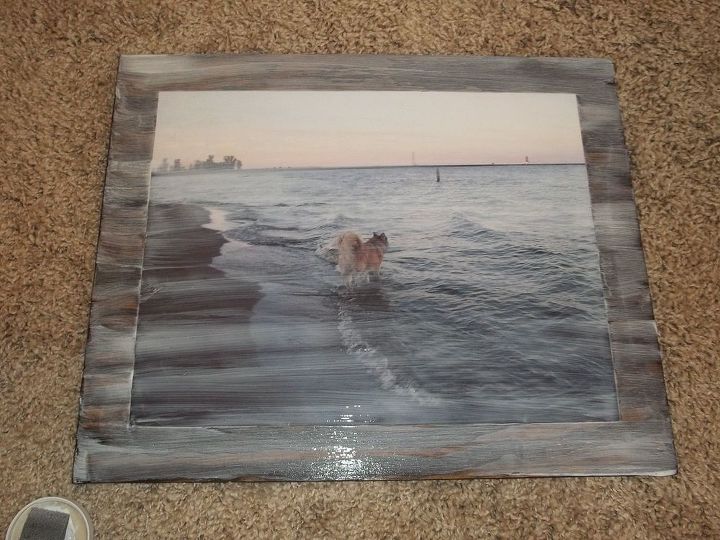
Step 7: Let the Mod Podge dry and then apply more layers.
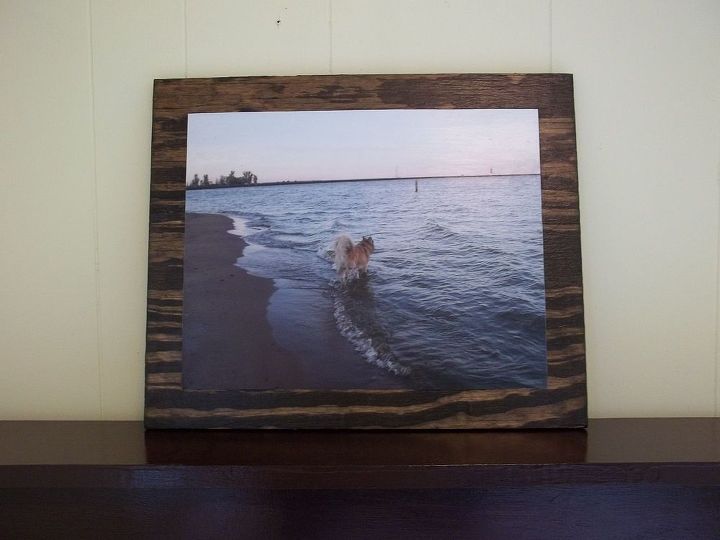

Want more details about this and other DIY projects? Check out my blog post!
Comments
Join the conversation
2 of 3 comments
-
So clever! Thank you. I will try it.
-
Trying on wooden coasters first


Frequently asked questions
Have a question about this project?