


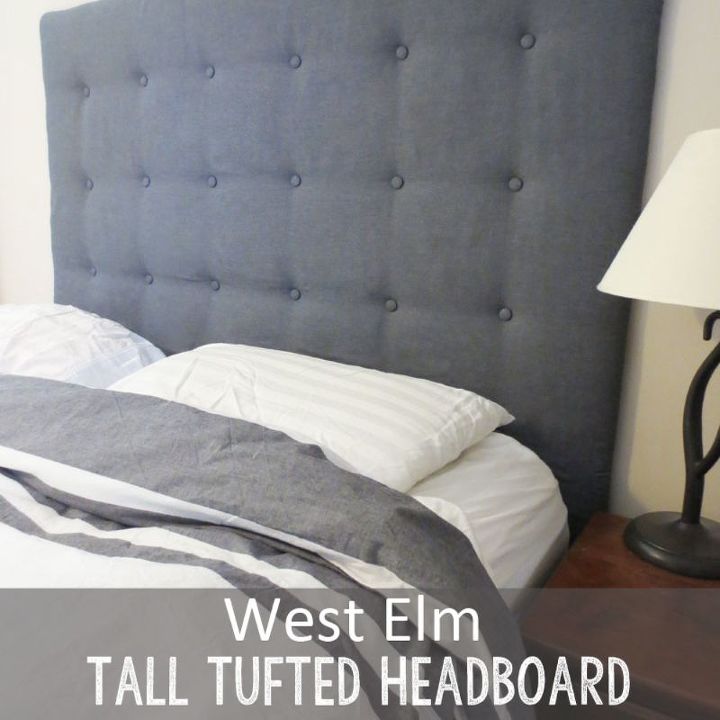
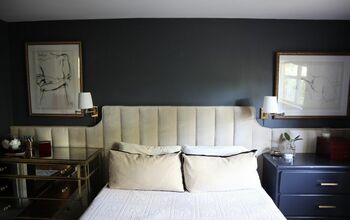
DIY West Elm Tall Tufted Headboard for Under $50
$12.00
3 Hours
Medium
Tufted headboards are pretty popular these days, and after perusing West Elm's catalog one day I became inspired to make my own version of their Tall Tufted Headboard. With some finagling I pulled it off for a total of $11.84!
Because I know everyone's resources for materials is different, I can't promise that you can pull it off for the same amount, but I can guarantee that it can be under $50 to make if you follow along with what I did to get the lower prices. Sound good? :)
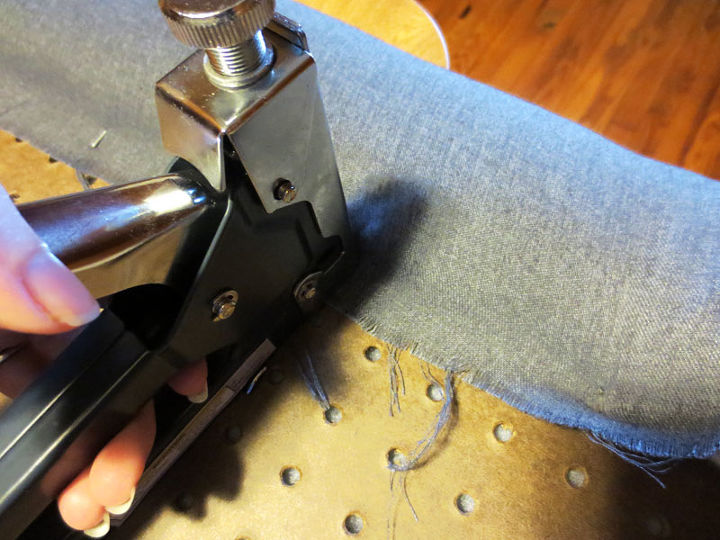
I HIGHLY recommend having a friend to help you on the first step of stapling the batting, then the fabric to the pegboard (see PrettyDubs.blogspot.com for more info on this step). I had my bestie Erin over and she helped me to pull off what would have otherwise been the impossible.
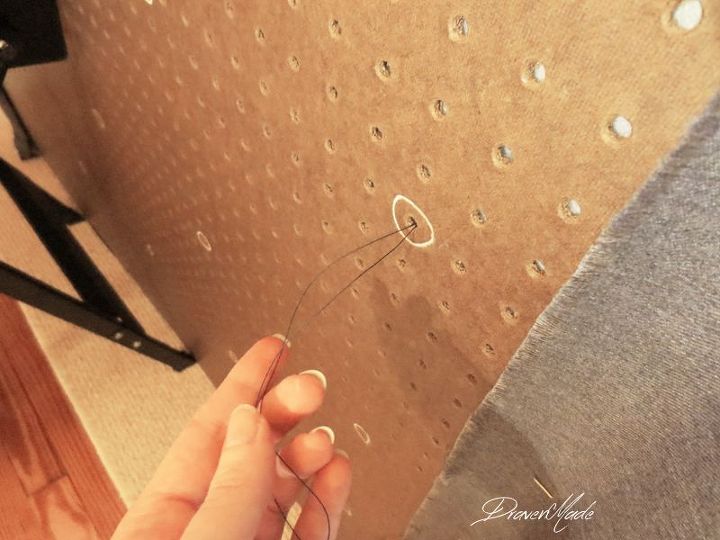
Now here came the simplest part: pushing the threaded needle through the back with the chalk-marked hole to the fabric side, adding the button, then pushing the needle through to the back again, pulling the button until it was tight. Leave a lot of slack for the tail and also for the end with the needle.
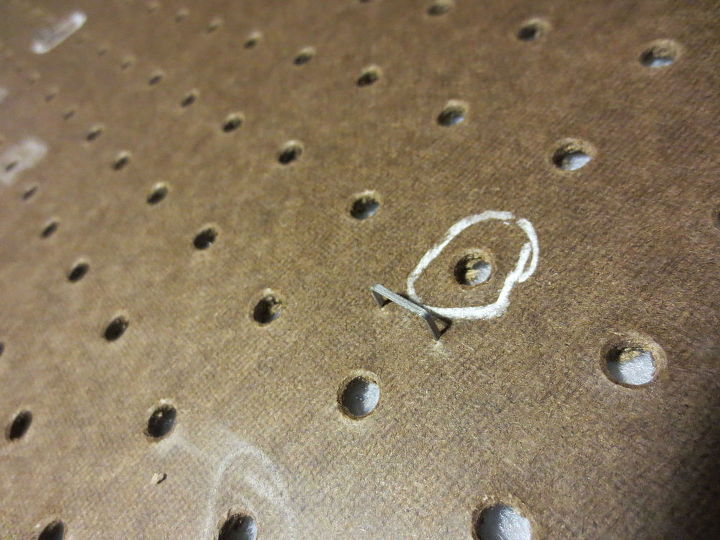
Make a staple like this with some gap underneath for you to pull both strands of the thread (needle-end and the end-tail) under. It's not pretty, but I found this technique to work best for keeping the button pulled tightly and stay in place.
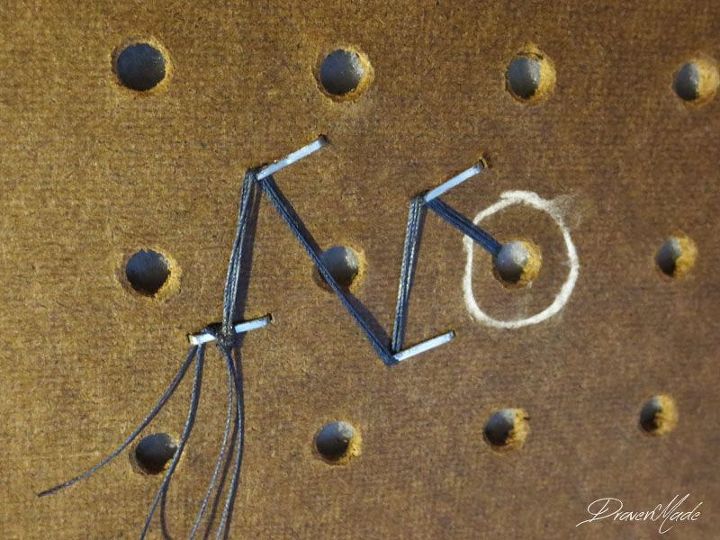
Do a second staple up or down from it (we're gonna be making a chevron pattern with the staples) and pull the threads through that. Keep pulling the thread taunt so that the button is as deeply tufted as you want it to be. At this stage, take the hammer (still keeping the thread taunt) and flatten the first staple down over-top of the thread to secure it. Do the same with the second staple. Do about 2-3 more staples and repeat this process until you don't feel the need to hold onto the thread anymore to keep it taunt. Secure the ends by tying them several times around the last staple, and flatten that one down as well.
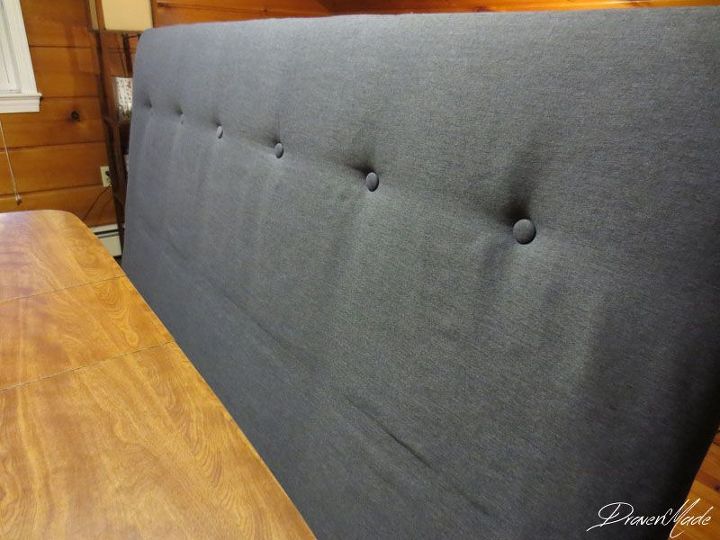
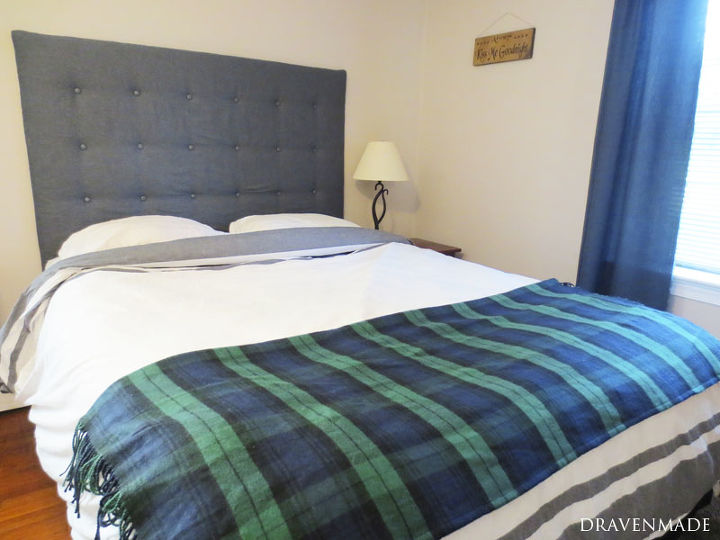
That's it! In one day you'll have this baby to call your own and enjoy!
For more info on how I found supplies that kept this project under $50, tools used, and more how-to pictures, hop over to my blog dravenmade.blogspot.com.

Want more details about this and other DIY projects? Check out my blog post!
Comments
Join the conversation
2 of 7 comments
-
Definitely going to do it
-
Yep, this is the one that works for me. It's tall and the peg board helps me out with measurements. Glad I scrolled to find this. Thanks


Frequently asked questions
Have a question about this project?