


DIY Memo Inspiration Board From a "Throw Away" Cosmetic Display
2.5 Hours
Medium
I am a huge fan of re-purposing items to give them new use and a new look. Improvising is a huge element in the equation.
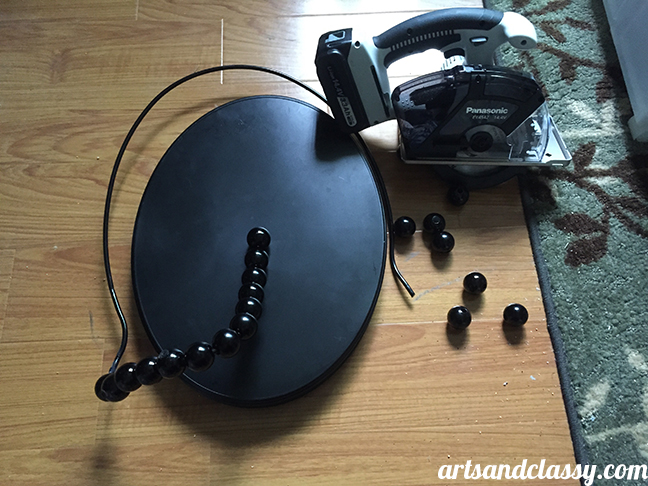
For this DIY Project, I stumbled upon this makeup display that was being tossed from the company MAC Cosmetics. I immediately knew this item had potential when it was given to me.
But what would I do with it?
I know I wanted to incorporate it into my bedroom makeover in some way, but how where to start?
I took about a week to brainstorming, surfing pinterest, and dreaming up some amazing ideas to do with this piece.
Then I had that AH HAH moment! I knew that I wanted something in my bedroom to post, hang photos, and write positive affirmations on to help me get through my day to day routines.
A memo inspiration board seemed like a logical choice.
I knew the over all shape that I wanted...but it would require deconstructing this display to hopefully figure out how to re-invent it.
This makeover cost me absolutely nothing because I had all my supplies in stock in my amazing office/workspace.
Supplies that I used to accomplish this makeover. (Links are included in case you do not have the some of the supplies I used.)
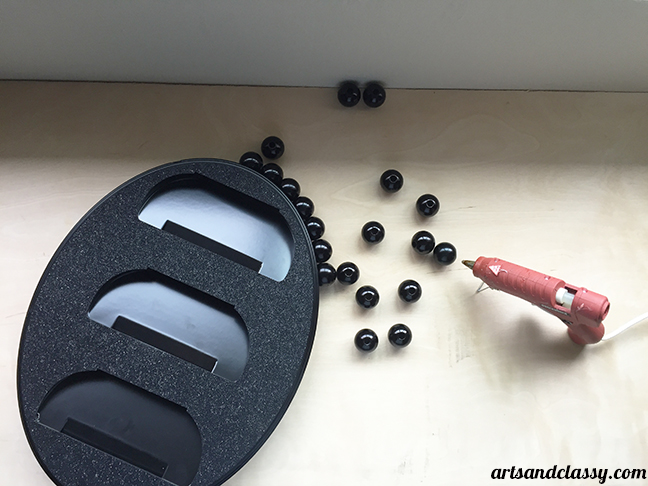
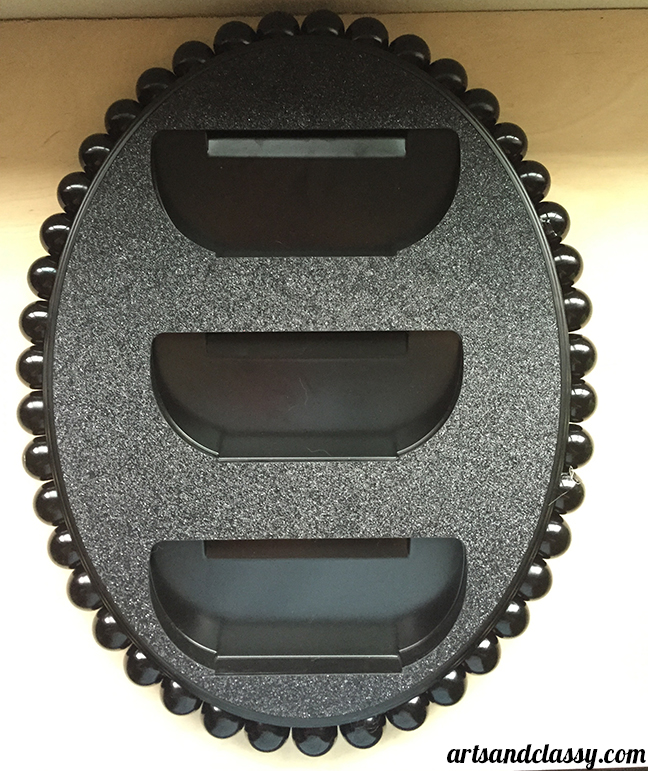
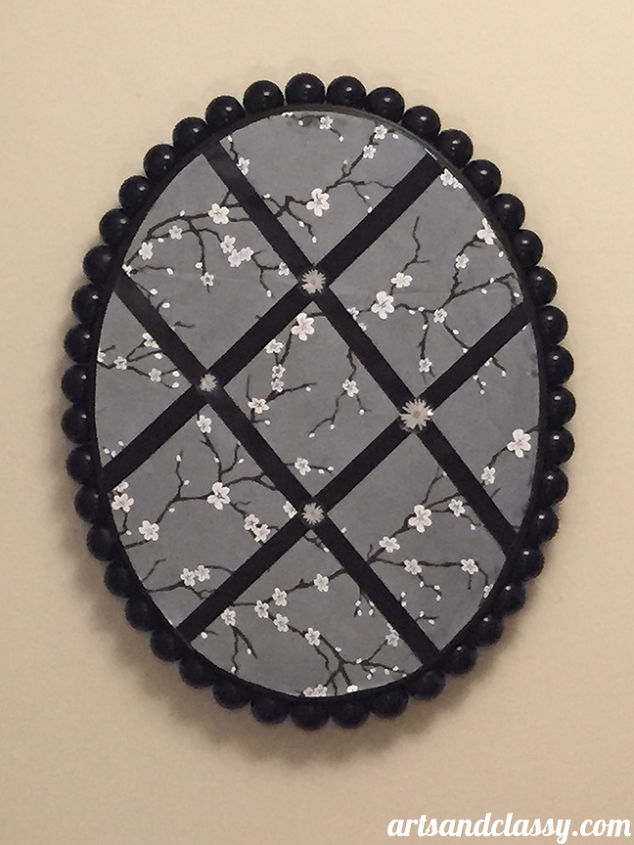
When the display was completely taken apart to the degree that I wanted, the reconstruction began. I used my hot glue gun to re-attach the beads to the circumference of the oval shape.
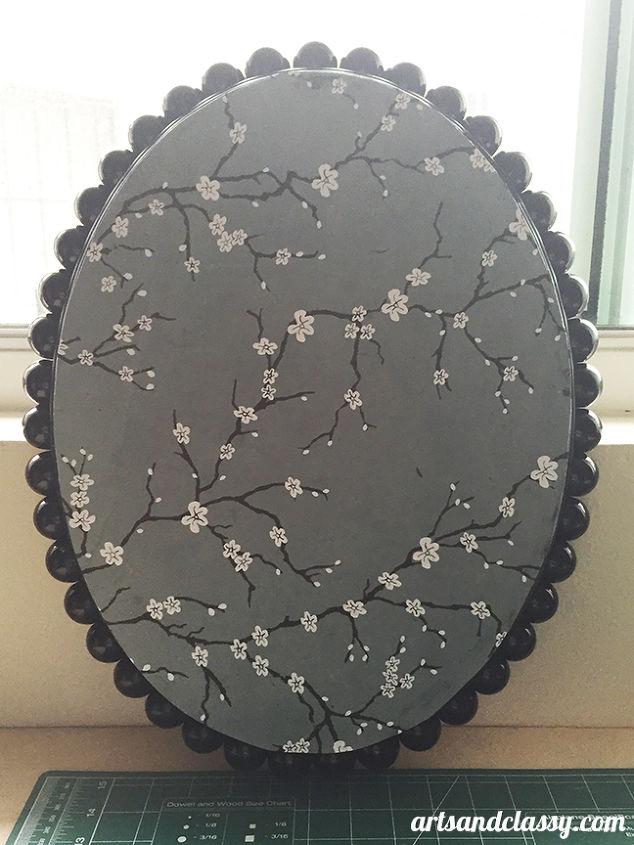
I decided I wanted to dress this piece up a little.
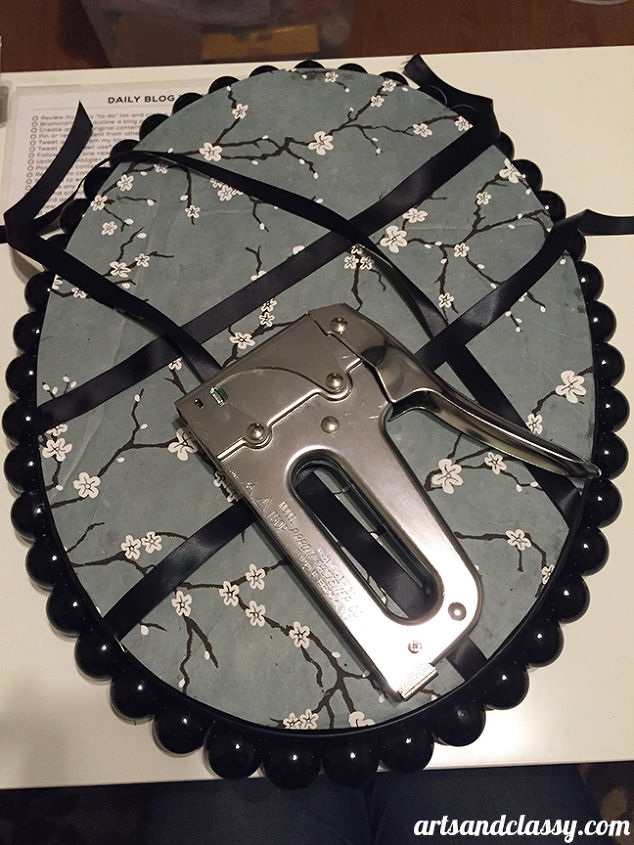
I pulled out my pretty satin black ribbon and attached to the back the oval foam core shape with tacky glue and staples. I made sure to pull the ribbon as tight as I could so that the board secures images or notes that I want attach to it.
I glued the foam core board to the display and put weight on it while it dried. I made sure to give it about a couple hours to completely dry.
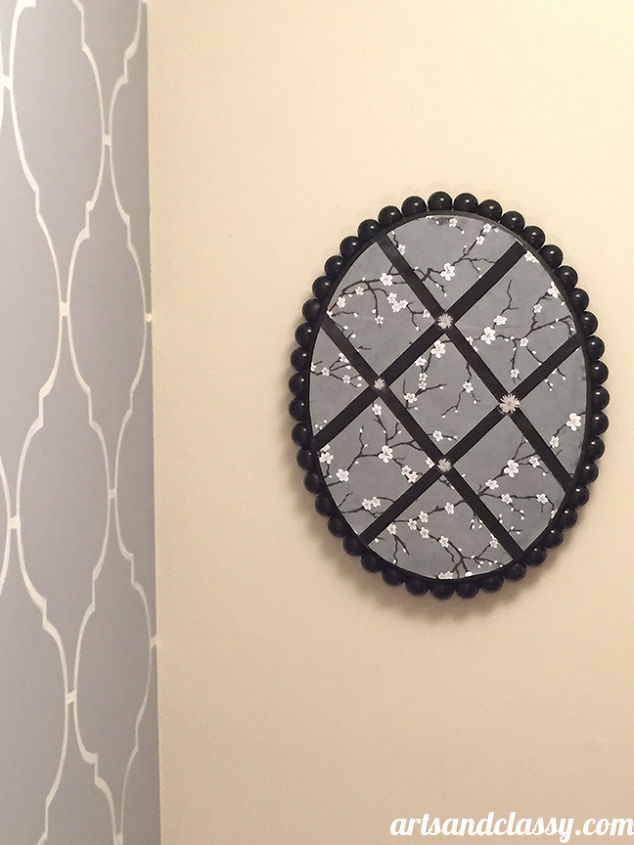
Once dry, I used a hammer, nail, and some butyl tape to hang and secure my fancy new memo board to the wall in my bedroom! I love how it came out and the creativity it took to get there.

Want more details about this and other DIY projects? Check out my blog post!
Comments
Join the conversation
3 comments
-
Awesome!
-
I love seeing Trash to Treasures transitions. And that display would take nearly forever to deconstruct. And I wouldn’t have thought you had enough beads to go around the oval! But you pulled some unusual materials together for a lovely and useful product—a memo board! Very good job. ☺️


Frequently asked questions
Have a question about this project?