


How To Make A Shower Curtain
We recently repainted our guest bathroom a nice neutral color. However, the neutral walls meant we needed to add some color somewhere, and I decided it would be with a colorful shower curtain. I looked and looked, though, but just couldn't find a curtain that was long enough and was made from a nice, heavy fabric.

Eventually I decided to make my own using indoor/outdoor fabric. It is a nice weight so the shower curtain would hang properly, and it won't succumb to bathroom dampness.
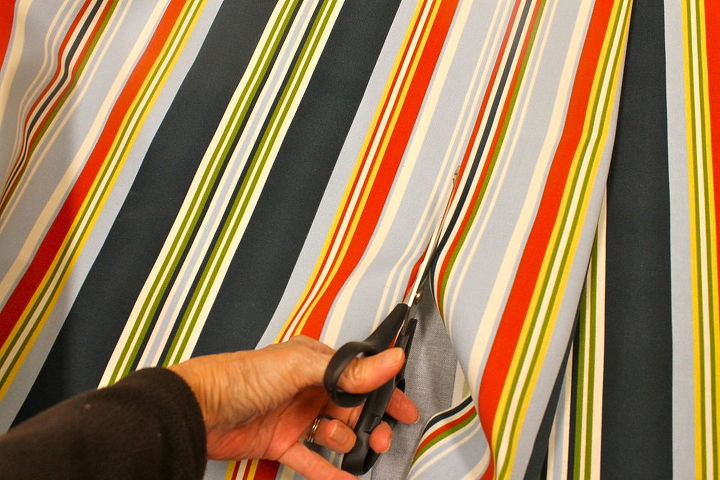
After measuring twice, I cut once. If you make your own shower curtain, then it can be any size you need. The nice thing about making a shower curtain is that it involves sewing only straight lines. So, if you can cut, sew a straight line, and iron, then you can follow my easy directions.

After the fabric is cut to the size you need, all of the raw edges need to be folded down, pressed, folded down and pressed again. Then sew. Following these steps will guarantee that the edges won't fray and that they will look professional.

My sewing machine is basic, but it does have a button hole maker. If your machine can't do this, then the shower curtain can easily be hung with rings and clips. I use 12 rings to hold the curtain. I divided the width by 12, and that determined how wide apart each button hole should be. To see more details, please visit our blog.

Want more details about this and other DIY projects? Check out my blog post!


Frequently asked questions
Have a question about this project?