


DIY - Brackets On Top - Tutorial

by
Victoria
$20
1 Hour
Medium
For once, the brackets are the ones ON TOP, or at least for this project!! :0)
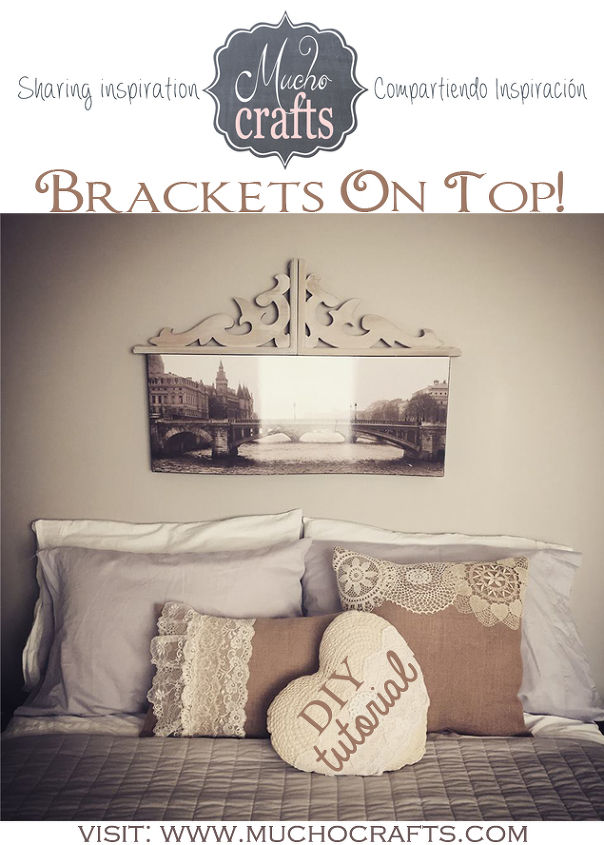
Sometimes, the bracket can be better looking than the items it supports and that's why I refused putting my beautiful, country style, porch wood brackets under anything..... no sir, this time they go ON TOP!!
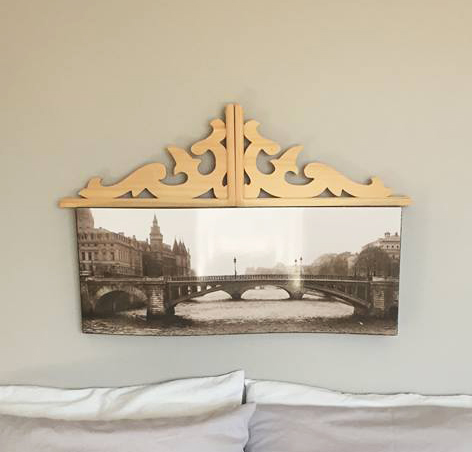
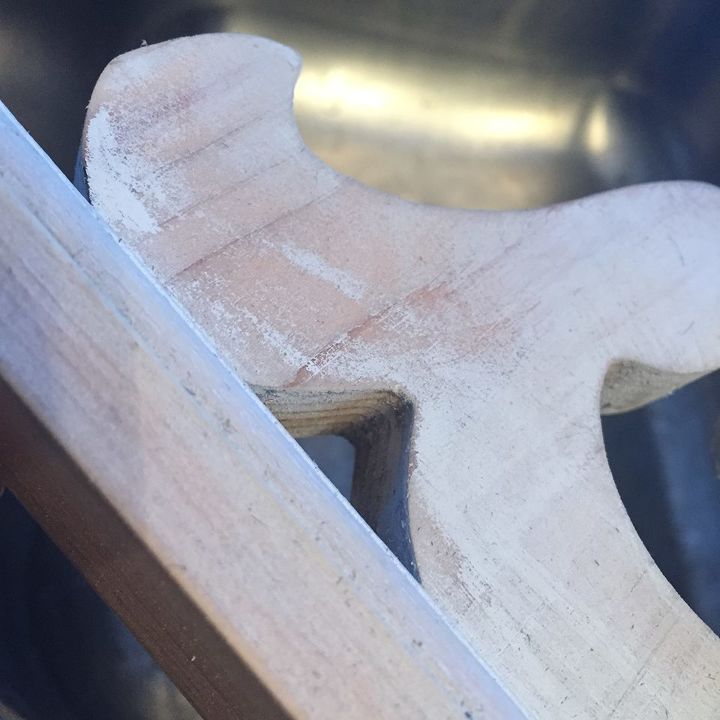
This is the "before the revelation" pic.. not much of an upgrade until I started playing with vinegar, steal-wool pads and craft paint.
and the results were so impressive!!
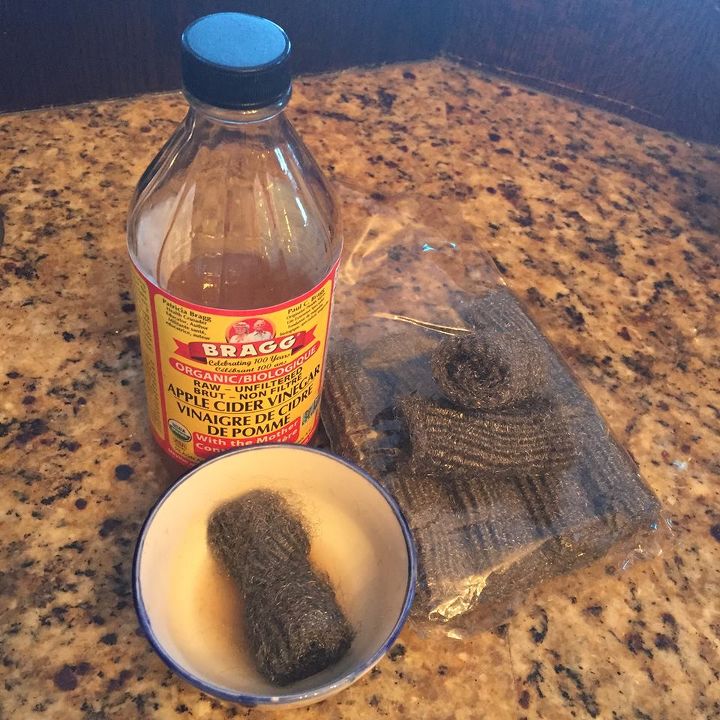
My brackets, which I bought at my local thrift shop for $5/each,
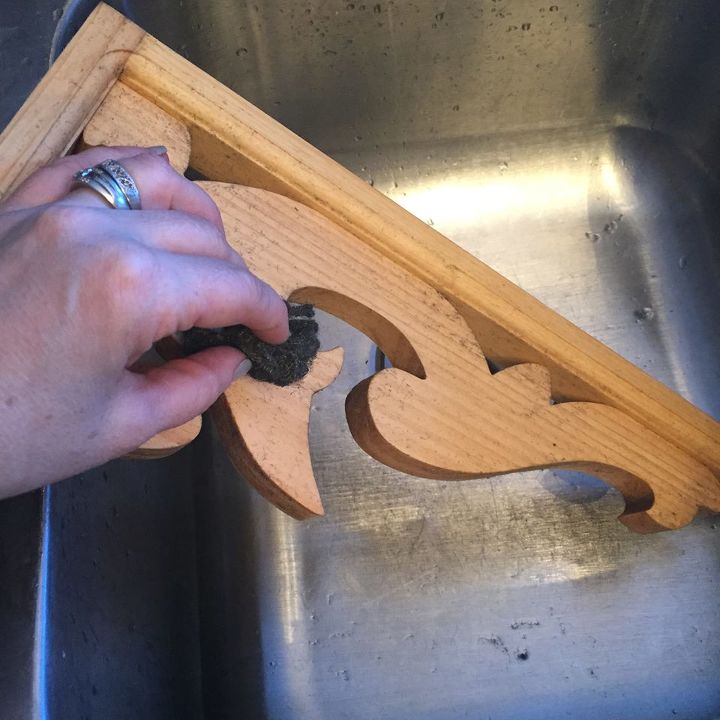
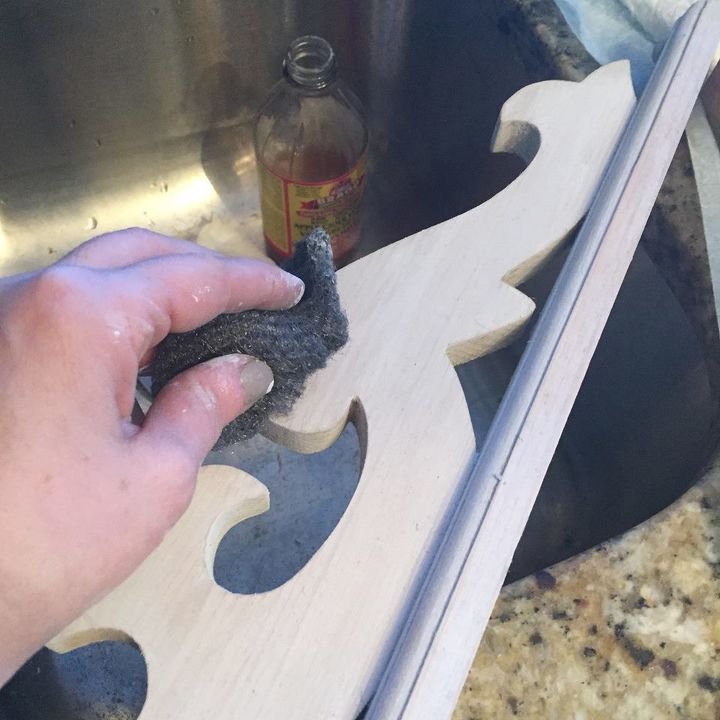
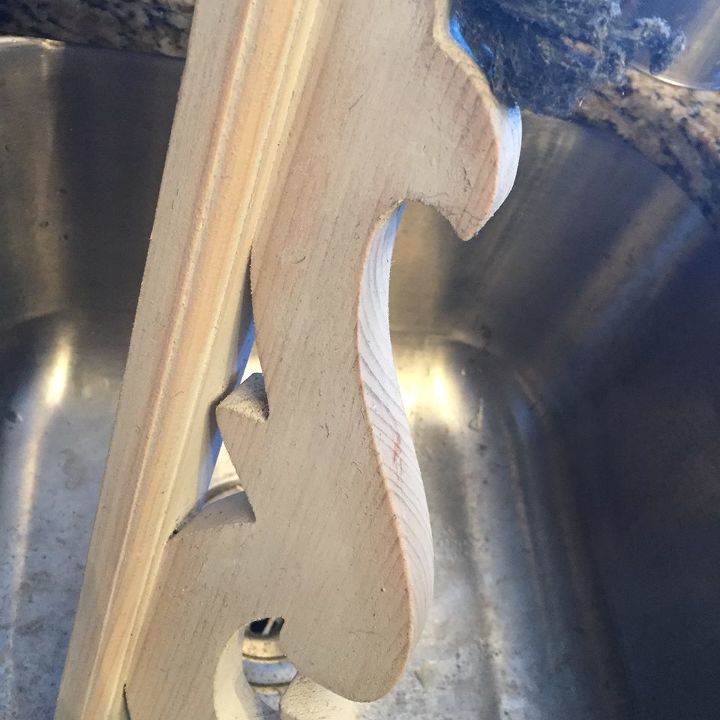
I saturated one of my steal-wool pads with the apple cider vinegar I found inside my refrigerator (I latter found out it was the expensive kind my son bought for a special fat killing drink he was making, sorry Ivan!...oops)
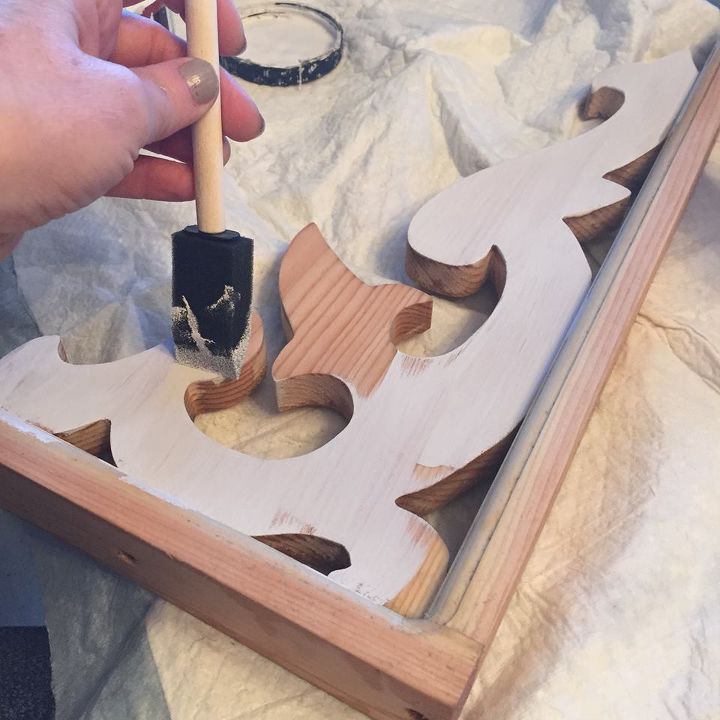
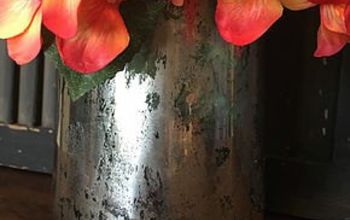
I painted the whole piece with my "antique white" craft paint.
and repeated the process with the apple cider vinegar and painted it a second time.
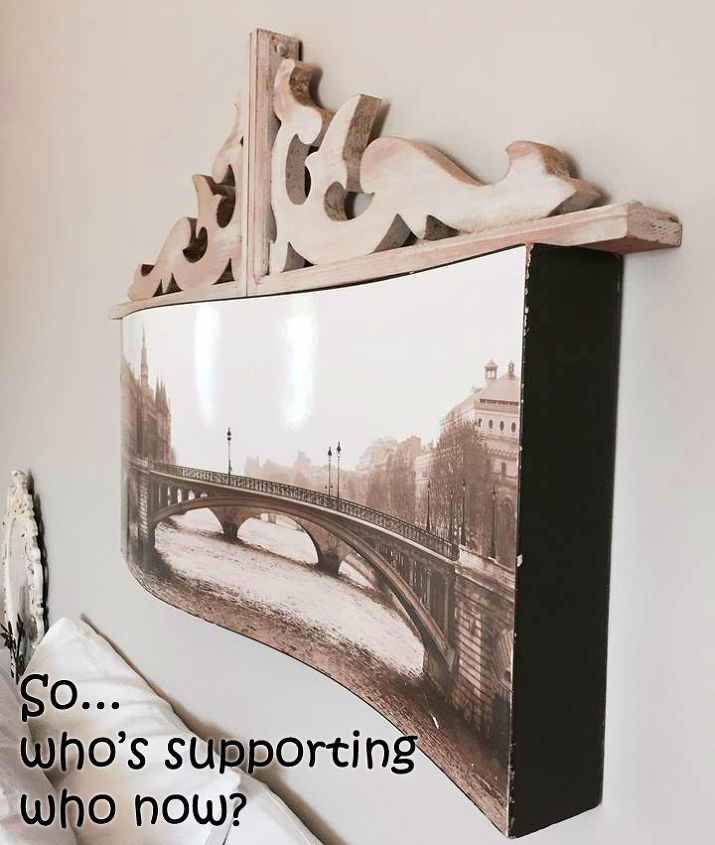
This time it worked ! and it was the effect I was really looking for. The paint was coming out sporadically in some areas rather than uniformly, I LIKED THAT, A LOT!!
See how beautiful it came out?
Enjoy the rest of my tutorial at my Blog for many other projects by me, Victoria Mena :0)
Want more details about this and other DIY projects? Check out my blog post!
Comments
Join the conversation
2 comments
-
Really different...love it!
-
Fabulous use and treatment oon those brackets..love how they add so much to the space..great idea. Thanks for sharing!


Frequently asked questions
Have a question about this project?