


DIY Before and After: White Chandelier With Crystals and Pearls

by
Sabrina
1 Day
Medium
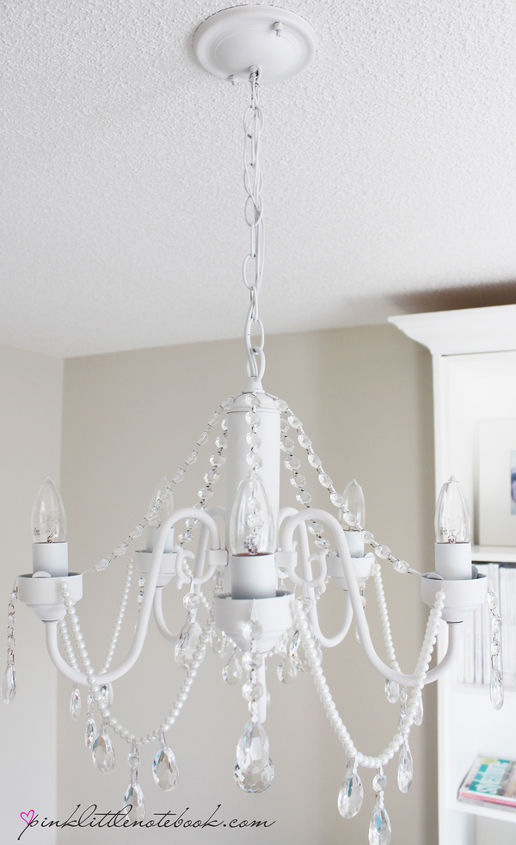
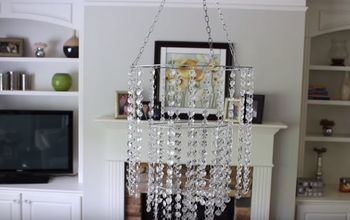
The DIY chandelier is complete and I love the profound statement it makes in my home office.
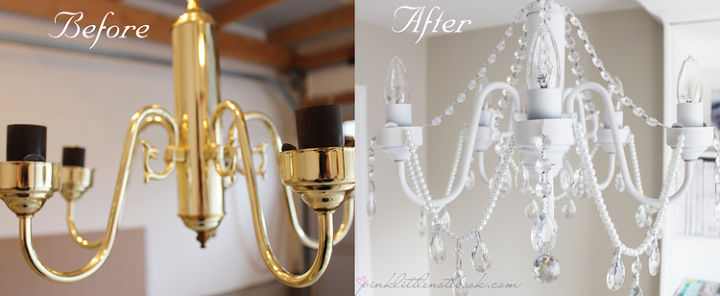
I found a this brass chandelier at a Thrift store for $4.99. With white spray paint, crystals and pearls, I transformed this piece into stunning statement with a limited budget!
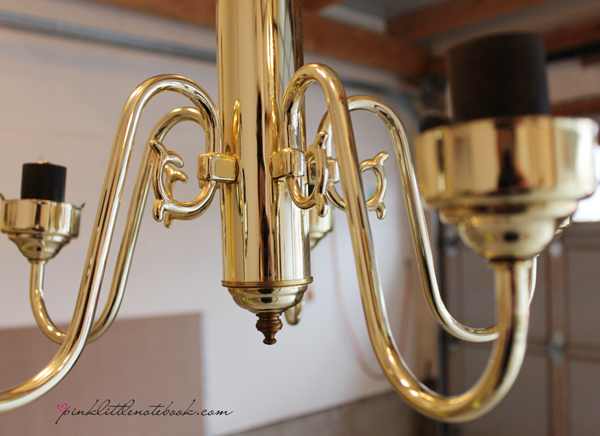
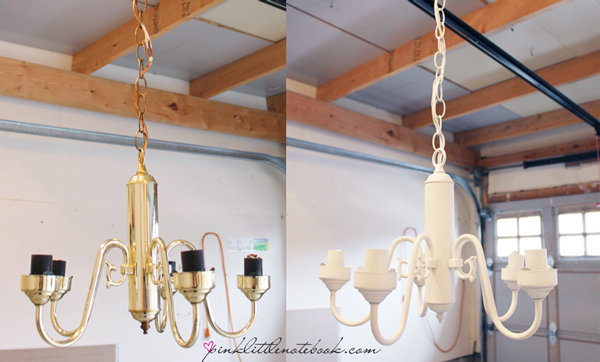
First, I gave this thrift store chandelier a good cleaning (it took about a roll of paper towel to shined this up quite nicely). Then I hauled this thing over to my garage to start the painting.
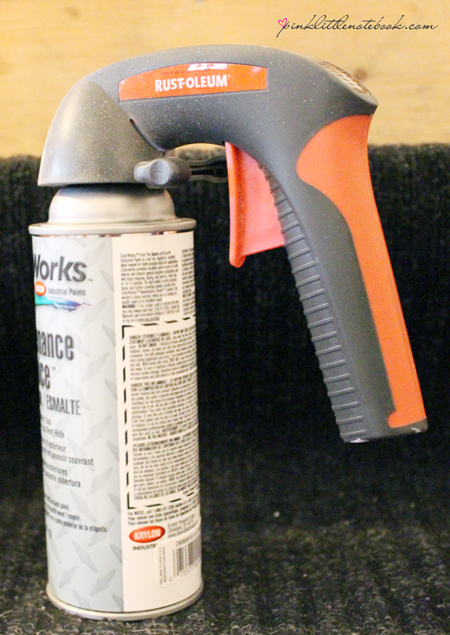
I taped the open end of the electrical wires and I stuffed newspaper in the light sockets to make sure the paint wouldn’t damage the connection. Then I went to town with some white spray paint.
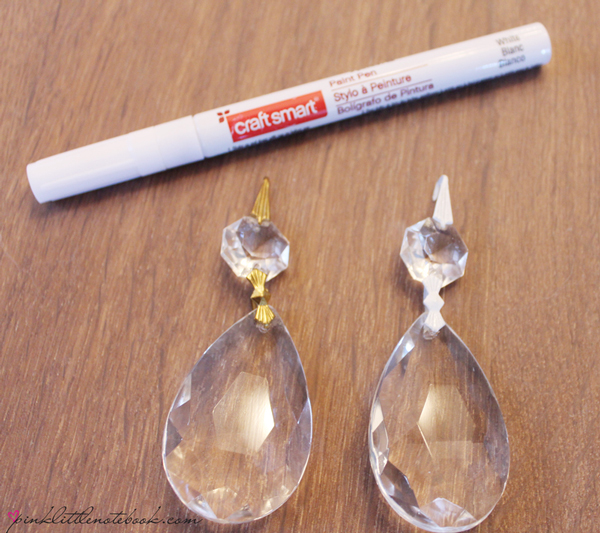
I used glass crystals from an old chandelier. The only issue I had with the glass crystals was the brass colour of the connectors and hooks. I bought a white paint pen to correct the issue.
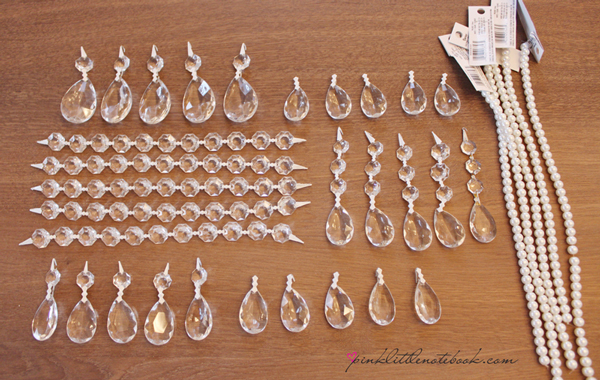
To attach the crystals and pearls to the light, I considered a number of things that included drilling, soldering and otherwise creating a mess. But in the end, I just used a little hot glue and white wire to adhere everything to the chandelier. It worked out perfectly

Check out more details on Pink Little Notebook's post!
Want more details about this and other DIY projects? Check out my blog post!
Comments
Join the conversation
2 of 87 comments
-
So beautiful!
-
Fantastic!


Frequently asked questions
Have a question about this project?