


A Little BATHROOM Artwork Thanks to Cutting Edge Stencils & Hometalk ~

by
Lisa Cain
$0.00
3 Hours
Easy
Cutting Edge Stencils and Hometalk invited me to share in a project which uses Cutting Edge's GREAT stencils and of course I couldn't wait to share it with other Hometalk peeps!
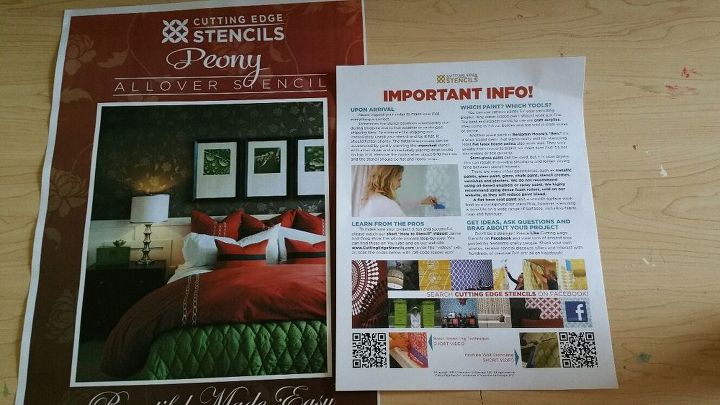
Kit from CUTTING EDGE STENCILS came complete with brush, roller, attachable level, and of course their GREAT stencils. I got to pick my own stencil(s) and area to apply them....so here's my story..,,
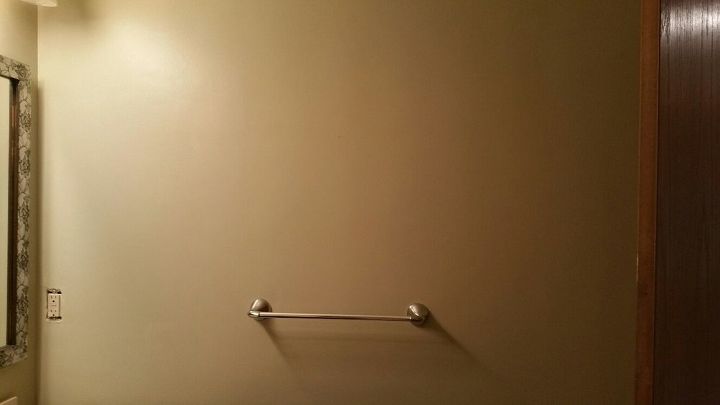
This is my bare bathroom wall. Sad but it's true. It needed help and I decided to stencil the entire wall. Thing is, when I got the things I needed all ready, the wall became DAUNTING and BIG and I scared myself...but "I" don't back down, so I went to plan B....which is start small, and work into the BIG project another day..so I did.

I decided it wouldn't be so scary to make up my own ARTWORK and place it on the wall. The stencils and items needed were in my hot little hands, so after I thought about what I wanted to do, I got started. First the small part of the artwork, some beautiful butterflies. These stencils are so great and EASY PEASY to use, it was like nothing to do. And I'm a TEXTURE girl, so instead of just painting the paint on, I dabbed and dabbed to make a texture on the canvas. I used Silver and Yellow Chalk Paint.

This was the outcome, CUTE, but feeling BLAH when looking at it. So I "played" with my colors and designs a bit.........
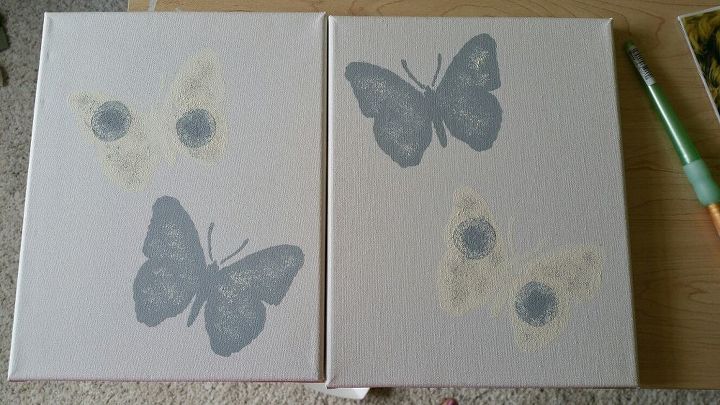
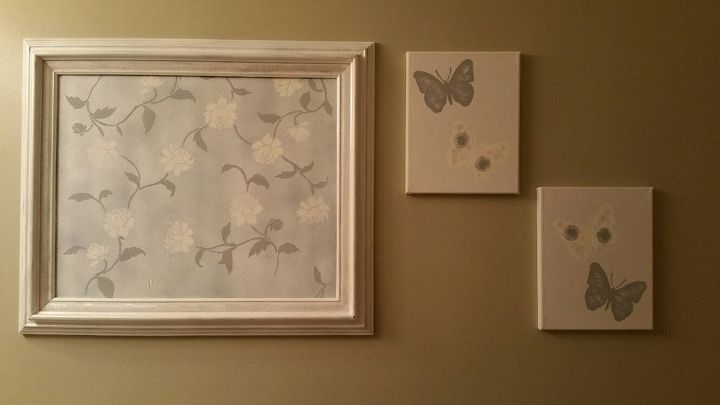
and this is the beauty I ended up with. Loving my little butterflies of silver and yellow.
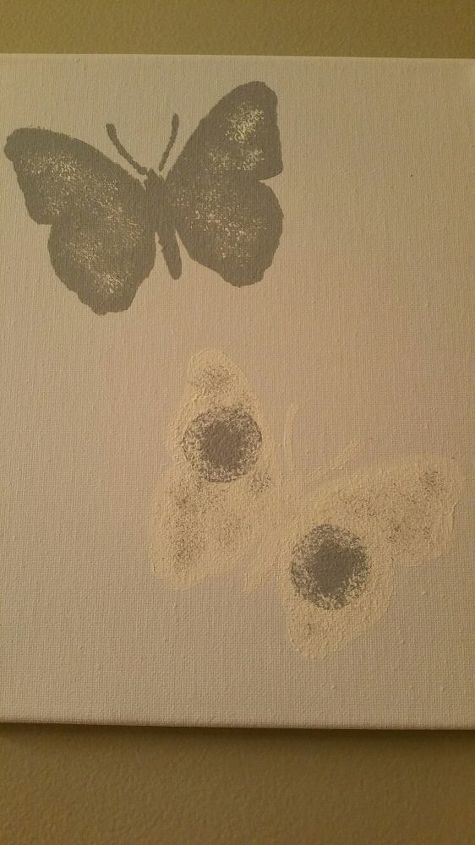
Here is a close up, hoping it shows the texturing.
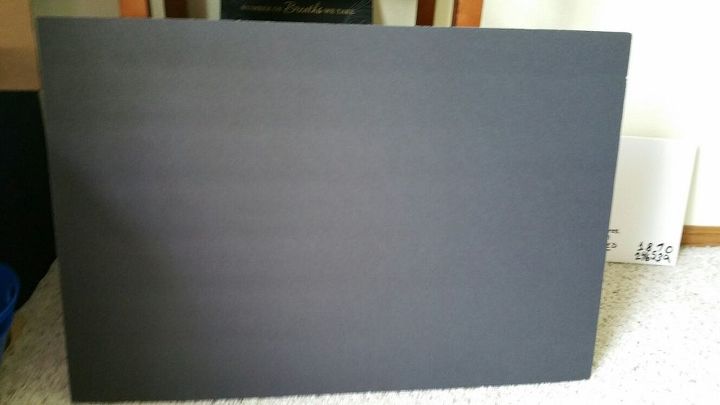
Next I used the black piece of poster board I had....but it was just to black....
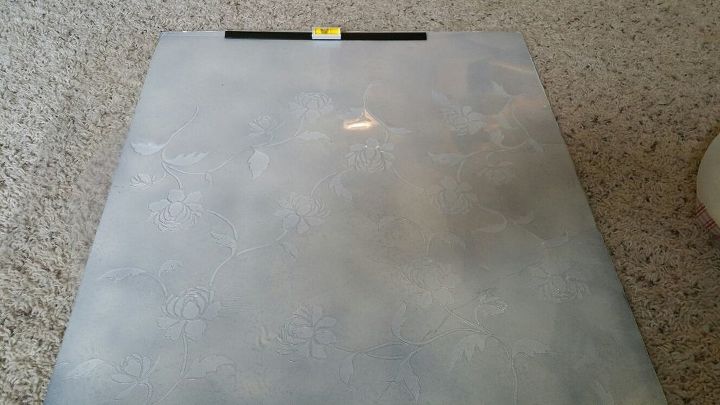
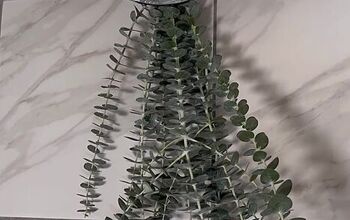
So I spray painted it white but left a little of the black showing through for visibility and then attached my CUTTING EDGE stencil and the nifty "slide on" level and got going. I used the Silver on the leaves and vines, and the Yellow on the flowers.
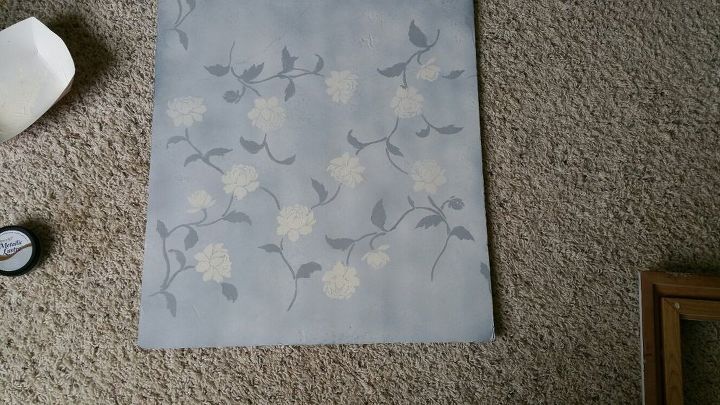
This is how it came out...it is GORGE isn't it ! And with CUTTING EDGE stencils and their supplies they gave me, it couldn't have been any more easier ~
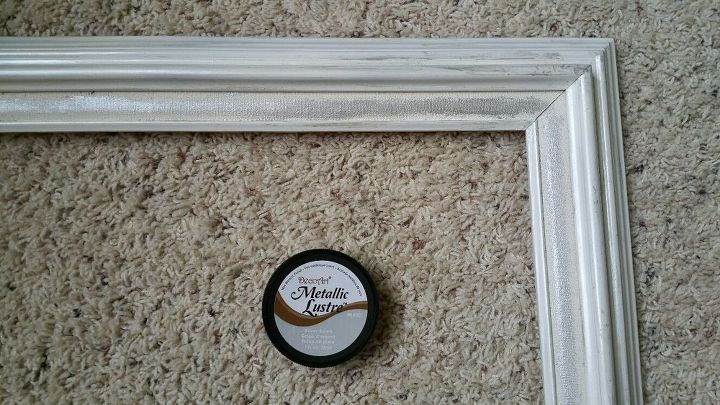
ok, time to frame this beauty. This frame was originally brown. I spray painted it with a white gloss, then went around all the edges and middle and sides with this Silver Metallic Lustre paste. Just used a cloth on my fingertip. Kind of looks like I distressed it, and helps tie in the silver of my new artwork.
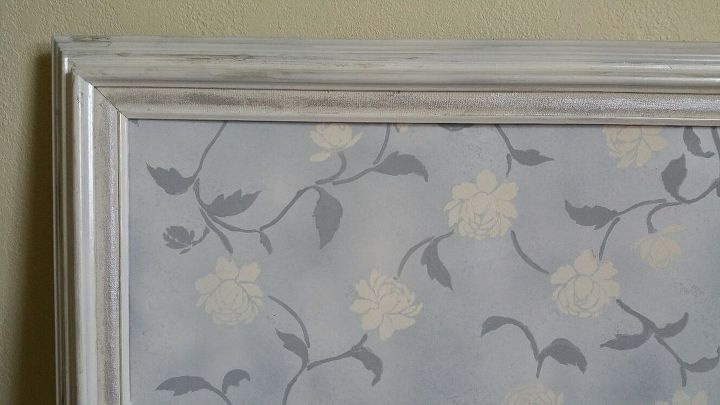
Here is a close up of frame, to show you the detail. LOVING IT!!!!!
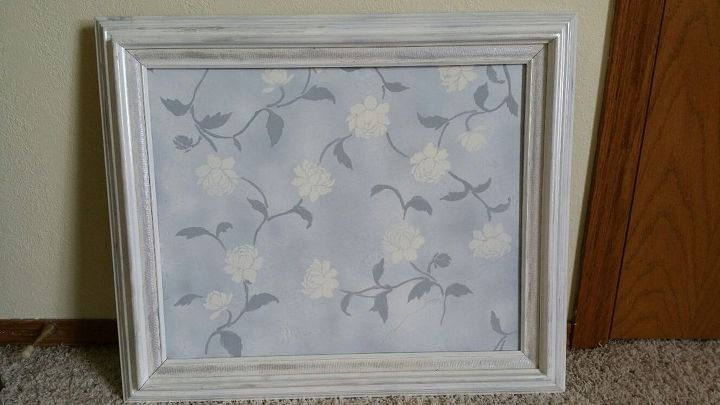
Here is the stencil artwork all framed and ready to hang. Oh my, I'm feeling like a little ARTIST after all of this...but the ARTIST work was so easy with the stencils! Eeeek !!
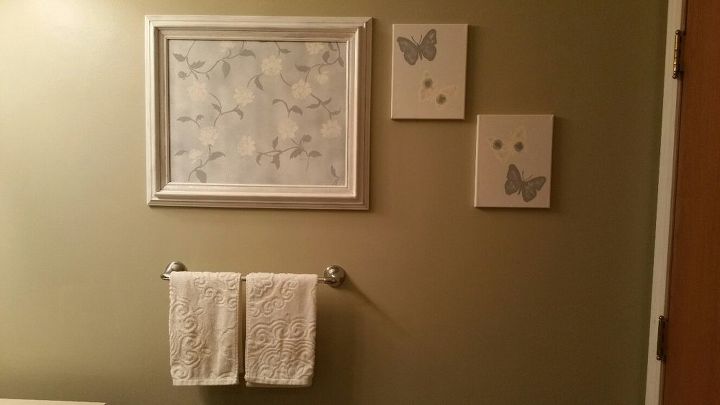
And here is the Grand Finale...all hung up with pretty "viney" towels in white to match.
One more picture just a little closer up.
Comments
Join the conversation
4 of 7 comments
-
Lisa this is so awesome! I LOVE the idea of making artwork with the stencil. You've seriously inspired me to try this too. My apartment is in desperate need of artwork! Loveee it.
-
This turned out so pretty! We love seeing DIY artwork from our stencils. Very inspirational!


Frequently asked questions
Have a question about this project?