


Rustic Painted Wood Sign Tutorial
9 Materials
$15
1 Hour
Easy
Hey guys! I’m so excited to share this fun rustic painted wood sign tutorial with you. This project was a custom order for someone on my Etsy Store , Manzanita Exchange. Custom orders are probably some of my most favorite things to make for my Etsy store. This customer, in particular, had been searching for a sign with a specific saying and wasn’t able to find anything in the style she wanted. She saw my listing for this rustic painted wood sign that says "blessed" this rustic painted wood sign that says “blessed” and reached out to see if I could make something similar for her. It was so much fun making this, hope you’ll give the rustic painted wood sign a try too!
The quote she wanted wanted “be blessed & be a blessing” and it is such a beautiful reminder, isn’t it?
I love making wood signs. Sometimes I use pallet wood, sometimes I use new wood, sometimes I use old wood, sometimes I use my Silhouette Cameo to make a stencil, sometimes I just freehand the painting. This time I’m going to share with you a sign using new wood and painting freehand.
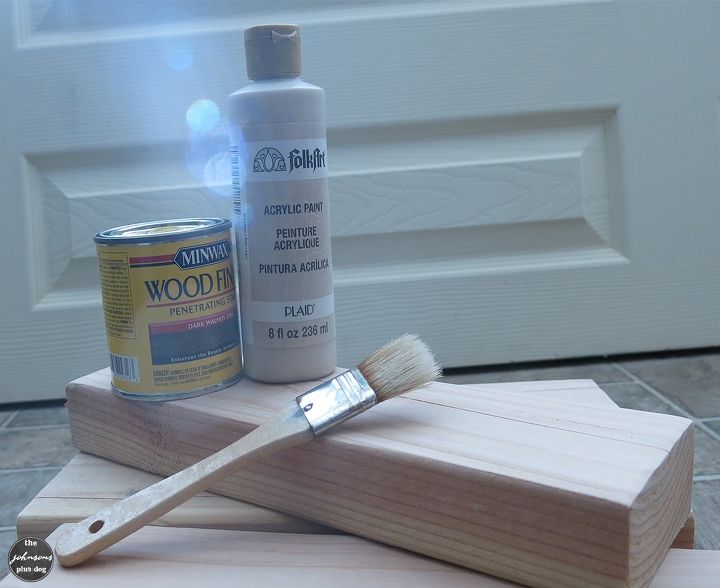
Wood Painted Sign Supplies
One 8-foot 2×4 board (new or old)
Sander with 150-grit sandpaper
Dark wood stain (I used Minwax Wood Finish Dark Walnut 2716)
Towel/cloth for stain & finishing wax
Wood glue
Finishing nails (I used Bright Finish 3d 1-1/4′‘)
Hammer
2 wood boards for back of sign (I used two pallet wood pieces)
Acrylic paint
Paint brush (I also used a stencil brush also to create the “rough brush” look)
Masking or painter’s tape
Finishing wax ( I used Minwax Paste Finishing Wax)
Step One // Cut 2×4 boards to size. I was making my sign about 12” x 24”, so we cut the boards to 12” each and I used 7 going vertical across the sign. Alternatively, you could place the boards horizontally.
Step Two // Lightly sand the boards. How much you sand really depends what kind of wood you are using. I didn’t need to do much sanding because I was using new wood. I just wanted to slightly round all of the edges and smooth it out a bit. I used an electrical hand sander, but you can certainly sand by hand if you don’t have a sander. Be sure to wipe off the boards after you sand with a damp rag to get all of the sanding dust.
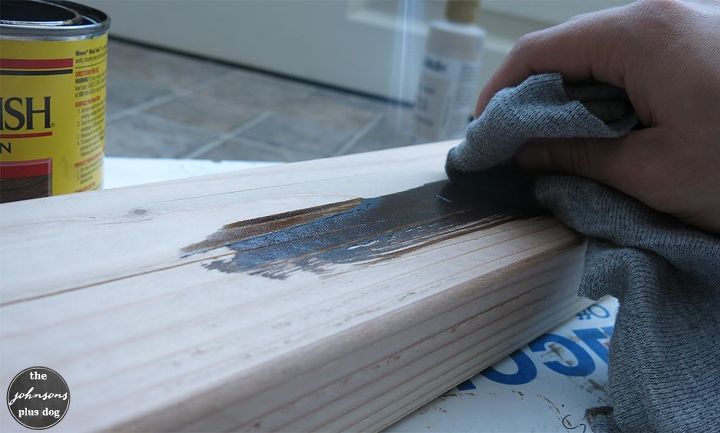
Step Three // Stain the boards. I love the look for a dark wood stain with light lettering, like white or cream. But, you can stain and color your sign any color under the sun. Also, instead of staining, you could paint it too! I LOVE this ombre painted sign and the great tutorial from Beyond The Picket Fence. Think I will definitely have try to that technique next time I make a wood sign.
I used a cotton rag to apply the stain and I did it pretty heavy because I wanted it to be dark. Remember to always go with the grain of the wood when applying stain. I usually stain both the front and the back of the boards to give it a more finished look. But, you don’t really need to stain the back if you don’t want to. After applying stain, I usually let it set for 5-10 minutes and then give it a good wipe with a clean cloth to get all of the excess stain off. After staining, let it dry. I waited 24 hours to so.
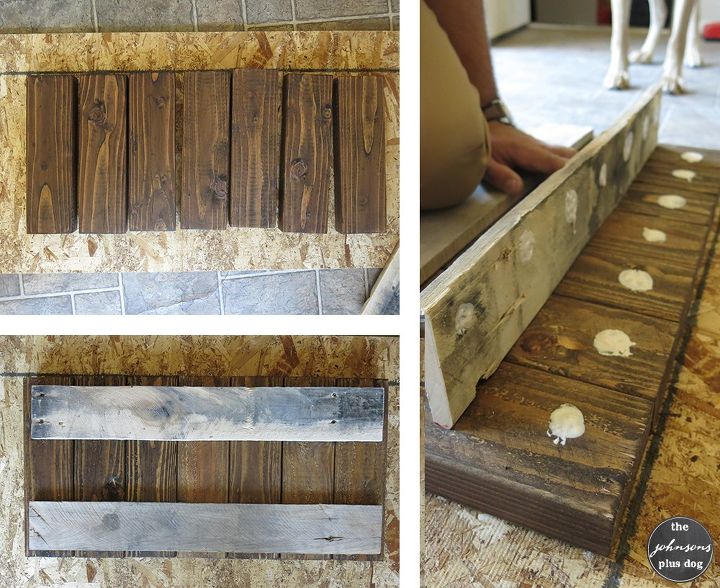
Step Four // Arrange the boards and attach back board supports. When laying out the boards I always try to space out the variations in the wood grains and knots. Once you have your boards just perfect, flip them over. To attach the back board supports, I use pallet wood cut down to size (a little shorter than your sign). Be sure you attach the top board straight because it is what you will be using to hang your sign on the wall. Apply wood glue to attach the boards near the top and the bottom and make sure all the boards line up and are square.
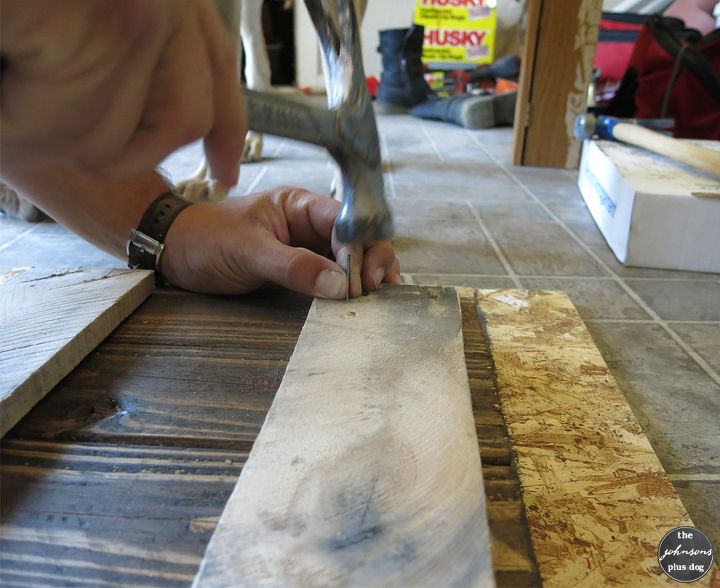
Step Five // Nail in your back board supports. I use finish nails. Usually Logan does the hammering while I hold the boards straight, lined up and square. We start at one end with one nail, move to the other end with one nail and then finish with middle boards. We usually do two nails and each board, so on my sign with 7 wood pieces, there was 14 nails on each back board support – so 28 together. Usually before I start moving the sign around and prepping to paint, I give it 24 hours, if you’re in a hurry you could probably start painting before the glue dries. The nails would totally hold it in place, but I’m always super careful because I’m scared of screwing up after putting this much time into already.
Step Six // Trace out your design and start painting! I use painter’s tape or masking tape to keep my words straight…there’s nothing worse then stepping back and realizing you just painted something totally crooked! If I’m painting the sign freehand like I did this time, I usually trace the lettering out with a pencil. I did have a brilliant idea this time to use chalk instead of pencil, but turns out it didn’t work out that great. The chalk didn’t really want to write on the stained wood that well. I think the chalk thing would work better if the wood was painted instead of stained.
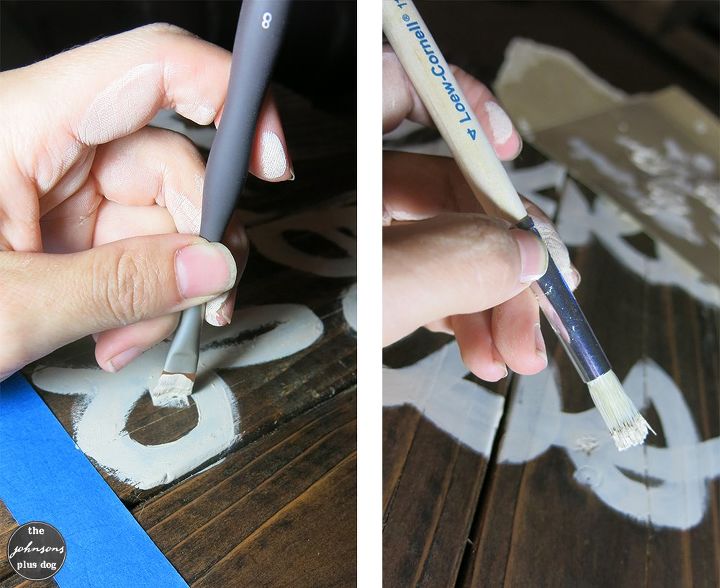
After I trace it out and get a general idea of how it will layout, I start painting. For this version, I wanted to use a rough brush look. I was planning using the old brush in the picture this picture above, but it was way too big/thick for how much many word I needed to fit on the sign. I ended up taking a quick trip to the craft store because, you want to know a secret? Most of my craft supplies are packed up since we’re in the middle of a home renovation! I got a new Loew-Cornell Soft Comfort Taklon Filbert Size 8 brush and a stencil brush. I thought the stencil brush would be able to give me the “rough brush” look and it ended up working out great.
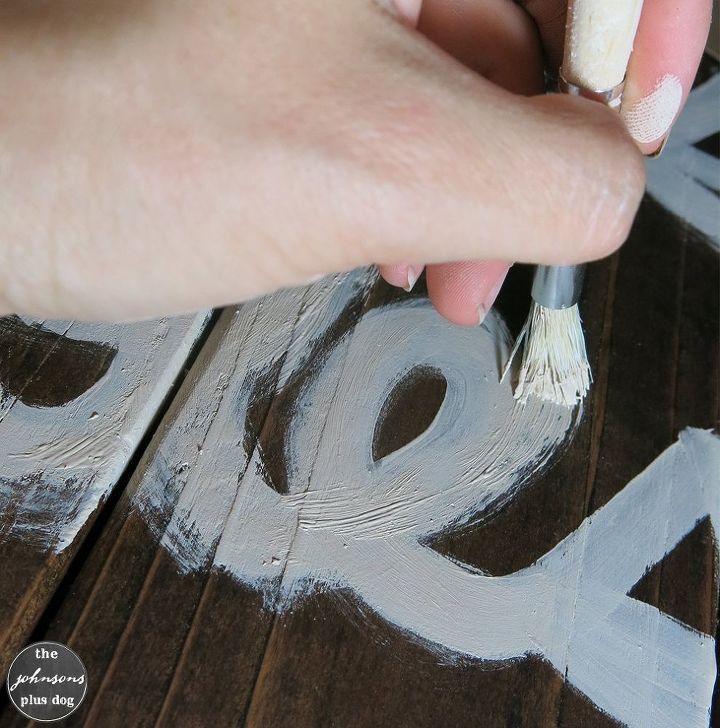
To get the “rough brush” look, I used to the Taklon Filbert brush to get the base of the lettering done and then followed up with the stencil brush secondly. I used the stencil brush after I finished each word while the paint was a little wet still.
After you get the lettering just right, let dry overnight.
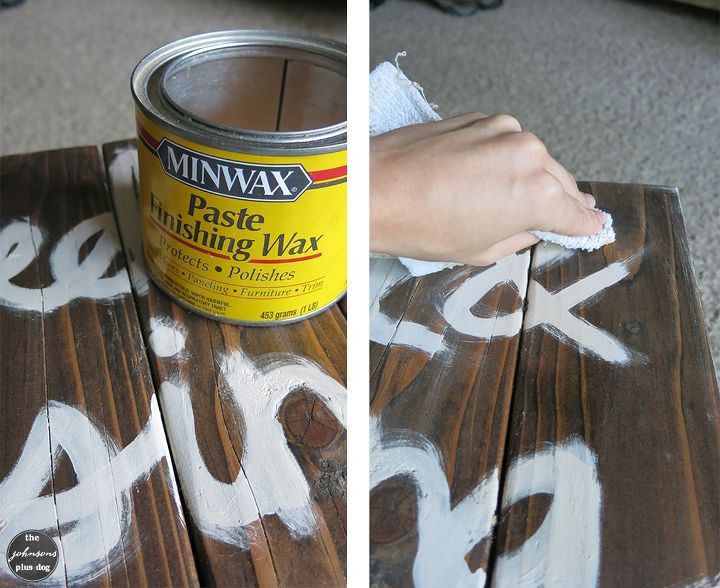
Step Seven // Finish with wax. I love finishing wax. It’s great because it protects and brings out the wood color and grain perfectly. Just like the wood stain, apply with a cloth or towel and go with the grain. Let set for 5-10 minutes and wipe clean.
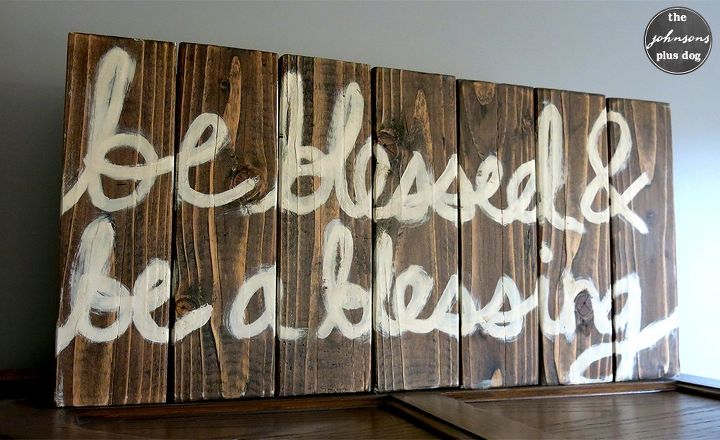
Ta da! All done. I would love to see your wood painted sign projects!
Have a great day and don’t forget to “be blessed and be a blessing!”
You can check out more on my blog, thejohnsonsplusdog.com.

Want more details about this and other DIY projects? Check out my blog post!
Comments
Join the conversation
2 of 3 comments
-
Wow, great sign!
-
I love this sign - such a great phrase!


Frequently asked questions
Have a question about this project?