


My 2 Step Method to Hang Pictures Perfectly in Minutes

by
Megan Aubrey
I think of artwork as the sprinkles on a cake. They add the special flare, the beauty, and the personality to a home.
Mmmm, now I really want cake too.:)Anyways...
As I've been making this little apartment of mine home, I've been a little gun shy to put holes in the wall. I've gotten around it by hanging giant engineering prints with painters tape, making glitter hexagon artwork hung with command strips, and even hanging my "be bold" statement with command strips.
However, when it comes to beautifully framed and heavier pieces of artwork, I'm not trusting command hooks at this point. I can just picture the artwork crashing down and shattering. Yikes!
[media_id:]
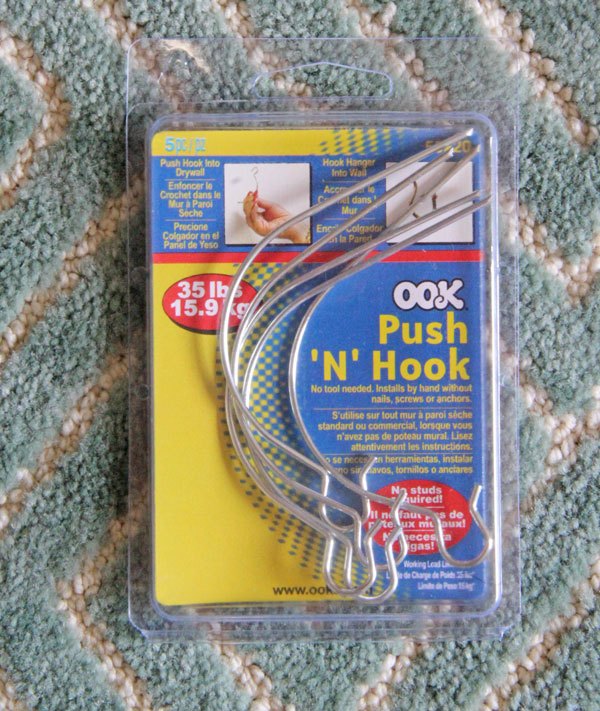
Then I came across this hanging tool that is my new love (whether I rent or own)!. It is the push n hook.
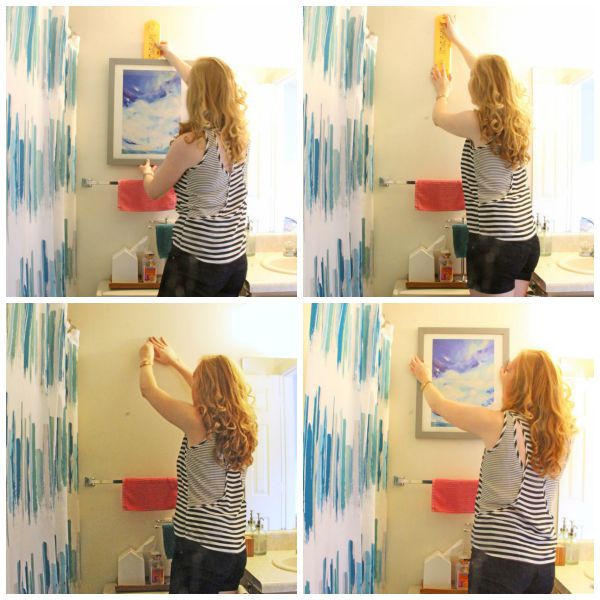
This one is so easy to use and awesome! Here's how you use this one:
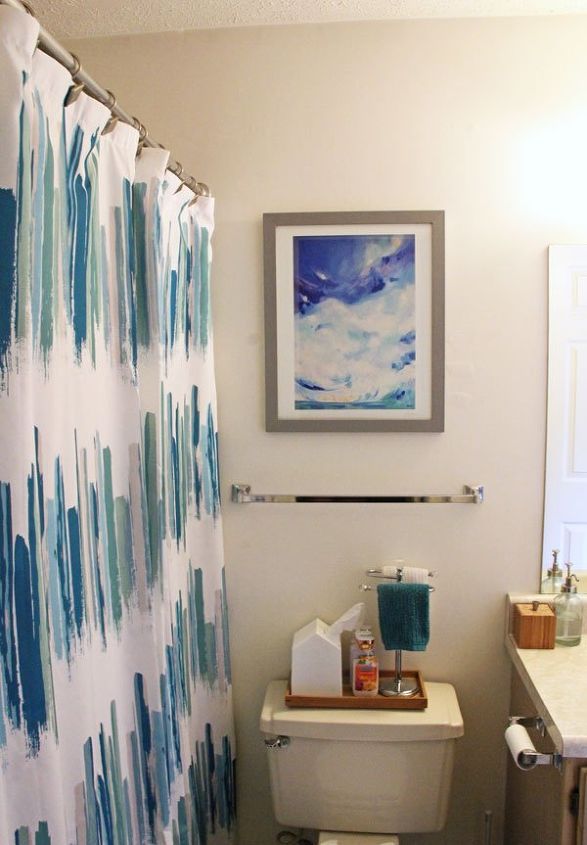
Now, let's talk about the beauty of the artwork, ok?? I'm SO excited to find unique pieces of artwork and photography that really speak to my soul and make me so happy every time I look at them.
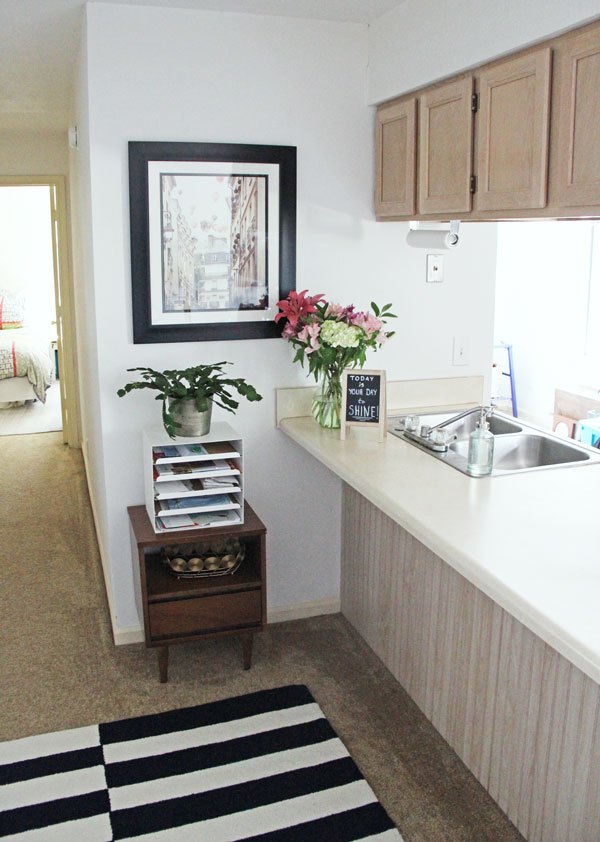
Now this special beauty in the living room is a photograph by irene suchocki. I actually won a credit to Irene's store in a contest on the blog decor8. I saw this hot air balloon in Paris print and knew it would be perfect for my living room. I love the balloons, the colors, and well, Paris, of course! Perfectly perfect in every way.
Want more details about this and other DIY projects? Check out my blog post!
Comments
Join the conversation
2 comments
-
I love the colours it looks so fresh you have made a lovely home!


Frequently asked questions
Have a question about this project?