29K Views
Wood Arrow

by
Lisa Cestkowski
(IC: blogger)
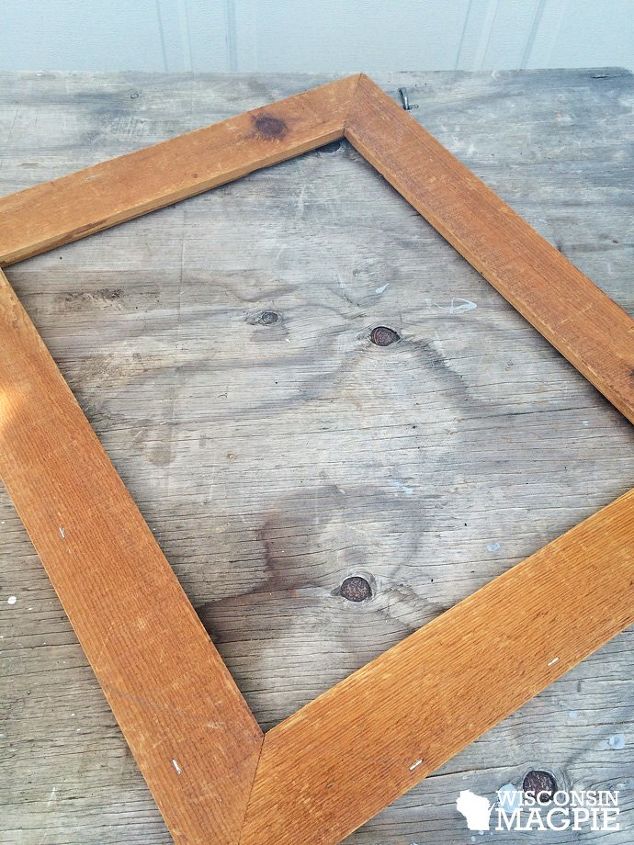
Arrows are everywhere in home decor today. I made one the easy way, starting with an old frame. With the corners already cut at 45-degree angles, I didn't need a fancy miter saw; I made all the cuts I needed with a simple jig saw.
Here's the old barnwood frame I started with.
Starting at one of the already-mitered corners, I marked out six stripes the width of a yardstick.
I cut the stripes with my jig saw. They would become the "feathers" on the bottom of the arrow.
For the arrow's point, I chopped off one of the intact corners.
I found a long piece of wood for the shaft and glued the point and feathers onto it. When the glue dried, I flipped piece over, drilled pilot holes and nailed the pieces together to make sure they would hold.
Here's the arrow, almost done.
I added a quick coat of chippy white chalk paint to the whole thing.
Here's the finished arrow hanging on my wall.
Enjoyed the project?

Want more details about this and other DIY projects? Check out my blog post!
Published August 26th, 2015 9:53 AM
Comments
Join the conversation
2 of 15 comments
-
Lisa! Happy to see you on Hometalk! This is such a great project you've shared. Congrats on the feature!
 My Husband Has Too Many Hobbies
on Sep 07, 2015
-
-
love it , now i will be looking for an old wood frame to make me an arrow for my wall also like your art wall very nice ...framing the light switch lol
 Melanie Bradley
on Sep 08, 2015
-








Frequently asked questions
Have a question about this project?