


Childhood Chunky Dresser Up-cycled Farmhouse Style
3 Materials
$65
1 Day
Medium
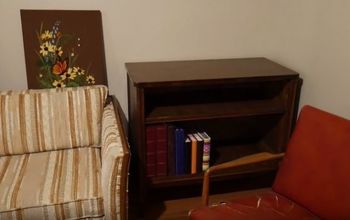
Remember these HUGE chunky bedroom sets we had as kids? Did I just date myself? HaHa! Just look at the "bones" of this dresser though... it's actually stunning BUT It needs a re-creation like no ones business! Challenge accepted....
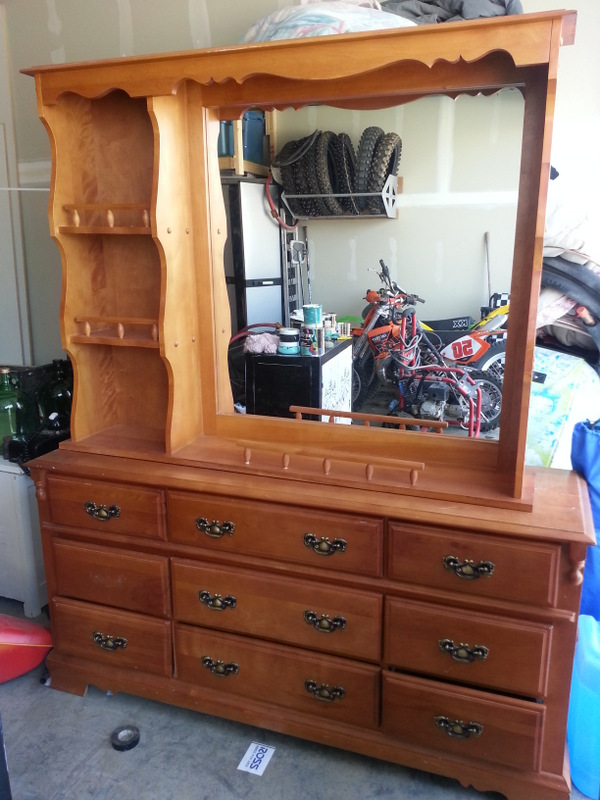
This particular dresser I remember...I think I had the matching waterbed that went with it!! It was built solid and sturdy and will definitely last another 50 years! Let's do this...
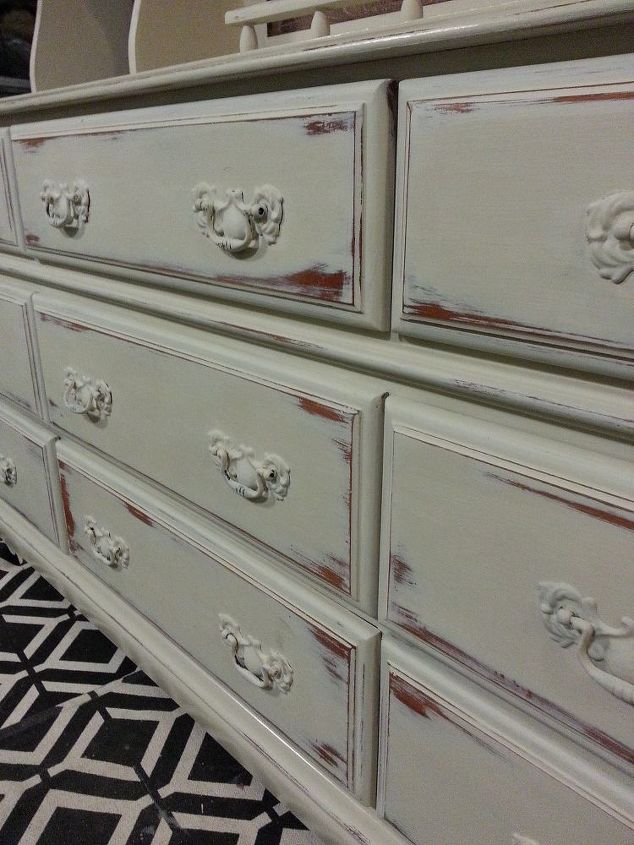
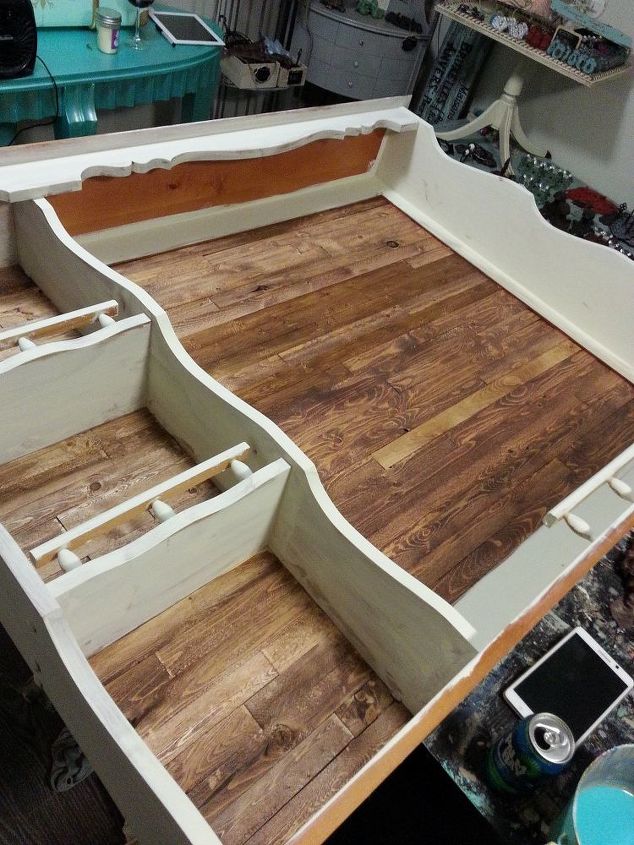
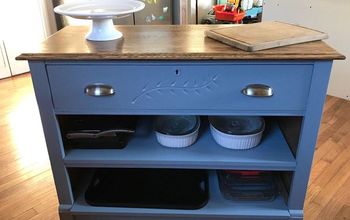
I used chalk paint to re-paint the entire piece in a soft creamy off white and I did a slight distress by sanding the corners and edges back to the natural wood. Instantly changed the look already.
I only did one coat of paint on the top piece as I had plans for that one.....
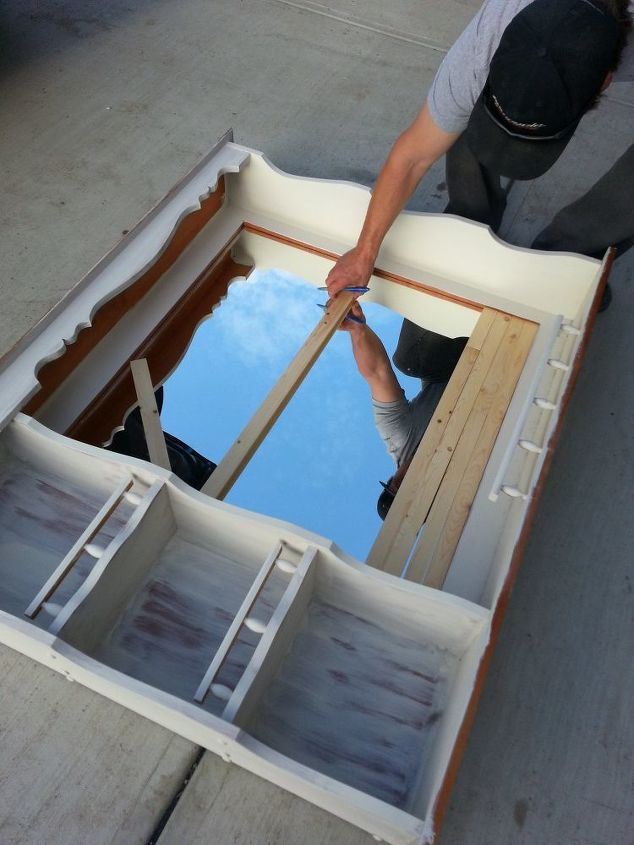
Now, no matter what you do to this piece the mirror is going to have it keep it's dated look. I needed to change that! You know those thin pine stakes that come in a bundle for about $6-$14 cdn. at Home Depot? YES, that is what I bought to cover the mirror. I wanted a thin wood easy enough to glue down and a wood that was raw so I could glaze it with ease. I had to get my husband to cut all the pieces because I wanted them different sizes to fit over the mirror, like a small ship-lap look.
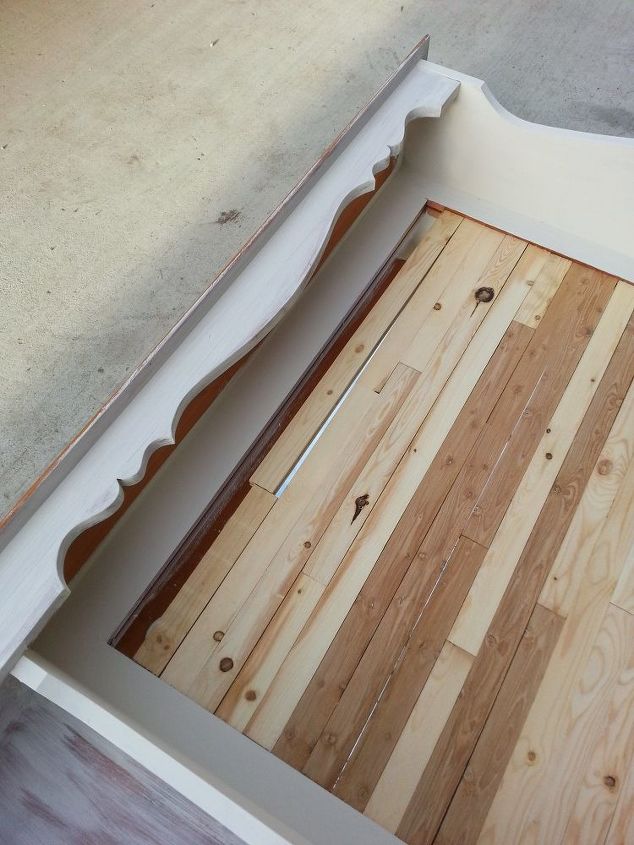
Once each piece was cut I used carpenters wood glue and glued the wood pieces straight on to the mirror.
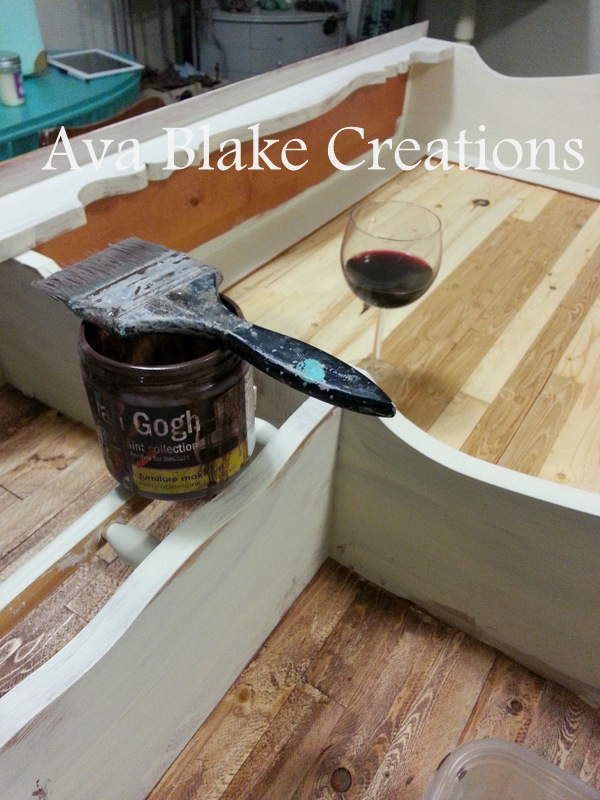
You can use any kind of glaze you want to but I used the Van Gogh (Canadian company) Antique Glaze to perfectly age the wood. I chose glaze instead of stain as I wanted it to have a light soft rustic brown, not a stark dark stain color. p.s. Wine totally helped with this process!
I love using glaze, brush it on, wipe it off and done! I went ahead and painted the second coat of creamy off white chalk paint, it also covers any glaze that I had got on the sides.
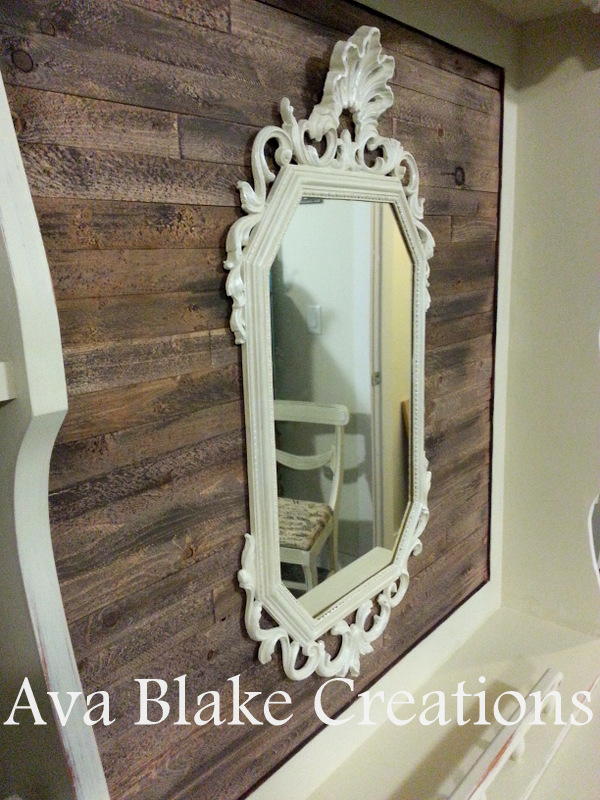
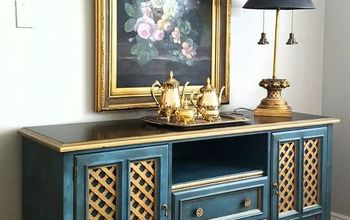
I wanted this re-created piece to still be used as a dresser, a hutch, for storage or a cool entryway piece. I added this antique really lightweight ornate mirror to the wood part with a small nail.
As a bonus you can also use the wood part as a pin board for daily reminders or to hang pictures from!

Here she is all re-created and feeling fancy!!
It turned out just at I saw it in my head...I LOVE when that happens! What a conversation starter now!
It TOTALLY turned out how I saw it in my head! I LOVE when that happens!
Here is the before and after....WOWZA!

Want more details about this and other DIY projects? Check out my blog post!
Comments
Join the conversation
3 comments
-
Really brings it out of the 80'same great vision
-
LOVE!


Frequently asked questions
Have a question about this project?
What color chalk painted did you use on this?