


Chalk Painted Side Table

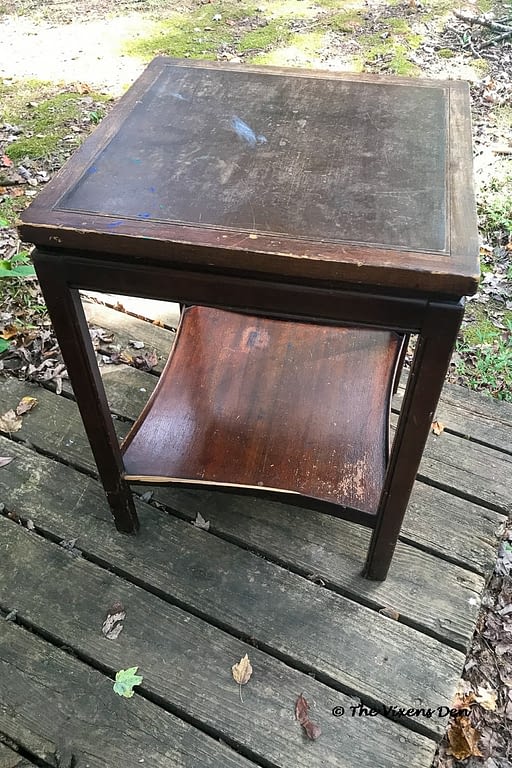
Welcome to my very first chalk-painting adventure! Although I have heard of chalk paint for years, I’ve never dipped my paintbrush into it before this project. It was an absolute thrill to have the opportunity to work with Dixie Belle paint and try out some of their products. This sweet little side table was the perfect candidate for a chalk-painted makeover.
THIS POST IS SPONSORED AND/OR CONTAINS AFFILIATE LINKS TO PRODUCTS. AS AN AMAZON ASSOCIATE I EARN FROM QUALIFYING PURCHASES AT NO COST TO YOU. YOU CAN SEE MY FULL DISCLOSURE HERE.
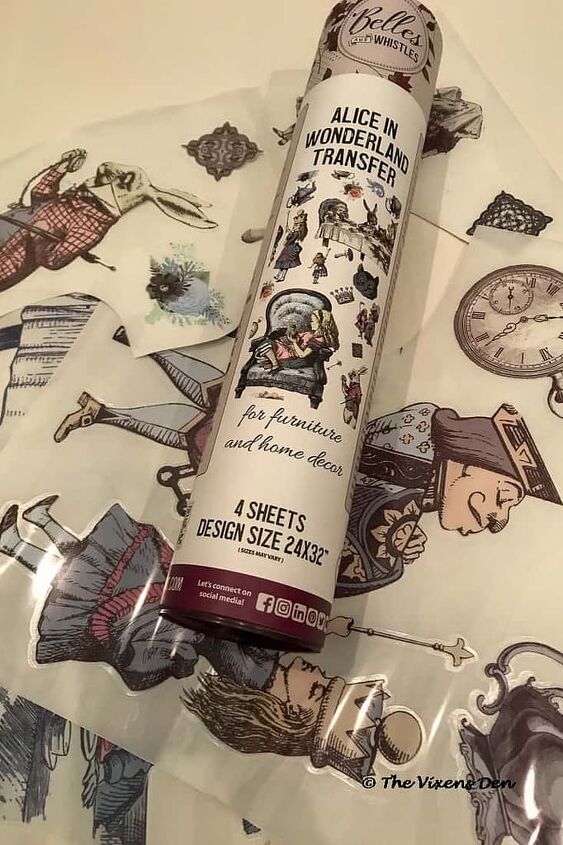
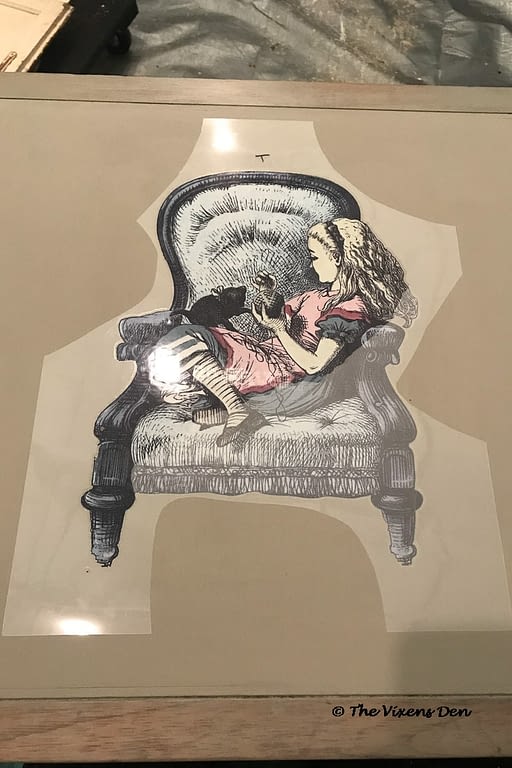
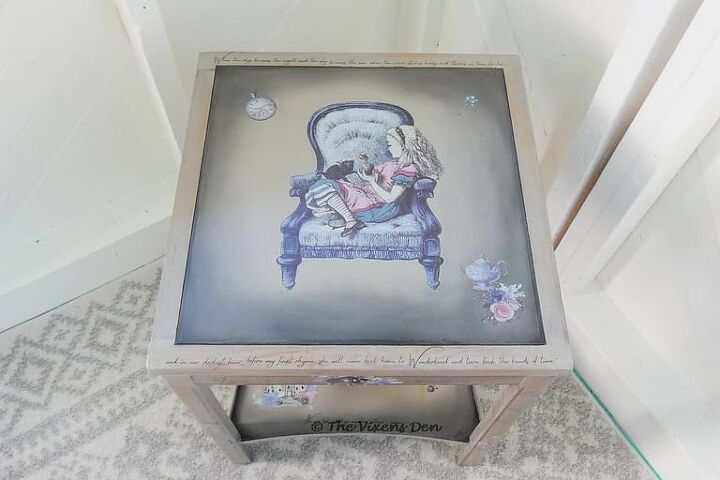
My clients selected this beautiful Alice in Wonderland transfer from the Dixie Belle “Belles and Whistles” line. It’s a lovely grown-up version of the classic children’s tale.
After we met to lay out the design, they were also amazing with agreeing to some suggested tweaks once the project was underway. Which was a blessing, because aside from the Minwax Color Wash that they had originally requested, and the general layout of the Dixie Belle transfers, the rest of this project evolved on its own.
Are you ready to hear all about this new adventure? Here are the tools and materials that I used for this transformation:
- Jigsaw or Skilsaw
- Putty knife
- Mouse sander
- Mister
- Dixie Belle Mini Angle Brush
- Dixie Belle Medium Oval Brush
- Flat 1 inch artists brush
- Small detail artists brush
- Measuring tape
- Laser jet printer (or a local print store, such as Staples or even the library)
- Wood filler
- Sandpaper
- Tack cloth
- Minwax Color Wash
- Dixie Belle French Linen Chalk Paint
- Dixie Belle Caviar Chalk Paint
- Dixie Belle Alice Transfer
- Dixie Belle Gator Hide Sealer
- Mod Podge
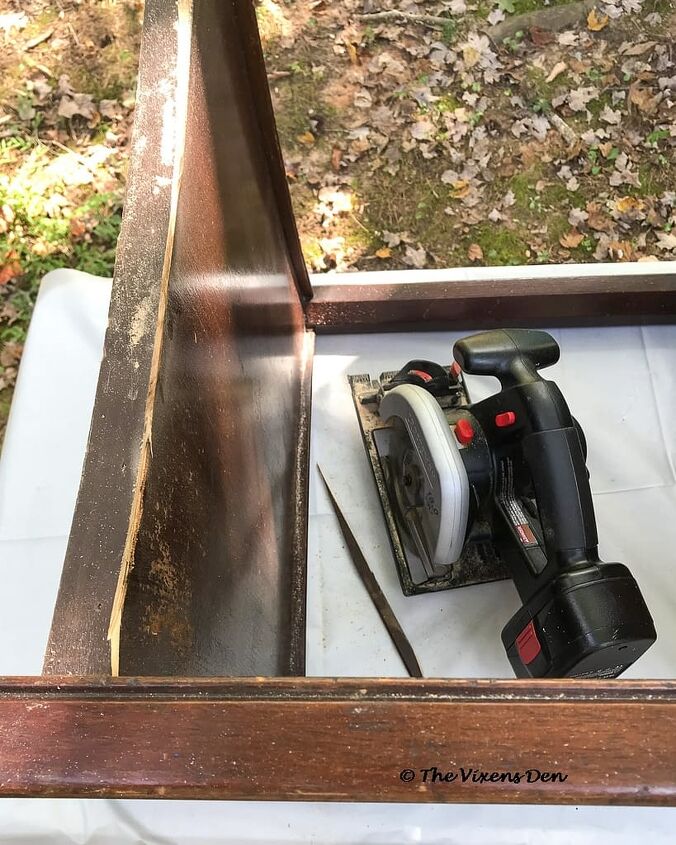
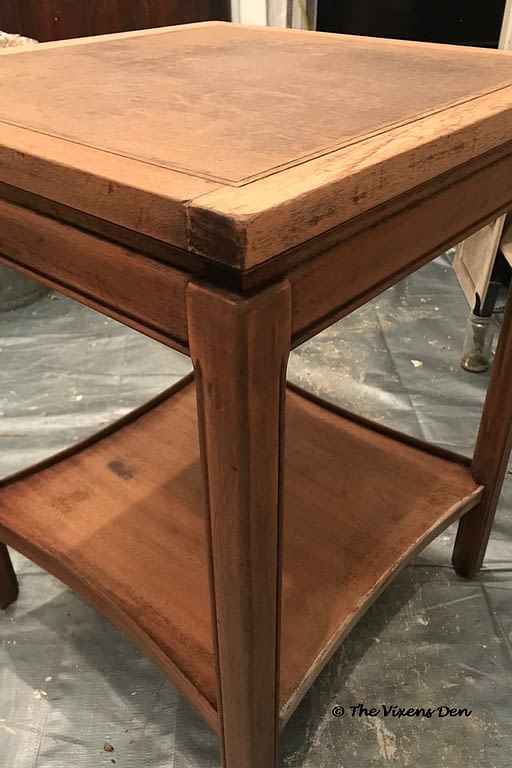
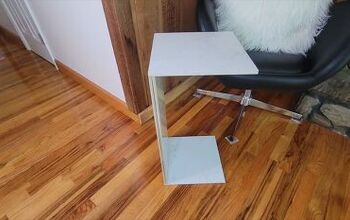
This table needed a little love before it could start its makeover adventure. The bottom of the table is a tray shelf, with raised sides all the way around. Unfortunately, one of these sides was broken. I opted to trim down the rest of the edges with the jigsaw.
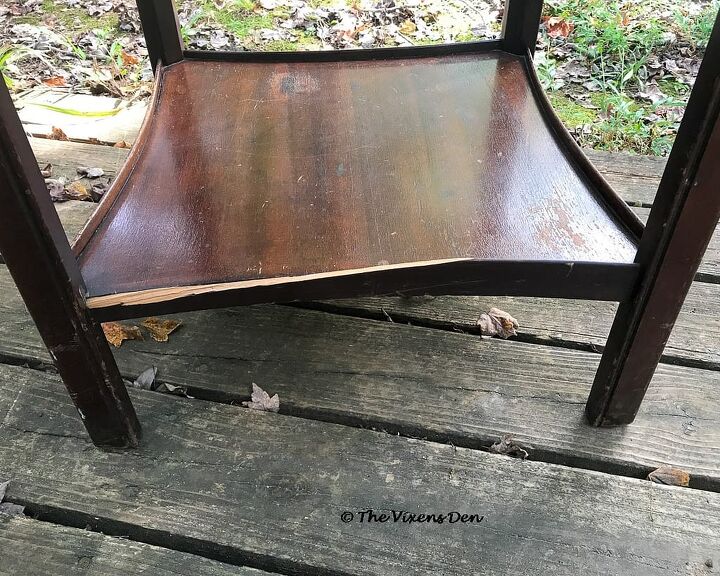
After several rounds with wood filler and the sander, the damage was almost invisible. However, this left a new challenge. In the past, my clients kept the damaged section turned to the back, to make it less noticeable. I proposed making this the new front side of the table so that they could easily slide baskets and other items on and off the bottom shelf, and it makes that side of the shelf appear intentional.
They agreed, and it was time to start prepping for the next step.
Since I was removing the finish for this piece, I opted to skip the step of cleaning the piece and jumped straight into using chemical finish remover to strip off the years of accumulated finish, paint splotches, and furniture polish.
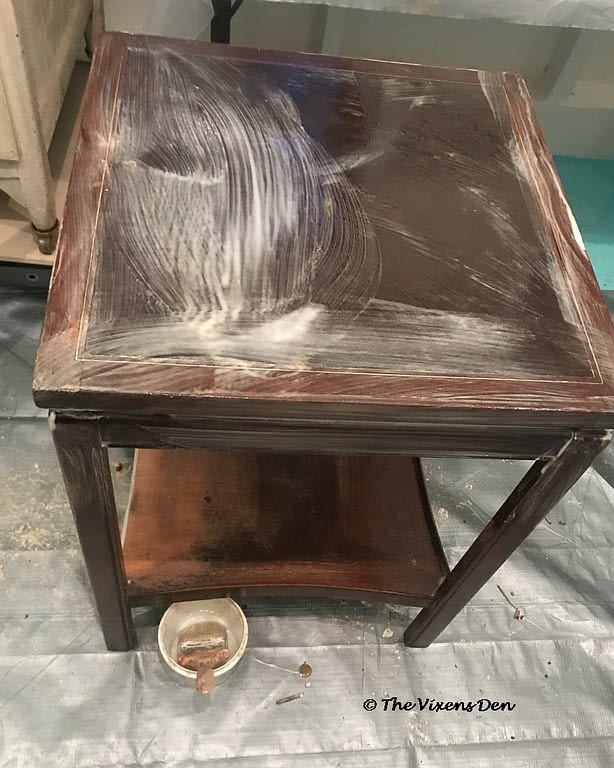
I used the process from this post on chemical stripping. The only difference was that I discovered that the top center of the table was not constructed of plywood, as I’d originally thought, but instead was a form of hardboard, also known as masonite. That actually turned out to be a blessing, as you’ll see in the next step.
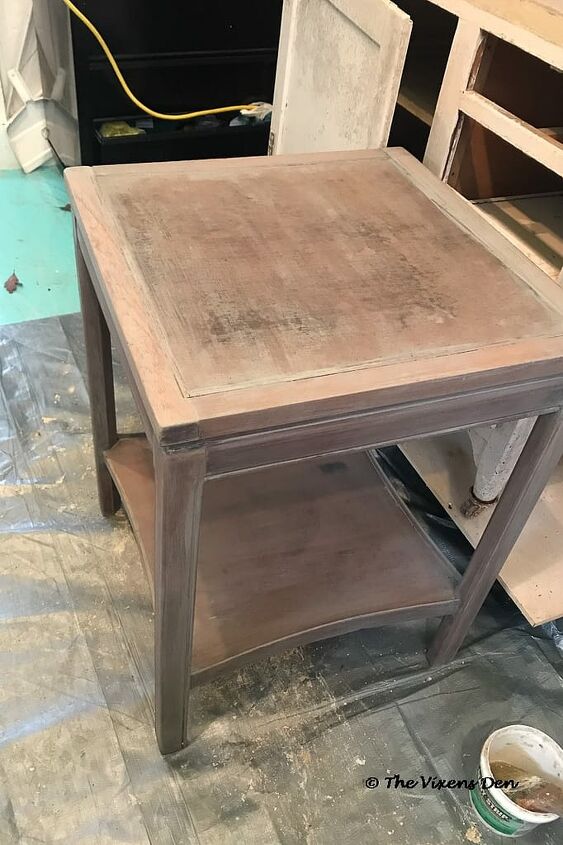
I color-washed the legs and outer trim of the table with Minwax Weathered Gray Color Wash. This product was selected by my clients prior to the collaboration with Dixie Belle and will be used on a future matched set, so they wanted to remain in that color family for this piece as well.
I applied the color wash with a brush and wiped the excess away with a rag. It took two coats before we achieved the right balance of color and woodgrain.
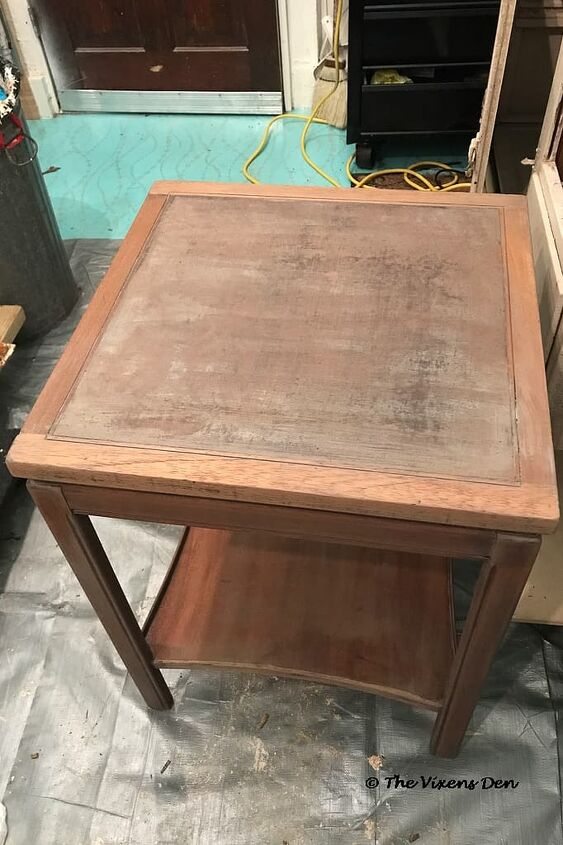
The problems arose with the masonite top, which did not absorb the color wash. The wash sat on top of the board, which resulted in some rather unattractive blotching.
I talked with my clients about this and they agreed to me painting the top instead. (insert Snoopy dance here) For a furniture artist, being given the green light to paint a piece of furniture is like a kid being given free rein in a candy store!
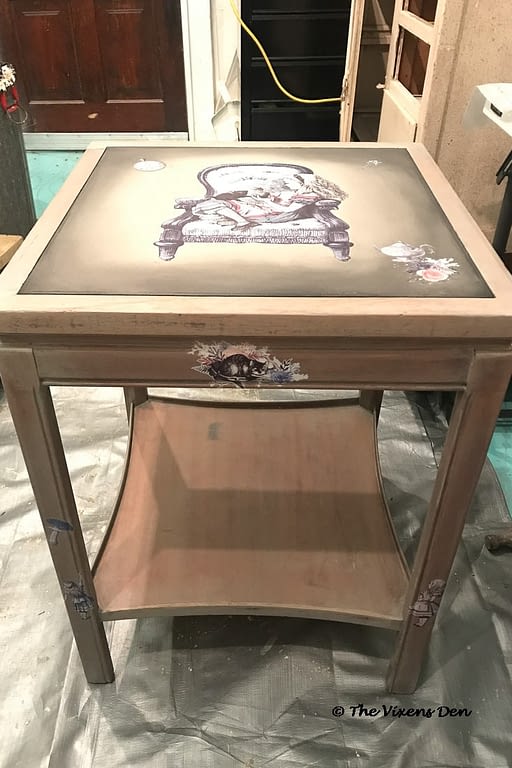
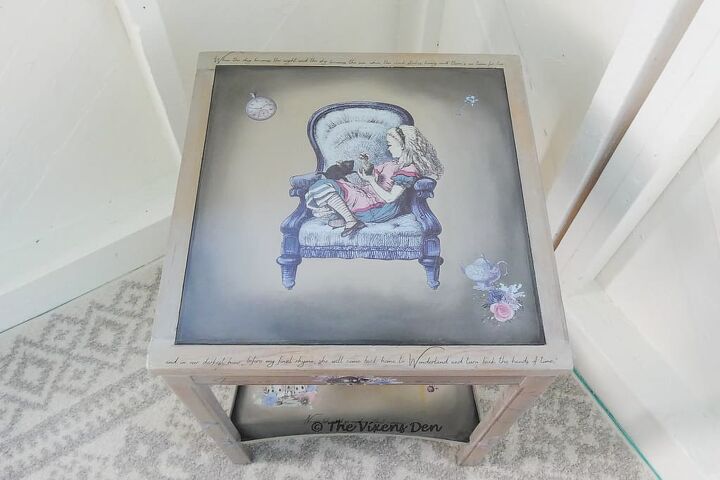
Once the color wash dried, I applied a coat of Dixie Belle French Linen to the masonite top using the Dixie Belle mini angle brush. It only took about one and a half coats to achieve full coverage. I left the French Linen to dry overnight. The next day I began adding the transfers.
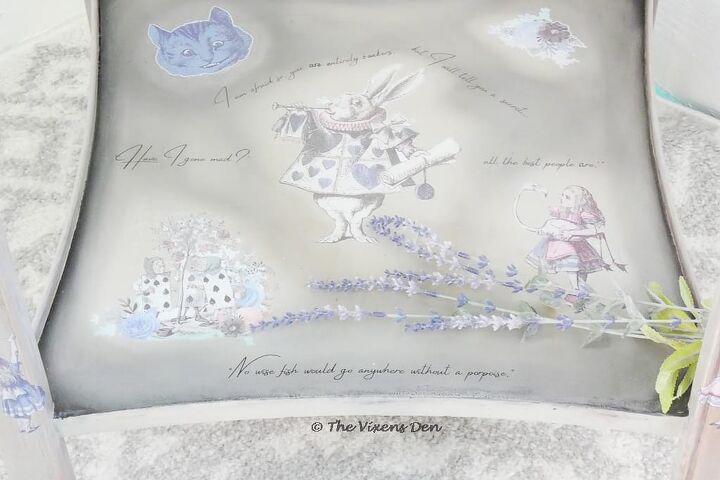
Although I’ve added transfers to furniture before, like the one I added to this dresser, this was my first time using a manufactured transfer. I arranged the center transfer and measured to ensure that it was on center. Once in place, I removed the protective backing and rubbed all over until the transfer began to adhere to the piece. As the transfer released from the plastic sheet, I was able to lift it away and leave behind a beautiful picture.
This process was repeated for all of the Alice transfers. Wherever a transfer was placed in a seam, I used the edge of a putty knife to push the transfer into the details to maintain a seamless image.
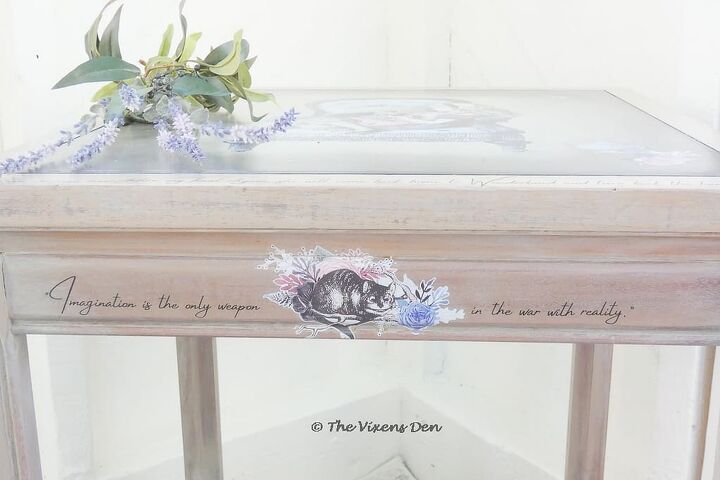
Using an artist’s brush, I applied Caviar to the routed seam detail between the masonite top and outer trim. I then misted the medium oval brush and began blending the Caviar into the French Linen.

This took several tries, but once the paint formed a frame it was time to begin adding the transfer. (I also ended up using this process for the bottom shelf, after I saw how brilliantly it turned out.)
I was concerned about damaging the blended paint as I moved to the transfer stage, so I opted to seal the entire piece with a layer of Dixie Belle Gator Hide before adding the Mod Podge transfers. Since Dixie Belle paint is waterbased, and the Mod Podge transfer process involves both applying waterbased glue and dampening the paper to remove the transfer, I feel that this was an important step.
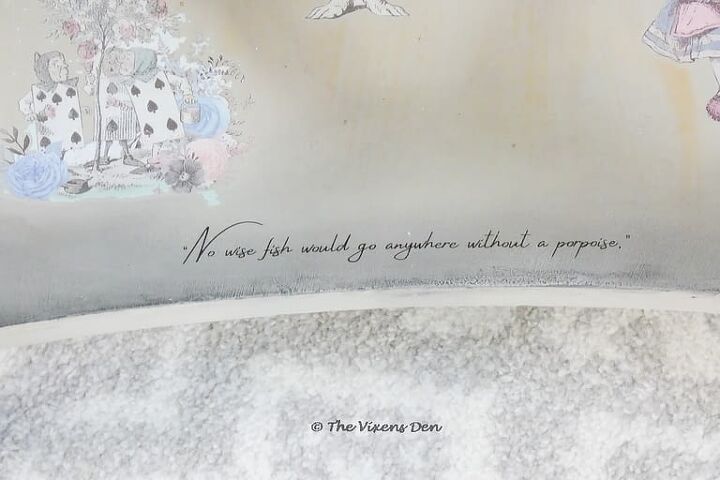
In addition to the Dixie Belle Alice in Wonderland transfer, I also added several quotes from the book. I created the quotes in Canva, downloaded the images as jpegs, mirrored the images, and printed them out on my laserjet printer.
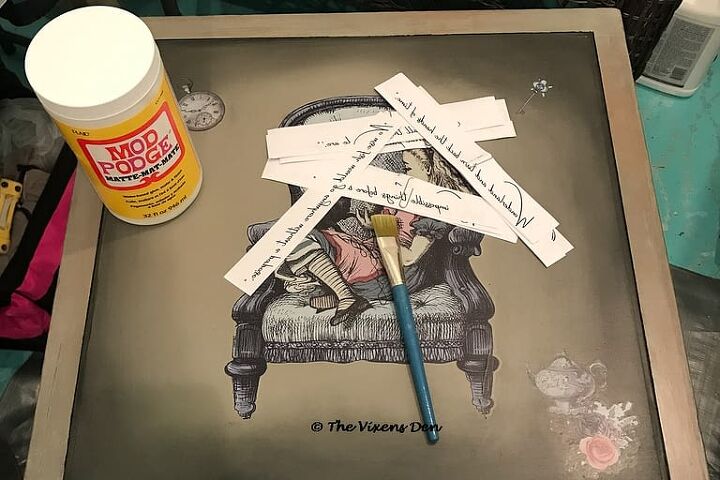
I laid them out in various positions until I achieved the look I was after. I then used Mod Podge to adhere the quotes to the sealed wood.
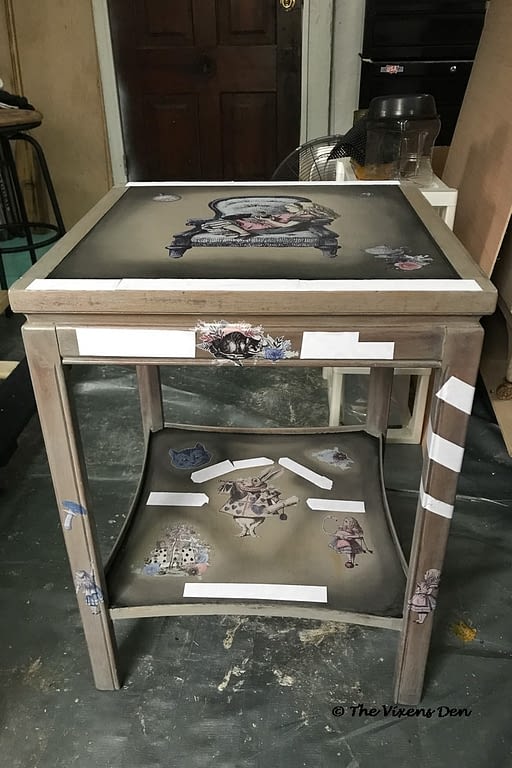
Once all of the transfers, Dixie Belle and DIY, were all in place, I sealed with two more coats of Dixie Belle Gator Hide using the Dixie Belle Mini Angle Brush.
So how did my first attempt at using chalk paint turn out?
I think it was pretty incredible myself. Remember, that I’ve never used chalk paint before, so I don’t have anything other than latex and acrylic paint as a comparison. However, the ability to blend colors was incredible! This was exactly the look that I was trying to achieve on my metal paint cabinet. I keep eyeing the Dixie Belle paint colors and wondering if I could mix some of them to match up to Sherwin Williams Kind Green or Garden Grove.
That being said, I also made some mistakes along the way.
- There’s a wrinkle in the leg of the chair on the main Alice transfer. (face palm)
Tip: Next time, I will be more careful to smooth out the full transfer before pulling up the clear top sheet. I will also use my finger to press out any wrinkles or even skim them out with my exacto knife, if necessary. The reason is, that as I’ve added layers of sealer, it’s only made the wrinkle more apparent as sealer has built up around the transfer material.
2. Tannins have leaked through on the bottom shelf. You can see the orange streaks in this picture below:
Tip: Ah, tannins. The bane of painters and stainers the world over. Of course, the worst part is that I had the solution on hand, in Dixie Belle Boss, but I didn’t think I needed it. So, next time I will seal with Dixie Belle Boss to keep the wood tannins from sneaking their way in.
3. There are some very obvious Mod Podge remnants.
Tip: Use a very thin layer of Mod Podge, or maybe even another material, in order to create the printer transfer. It doesn’t take much, and having to rub off the excess runs the risk of rubbing off the transfer itself in the process, as you can see in the picture below.

So there you have it!
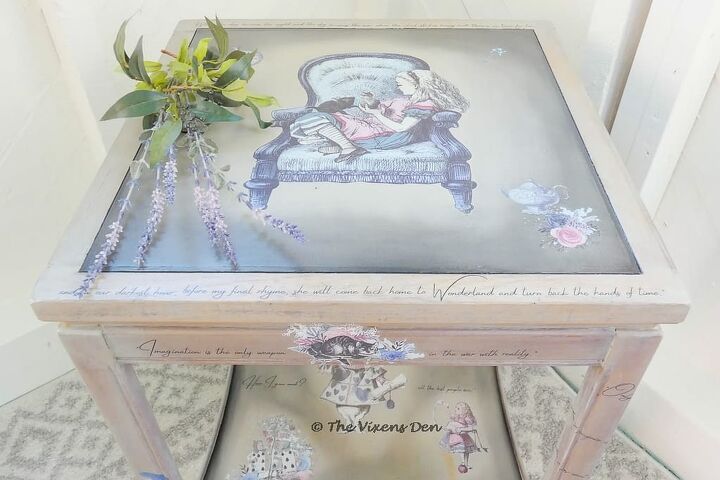
My client has a sweet new statement piece for her home that pays tribute to her favorite story.
It was such a wonderful experience working with Dixie Belle and these fantastic products! I finally achieved a look that I’ve been trying to capture for so long. I have more in-depth posts planned to share my Dixie Belle experience, as well as several more projects in the works. So sign up below to receive all the newest misadventures.
Sign up to hear all of the new misadventures!
While you’re waiting for the next misadventure, please also check out the paint and supplies at Dixie Belle Paint Company. I am blessed to receive a small commission for orders that are placed through the links on this site. Thank you in advance for your support!
Until next time, here’s a lovely before and after. Enjoy!

Comments
Join the conversation
-
It's beautiful! Love everything about it. The colors, transfers, shading on the top. Really like that you mentioned the OOPS. Not everything goes perfect. Gives other DIY's confidence to try something like this. I myself have not tried chalk paint. Maybe someday. Great share


Frequently asked questions
Have a question about this project?