


Stamp Your Way to a Beautiful Drop Cloth Rug

I love working with drop cloth. It’s an easy way to create unique pieces for your home without breaking the bank! In this project I’ll show you how I created a small rug out of drop cloth. I’ll also be showing you some useful techniques along the way, including no-sew hems, stamp layering, and stenciling. So what are you waiting for? Scroll down and check out my step-by-step tutorial to get started making your own drop cloth rug today!
Tools and Materials:
- Drop cloth
- Ruler
- Pencil
- Scissors
- Hemming tape
- Painter’s tape
- Stamps
- Ink
- Ink pad
- Paper
- Stencil
- Paint
Whenever you work with any kind of fabric, it’s important to always wash the fabric before you work with it. Often it may shrink, and the last thing you want is all of your hard work going down the drain because it’s no longer the size it originally was.
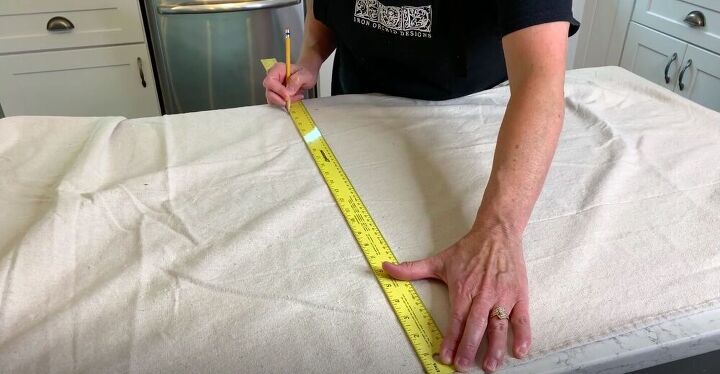
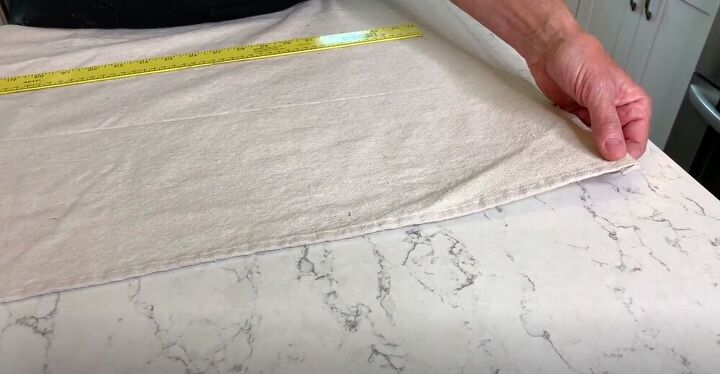
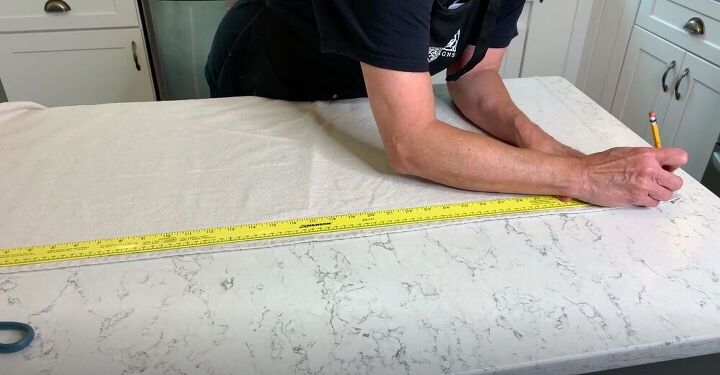
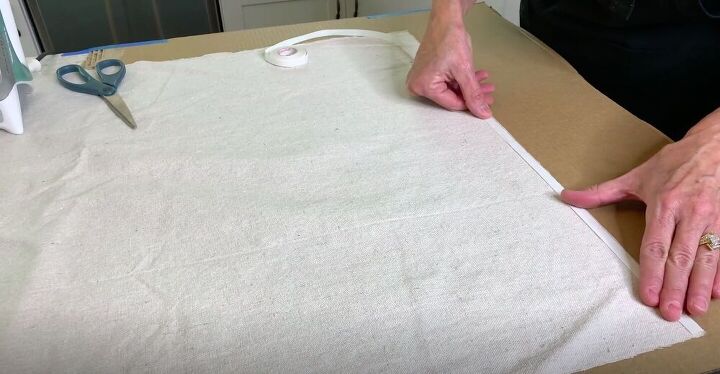
Using the hemmed edge as a guideline, I measured out 36 inches on one edge, and 24 inches on the other edge. I measured again on the other end and then marked where I was going to cut with a pencil. This provides nice, straight lines for you to cut along.
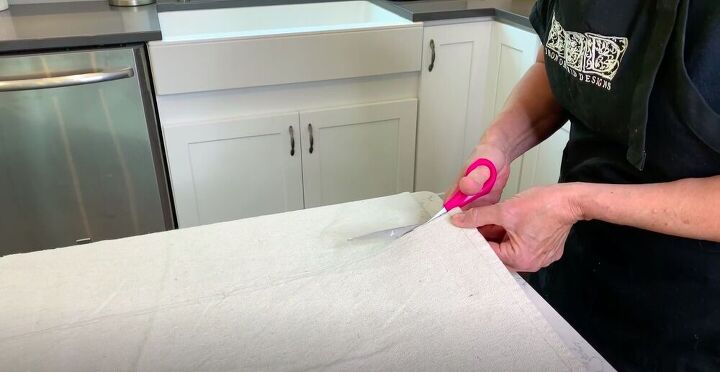
With everything properly marked, I then cut along the lines. If you are going with the grain of the fabric you can rip it and it will rip nicely along the line, but I am going to be hemming it later so I chose to cut with my scissors instead.
I am certainly not a seamstress, so I decided to work with hemming tape instead of sewing my hems. It’s easy to work with this product.
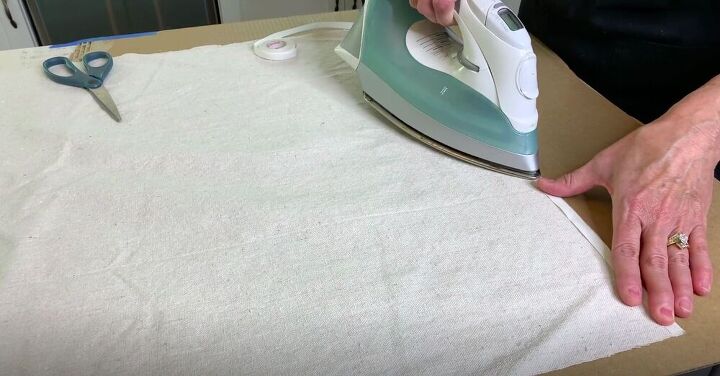
All you have to do is lay it out along the edge of the fabric and run over it with an iron.
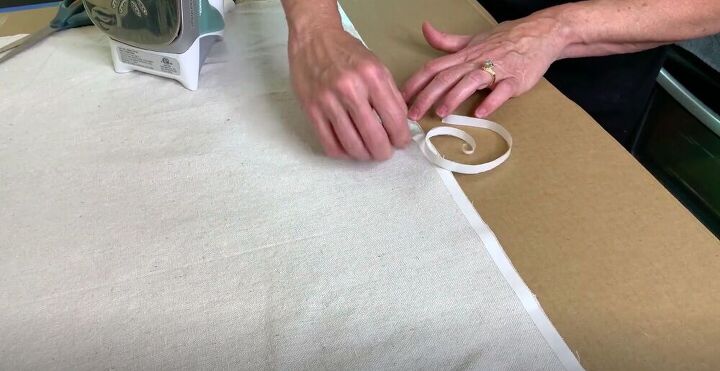
Then you peel off the backing, fold the fabric over, and run over it once again with an iron.
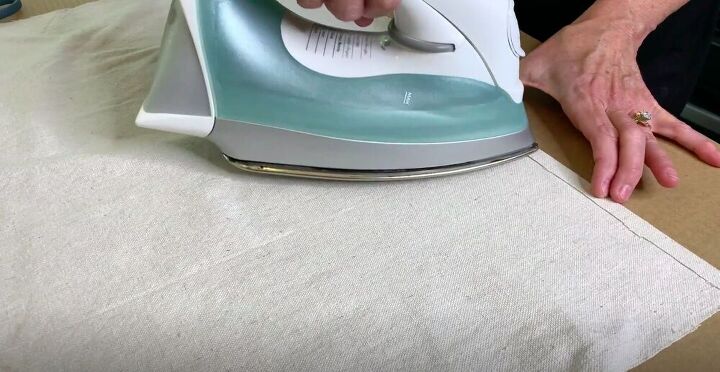
I’m using the ultra-hold hemming tape because I’m working with canvas, which is heavier than other fabrics. Then I repeated this process along each edge.
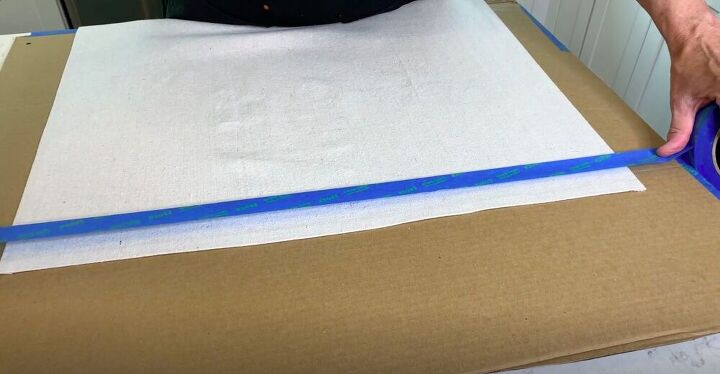
I wanted to leave a blank border around the rug, so using my ruler I measure in 2 inches on each end of the rug. Then I added a strip of painter's tape just inside the marks, creating a clean frame for where I wanted to stamp.
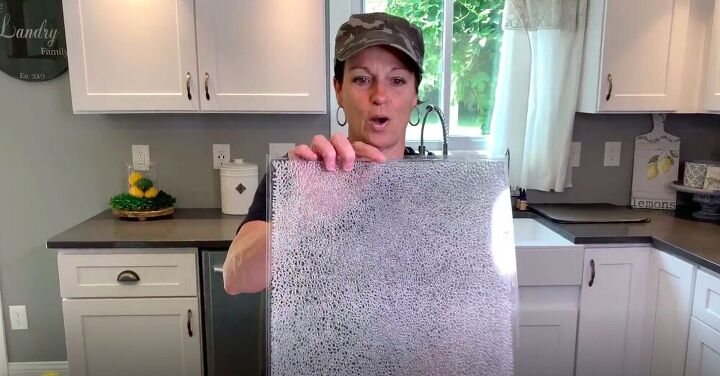
I’m going to be working with a few stamps today. The first one provides a great crackled background to any stamp you layer on top of it.
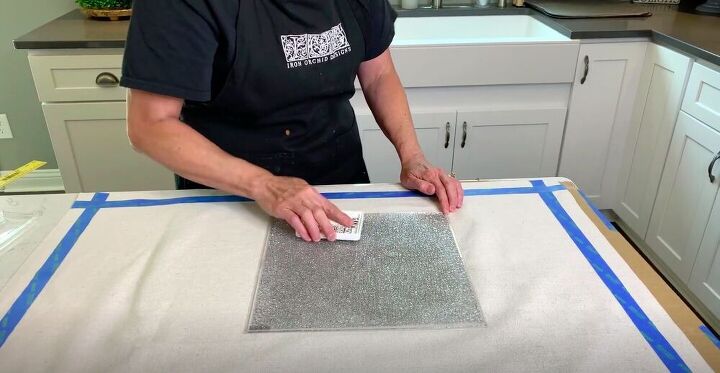
I loaded my stamp pad with fabric ink and pounced it all over the stamp.
Then I placed it just along the edge of the area I had taped off, with it overlapping a tiny bit, and pushed down.
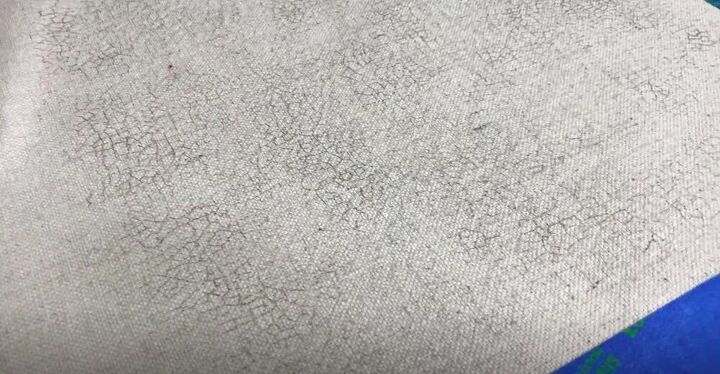
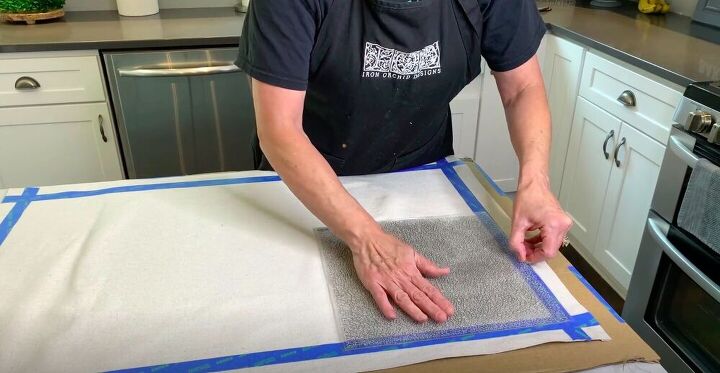
I repeated this over the entire taped off area of my rug.
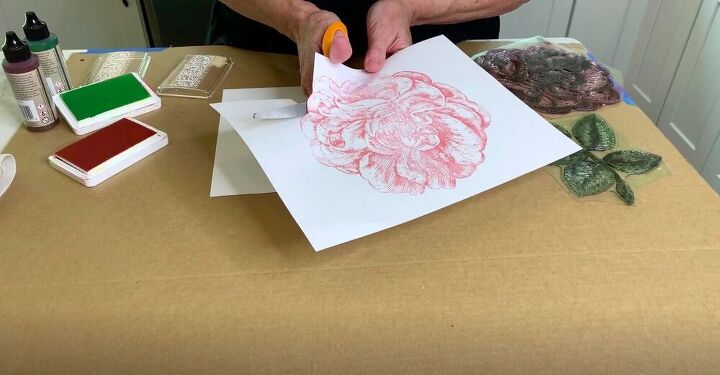
Next I created masks for my stamps. In order to create a mask I stamped pieces of printer paper with a flower and a leaf and then cut them out. This will allow me to layer stamps without adding color where I don’t want it.
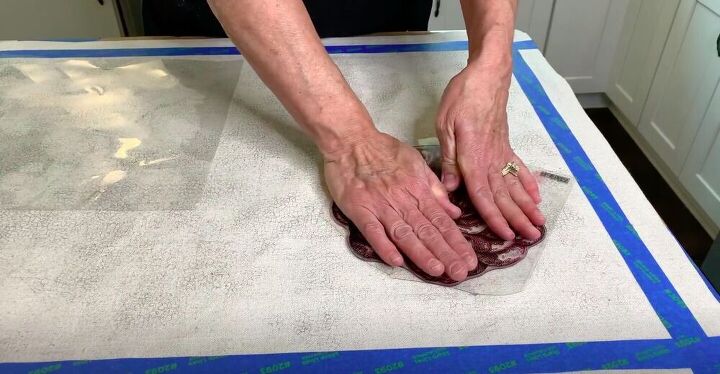
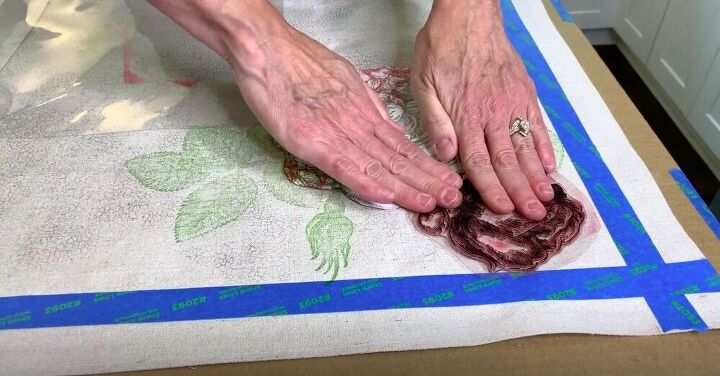
I loaded up my flower stamp with ink and then stamped it in place, pressing down firmly. I repeated this process on the opposite corner of the fabric.
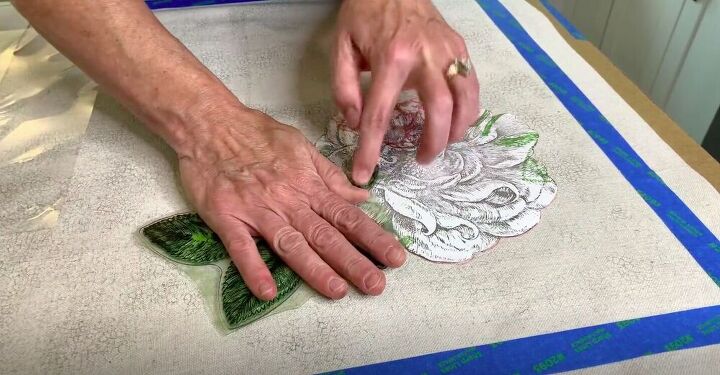
Next I loaded up my leaf stamp with ink. I took the mask I had created for the flower and lay it down over the stamped flower, trying to be as exact as possible. Then I stamped the leaf overlapping it, which gave the effect of the leaf coming out from behind the flower.
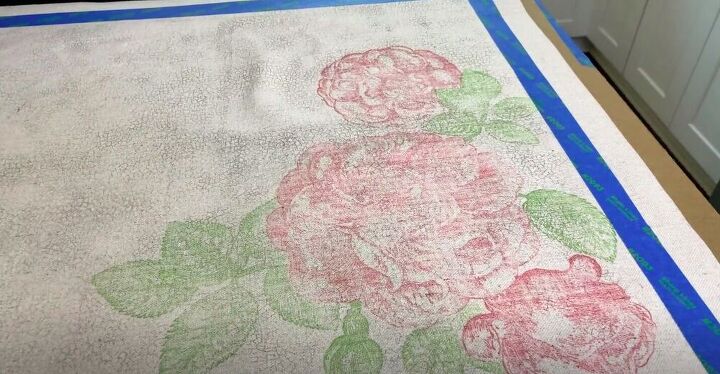
I left the mask on the flower and added a few more stamps to the mix until I was happy with how it looked. Let your creativity be your guide as you layer stamps.
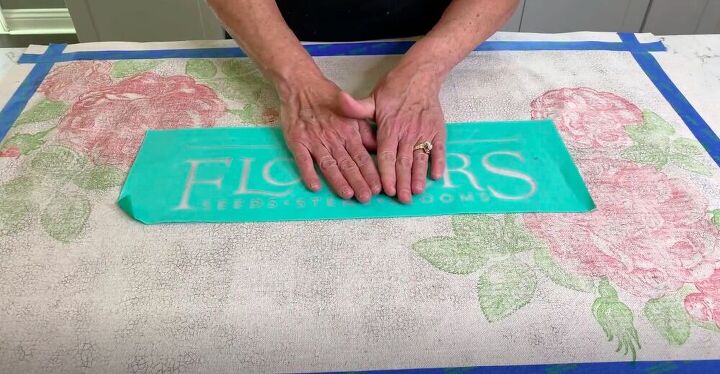
I stuck a silkscreen stencil down firmly in the center of the rug.
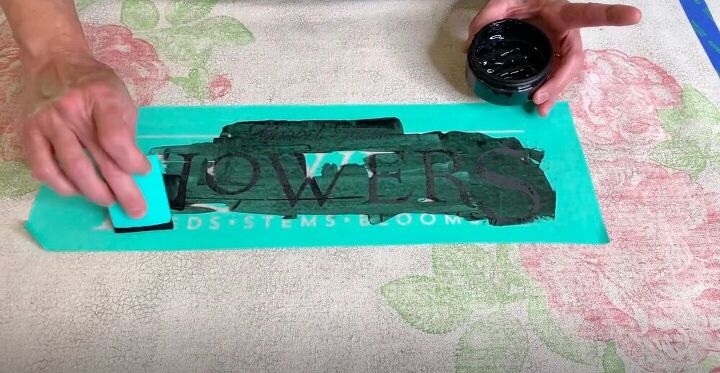
Using a light hand I scraped paint over the open areas of the stencil. Make sure to go in a few different directions to get full coverage, especially when working with fabric. Then I grabbed the edge of the stencil and pulled it up. Make sure to put it in water immediately to make it easier to clean it. I removed the painter’s tape and let it fully dry. Then I placed a piece of parchment paper over it and ironed it to make it washable.
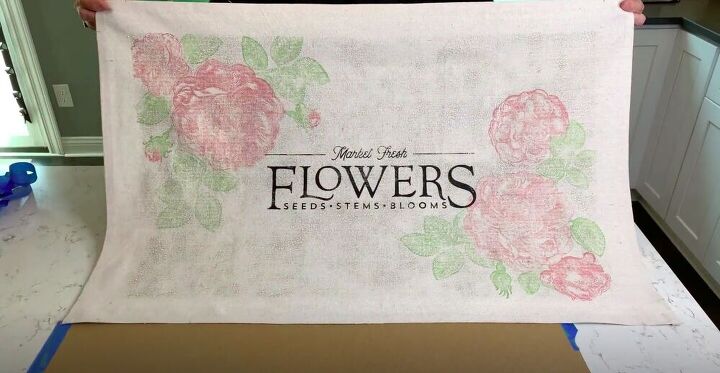
I’m in love with the finished product! Drop cloth is so cheap and versatile that you could make tons of these to give as gifts or use all over your home. How would you personalize your drop cloth rug? Let me know in the comments below!


Comments
Join the conversation
-
I love this...and, in my house, it will be curtains :-)
-
Oh wow, this is absolutely beautiful! Great job, I love the way you did the type, actually, I love the way you did all of it, it is so beautiful, nice job!!


Frequently asked questions
Have a question about this project?
Love the look but how do you keep it from moving or sliding under someone’s feet?
Is it washable?
I love this project but I don't understand your terminology. Did you use a flower stamp or a stencil like in the resource section?