


New Life to Old Side Table

by
Lisa L Hall
7 Materials
3 Days
Easy
I have a lot of solid wood furniture in my house that I just can't part with. They are all very old and need work in order to be functional and blend in with my home.
I started to make this piece for our family room but my son (16 yr old) saw it and said he wanted to keep it in the game room since it turned out really cool. So I'll take that as a compliment. Ha ha
This didn't take very many supplies and the cost is low due to having most of this stuff on hand.
Drying time for this project is where the length of time comes in. I like to wait and make sure things are really dry before I move on to the next steps. I'm sure I could have cut the wait time down a bit. If I would have moved it outside to work on, the nicer weather would have cut that drying time in half.
The best part is that you really don't have to be super artistic to make this type of table....but it will have everyone thinking you are an artist.
This project didn't cost me anything to do but if you needed to purchase everything it would cost around $40.00. Unicorn Spit is on the expensive side.

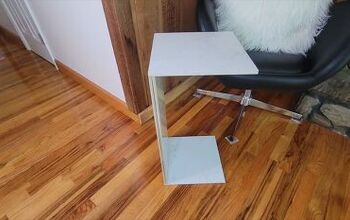
Here is my sad little side table. It has been around for a long time and withstood the test of time. It needs a lot of love to continue to function.
I have unicorn spit (which I am new to myself - so I'm sure my design is very basic), spray bottle with water and my table.
Here we go.
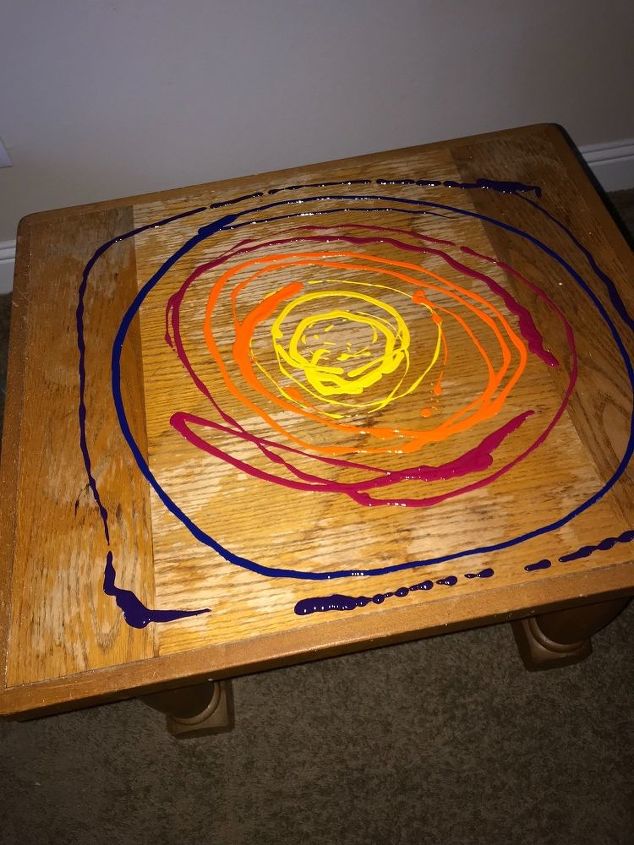
Everything I saw online said just squirt the spit onto the surface, spray with water and watch what happens....so that's what I did.
The best part that I found out is that once it's dry, you can add more layers to the spit for added color.
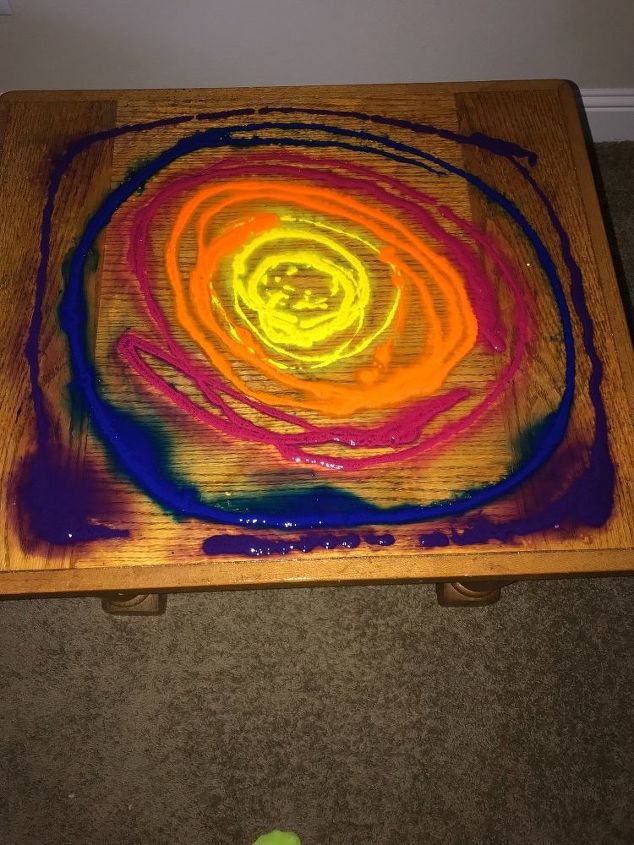
This is what happens when you add the water. Now you'll need to cover it with a plastic drop cloth. Depending on the size of your table, you may need a helper to keep the plastic flat when you put it on the table. You don't want any wrinkles in the plastic.
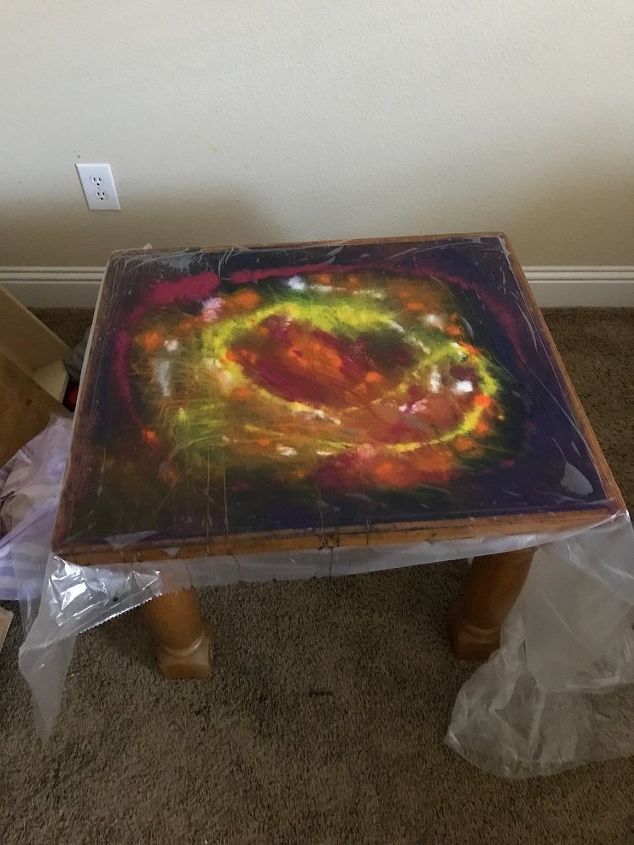
Once you have it covered, now you spray the top of the plastic with water and then blend your colors as you wish.
I did let is set for a couple minutes before I picked up the plastic.
Yeah...I know.....I did this on carpet. I was really taking a chance on needing an entire room remodel.
When taking off the plastic, you need to lift the plastic from the two sides at one time and pull up toward the middle, lifting the middle last.
***No there will not be a post on a flooring remodel. I actually did all of it without spilling.
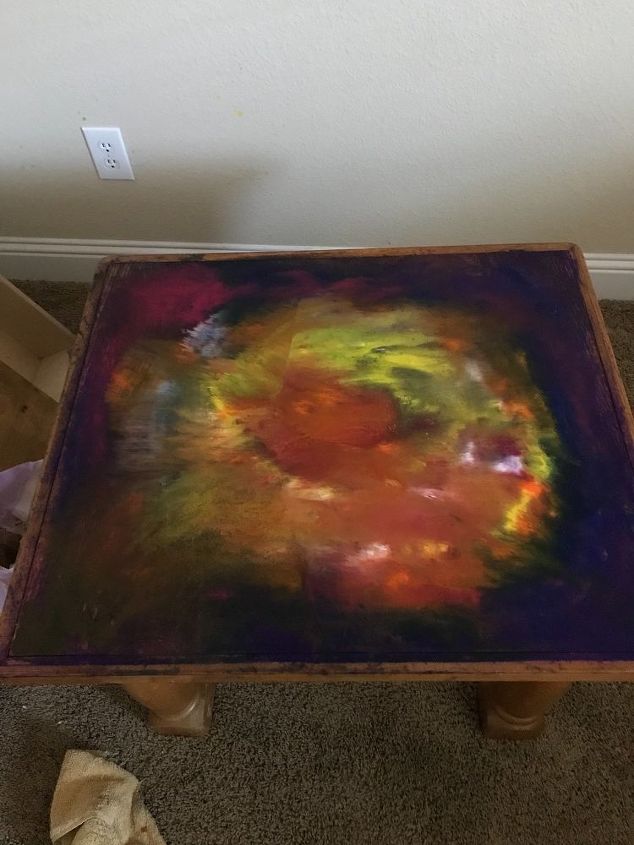
So here is what it looks like without the plastic. It still needs to dry and the colors were still blending together a bit so I knew there would be a little more change to the design.
I let this set over night to dry.
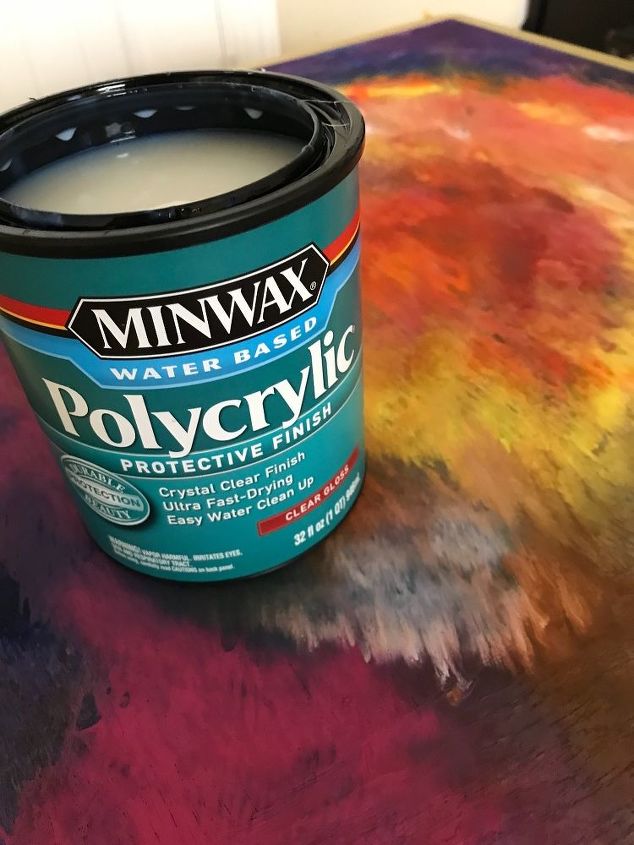
I love this stuff. It's shiny and protects the surface from water and water rings from cups. I covered the spit with two coats of the polycrylic. It dries fast so I was able to get 2 coats done in one day.
After the second coat I let it dry over night before removing the tape protecting the wood edging.
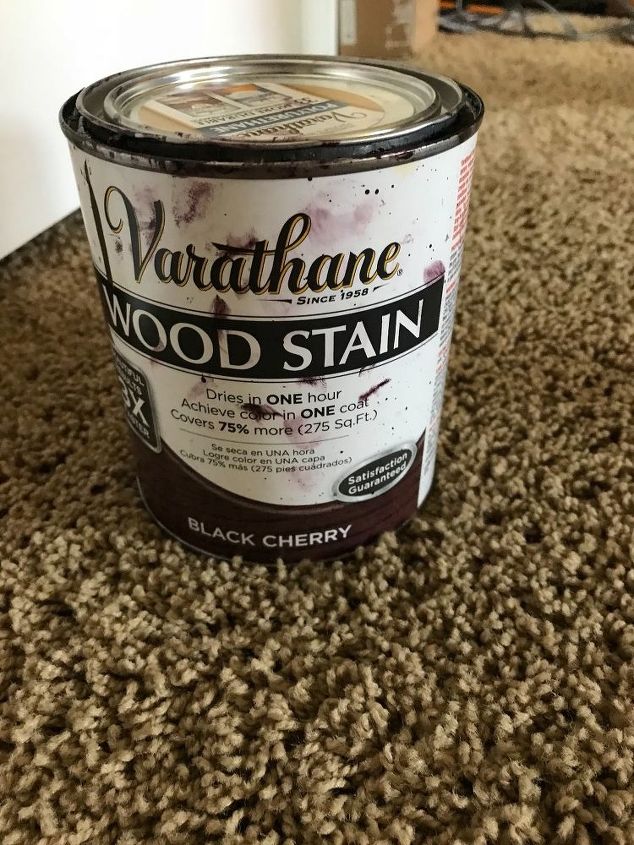
This is the same stain that I used on the other table in the game room so I'm using the remainder of the container on this table. This has a gloss finish to it so I won't need to do anything other than coat the legs and edging with the stain.
I did not take apart my table to stain it. There is nothing intricate on it so I didn't feel the need to tear it down and then rebuild it again.
It will dry over night.
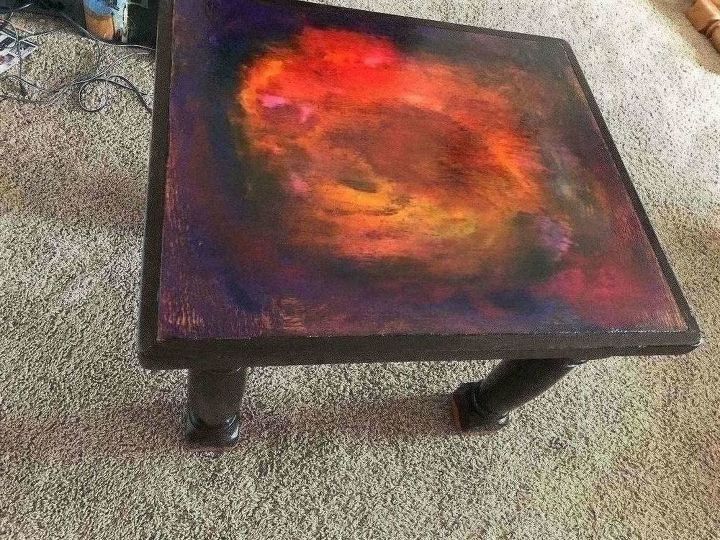
So here is the finished project. I will do a bit of touch up on a few parts of the legs but it's only due to things that I can see that bother me. I seriously doubt anyone else will see it.


Any price and availability information displayed on [relevant Amazon Site(s), as applicable] at the time of purchase will apply to the purchase of this product.
Hometalk may collect a small share of sales from the links on this page.More info
Comments
Join the conversation
3 of 5 comments
-
Captivating, looks amazing.
-
Good job, Mom!


Frequently asked questions
Have a question about this project?