


Sliding Barn Door Side Table.

20 Materials
$90
4 Days
Medium
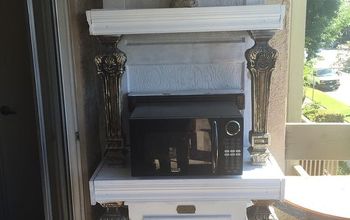
Hi, I'm Miranda. I love farmhouse decor and barn doors a lot and since they are in such a big trend lately I wanted to try putting one on a table. I bought this little side table and I thought it would be perfect except I didn't like the size of the walls. I felt like it needed to be about 6 inches taller all the way around. So I embarked on the mission to get that done. These are the tools I used. (Always Wear Safety Glasses and Gloves If needed when working with powertools. )
The tools:
Circular saw
nail gun
drill
Jig Saw with a metal blade.
a metal drill bit in six 3/8
speed square
tape measure
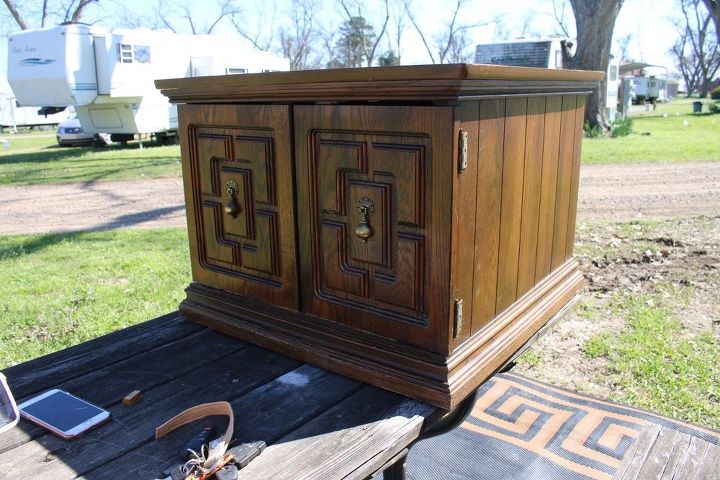
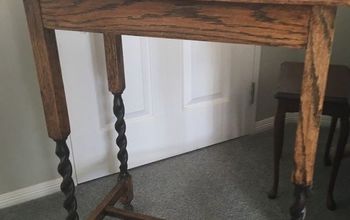
The original table
Take apart the table completely. I wanted just the top and the bottom.
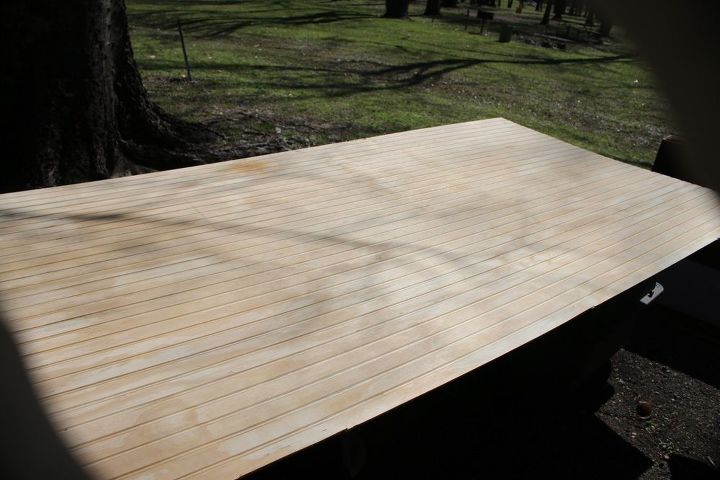
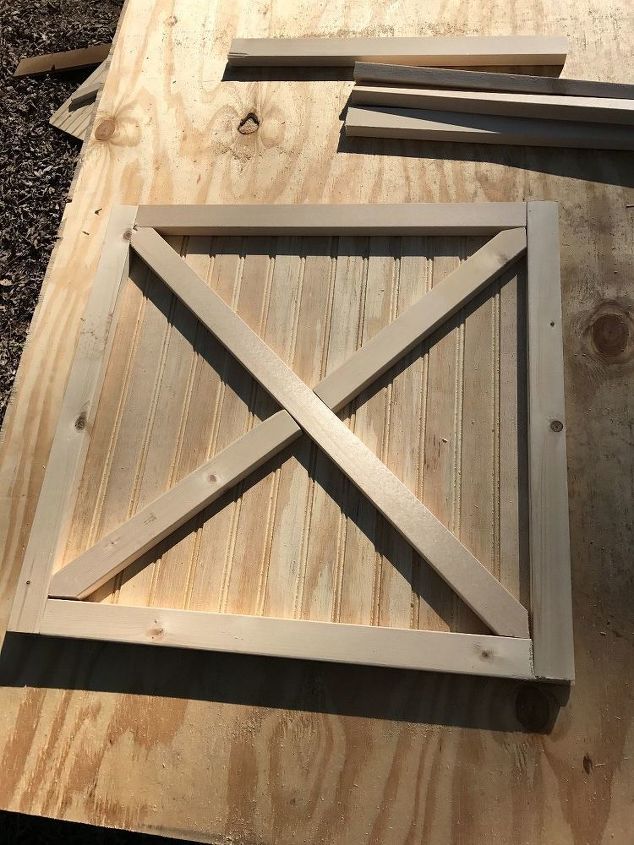
I started out by cutting the walls and door out of the beadboard plywood. I added the frame of 1x2's around the border on top of the plywood with my nail gun, and then cut the pieces for the "x". Now, this was tricky but I took a carpenter's square and made a 90-degree angle at both ends and cut it off. The 90-degree angle worked for the walls, but the door was different. I laid the piece of 1x2 on the door and had to mark and cut a few times till I got it to work.
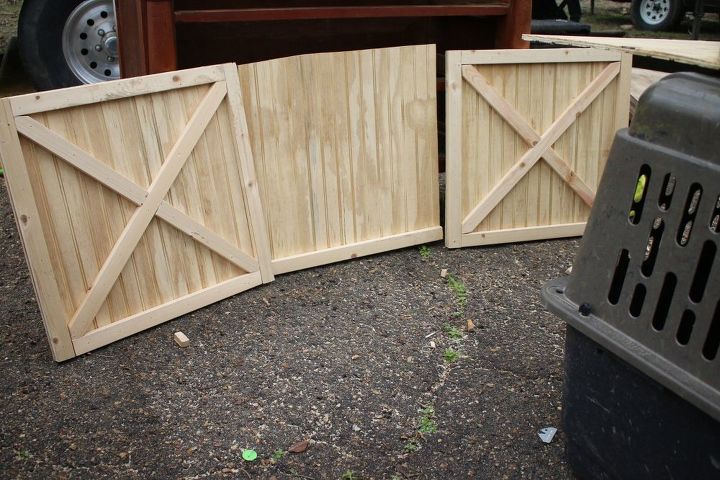
the walls
the middle wall I ended up putting 1x2s along all sides. just without an "x" .
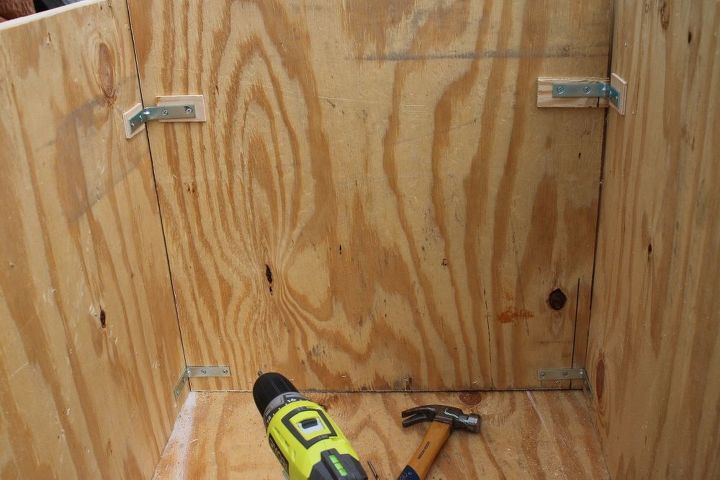
The brackets that held the walls together.
Now that I have the walls made I placed them on the bottom piece to see exactly where I wanted them and the attached them together with 2 Big metal 90degree brackets on both of the corners where the walls joined together. (IMPORTANT TIP: I predrilled all holes so that screws wouldn't split the wood).
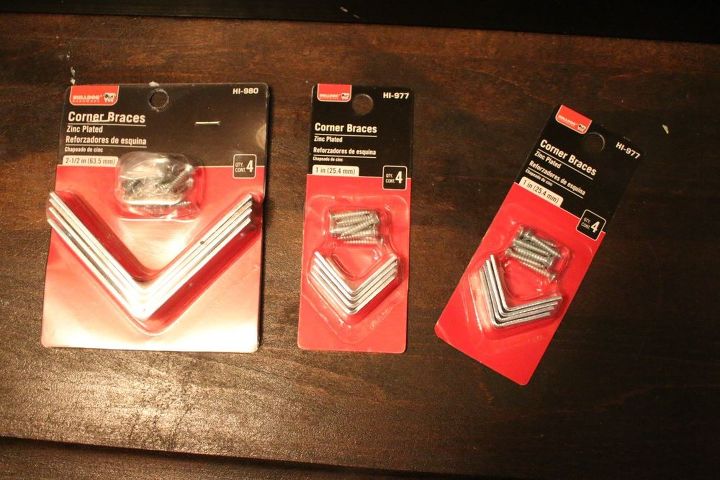
the 90 Degree brackets
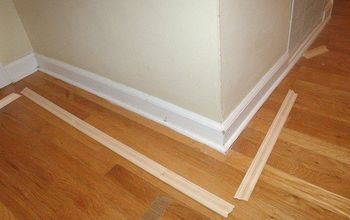
I wanted to have a stained shelf. So I bought something that wasn't going to be too thick, so I found this thin piece of Birch "plywood" in the trim area of the hardware store. I got it in a 1/4 2ftx2ft piece. I cut the piece to fit into my walls, then predrilled and screwed 2 small 90 degree brackets into each wall so the shelf just sat right on the brackets. Then I cut and nailed a 2x4 to go across the top front of the walls to attach them and also to place the barn door mechanism on
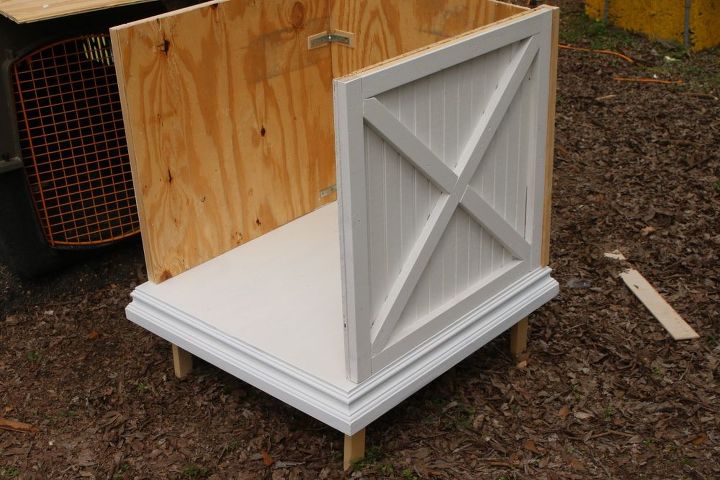
the walls put together.
Alright now to the actual barn door mechanism! They have these steel bars that come in many sizes so I got a 1inch wide and 4ft long bar. 1 was good for the Big bar that goes across and the small bars that hold the wheels to the door. I cut the pieces with a metal blade and my jig saw to the lengths I needed and then started with the big bar.
With a 3/8th metal drill bit, I put two holes on each side of the big bar, clamped it to the 2x4 on the front of the table and marked where those holes needed to be drilled and drilled them.
Time to assemble the main bar. First, put the 2 1/2in 3/8th bolts through the hole in the bar then put the metal spacers on the bolt and put it through the holes in the 2x4 and finished with a nut.
The Wheels.
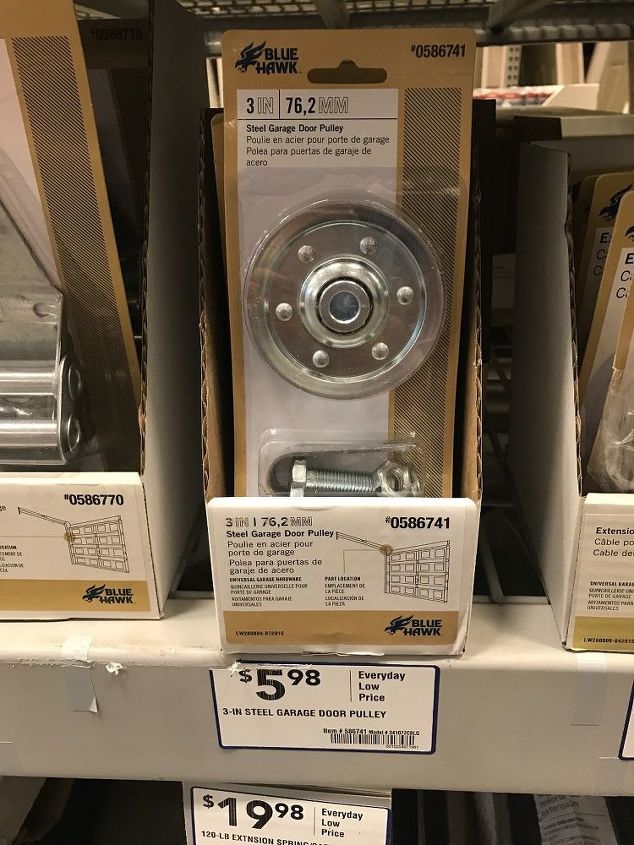
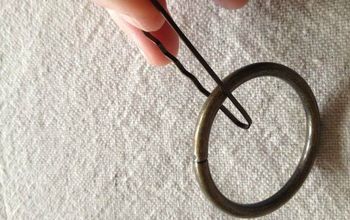
Now for the door. Also with the metal drill bit, I put 3/8th holes in the tops of the small bars and used a smaller metal drill bit to drill two small holes further down both bars to screw it to the door. The wheels I got were 3in steel garage door pulleys and I spray painted them black to match the steel bar. The wheels came with bolts so I used those to attach it to the bar.
First the bolt through the bar, then a 3/8th washer then the wheel, and another washer, then the nut. Now that I had the wheels attached to the bars I needed to attach them to the door. I had the wheels sit 1 inch off the tops the door because the bar is 1 inch wide and the top of the door will need to sit under the bar. I marked and predrilled those holes and with screws, I attached the bars to the door. Slid the wheels onto the bar and bam! Sliding barn door!
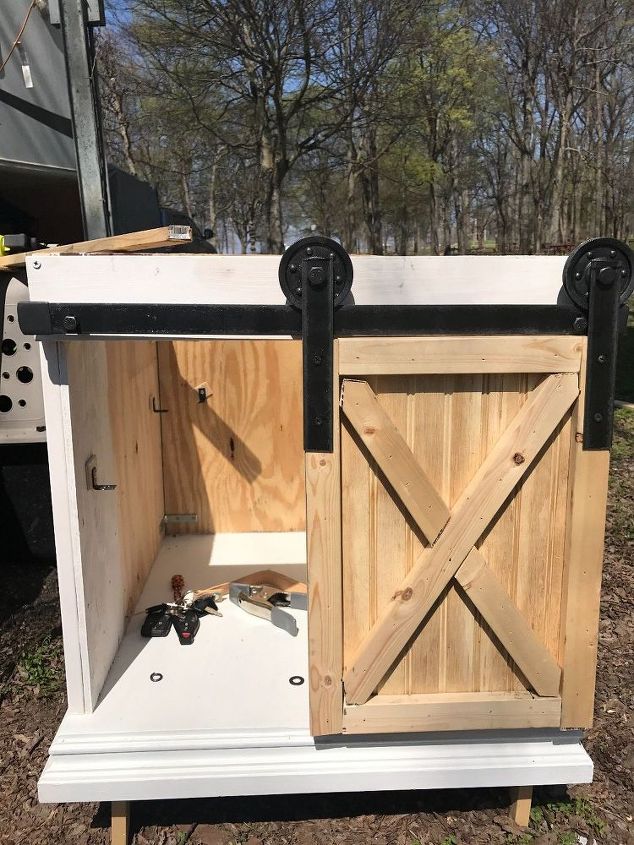
with the door on.
I attached the top and the bottom of the original table with nails and screws and finished it off with stoppers on each side of the big bar so the door wouldn't roll off.
I bought a cheap clamp from the hardware store that had these small rubber "sleeves" over the ends. I took those off and they fit right over the end of the bar and stopped the door from coming off.
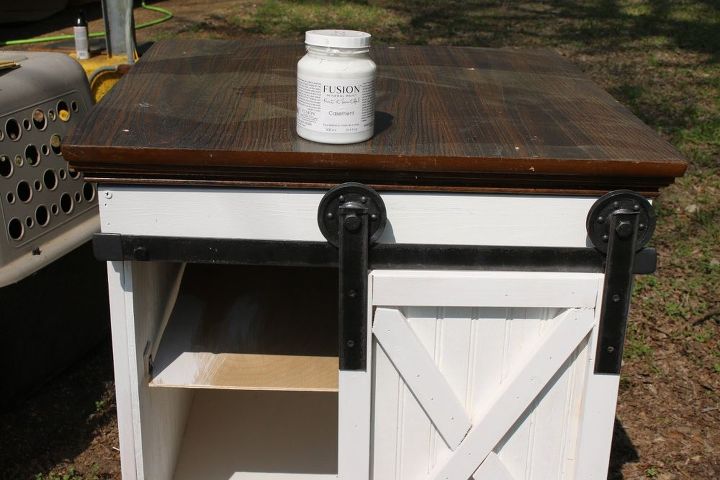
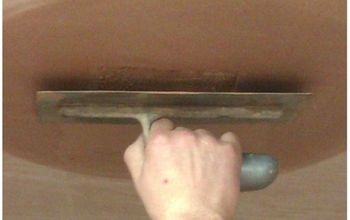
i used and entire pint.
I finished off by painting everything but the top with 1pint of Fusions Mineral Paint in Casement and waxed it all to seal. Now, because it was raw wood it soaked that paint right up if it wasn't it wouldn't have taken but probably half of the pint of paint.
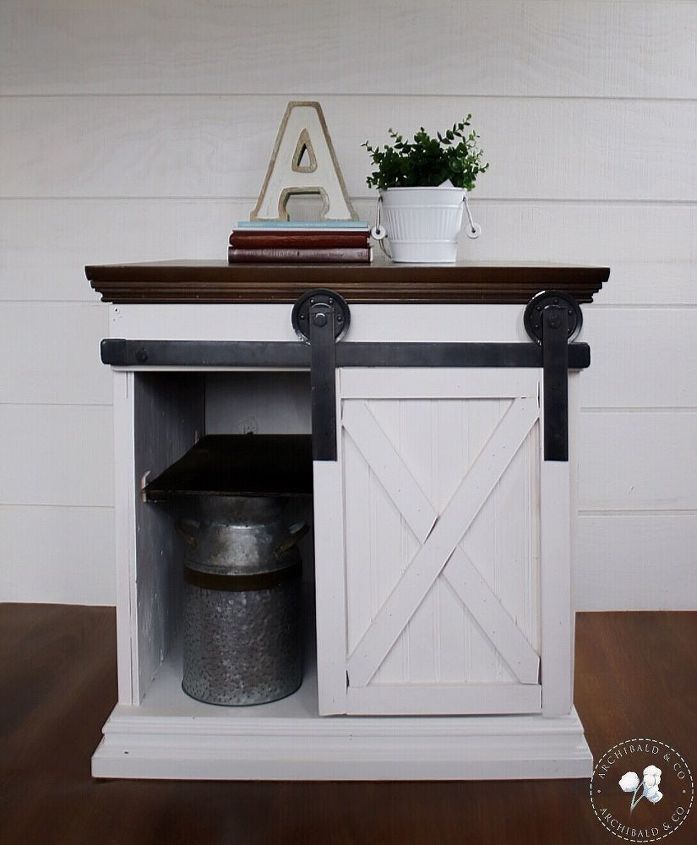
finished product!
This Project was so much fun to do and I can't wait to see if any of you recreate it! I know that this was ALOT of information so if you have ANY questions please don't be afraid to ask me!:)
Thanks so much for reading and being creative!
Have a Blessed Day!
Resources for this project:
See all materials


Any price and availability information displayed on [relevant Amazon Site(s), as applicable] at the time of purchase will apply to the purchase of this product.
Hometalk may collect a small share of sales from the links on this page.More info
Comments
Join the conversation
2 of 210 comments
-
Nice


Frequently asked questions
Have a question about this project?
What are the metal bars that are used for the rail the door slides on and where did you get them?
So you used the base and redid the entire table.??? Looks wonderful!!
What size were the bars that you attached the bar and door to?