


Tabletop Challenge: “She Sees All”

7 Materials
$20
2 Hours
Medium
I wanted a country look in my small, hall bathroom. As I sat and pondered what I could do without spending a lot of oola moola, I remembered a small table I purchased at a yard sale last summer. Off to my She Shed I went, I dug through my stash and finally pulled out the sweet, old piece. I think she may be from the 60s, but I am not sure. Anyway, it was a rainy day and I had housework to do, so I hauled the table to my dining room and began
working on her in between cleaning.
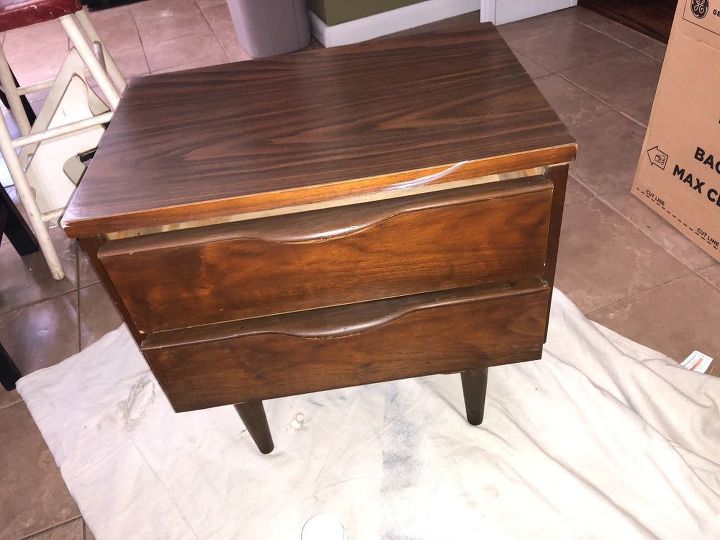
Gently, I sat her on top of a well-used drop cloth to protect my floors. I wiped her down on the outside and on the inside to prepare her for her facelift.
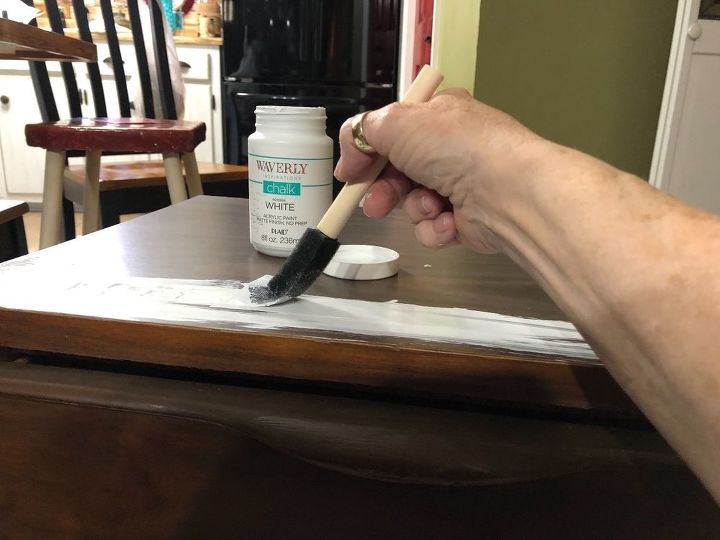
Using a sponge brush and chalk paint I painted the top of the table white.
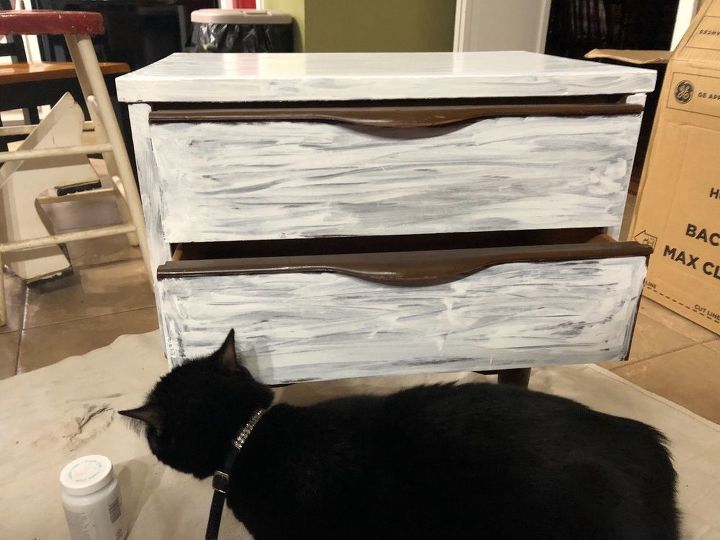
After I painted the top, I painted the sides and the drawers. I did not paint the handles. Silvey, my assistant checked things out. She gave me her approval 🐾. I left this to dry for about fifteen minutes.
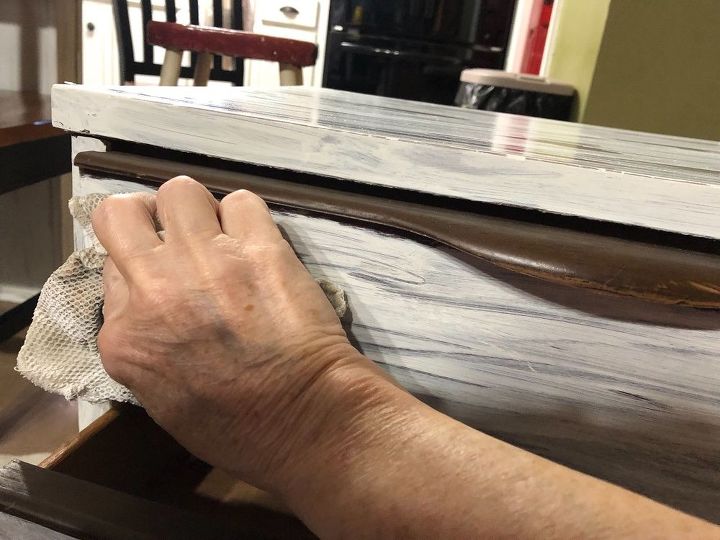
Using a soft, fairly damp rag, I began to wet distress the table to get the layered look. I had an idea of the look I wanted, but this was the first time I had tried this layering technique.
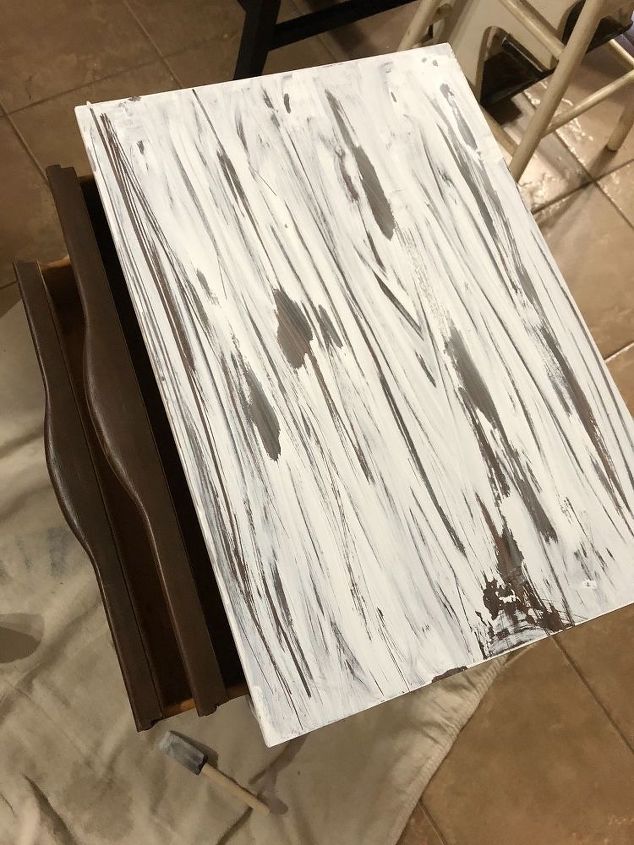
This is a picture of the table after the wet distress. The paint dried faster than usual. I think it would have been better if I had began wet distressing after ten minutes instead of fifteen.
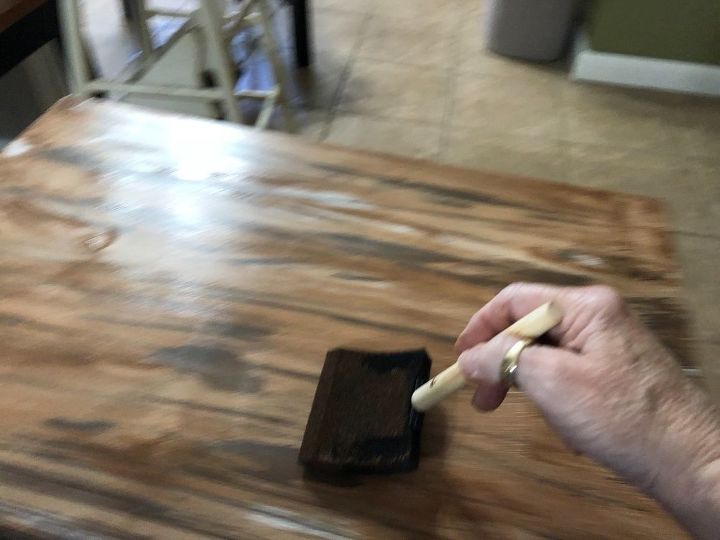
In order to achieve the layer look, I painted over the white, wet distressed top using brown chalk paint and a sponge brush.
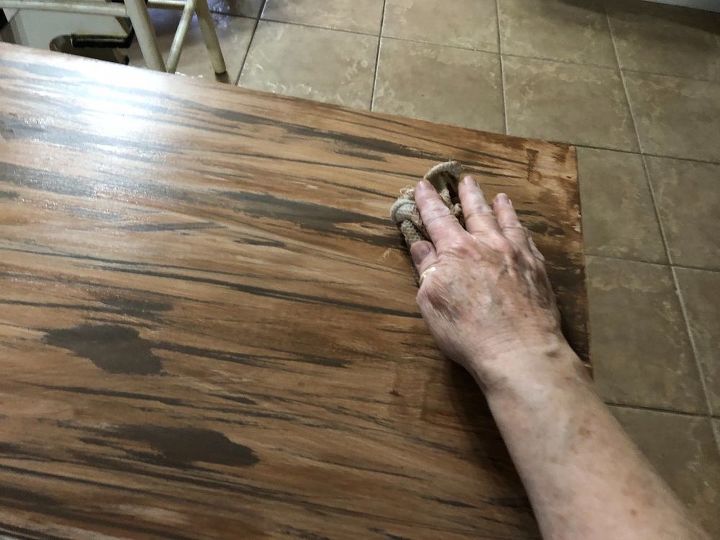
I only let the brown layer dry for twelve minutes (I sat a timer) before I began to wet distress the brown top layer. This worked better. I am not sure why the paint dried faster on that day. Usually fifteen minutes is a good amount of time for the paint to set before wet distressing. This experience taught me to check the paint on each piece and not depend on previous paint drying times when wet distressing.
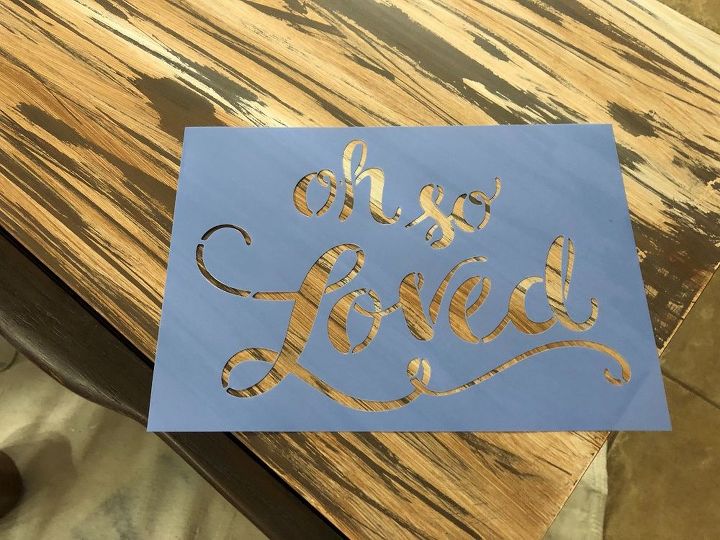
I sealed the paint with Waverly Wax. Next, I stenciled the tabletop on the bottom corner for added appeal.
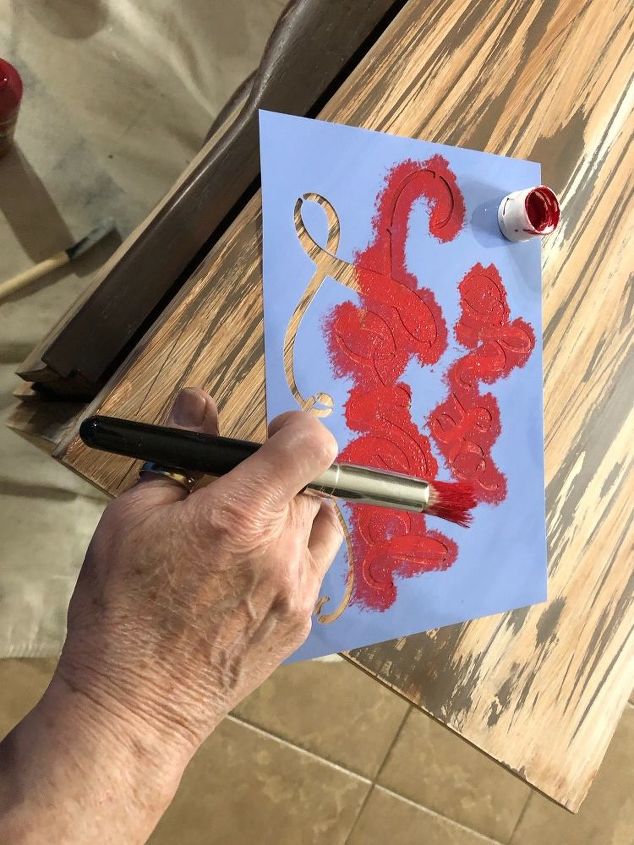
I used red acrylic paint and a small stencil brush for the stenciling.

The red color for the stencil on top of the white and brown really popped. Oh yea!
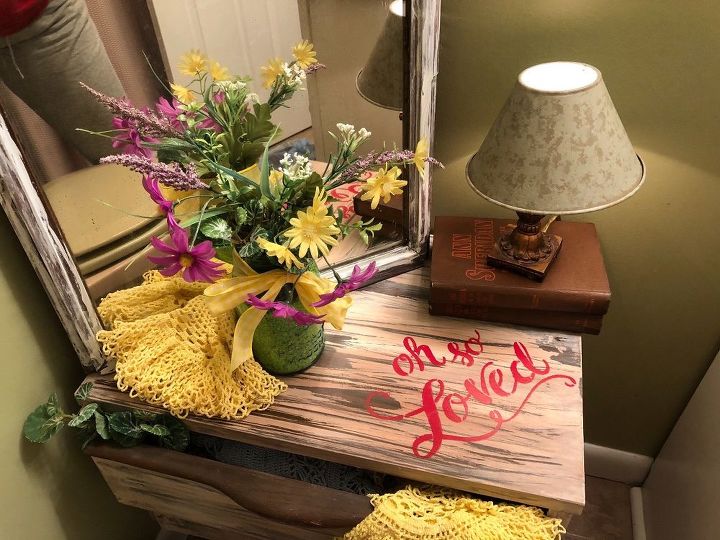
Here she is in all her glory, kinda like the Quilted Northern Bathroom Tissue commercial, you can forget your bathroom trips, but this sweet, old piece cannot, “she sees all”LOL!
Happy DIYing.
Susan
PS When using the layering technique, if you want more of your first color to show, you can seal it and let it dry before adding the second color. To protect the paint, you will need to seal the second color again after you wet distress.


Any price and availability information displayed on [relevant Amazon Site(s), as applicable] at the time of purchase will apply to the purchase of this product.
Hometalk may collect a small share of sales from the links on this page.More info
Comments
Join the conversation
2 of 30 comments
-
The words Oh, so loved is so appropriate for this piece.
-
Thank you!


Frequently asked questions
Have a question about this project?
This is a beautiful piece - I have never tried the wet distressing - do I have to use Chalk paint? I want to try this technique!
thank you!
Which stencil did you use? The link only takes it to Amazon. I’d like a personal saying too.
Which stencil did you use? The link only takes it to Amazon. I’d like a personal saying too.