


How to Make Real Wood Shutters for $30
The original exterior wood shutters on our 130-year-old farmhouse were completely rotted and needed to be removed. They were starting to become more of an eyesore than the beautiful addition to a home that exterior wood shutters should be. Although they were in terrible condition, it was still a difficult decision to remove them but I knew that it needed to be done.
After removing them, the house lacked the charm and curb appeal that the old outdoor wood shutters provided; but replacing them would cost $200 each, so I decided to create DIY wood shutters.
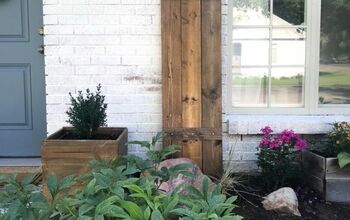
The traditional design I chose is very similar to popular faux wood plantation shutters or interior wood shutters found in stores with slats or, louvers and a pull. The end result not only added curb appeal but restored the appearance of the house to its former elegance!

You Will Need:
- Pressure Treated Lumber (2x3s and 2x4s cut to fit your own window size and numerous ¼ inch slats)
- Table saw
- Chop saw
- Planer
- Hand sander
- Brad nailer
- Weather-resistant wood glue
- Deck screws
- Spray Paint
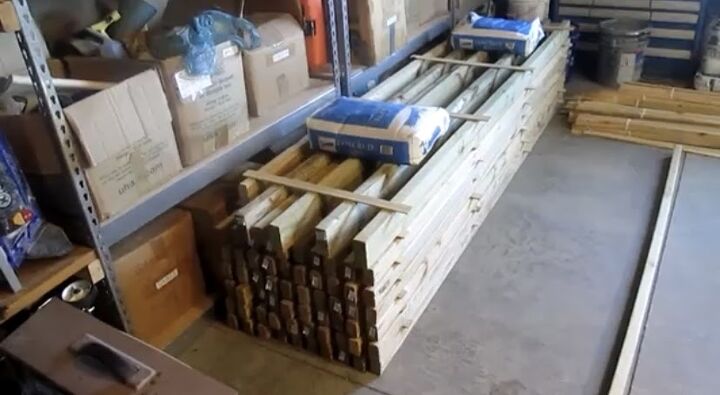
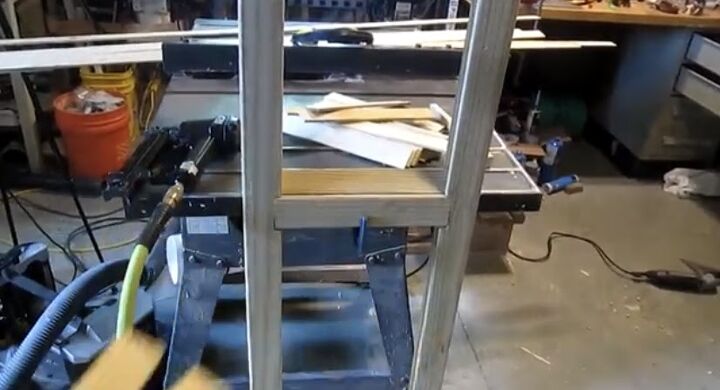
Step 1: Dry Wood
Because the wood purchased from home improvement stores usually contains a lot of moisture, I stacked my wood and separated it with spacers. I weighted the top and then aimed a fan at the stacked wood to dry it out before using it to the shutters.
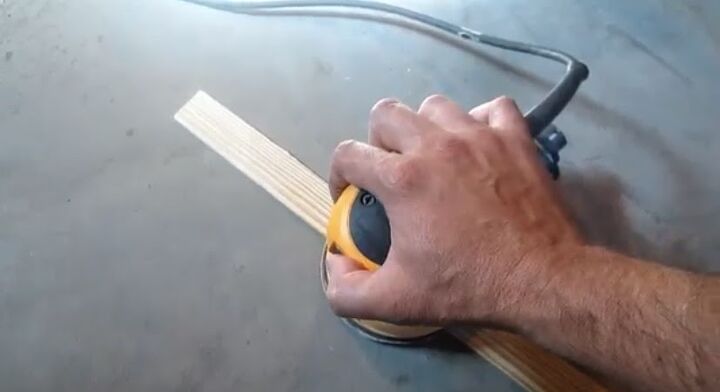
Step 2: Sand slats
The slats of wood are very rough so I used a hand sander to quickly remove some of the rough texture. If you are making a large number of shutters this could be time-consuming so rather than sand excessively, just concentrate on creating a smoother surface
Step 3: Cut Slats
I used a chop saw to cut all of my slats. These will serve as the louvers inside your shutters so the width of your slats will depend on the dimensions used for the shutters in your project. Just be sure to cut them all the same size.

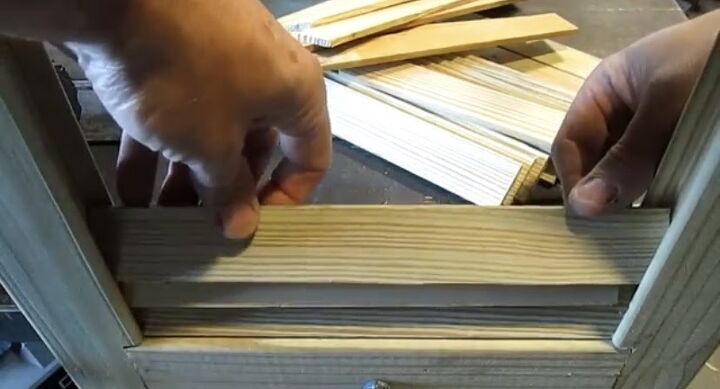
Step 4: Cut Notch
I needed a one inch wide by half-inch deep slot in the side rails to house the louvers.
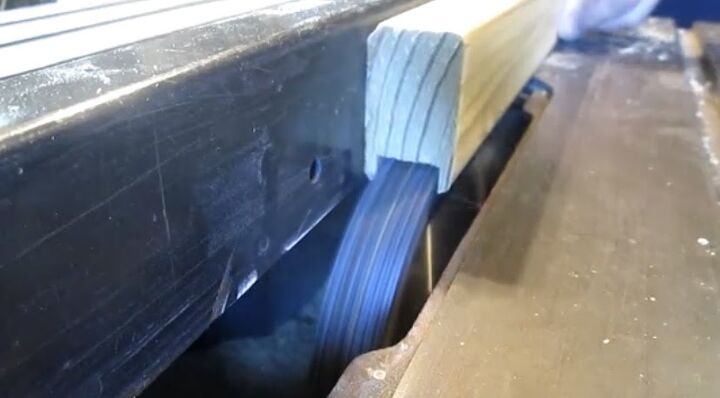
Ideally, a stacked dado saw blade set would be used to cut grooves into the board but I combined 15 saw blades to create the one-inch wide cut I needed to make in order to cut the notch in my board. This notch, or channel, holds the louvers in place.
Step 5: Measure Cross Member and Cut Notch
I wanted my cross members to fit flush inside my side rails so I measured the width of the cross member board and cut the sides of the notched rails off with an oscillating saw.
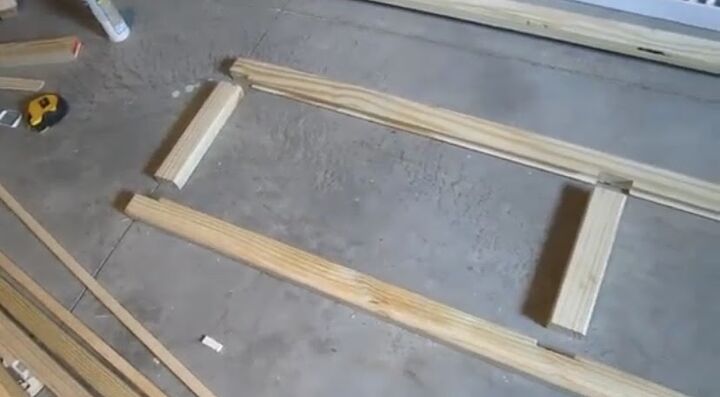
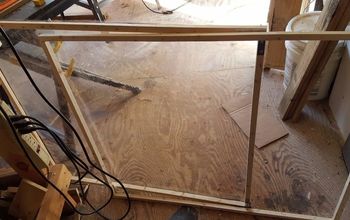
Step 6: Assemble Shutter Frame
I set my two side rails with the notches cut out and the cross members on the floor in the position that I would attach them to build the shutters.
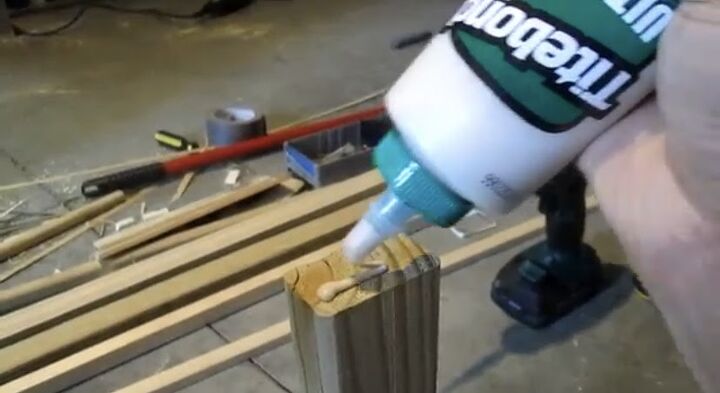
Step 7: Glue Shutter Components
I attached the shutter components using all-weather glue and then followed the glue with deck screws for a sturdy frame. Use a strong, waterproof glue that is intended to adhere wood to wood.
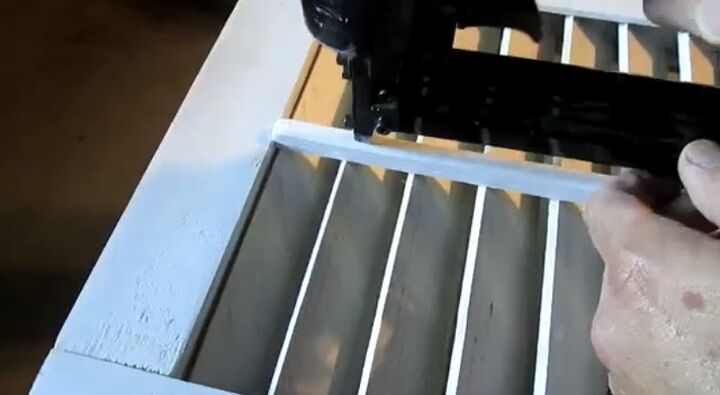
Step 8: Add Slats to Shutters
I stood the shutter up and used a pneumatic brad nailer to fasten the first slat at the bottom and then used a ½ inch block of wood as a spacer to evenly space the slats as I continued installing the slats up the shutter.
Make sure to have the sanded side face you and check to ensure that they are square every few slats.
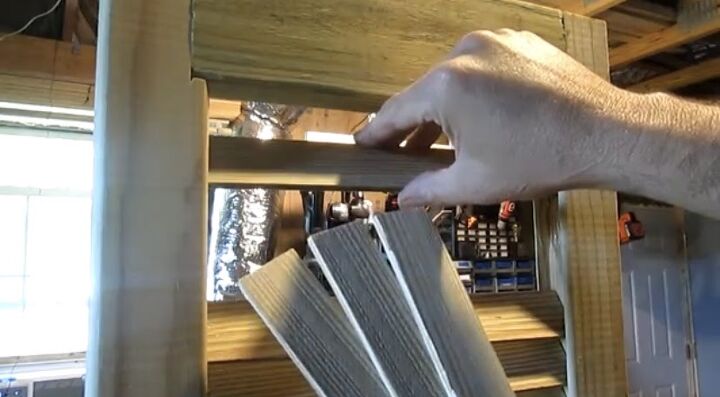
When I reached the top of the shutter, I added 4 slats at once because there was no longer room to insert them at an angle as I had been doing the rest of the way up.
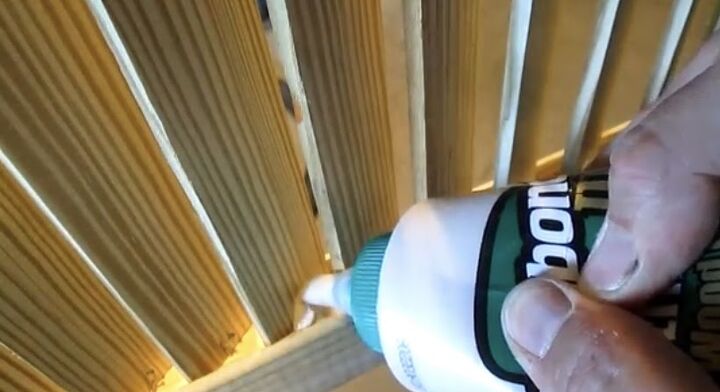
Step 9: Glue the Slats
I turned the shutter on its side and applied a generous amount of wood glue to the inside of the channels where the slats meet the edge.
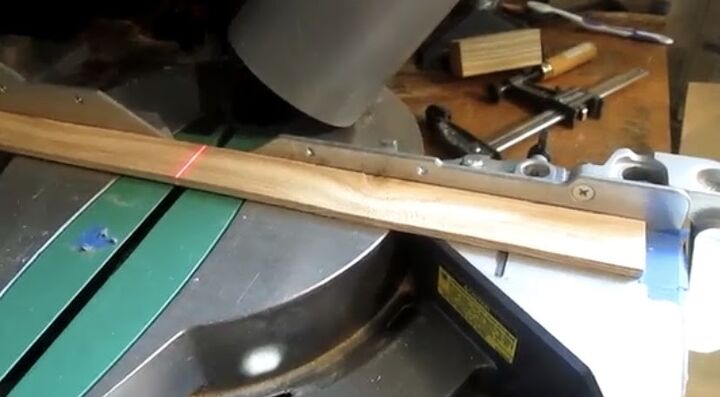
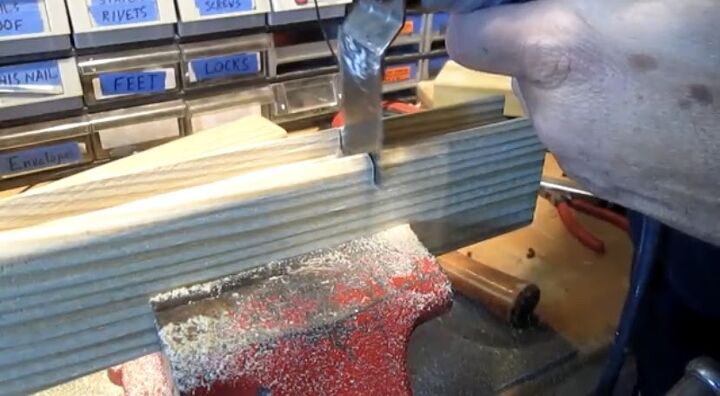
Step 10: Make Louver Pulls
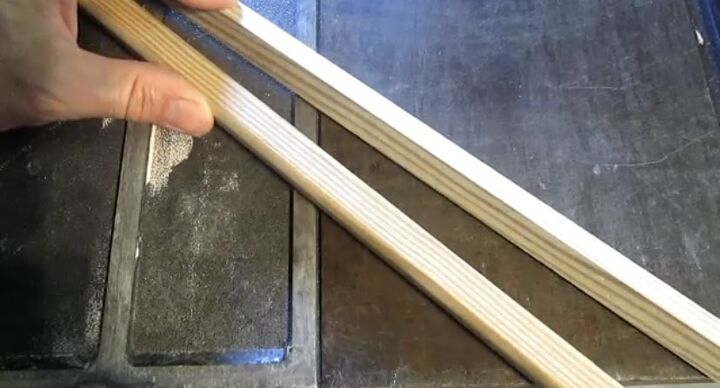
Because it wasn’t possible to find the size of wood used for the louver pulls on the original exterior wood shutters, I made them myself. I cut a 1x2 in half, and then used a planer to get it to 1/2 x ⅜.
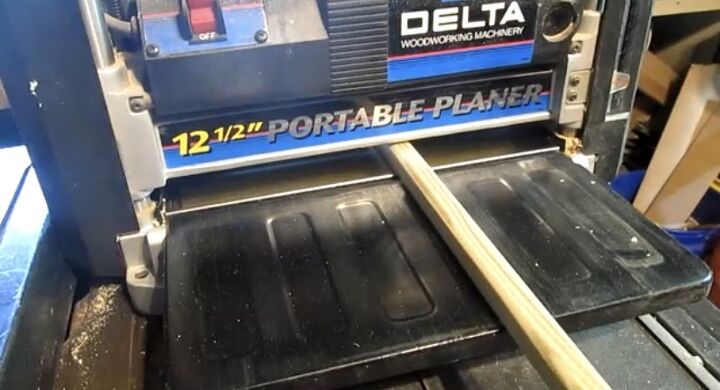
I cut a 1x2 in half, and then used a planer to get it to 1/2 x ⅜.
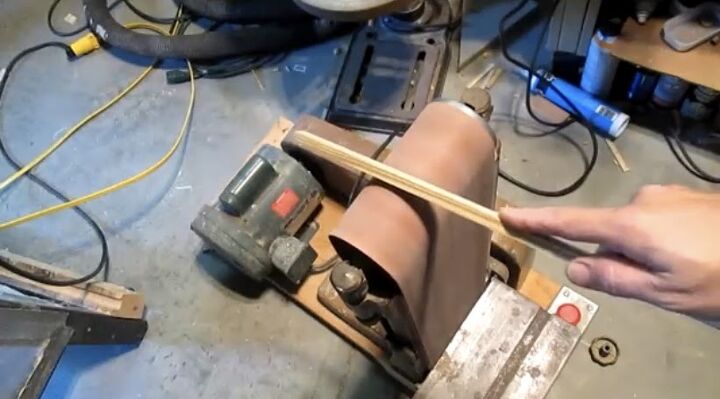
To better mimic the look of the original pulls, I then rounded the edges with a belt sander.
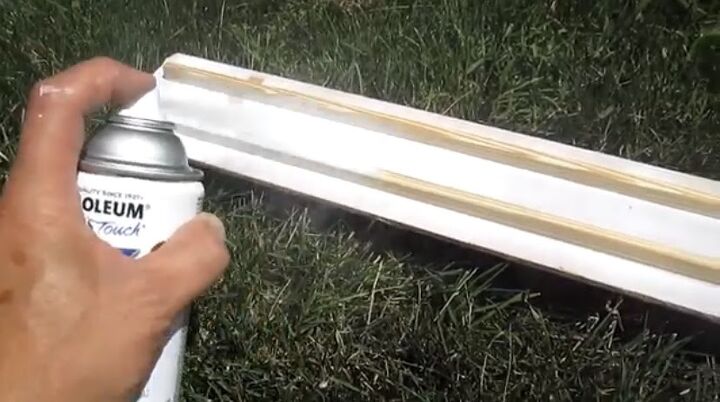
Step 11: Spray Paint Louver Pulls
I spray painted the louver pulls and then painted the shutters white and let them thoroughly dry before attaching the pulls to the slats.
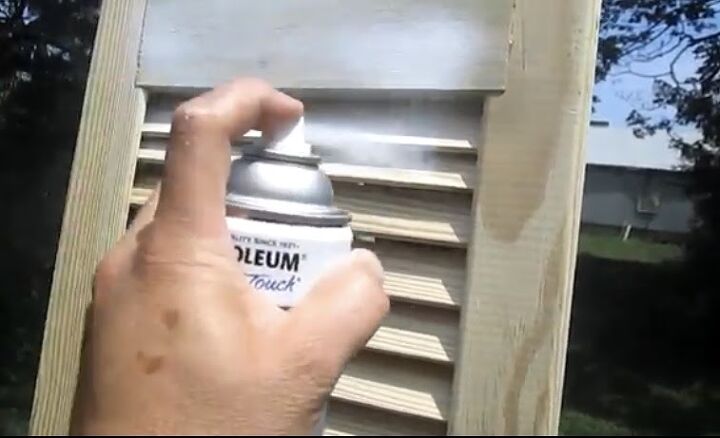
Step 12: Spray Paint Shutters
I spray painted the louver pulls and then painted the shutters white and let them thoroughly dry before attaching the pulls to the slats.
Step 13: Attach the Pulls
I used a brad nailer to carefully attach the thin louver pulls to the slats. Use caution not to split the thin wood of the slats.
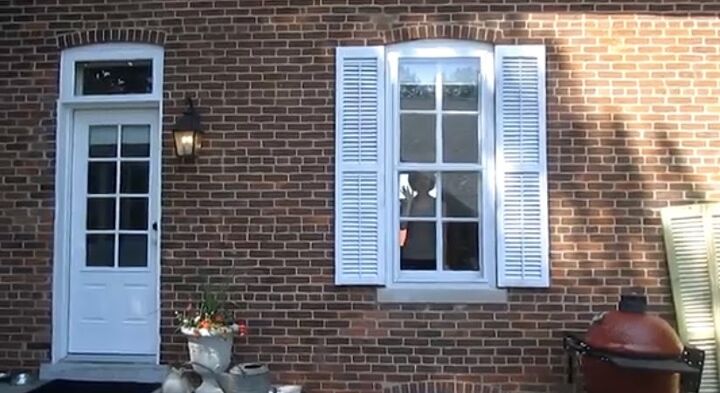
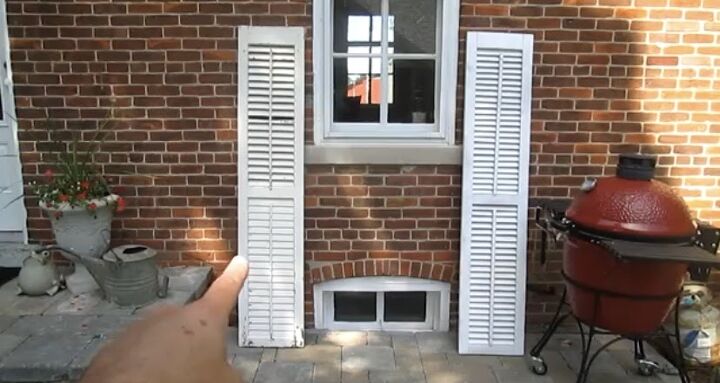
Step 14: Install the Shutters
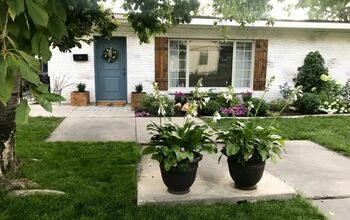
I positioned the new DIY wood shutters next to the windows in the exact spots that the old ones used to hang. Depending on what kind of surface you are attaching your shutters to, be sure to use an appropriate method to secure them. Enjoy and admire your work and the beautiful result!
Having the right tools and putting forth the effort to complete this DIY wood shutters project saved me thousands of dollars and restored the former beauty and charm of the home. Adding DIY wood shutters to any home will completely transform the appearance and add an expensive look without spending a great deal of money on materials or professional installation. There is no denying that a home with outdoor wood shutters has much more curb appeal than one without!
Have you improved the look of your home with exterior wood shutters or changed a room with interior wood shutters? Share your own DIY shutter projects or find inspiration for your next DIY project at Hometalk!
Resources for this project:
See all materials

Comments
Join the conversation
-
No wonder new ones would cost $200. That's a lot of work and equipment. You did a great job they look wonderful.
-
Wow! Just WOW!


Frequently asked questions
Have a question about this project?
Wow. This is an advanced project.
You can attach 15 blades together??
If I had the slightest knowledge and the tools to build this, I could build all sorts of things... anything for my home!