


Make Your Own Barn Door - Save Hundred$
11 Materials
$165
1 Week
Medium
Instead of spending hundreds of dollars on a pre-made barn door kit, you can make your own barn door and save lots of money.
See the full tutorial at: https://www.tracylynncrafts.com/craft-room-organization-5-diy-barn-door

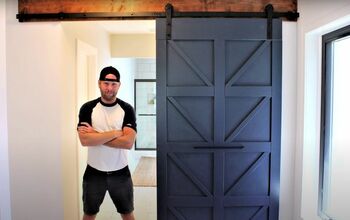
My finished barn door to match my craft room
The opening behind the barn door is the closet in the craft room. It was a pocket door that was broken beyond easy repair. That is when I decided to do a barn door instead of ripping out the wall to replace the pocket door.
We started with a 36"x80" hollow core door from Lowe's ($33.00) and framed it with premium-grade 2x4s from a quality lumber yard ($12.00). The barn door hardware was bought from Amazon ($80.00). This brought the total for the main construction to $125.00.
We also needed to buy some dowel pins and a long drill bit which added another $6 to the cost of the project.
Things like the six 3" wood screws and wood glue are things we had left over from other projects and the paint for the door is the same paint I used in the rest of the craft room.
Finally, we added some decorative corner pieces ($23.40) and cork tiles ($13.52) to make the barn door unique and functional.
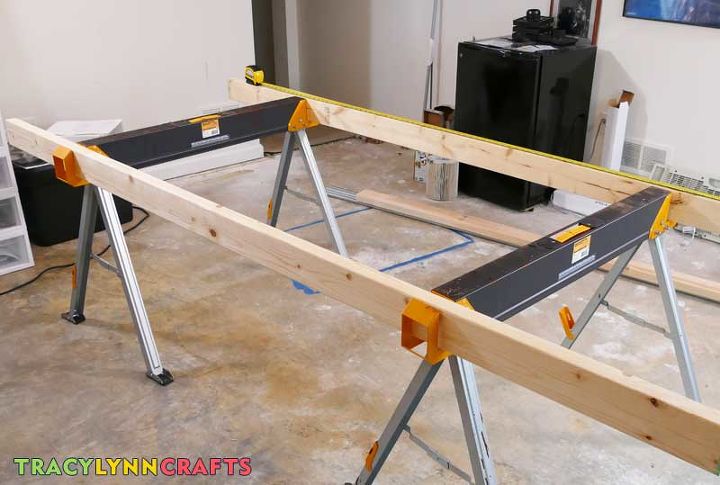
Mark and drill holes for dowel pins
We started by marking and drilling holes for the dowel pins for the left and right sides of the 2x4 framing. We used six dowel pins on each side.
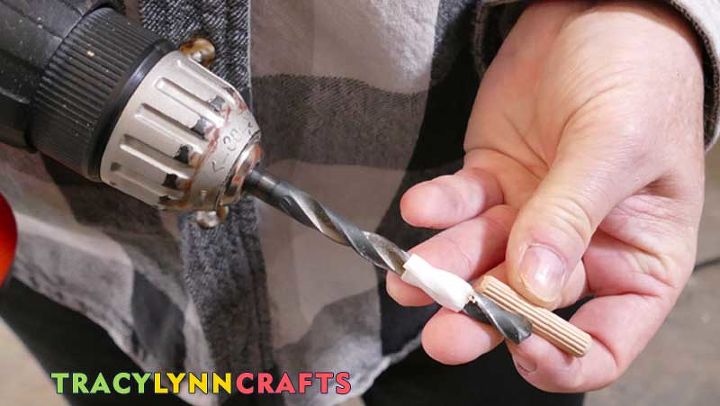
Wrap tape on the drill bit to mark depth
To make sure we only drilled in half the length of the dowel pins, we wrapped the drill bit with a piece of tape. Matching holes were then drilled into the sides of the door.
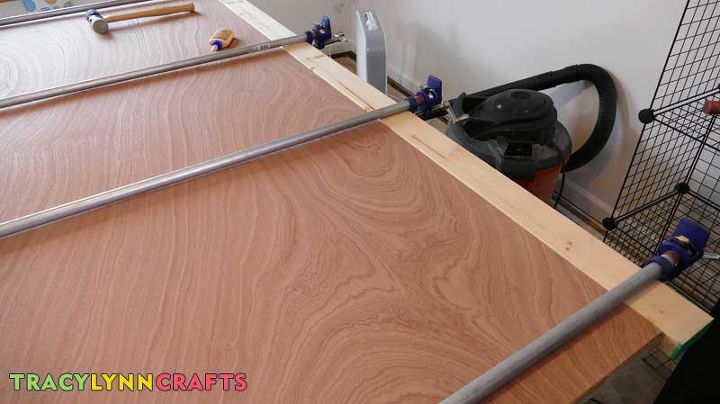
Glue and clamp the side frame pieces
Using wood glue, we put some glue into each hole, tapped in each of the dowel pins, then attached the side frame pieces to the sides of the door. We held these in place with clamps until the glue set.
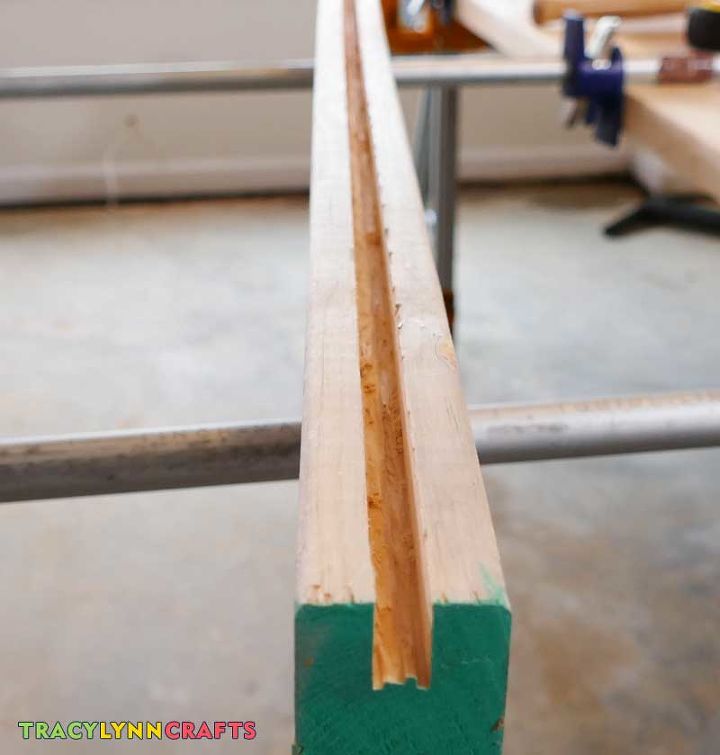
Channel for bottom frame piece
The barn door hardware came with a guide that attaches to the floor. This keeps the door from swinging away from the wall. That guide needs a channel. Since we do not have a table saw, we clamped the 2x4 into a vise and made three successive parallel cuts. Using a screwdriver and some light leverage/pressure, the wood popped out leaving this straight channel. I explain this in more detail on my blog post (link is at the top of this post).
This bottom frame piece was then attached to the bottom of the door using the same dowel pin method used for the sides.

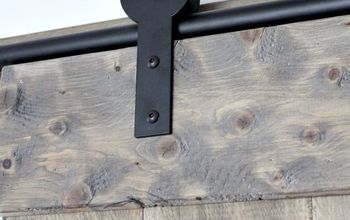
Top frame piece is screwed into the door
The top frame piece will carry the weight of the entire door so we decided to use screws in addition to the dowel pins. The screws need to go half way through the top 2x4 frame piece and into the door slab and side frame pieces. To accomplish this, we used the long drill bit to drill a pilot hole all the way through the 2x4. We then drilled half way with a wider drill bit. That wider drill bit had to be wide enough to let the head of the screw move through the wood.
We positioned these holes so that one on each end would go into the side frame pieces and the remaining four were evenly spaced across the top of the door.
After these holes were made, we attached the top frame piece with dowel pins, then screws.
Again, we clamped and waited for the glue to set.
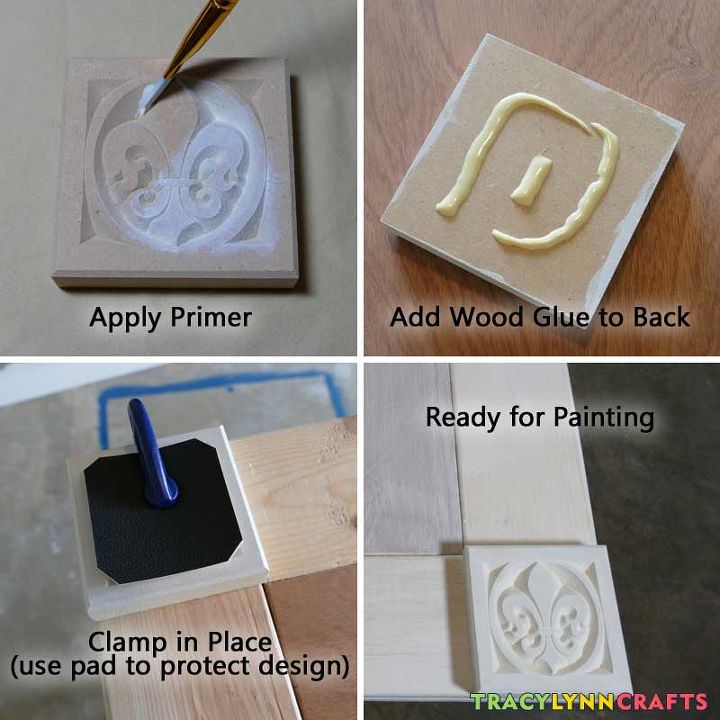
Adding the decoration
The barn door itself was done at this point but I wanted to add the decorative corner pieces. I primed them then glued them to the door.
Once the glue set, I primed the whole door.
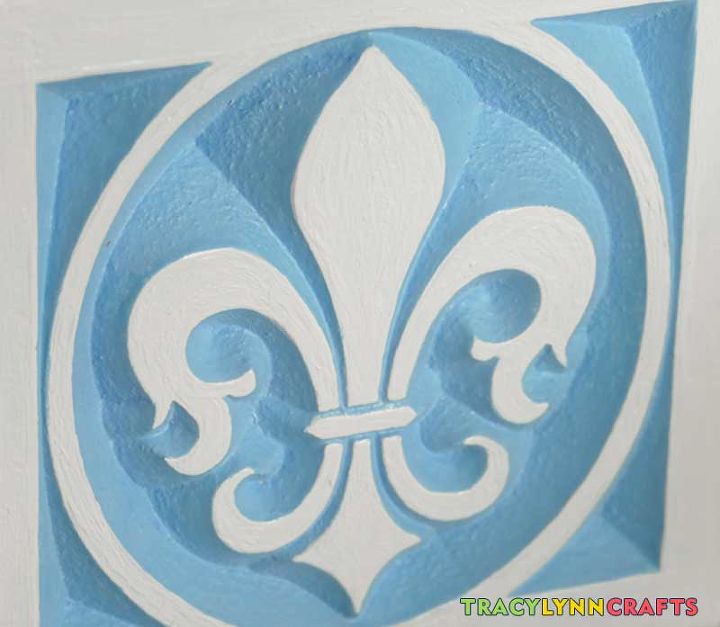
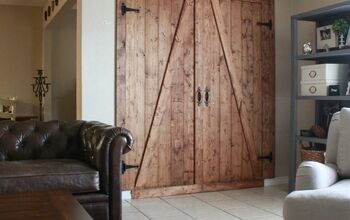
Painted fleur de lis corner rosettes
Next came the decorative painting of the fleur de lis corner rosettes. I used the same paint as the wall paint but darkened it a little for better contrast. The blue paint went on first in two coats followed by two coats of the same white gloss that I used on the trim in the room.
With the corners complete, I painted the rest of the door.
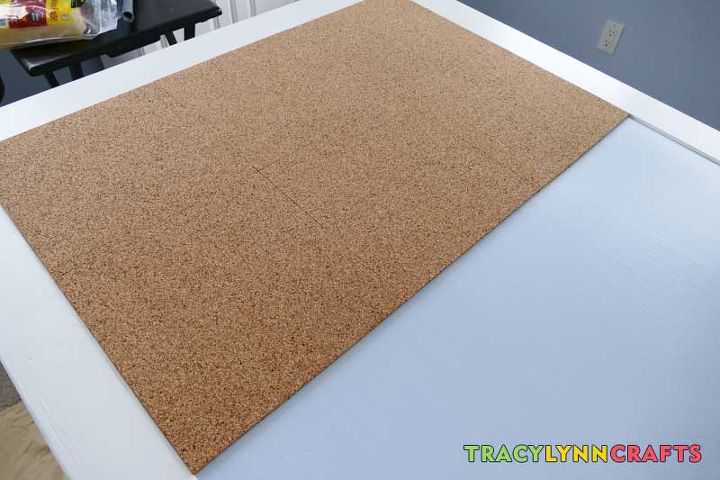
Cork tiles make the door more functional
I then added cork tiles to the barn door. This door is in the craft room so this gives us some additional functionality instead of just being a door.
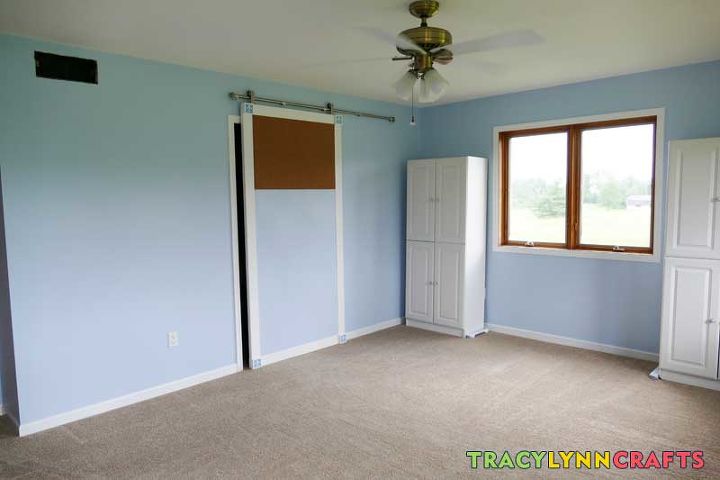
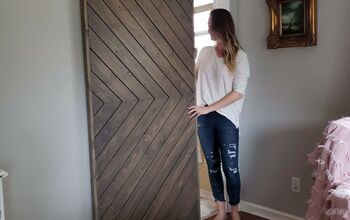
The barn door is now complete
Following the manufacturer's instructions that came with the barn door hardware, we got the door hung in about an hour.
The majority of the time spent on this project was the tedious care I took in painting the fleur-de-lis corner rosettes. Just the construction and hanging could be done in a weekend. Using all screws instead of glue could make the job take just a day.
It's so exciting to make something like this ourselves and save so much money in the process!


Any price and availability information displayed on [relevant Amazon Site(s), as applicable] at the time of purchase will apply to the purchase of this product.
Hometalk may collect a small share of sales from the links on this page.More info

Want more details about this and other DIY projects? Check out my blog post!


Frequently asked questions
Have a question about this project?