


Customize Your Room By Building Your Own Bed Frame

Building your own bed frame is a great way to customize any bedroom in your home. Bed frames can even be built by the novice DIYer on a shoestring budget. These frames can be styled to suit your decor, using odds-and-ends as headboards or providing space underneath for storage. Here are some great ideas for building your own DIY bed frame.
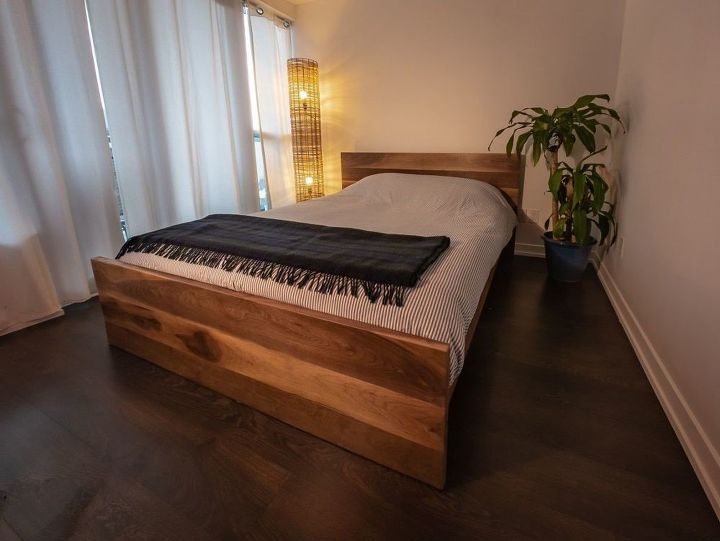
See post: Zac Builds|My DIY Solid Walnut Bedframe
Beds can be expensive, and it’s often difficult to find one that is exactly right for your room. Perhaps your room is small, or you need to have a special frame that supports a memory foam mattress. Building your own bed frame is a way that you can have what you want while staying within your budget. Typical metal bed frames are frequently wobbly or flimsy, and they don’t support the new style of foam mattresses.
Wooden bed frames are much sturdier and lend the necessary support for foam. Do-it-yourself beds can be as simple or as detailed as you like, but they all start with the basic construction of a frame. The following tutorial will allow you to build a basic platform bed frame that will support any type of mattress and/or box spring.

See post: Keri Snyder|DIY Twin Bed Frame
How to Build a Basic Platform Bed Frame
Tools and Materials:
- Tape Measure
- Woodcut to length
- Screws and a screwdriver--preferably electric or battery-powered
- Corner brackets (sometimes referred to as “L” brackets)
Note: You need to be sure to measure everything very carefully. Because you spend a third of your life sleeping, you want your bed frame to be as secure as possible, and a mattress hanging over the edge of your bed could be a recipe for disaster!
Step 1: Measure
Carefully measure the bottom foundation of your bed. In a traditional bed configuration, the box spring forms the base of the bed and sits underneath the mattress. A memory foam mattress does not need a box spring, as long as it has the proper support. Be sure to measure the length and width of your bottom layer in order to be sure your platform is the correct size. The measurements provided are for a queen-size platform for the box spring and/or mattress.
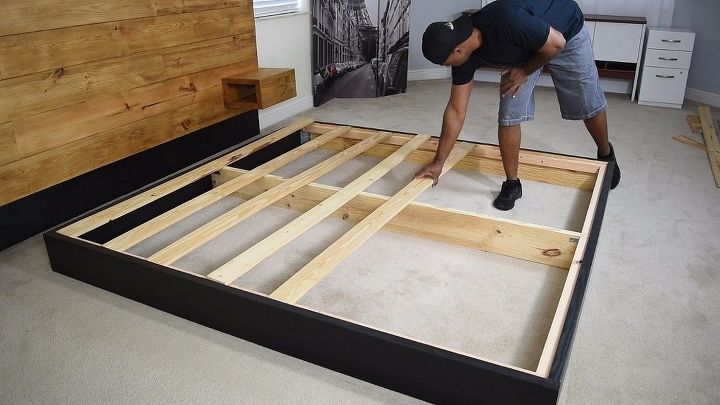
See post: Glen|DIY Platform Bed With Floating Night Stands
Step 2: Cut the Wood to Desired Lengths and Gather Your Hardware
Your first decision is whether or not you want your bed frame to show. If you are using a box spring and would like it to be invisible, you’ll want to build a frame that encircles the boxspring. That means buying a better grade of lumber that can be either painted or stained. You’ll also want it wide enough to cover the box spring. If you aren’t concerned about your box spring showing, or you don’t have a box spring, to traditional 2 x 6s are just fine. The basic platform bed frame is just to support the box spring or mattress, not to hide or envelop them.
The basic platform bed frame: (measurements are for a queen-sized bed, which is 80” x 60”)
- 2 pieces 77” 2x6 (the extra three inches will come from the 63” cuts)
- 2 pieces of 63” 2x6 (the extra three inches is to cover the ends)
- 5 pieces of 60” 2x6 (these go in the middle)
- 4 corner brackets (to secure the inside corners)
- Several dozen wood screws (3” decking screws work well)
- Battery-powered screwdriver (or electric with a good extension cord)
Step 3: Assemble the Platform
Assembling the platform is simple if you focus on the task-at-hand! Your longer 2x6s are the sides of the platform, while your 63” cuts are the ends. They go on the outside of the 77” boards to make the bed frame. The 60” cuts are the supports that are evenly spaced on the inside of the frame.
First, you make your rectangular frame with standard butt joints, screwing the sides together, 63” pieces into the 77” pieces. You may find that decking screws work best, as they are long and stout. Reinforce the inside of each angle with the corner brackets for extra support.
Next, slide the five pieces of 60” 2x6 inside the frame, approximately 15”-15 ½” apart and flush with the top of the sides. These are the supports for the bedding. Attach from the outside, using two screws on each end. This will ensure that your platform is secure and will hold your box spring or mattress firmly.
Note: if you are placing your mattress directly onto this platform, you will need to purchase a piece of plywood to fully cover the platform. A mattress may not be firm enough to remain rigid enough without the plywood. This plywood (80” x 60”) should be attached to the perimeter and supports approximately every 18 inches, using screws.
If you are using a box spring, a plywood base is not necessary, as the box spring should provide the support you need.
If all you are looking for is a simple platform bed frame, your mission is complete! Platform beds take up no additional space in a bedroom, and they lend a streamlined, more contemporary look. If you’d like a look that’s a little more finished, read on. With four more boards, four more brackets and a couple of handfuls of screws, you can create a more finished look for your bed frame by covering the foundation of your bed.
Covering the Box Spring or Mattress
If you’re covering the box spring, as mentioned above, using a 2 x 10 is a great way to cover it. A standard box spring is about 9 inches high. A 2 x 10 also secures the first half-inch or so of the mattress in order to avoid shifting. Paint or stain the pieces of wood before you put the bed frame together.
Another difference (besides the width of the wood) is in the construction of the frame. You’ll use all of the same woodcuts, with the addition of 2 pieces of 80” 2x10 and 2 pieces of 66” 2x10. These are used to “wrap” the standard platform frame so that the box spring or mattress doesn’t show. You will want the wood to be as straight as possible and have an appropriate surface for the finish you choose--for example, paint-grade lumber is fine if you’re going for a painted finish, while a better grade will be necessary if you wish to stain the frame. This outer layer is painted or stained before assembly so that only touch-up is required once you have the bed in place. You will also need 4 more corner brackets to secure the frame made from 2x10s at the top corner.
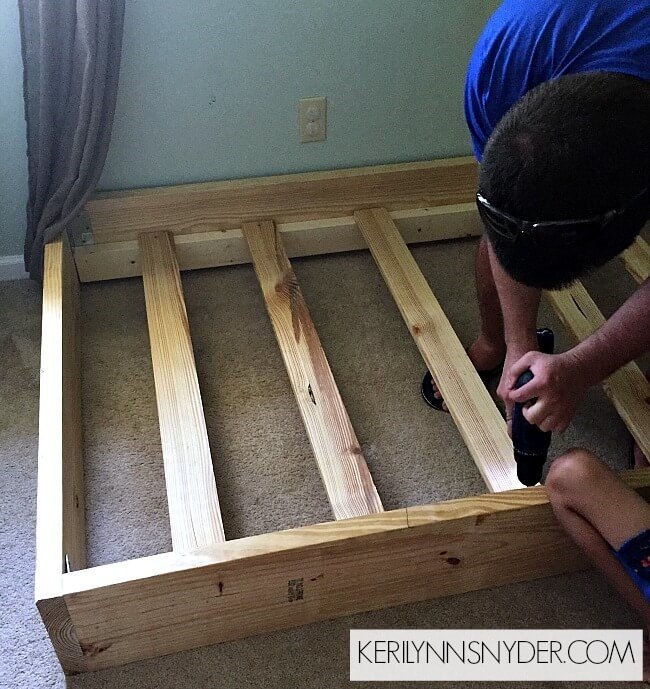
See post: Keri Snyder|DIY Twin Bed Frame
Before you secure your outer frame with screws, you will want to do a “dry fit” to be sure all the wood is properly cut. A dry fit is simply placing the boards in the proper places without attaching them. Once you determine the boards are the right length, you are ready for assembly!
To build this outer frame, place the 80” wooden sides alongside your platform and secure the sides to the platform with screws. Then place the 66” lengths on the ends and screw them into the platform as well. Attach the corner braces approximately 1” from the top of the inside corners of the wrap to help keep the boards in place. Touching-up the bed frame with paint or stain is next. Now your simple bed frame is complete!
Adding Some Flair to Your Bed Frame
For the more accomplished DIYer, the possibilities for customizing your bed are endless. Built-in side tables or nightstands, under-bed storage, and custom headboards are all great ways to show your style and save space if that’s your goal. Hometalk is full of great tutorials for customizing a bed frame, so take a look at all there is available to you.
One of the ways to customize your bed frame by adding legs to it. Legs of all different styles can be purchased wherever you find building materials, such as Lowe’s or Home Depot. You can also order furniture legs online. This is a simple way to raise your platform and give it some of your personal styles. Another option is to add industrial wheels to the bottom of the frame. These are not the small casters that come on the bottoms of typical metal bed frames, but the large wheels used in industrial or hospital furniture. Securing the legs with corner blocks is important, and there are plenty of great instructions for this on Hometalk.
See post: Heather Olinde|How to Make a DIY Headboard and Bed Frame
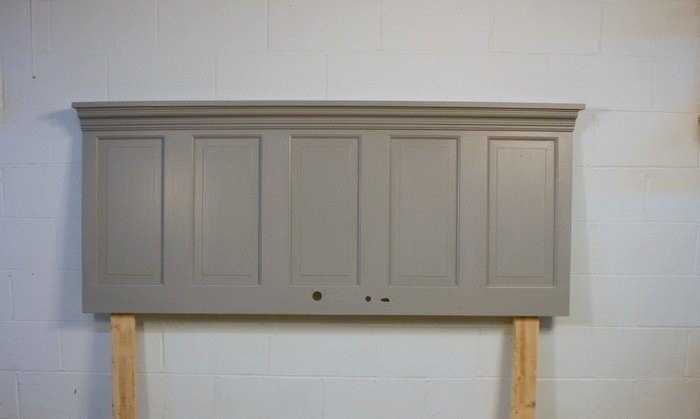
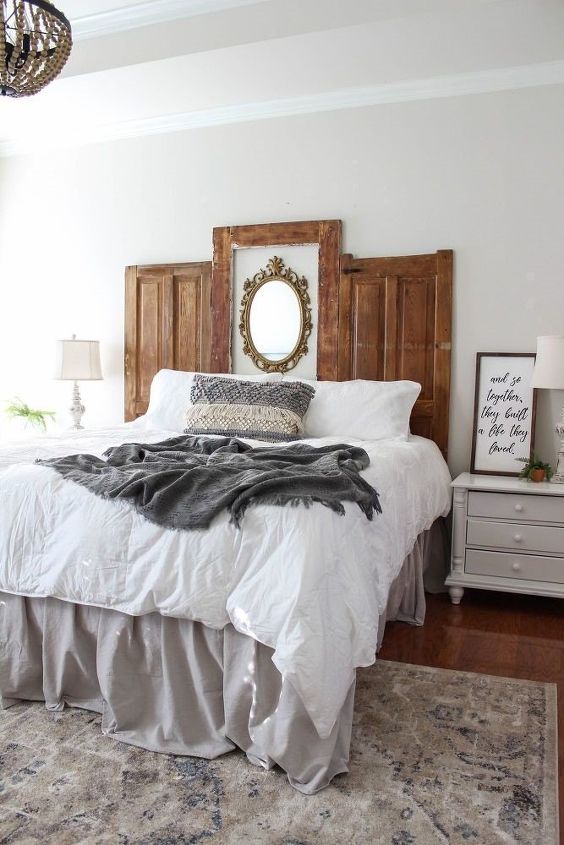
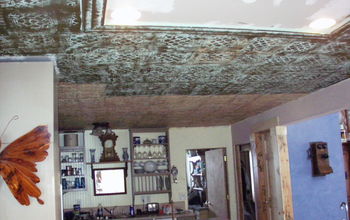
Another way to customize your bed frame is with a creative headboard. Headboards can be made from old doors, reclaimed wood, or vintage windows, as well as numerous other materials. Attach the headboard to the frame or directly to the wall and place the bed frame underneath. Be sure that the headboard is stable and secure to avoid falling.
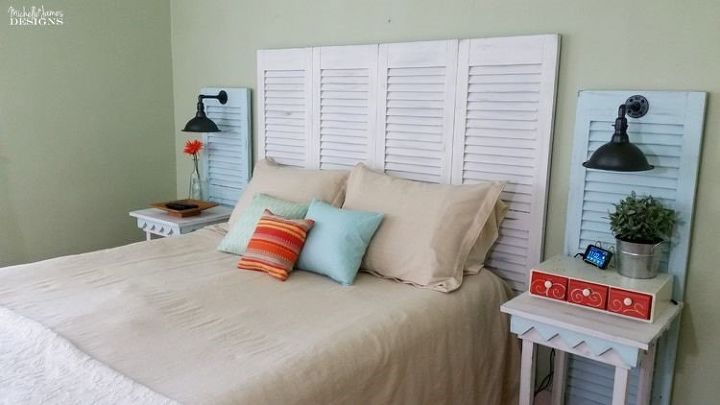
See post: Michelle James|Garage Sale Shutters Turned Headboard
Upholstered headboards have grown in popularity, and many Hometalkers are tackling this project. There are a lot of tutorials for upholstered headboards on Hometalk. They can be made quickly and economically, by attaching batting or foam to plywood and then simply “slip covering” or pulling fabric across the front and stapling on the back. If you desire something a little more sophisticated, there are tutorials to help you create a button-tufted or decorative tacked headboard.
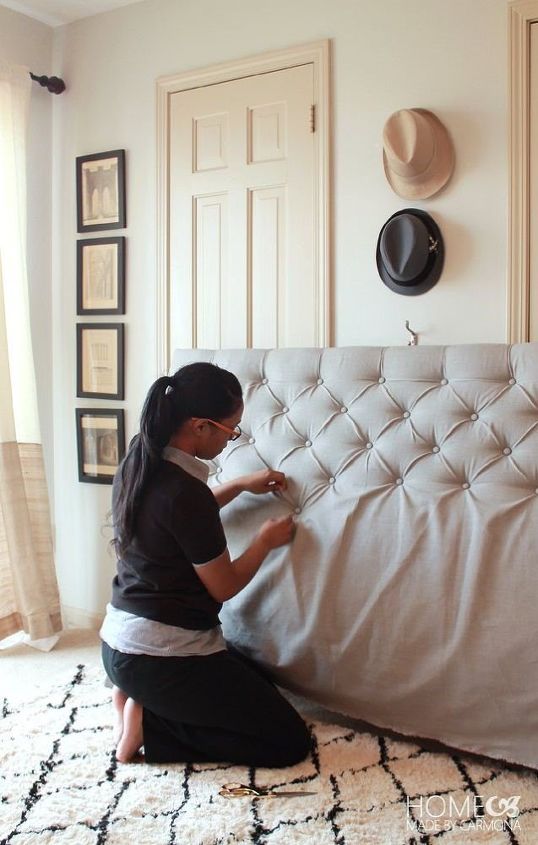
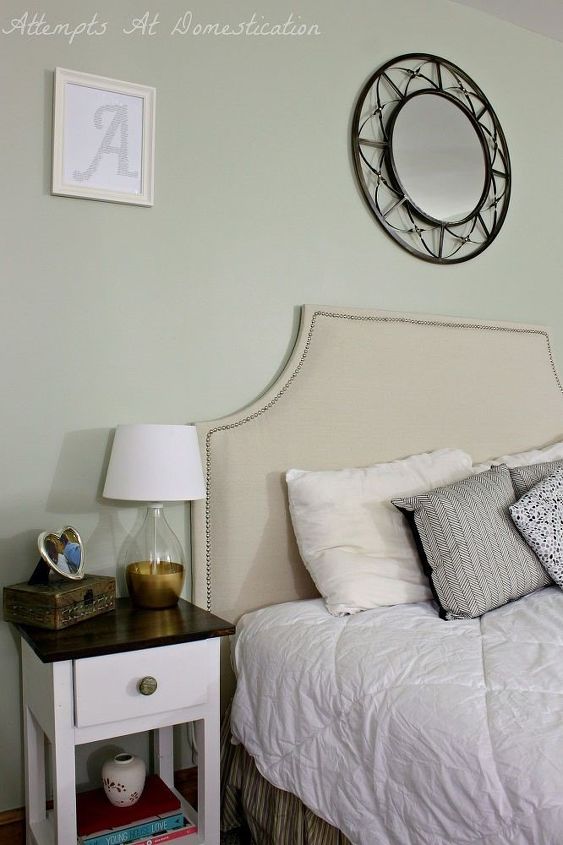
See post: Ashley Rowlands|DIY Upholstered Headboard
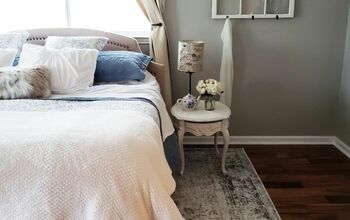
You can also personalize your headboard by adding built-in night tables. By extending the headboard beyond the bed frame, small ledges can be built onto the headboard. These ledges are perfect for a small lamp, book, and alarm clock. They can be painted or stained to match your headboard, or finished in a contrasting color.
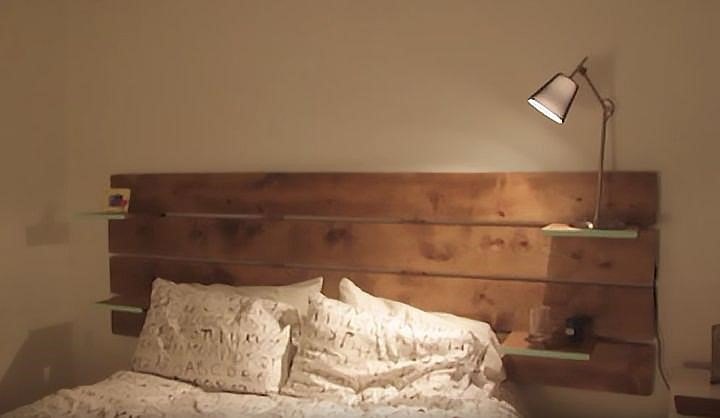
See post: MakingStuff|How to Make a Headboard With Embedded Nightstands
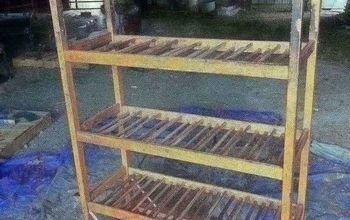
If you are comfortable with tackling more measuring, cutting, and assembling, there are so many talented Hometalkers who offer instructions for building platform beds with built-in storage.
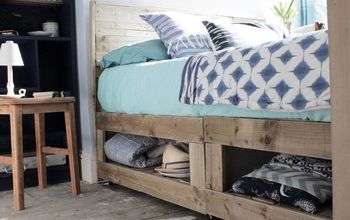
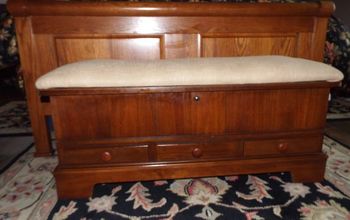
Use the instructions found on Hometalk to add storage underneath the platform, at the end of the bed, or along the sides of the bed. Add cabinetry for a built-in look if you want something truly custom. Storage can be open for books, shoes, or anything else to which you’d like easy access. You can use baskets or build drawers to store clothing under the bed. Cabinets hold folded clothes or shoes, and jewelry can be organized into compartmentalized trays or boxes.
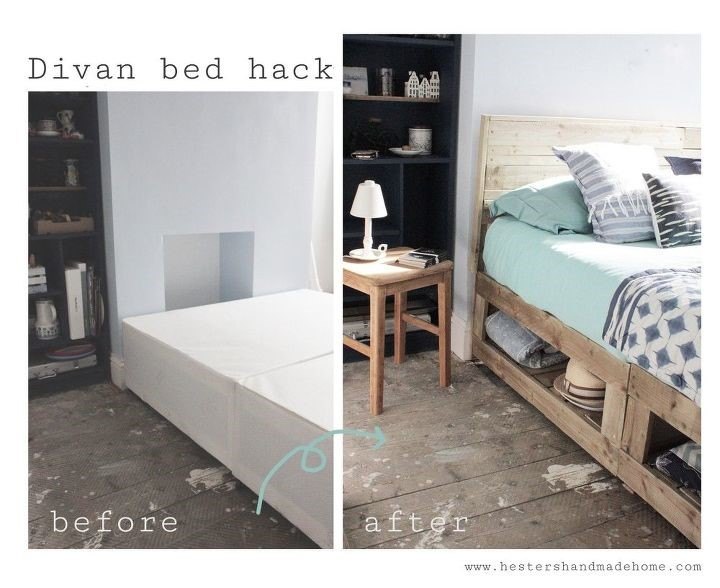
See post: Hester van Overbeek|Rustic Bed Hack With Storage
There are many different ways to customize your bed, but they all begin with the basic bed frame. As you can see from the wide variety of tutorials, you can make a basic bed frame easily and economically. You can also be brave and try some of the more advanced tutorials. After you finish your bed frame, find a way to make it your own. Then don’t forget to share your design with friends and on Hometalk!
Written for the Hometalk community by: Kirby C.
Comments
Join the conversation
-
We are moveing our grandson in to a bigger room and he needs a new bed. I am so going to try this thanks for sharing
-
looking for a basic frame thanks for sharing :)


Frequently asked questions
Have a question about this project?