


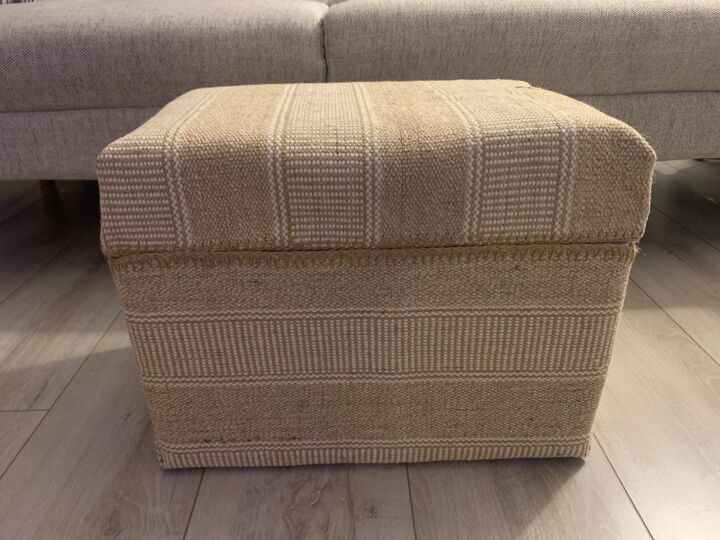
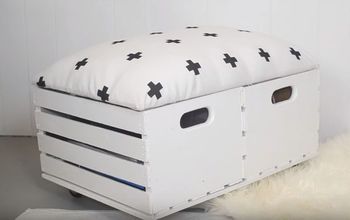
Storage Ottoman for $9, No Sewing!

I wanted to try and make my own pouf/ottoman because I couldn’t find one that had the color, texture and price that I liked. So while surfing IKEA site I came across the perfect rug, the price was $2.99 each. This project took about 2.5 rugs. I went into my garage aka the black hole! for what I call, industrial glue gun and found a cooler from when we ordered some food.
I got the idea off doing this project the easy way as soon as I spotted the cooler😃.
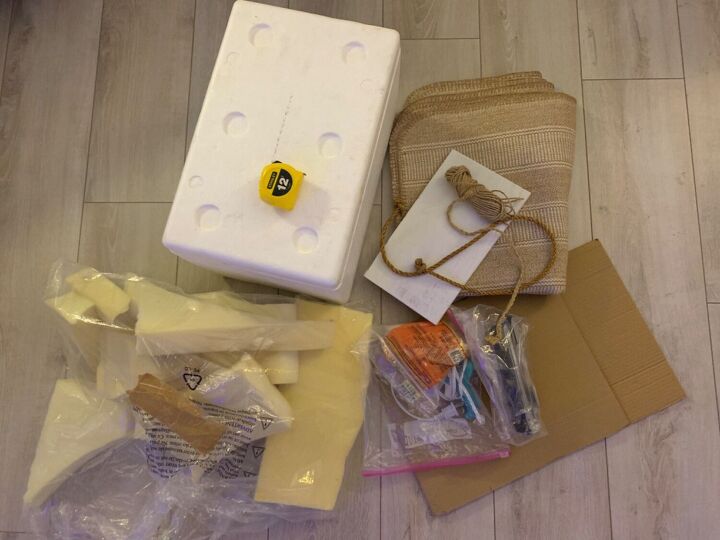
This is what I collected before I started. The cooler, left over foam, glue gun, a piece of board, cardboard tape measure, twine etc. not say I will need it all but just in case.
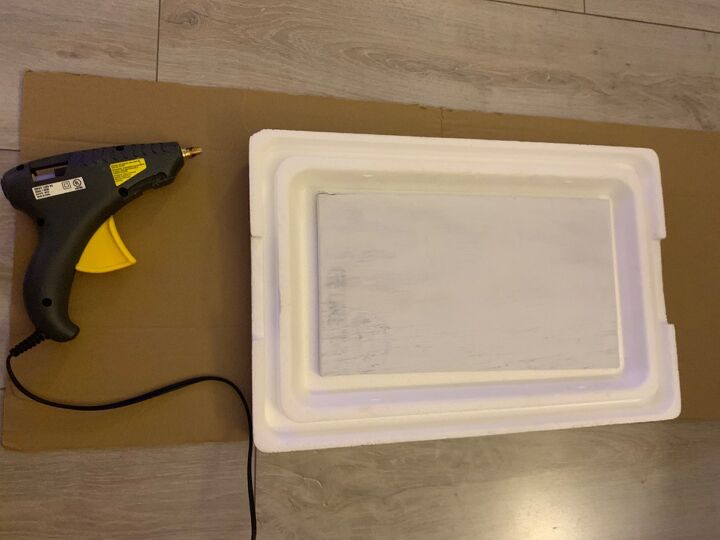
The first thing I did was to get a piece of wood and glued it to the inside of the cooler lid, this was to make it feel more secure for the feet.
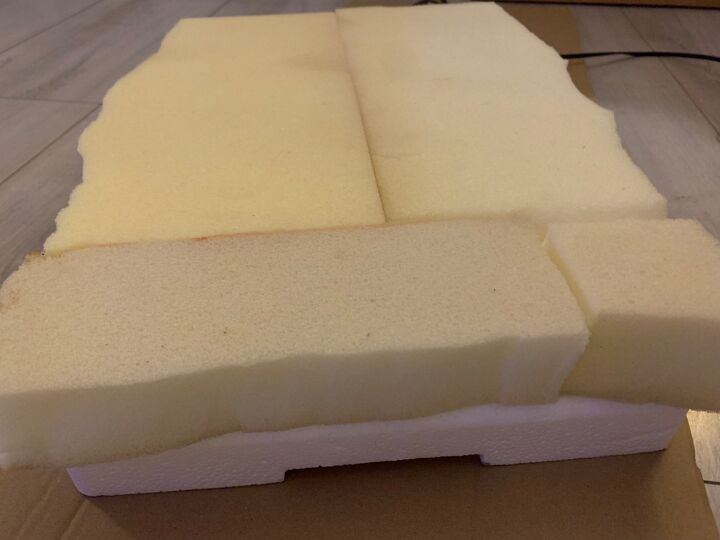
Next I cut the scraps of foam on the top of the cooler. This is where I went wrong, fyi (please put something in between the foam and the lid) Ie: fabric or cardboard to prevent it from squeaking 🤣. It’s not that terrible because it may not be in constant use. Or I just might fix it!
I simply glued the rug onto the lid. At first I thought the glue would melt the cooler. But you only need a thin layer of glue. I was going to use the twine if I had cut of the edges. Then I just glued it instead.
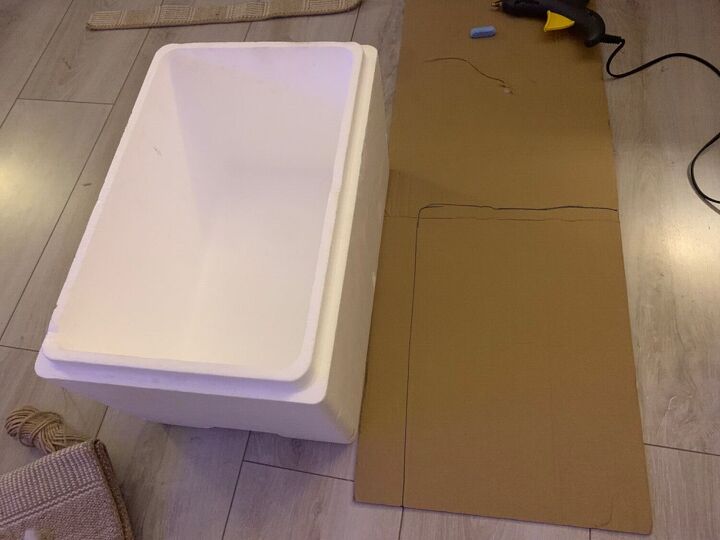
For the actual cooler I cut a piece of cardboard for the bottom. This is because the cooler has some round raised circles on it. I need a smooth surface.
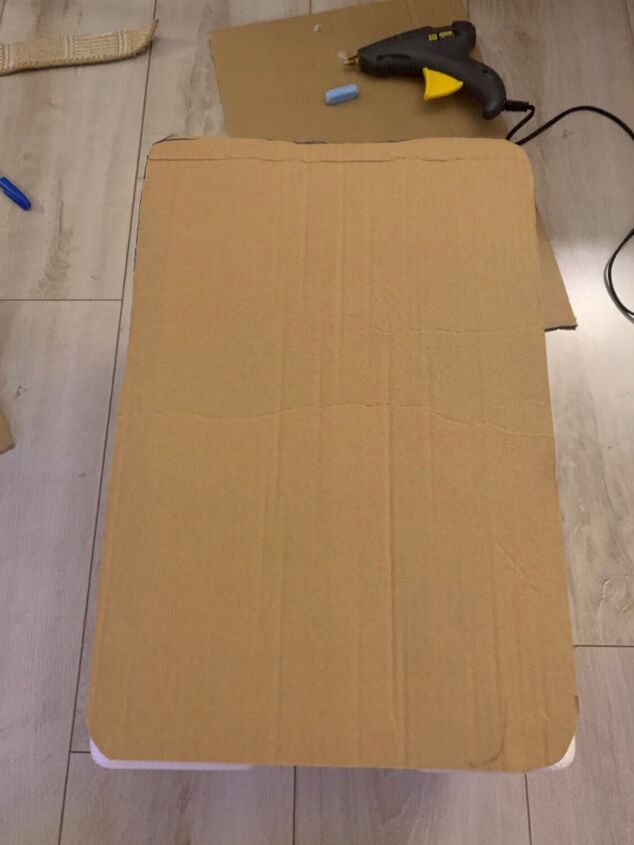
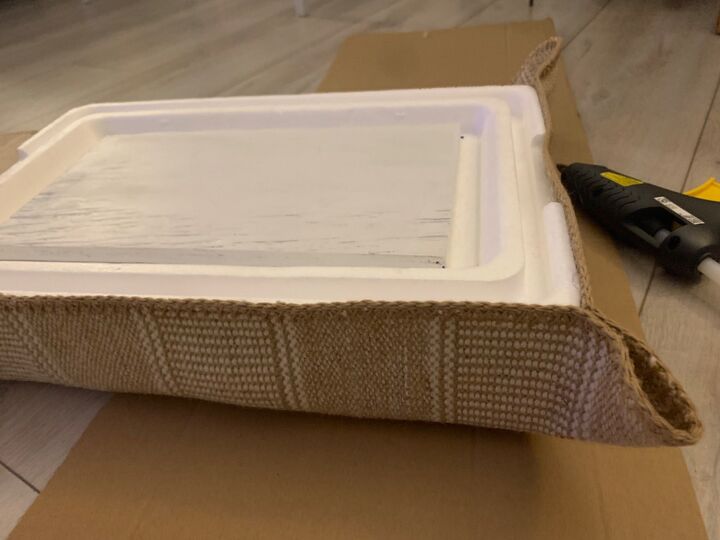
Cut the edges of the cardboard round and a tad bit shorter the the container. Making sure you can’t see it from the top. Be easy with the hot glue, the rug will do most of the work.
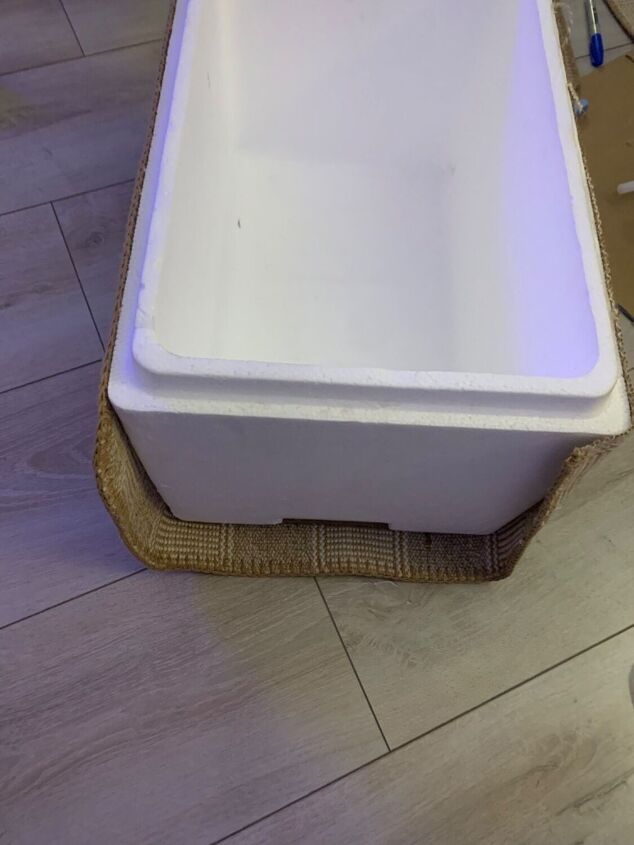
One rug covers 2 sides which was great. Use your discretion with the hot glue. I had no problems with mine.
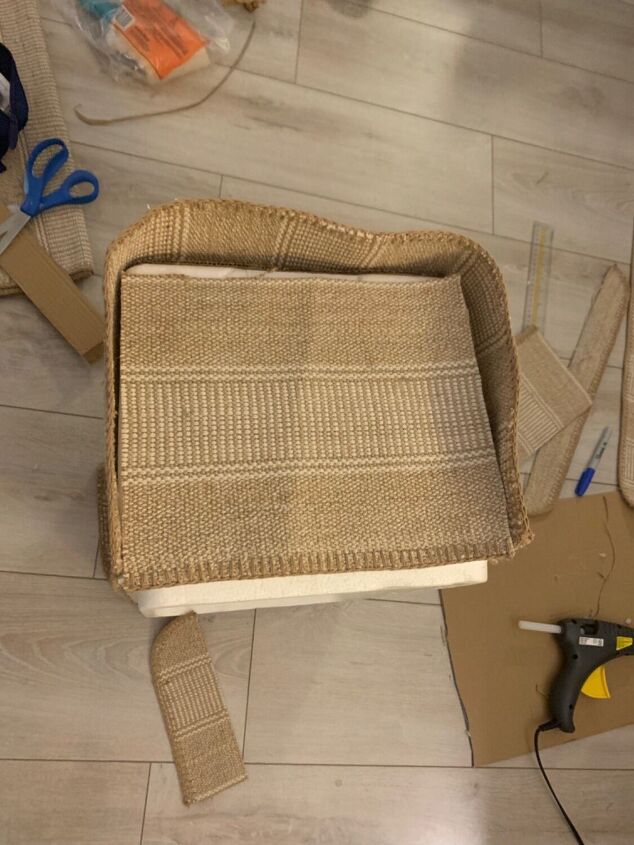
Then with a left over piece of rug from the lid I was able to cover 1 side ( at this stage I cut the rounded edges off and glued it to the cooler. You will have a raw edge, this is where I was going to add the twine. Then I thought why bother . The cover should hide it!

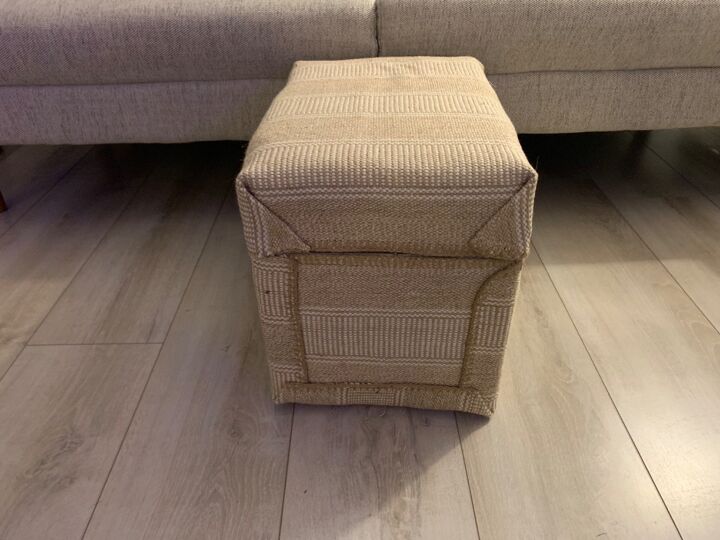
All done! It measures approximately 17x14x11. It took under an hour and it holds 3 throw blankets. You can obviously put whatever you like in it.

I pulled out the throw’s so you can see the different textures that fits.
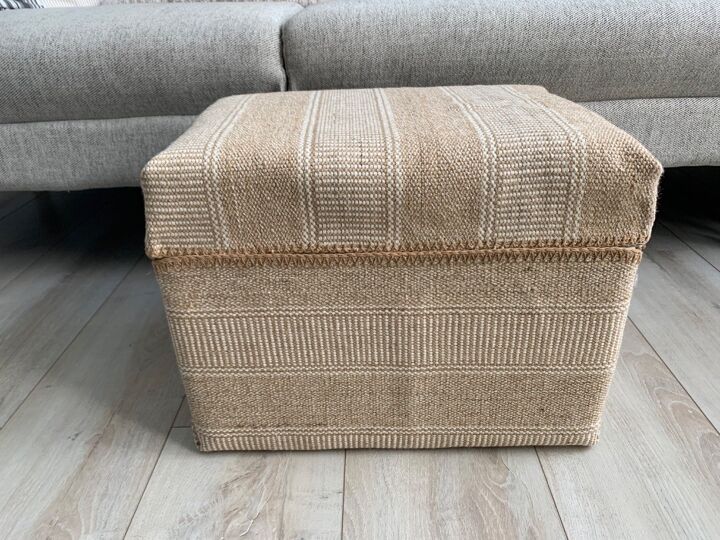
Side view. I was going to use the twine to sew the cover but to be honest, I couldn’t be bothered. This was to be a quick and easy project, sewing would have taken too long for me. 😂.
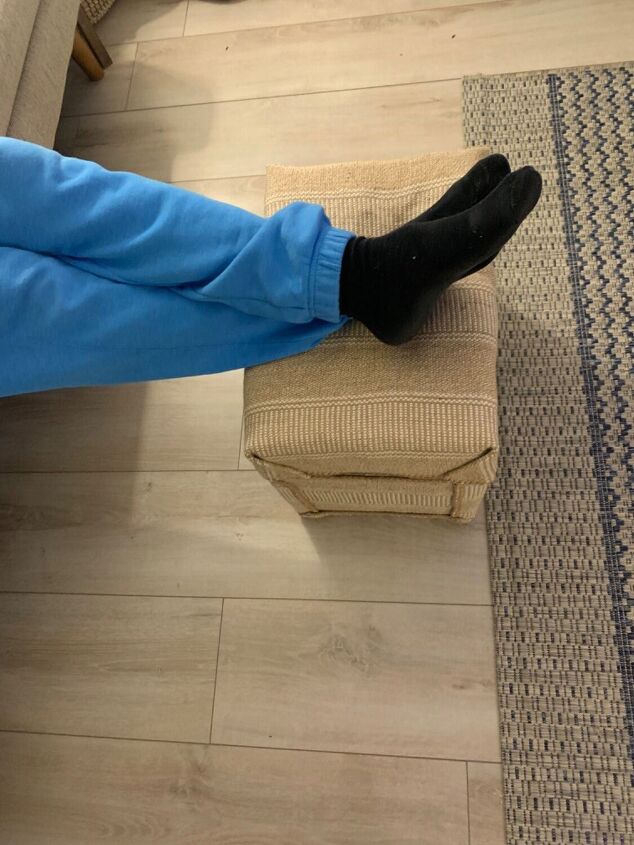
This was its main purpose, the storage is a bonus. I might try sewing one and stuffing it.My husband trying it for size.
In the sunlight! A few imperfections just add twine or fabric. My husband’s first thought this morning was , we can use it as a cooler/side table on the patio! I like that idea😊
Resources for this project:


Comments
Join the conversation
-
Very innovative and cute!
-
Nice job and great idea!


Frequently asked questions
Have a question about this project?
How about one of those real coolers that gets very little use. Sitting in garage taking up space. Still could use it for camping or picnics and a more comfortable seating. Really great reuse of things on hand. How about using some rugs that are not getting much use. I have those stripped rag rugs. Thanks for your inspiration
What size rugs did you use? A wood crate would work as well for this project.