


Stunning AIR PLANT WALL DISPLAY – Easy Steps

I am a super fan of air plants (tillandsia) and change displays around my home so often that I may need to draw a schedule up for rotation. My favorite display is a stunning air plant wall display that will make any room in the house feel cozy and unique. The beautiful wood pieces will create a sculptural backdrop to your air plants.
You can see more Cozy of my Creations here!
On this post we will go over easy steps to create the unique air plant wall display and learn 7 tips; materials, , lighting, watering, location, soil, fastening the air plants, wire assembly, finishing touches and the advantages to using air plants on your home decor. This diy air plant convert you into another airplant fanatic, like me!
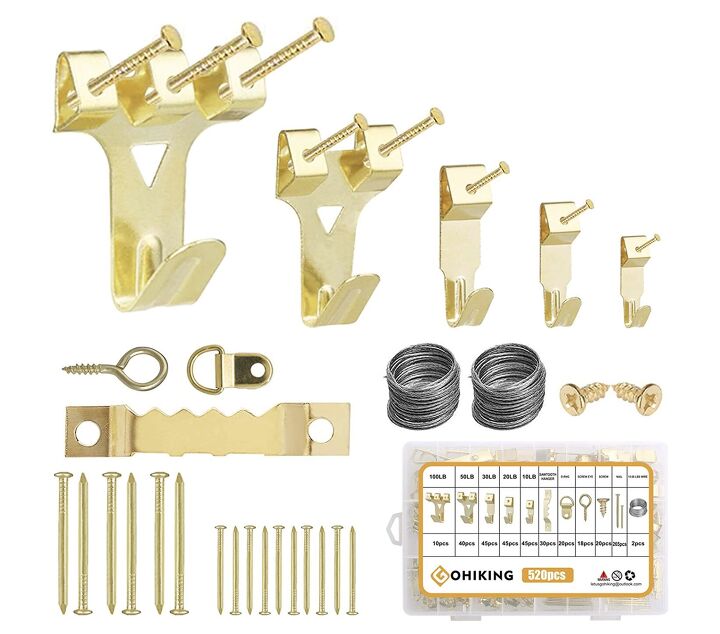
Suggested Materials
I recommend you gather your supplies first so you have a clear direction on the look you want to achieve. This will help you decide whether to add a different air plant as an accent or to use some supplies you already have available.
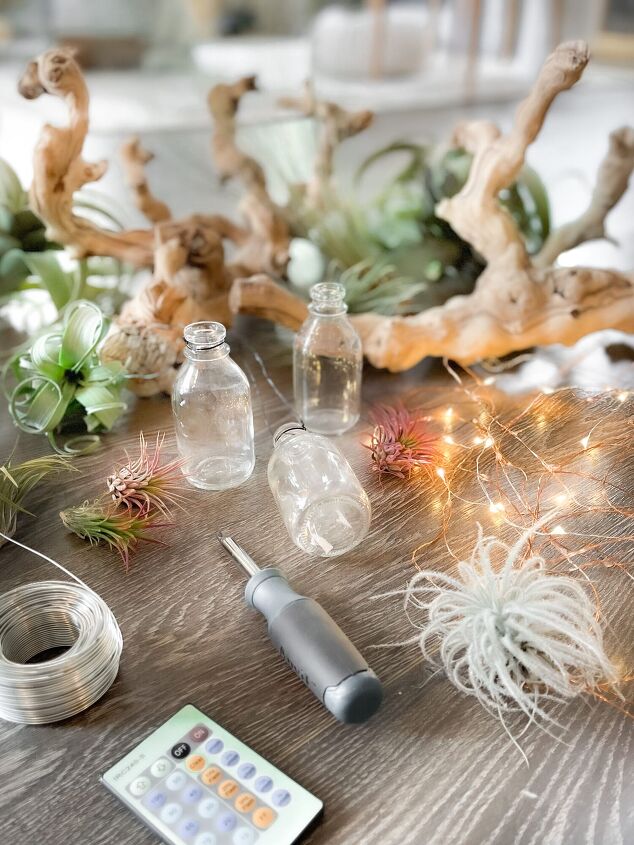
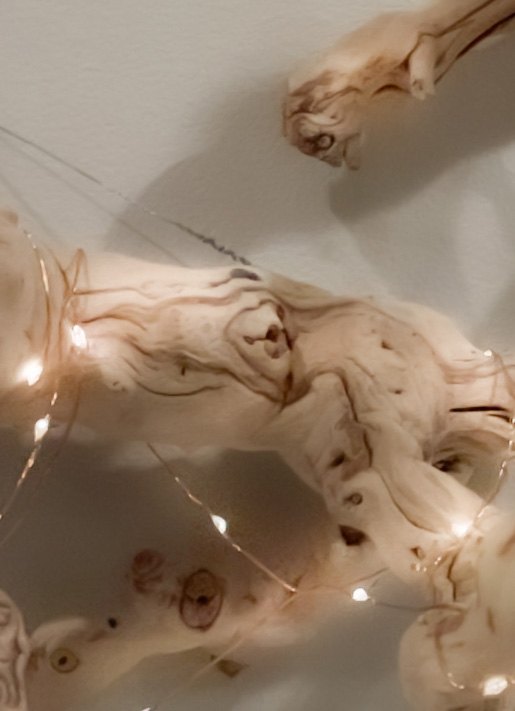
- Beach wood or any branch you may have on hand (3)
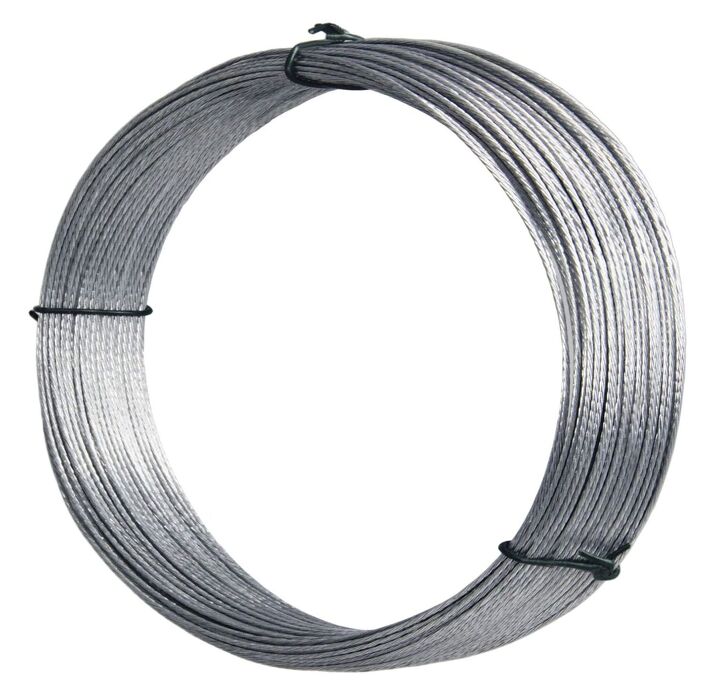
- Picture Hanger Wire
- Picture Hooks (6)
- Drill
- D-Ring Hanger with screws (6)
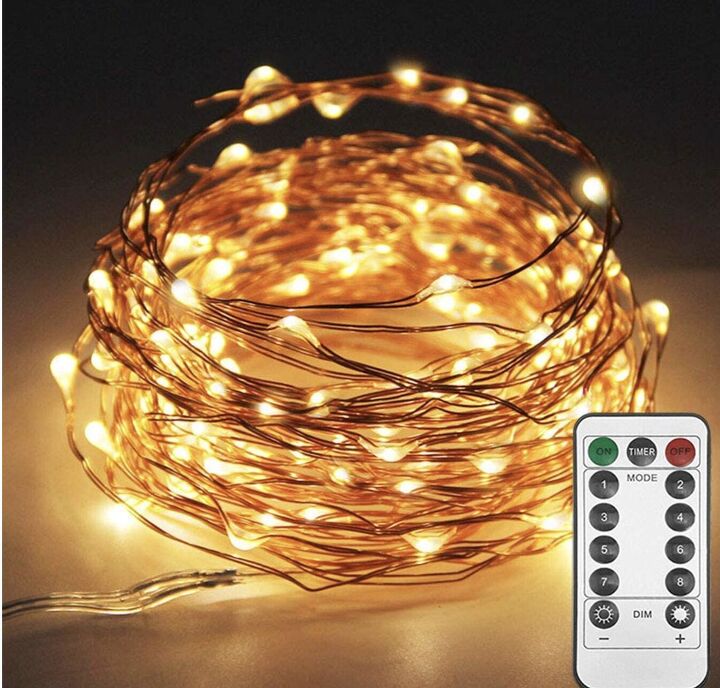
- Plug in Mini Lights with Remote
- Small Bottles
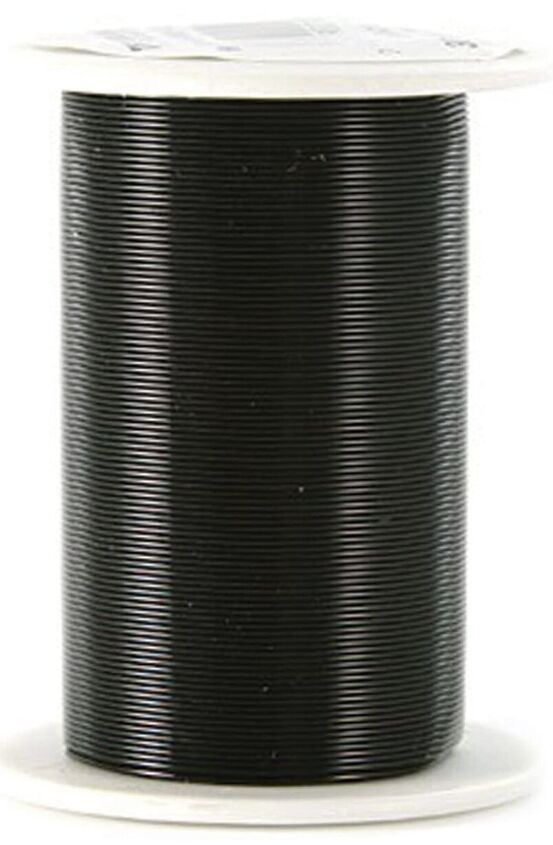
- Black Craft Wire
- Screw Driver
Links in this article are affiliate links and if you click on them, we will receive a small commission at no additional cost to you! Clicking and purchasing help to support this blog and all of the home and garden decor tutorials we bring to you! Full disclosure on website.
Natural Grapewood Branch; https://amzn.to/3sDJI3n
The main component are the air plants and you have so many to select from. The variety of air plants is amazing and the best part of working with them. Etsy is a great place to find amazing air plants for any diy air plant holder you want to create.
AIR PLANT WALL DISPLAY DIY TIPS TO KEEP IN MIND WHEN DECORATING
It is important to note that you are dealing with a living plant and the air plant display will be affected if you don’t take care of the air plants or find the right surface or location to display them.
- SELECT THE RIGHT MATERIAL: Air plants need air. Don’t use a completely enclosed containers or jar. It is important to allow air flow. You can come up with air plant terrarium ideas where the top is open. I love terrarium displays, but I love my air plants much more.
- NATURAL LIGHT: If the location you are placing the air plants is dark, make sure to move out your air plants. Another option is get a clip on fluorescent grow light.
- WATERING: Air Plants require Watering.
- LOCATION: Do not place your air plant display on direct sun or near a fire place.
- SOIL: Do not add soil, air plants do not need soil to thrive.
- GLUE: Do not use glue or any other chemicals. These are living plants and will not survive if you glue them.
- WIRE: Try to balance your plant on the vessel or wood. Don’t attach the plant with wire, it will not react well to this.

Air plants are one of the most unique plants. We tend to forget that they are still fragile and even thought they are easy to use as a display, the better they are taken care of, the longer they will last. One of the best experiences in life is to grow your own air plant collection! I know because my Xuxa agrees, she loves air plants as much as I do!
SELECTING THE RIGHT MATERIAL FOR THE AIR PLANT HOLDER
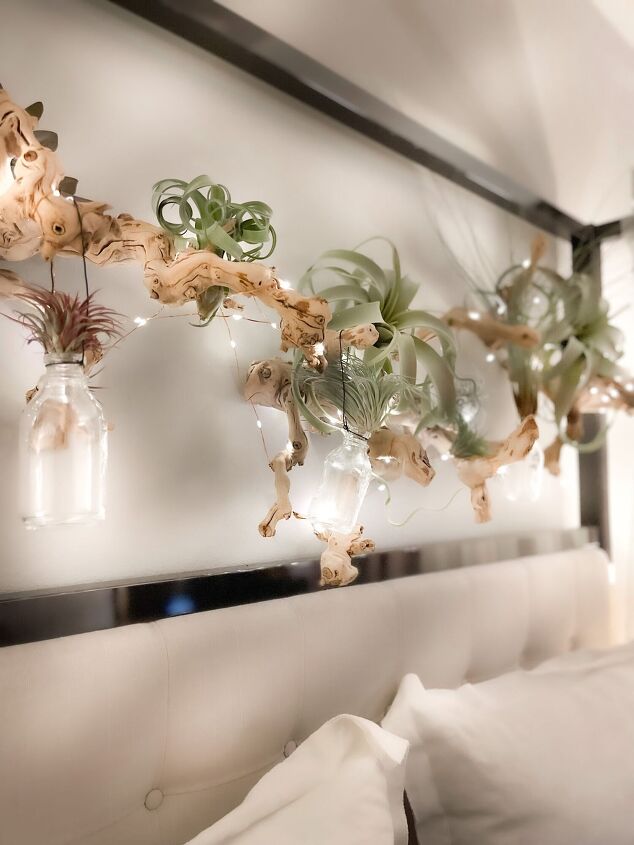
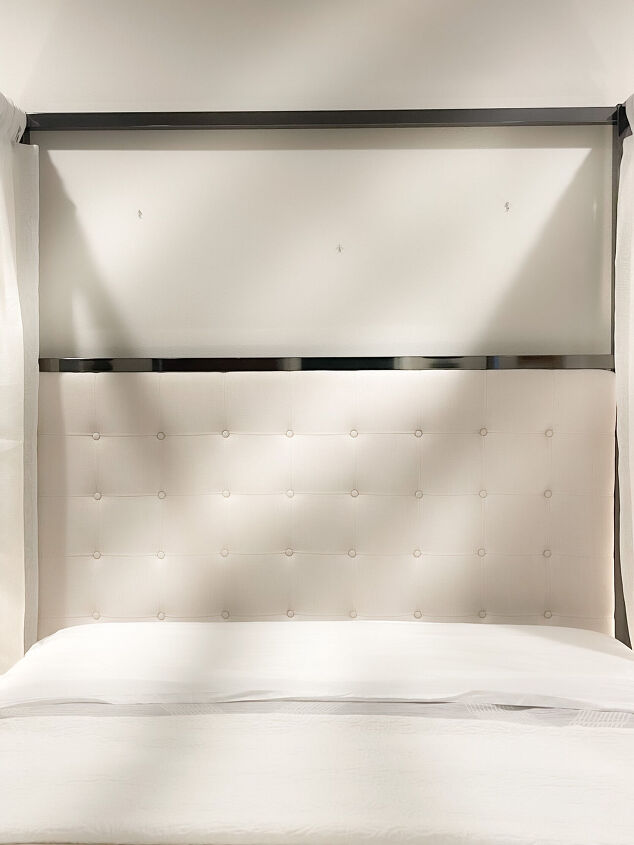
My bedroom set up is a contemporary style, but you know me, I have to bring nature in to everything I do! I found the drift woods and immediately realized that this will make a great piece for a wall sculpture.
The best part about these drift wood pieces is that they come in small pieces that you can shape however you want and make it look like a larger wall art and much more dramatic.
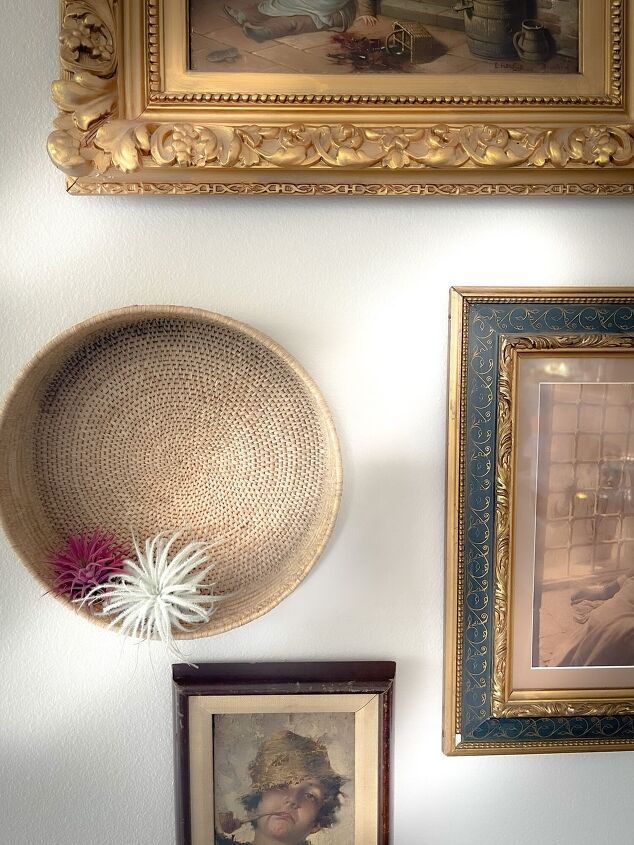
You can use any material you like, but wood is a great one to use because it does keep that more natural look. Air plants grow on trees and the wood recalls the details in nature. I use baskets or frames also as displays.
WATERING AND NATURAL LIGHT TO KEEP YOUR AIR PLANT WALL DISPLAY ALIVE
Natural Lighting
I grew up seeing air plants everywhere. Can you believe that we considered them almost a parasite? And here I am, wishing for so many more!
Natural light is so important, provide a window near your display, indirect lighting is sufficient. The great thing about air plants is that they are so easy to remove since they don’t require soil, so you can take them and move them to a window with indirect sunlight.
Natural Indirect lighting; 8 hours daily
Fluorescent Grow Light; 12 hours daily
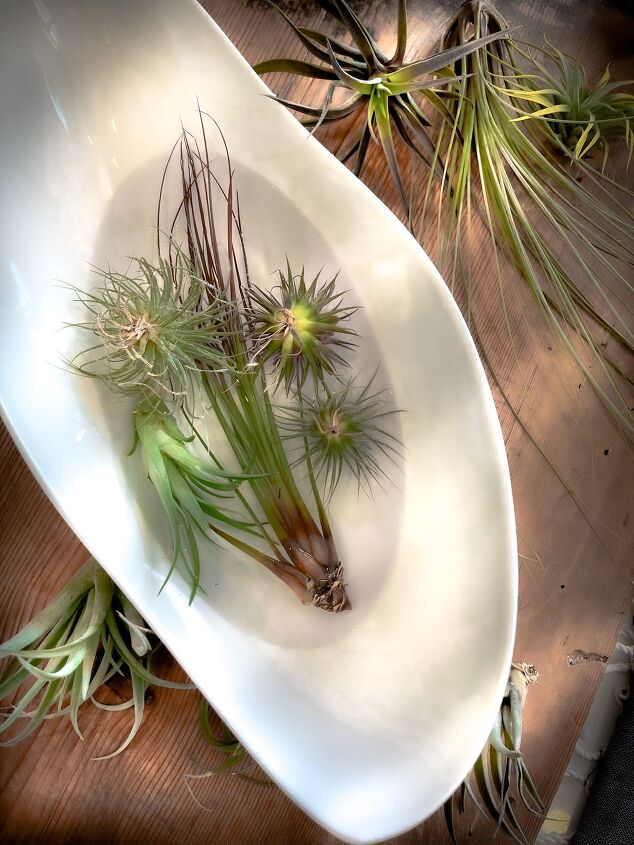
Watering
When it comes to watering, don’t forget this step. Every three to four weeks, take your air plants and place them in a bowl with filtered water. After two hours, shake them and let them dry before placing them back on the display. Make sure to shake them and allow them to dry thoroughly after.
Here is the best thing ever! If you have a spot that you want the air plant wall display and it is too dark or you just don’t feel like taking care of them because of time, don’t worry! The faux air plants available in the market today are amazing! They look completely real and you won’t notice the difference. Etsy is a great resource for many different styles. For example, I have a large display in my living room on a wood sculpture made with faux air plants. I did not want the wood to get damaged and decided on the faux plants. The display still looks fabulous!
Check out my blog post where I used some faux air plants with real ones, ‘HOW TO CREATE A STUNNING TABLESCAPE – AS A DESIGNER’. READ HERE!
Using glue or Wire is Not the Right way to Create an Air Plant Wall Display.
I know that sometimes we want to make something work when it doesn’t fit. Attaching your air plants is not necessary, therefore, do not use glue, hot glue or wire to attach your air plant.
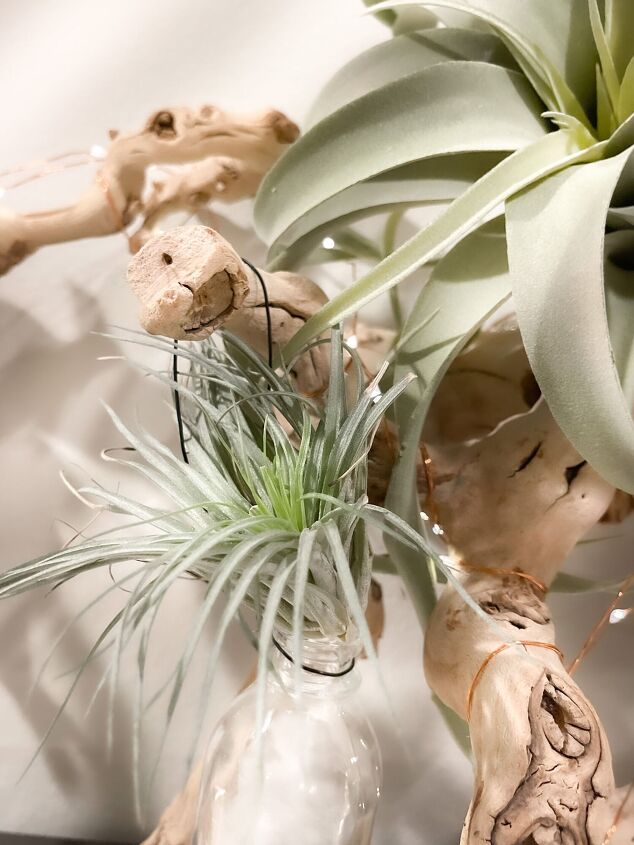
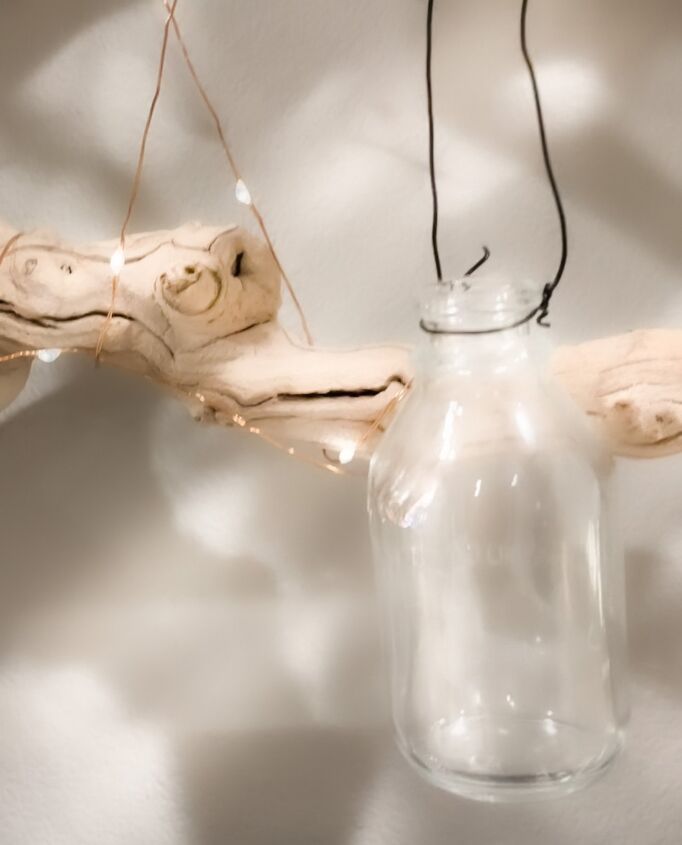
You will see that as you place your air plants, you can use the wire on the bottle to support it without tying it. You can also place it in the crevices of the beach wood.
The most beautiful thing about the air plant is the lightness and softness of the plant. Provide the right vessel or support for the plant. You will find that almost anything works for your beautiful air plants.
For another beautiful air plants display, take a look at HOW TO CREATE A STUNNING TABLESCAPE – AS A DESIGNER READ HERE!.
How to Choose the right Air Plants for the Display
Another amazing thing about working with Air Plants is that they come in so many sizes and shapes. One of the most critical things is to make sure you select an array of sizes to bring interest to the piece. Colors can be of your liking, so many to choose from!
Think of air plants as your paint on the wall and tell a story as your lay them out.

10 STEPS TO CREATE AN AIR PLANT WALL DISPLAY
Layout
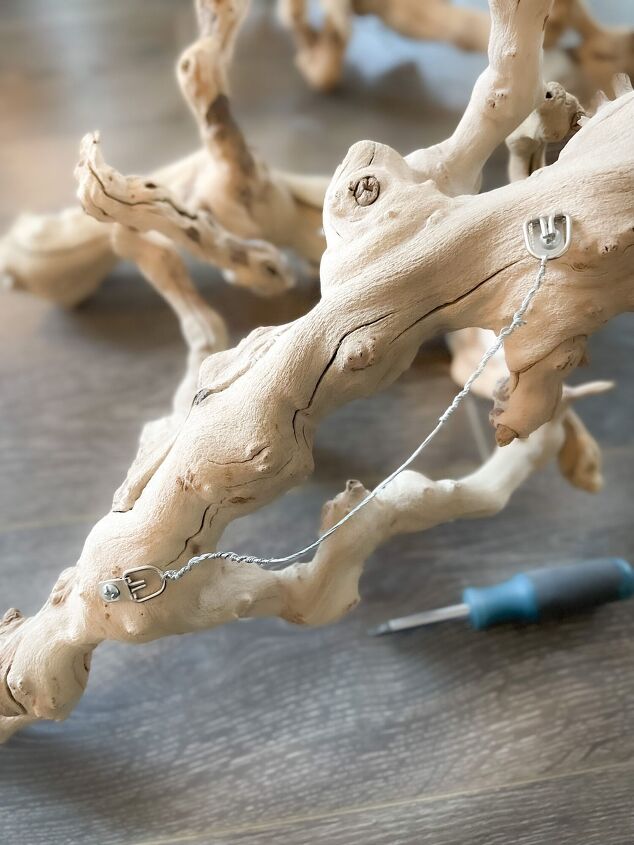
- Measure the space and determine the layout you would like. I used three pieces of beach wood and lay out two higher and the center one lower. I do this on the floor first to know where the picture wire needs to be placed.
- Drill a small hole on the wood to add the D-Ring hanger. Make sure you understand the angle you are placing the driftwood before you pick a location. The wood is not uniform, so lay it on a flat surface to make sure it will work at the location you select for the picture hook
- Add picture wire from loop to loop on each beach wood piece.
Mounting
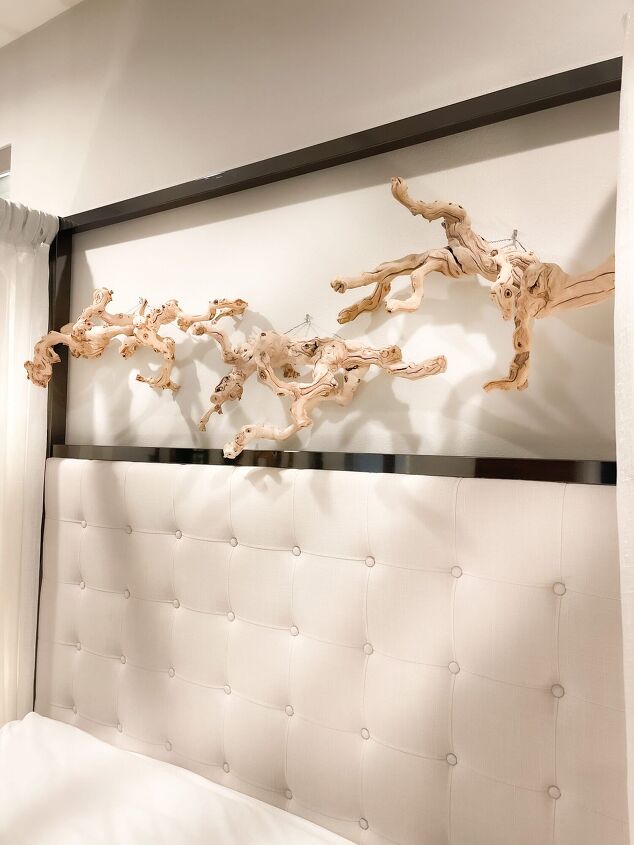
- Place picture hooks and mount driftwood on wall.
- Add lights and try and conceal wiring as much as possible. I really like the 33 Feet Warm White Led Fairy Lights Plug in with Remote Control Copper Wire Twinkle String Lights. The wire is less visible and the remote makes it so easy. Start wrapping the lights at the end where you are going to be plugging it into the wall to make sure it reaches. The little receiver has to be visible for the remote to work.
- Add black wire to each bottles. Wrap wire around the bottle neck. Make a loop to hang and finish by attaching it to the opposite end.
- Hang bottles, one on each beach wood.

Placing Air Plants
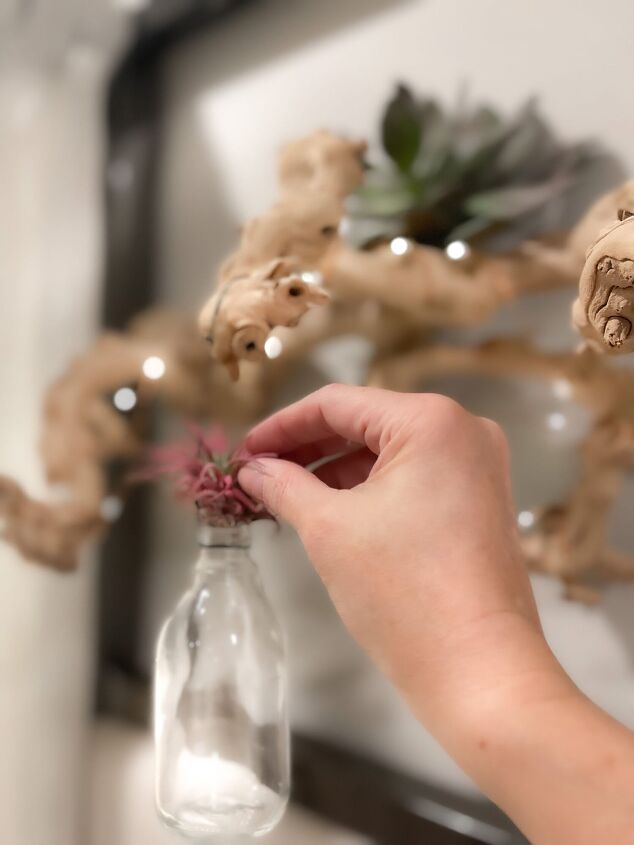
- Place air plants on bottles.
- Place air plants around the driftwood to soften some of the areas. Conceal picture wire and hooks with large air plants.
- Plug in your lights and turn on your lights! Mood lighting is set!
Links in this article are affiliate links and if you click on them, we will receive a small commission at no additional cost to you! Clicking and purchasing help to support this blog and all of the home and garden post we bring to you! Click here for full disclosure
Air Plants
Supplies

MAKE YOUR AIR PLANT WALL DISPLAY GLOW!

I hope you enjoy your new air plant wall display with the beautiful twinkle lights! I love looking at them at night and in the morning when I wake up. The lighting is great to set up a mood in the room. The remote allows me to set it up exactly how I want them. Perfection!
Cozy up with your air plants and let me know how you are enjoying it. I love to hear from you!
I invite you to visit my You Tube here to spend a Cozy day Decorating!
Your Cocoon Awaits you!

Come join me on You Tube for a day of Creating a Living Wall. Subscribe for more cozy days. Can't wait to see you there!
Resources for this project:
See all materials


Comments
Join the conversation
-
Beautiful. I have a nice branch that I can use for something close to this. A little sanding, maybe take the Dremel to it and enlarge a few of the crannies in it to rest the plants into. You have a lovely collection of plants. I watch the Air Plant Supply Co., for deals, that they send me through my email. I got 3 Xenographicas for $30.00. Around here just one would cost you $19.00. And they are about the size of the one your holding in the picture, not quite but almost. Here's a link: Shop Air Plants & Tillandsia Sale|Low Prices|Up to 70% Off Air Plants – Air Plant Supply Co.
-
You're welcome. I probably won't get to it until spring. Whenever, that is in Michigan. Today 27 mph winds, -10 degrees with windchill, and about 4 inches of snow. Next Friday, supposed to be 42 degrees with rain, lol.


Frequently asked questions
Have a question about this project?
Are air plants expensive?
Where did you get the driftwood?
Love this Idea!!! So functional and beautiful!!!