


DIY Peg Rail Shelf

I thought this corner of our bedroom needed something a little extra and decided to create a peg rail shelf to add some extra storage and character in this space.
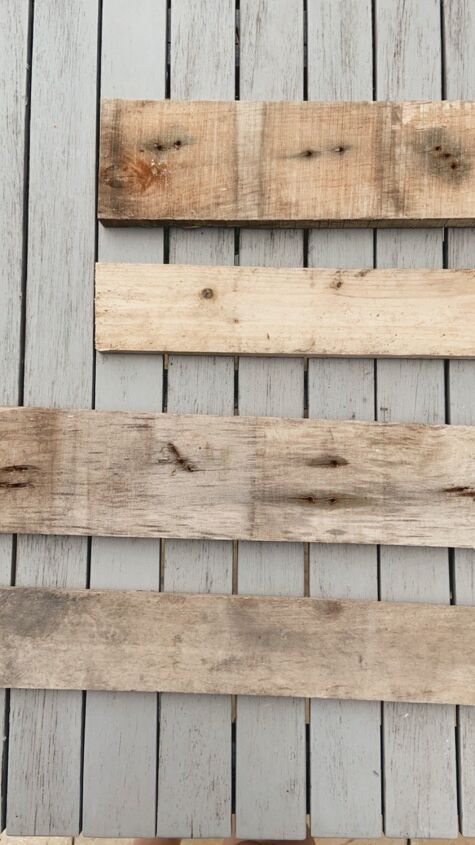
I took two pieces of pallet wood, a wider piece and a piece almost half the size for the shelf. We cut these to size to fit onto the wall.
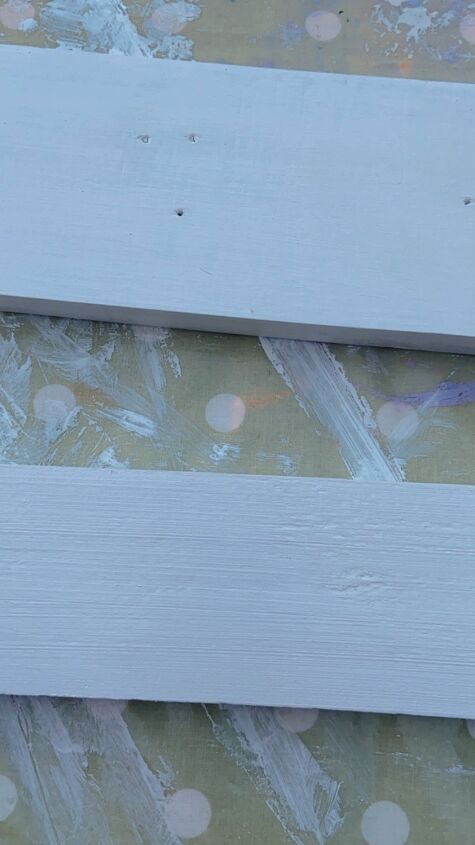
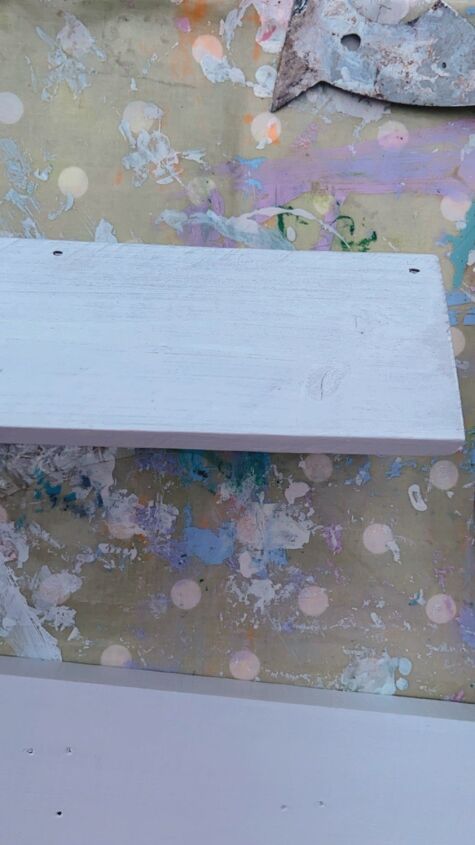
I sanded the pieces so they were smooth and then painted with two coats of eggshell paint.
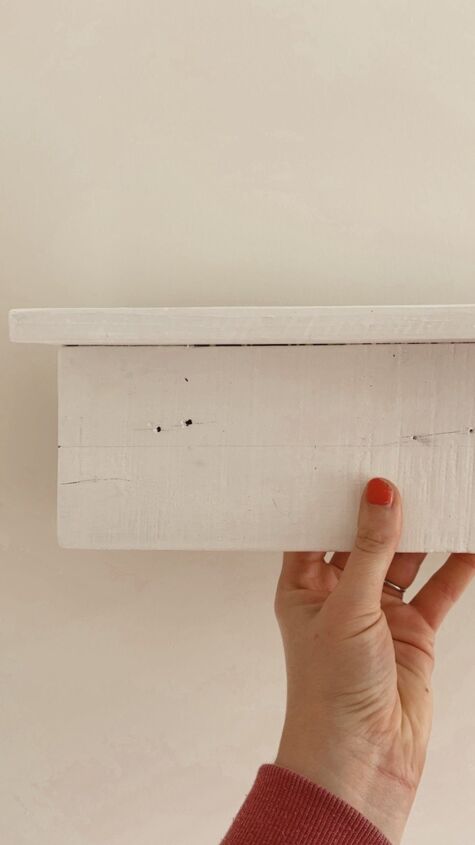
The smaller plank was attached to
the top of the larger one with wood glue and nails.

I found these shaker pegs on Amazon in an unfinished wood. These came with screws attached ready to screw into the wood. I did this to avoid having to drill out wood to fit the round pegs. I painted these ready to attach to the shelves.
Next we drew a line centrally across the plank to measure the placement of the pegs. To space these out I placed one centrally and then equal gaps working outwards.
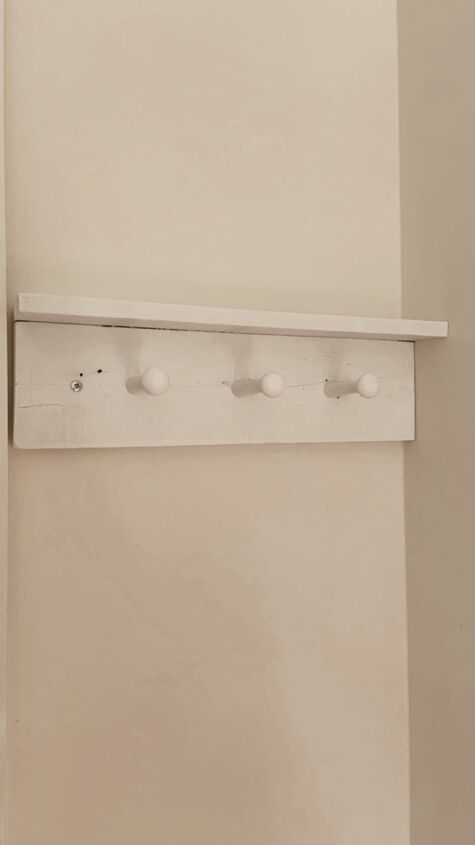
The first section was attached to the wall in order to measure where to place the next shelf.
Instead of cutting the top sections diagonally for the corner we placed one next to the other slightly overlapping. This was to make it easier but in hindsight it would have been much better to do the diagonal cut on the wood. This would have looked neater and would have been easier in the long run when attaching to the wall.
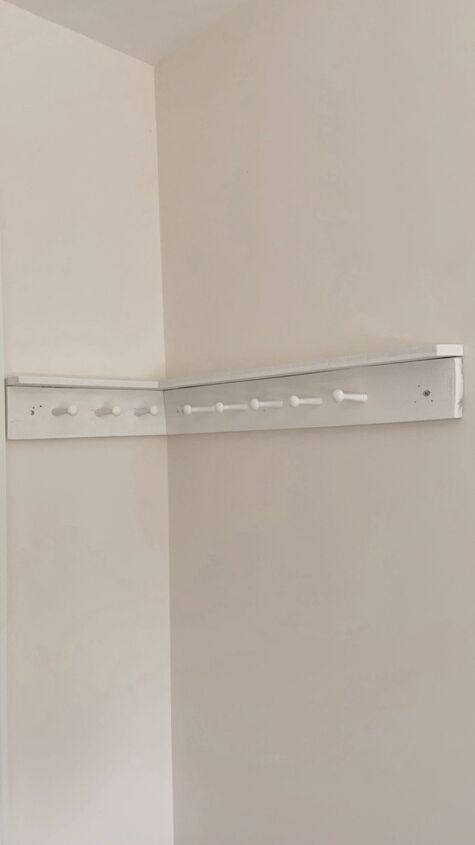
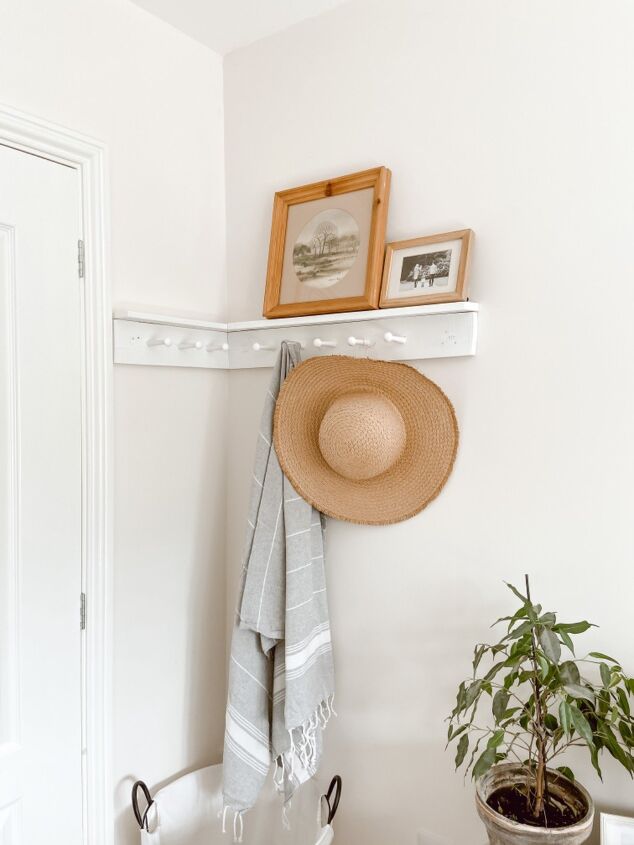
Here is the finished shelf attached to the wall. For the longer piece we started in the middle again and moved out from there, placing the pegs at the same distance apart as on the shorter piece.
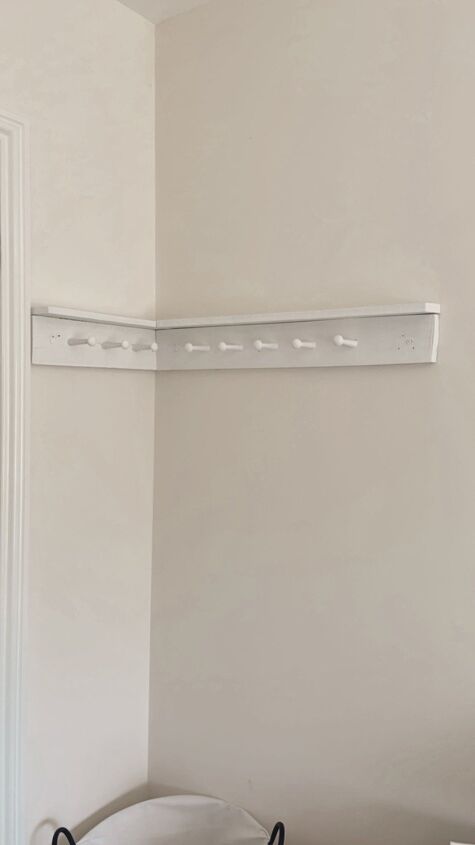
Finally to finish I painted the screws so that they would blend in nicely.
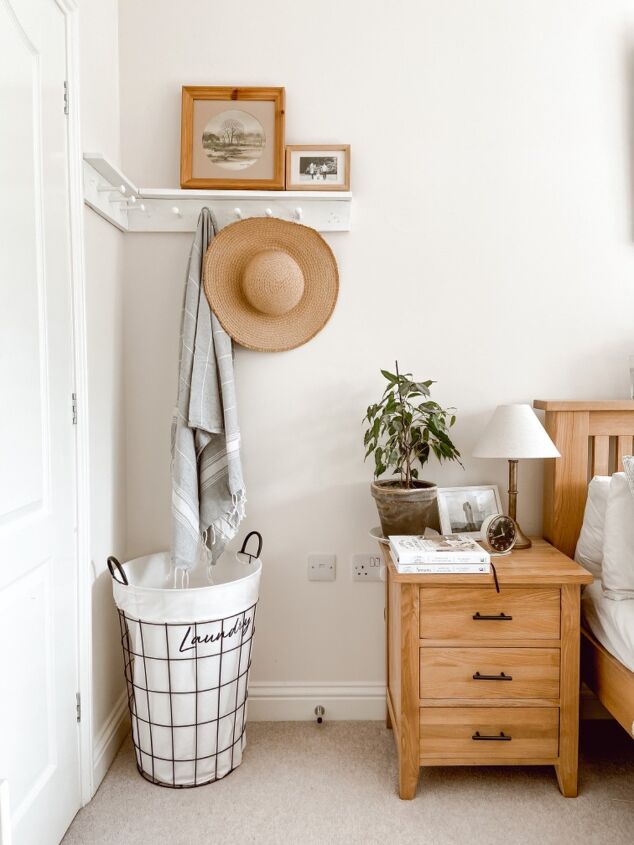
The completed look!
I’m so happy with how this project turned out despite it being a little complicated to hang on the wall.
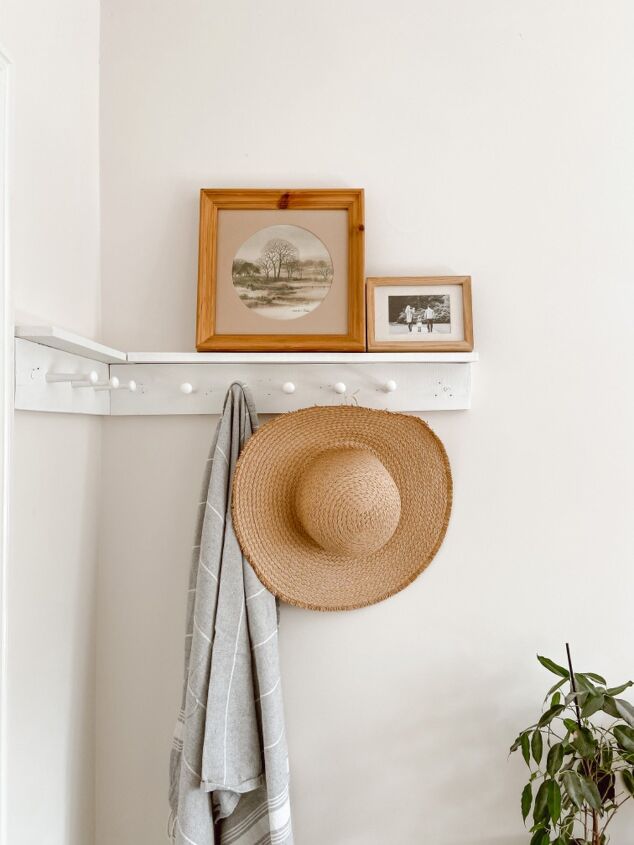
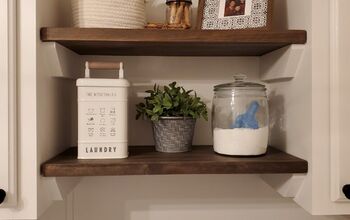
For now I styled this with some frames but I’m sure I’ll change it throughout the seasons.
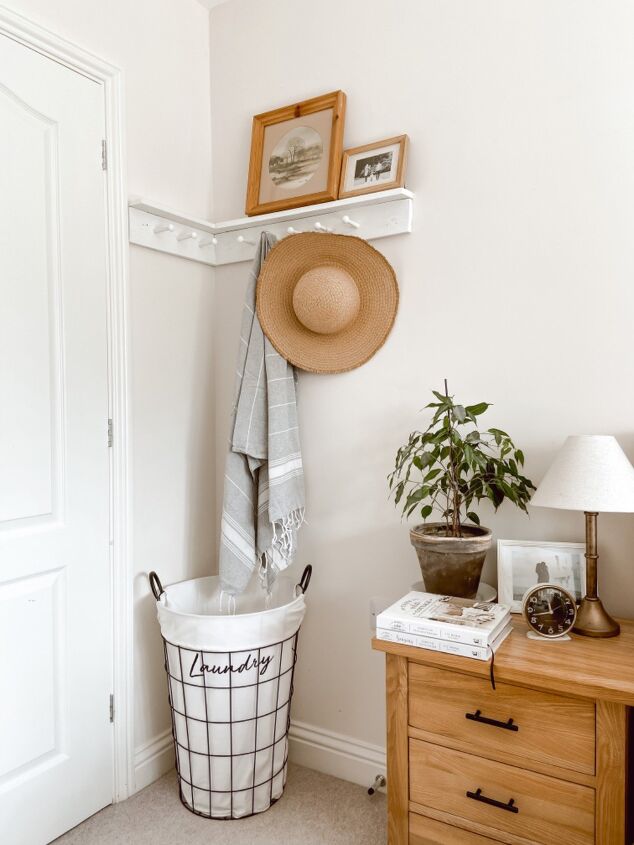
I love the character that this added to this corner of our bedroom and it’s perfect for a little extra storage that doubles up as decor also.
To see more of this and other projects follow along on Instagram!
~ Rachel ♡
Resources for this project:
See all materials


Comments
Join the conversation
-
Just what I need to make for my living room coat rack.
-
Very nicely done! I like the way you painted it to match the wall so when not in use it “disappears”


Frequently asked questions
Have a question about this project?