


How to Make Fun Bubble Shelves

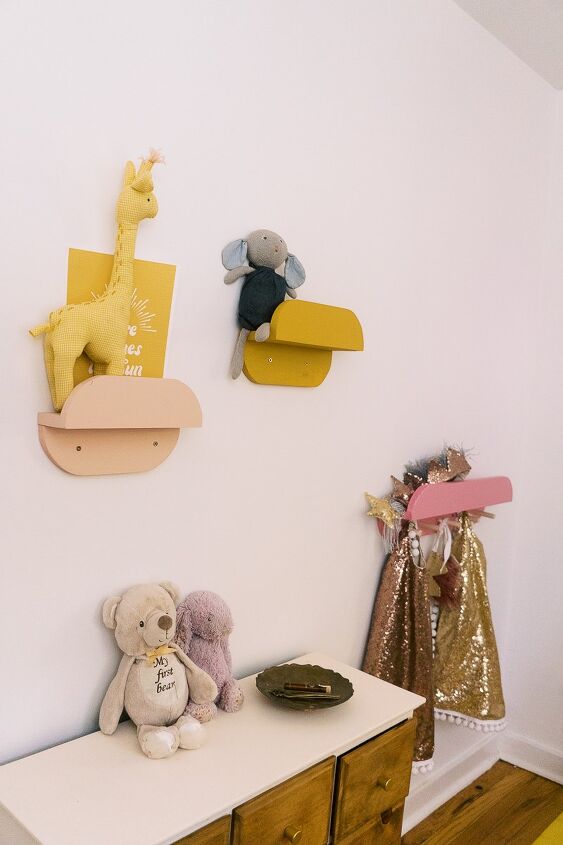
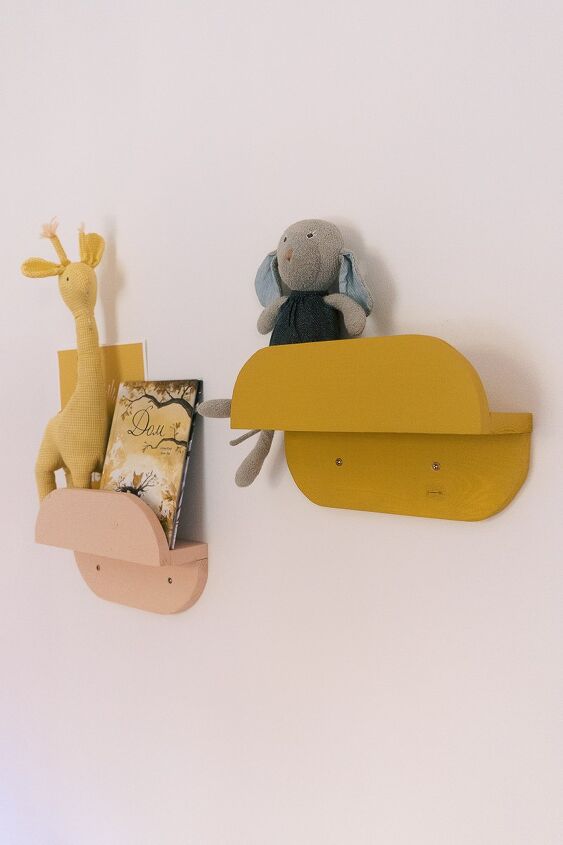
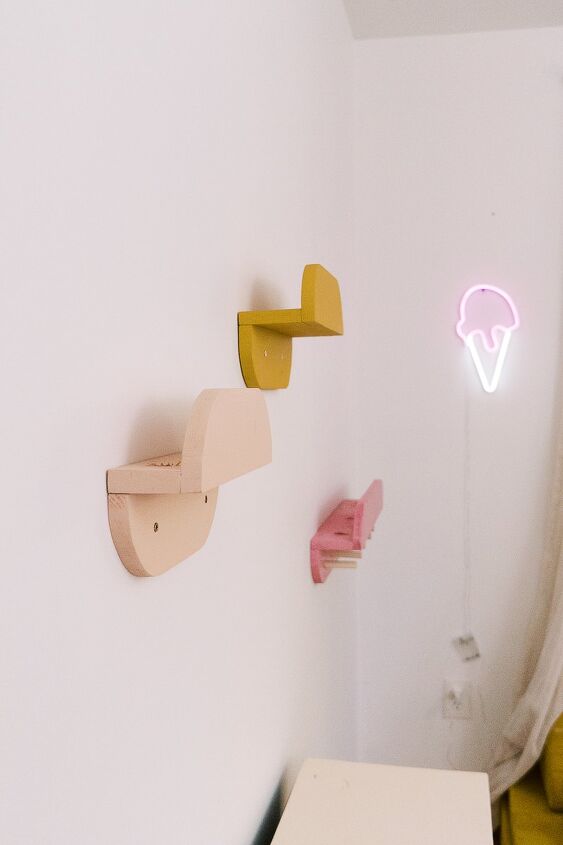
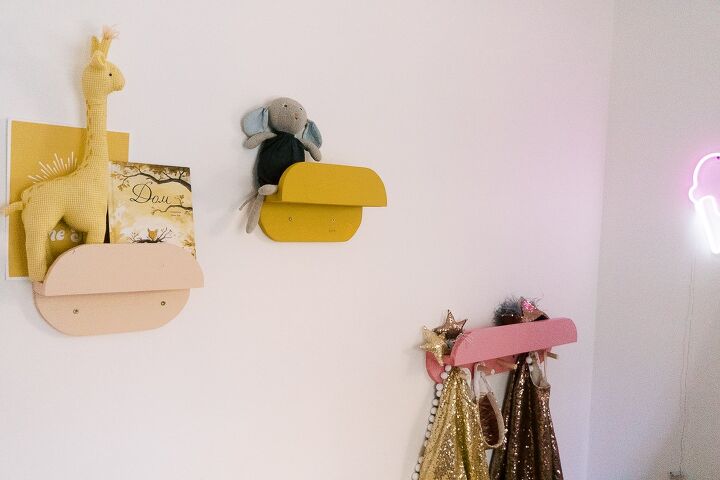
I designed these fun bubble shelves for the playroom makeover.
I think they look so cool and also very functional. The top of the peg shelf can serve as an extra shelf for items. And I love how shelves look like bubbles if you look at them from the right angle.
Watch me make them!

Step 1 - cut wood to length
Determine the size of your shelves and cut wood to length.
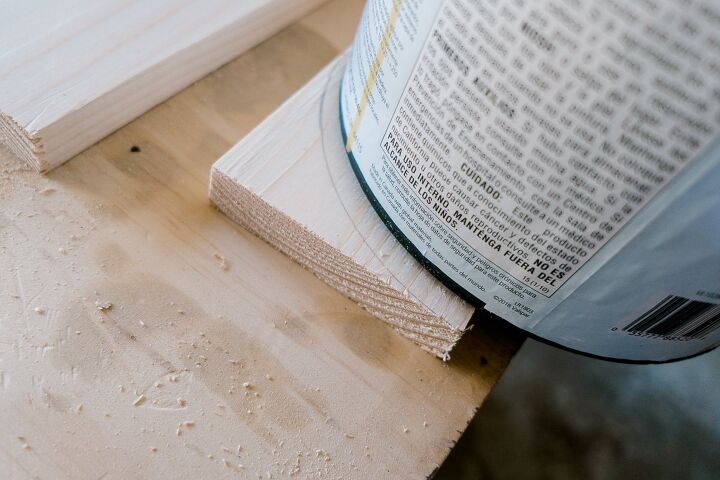
Step 2 - make rounded edges
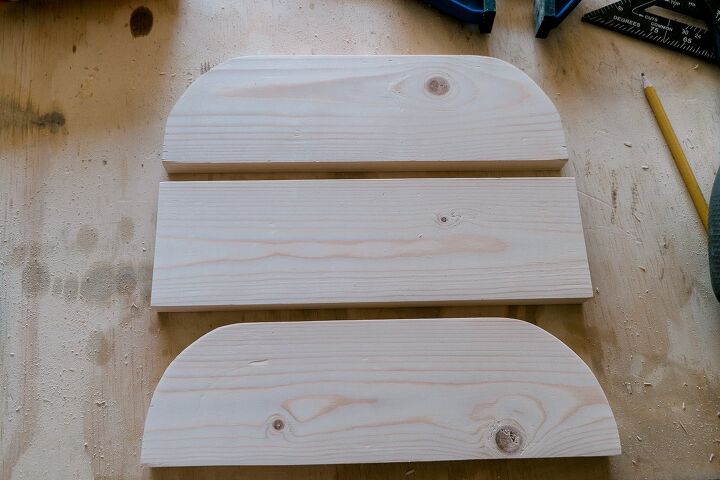
To make rounded edges take something round to trace. I used a gallon bucket from paint to make a quarter of a circle.
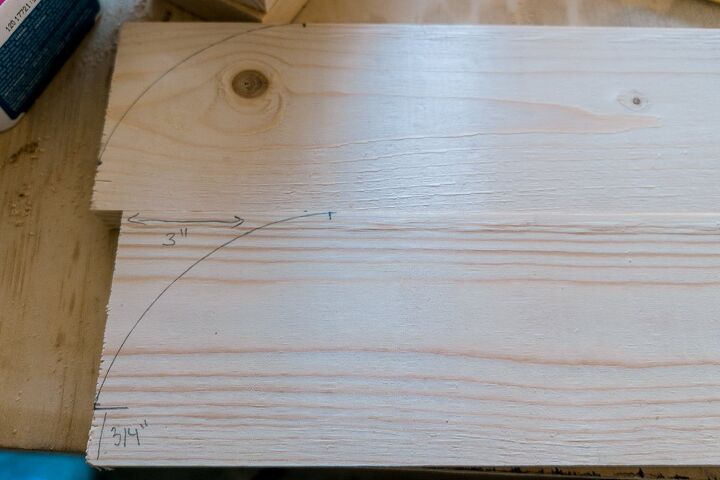
Cut off the edges using a jigsaw. Sand very smoothly.
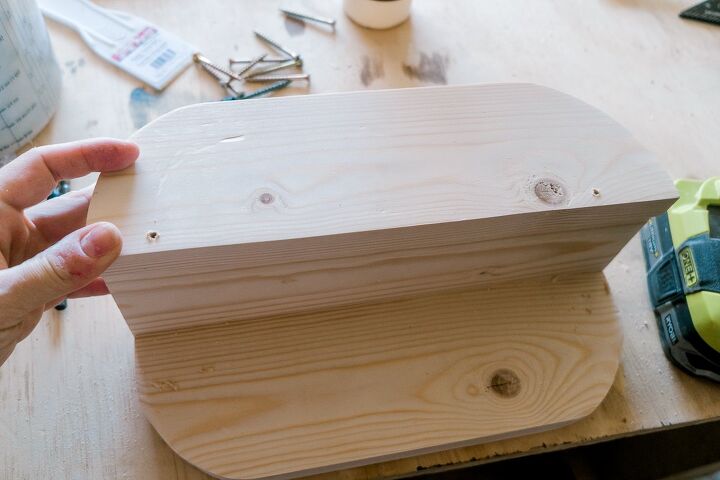
Step 3 - assemble a shelf
To assemble the shelf I used two methods.
For the first one, I drilled the holes on the front and used screws. Then I used wood filler to cover up the screws.
Read about the second method on the blog.
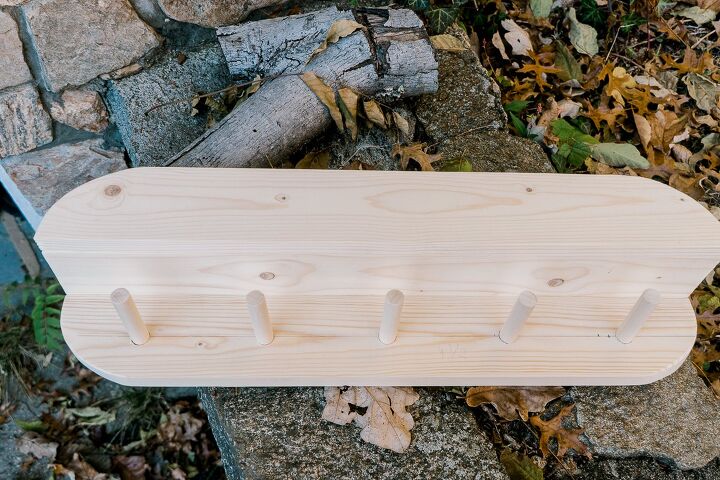
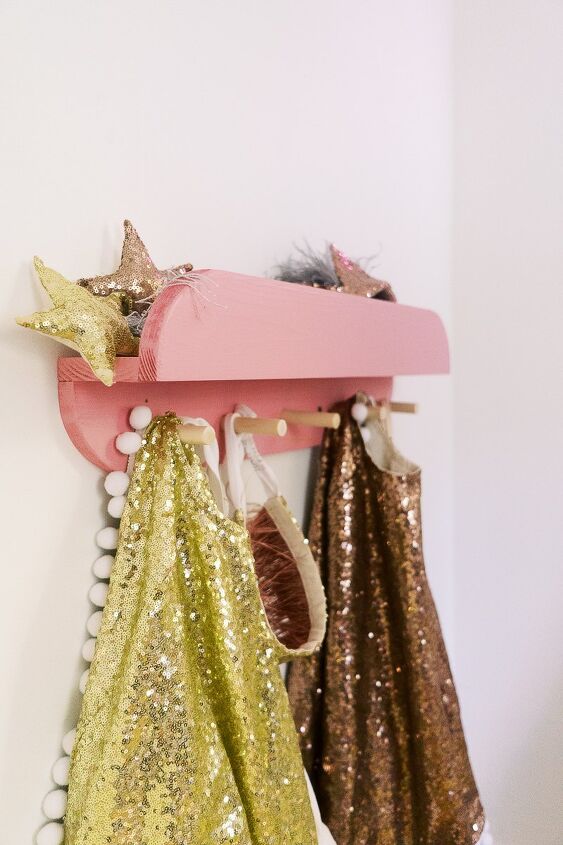
Step 4- add pegs (optional)
Adding pegs definitely elevated the whole look of the shelf.
To add pegs to the shelf you need to calculate how many you'd like to have and where you'd like to place them. Measure the distance to make sure it's even.
I used a ⅝" dowel. And the length of the pegs is about 3".
Cut the pegs to length. Using a ⅝" drill bit, make holes in the board. Try if it fits.
Step 5 - finish as desired
I was debating between leaving shelves bare or painting them in fun coordinating with playroom colors.
As much as I like the bare wood look, I thought fun colors would be more suitable in the playroom.
Next week I'll do a reveal of our retro-inspired playroom for kids.
Stay tuned!
Xoxo,
April
Resources for this project:
See all materials


Comments
Join the conversation
-
Very cute. You did a great job with the shelves and your instructions were clear and precise. Thanks for sharing this.
-
Brilliant idea, loved the rounded edges. Great instructions. Thanks for sharing this one! 😊


Frequently asked questions
Have a question about this project?