


$5 Open Shelves
It's not that you need to know how to cut a shelf board to size or how you put shelf brackets on a wall and set a board on top of it for open shelves. It's just that if you're like me you are always trying to do amazing looking projects for as little money as possible. That's why I'm sharing this project. I thought maybe you'd like to save a few dollars on some open shelves too!
I know, right???
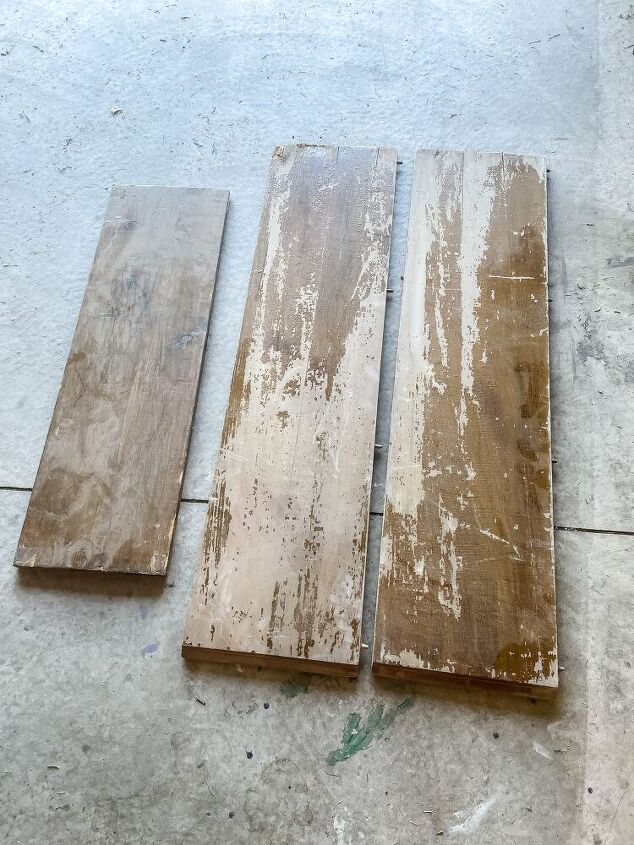
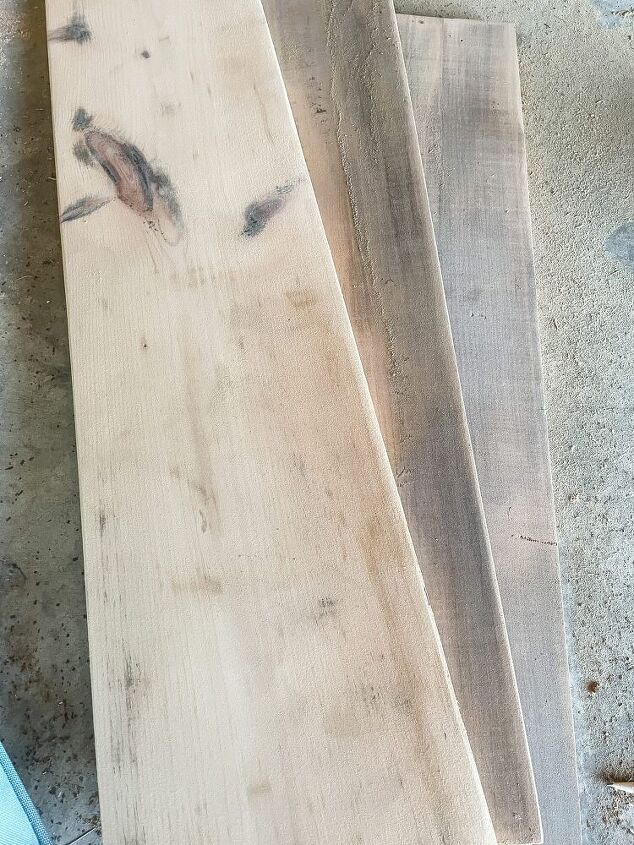
2 old solid wood table leaves and an old board.
Pretty spectacular, aren’t they?
I’m betting right about now you’re wondering what on earth I bought those for or did I just dig them out of the burn pile by my fire pit?
Nope! I have a plan!
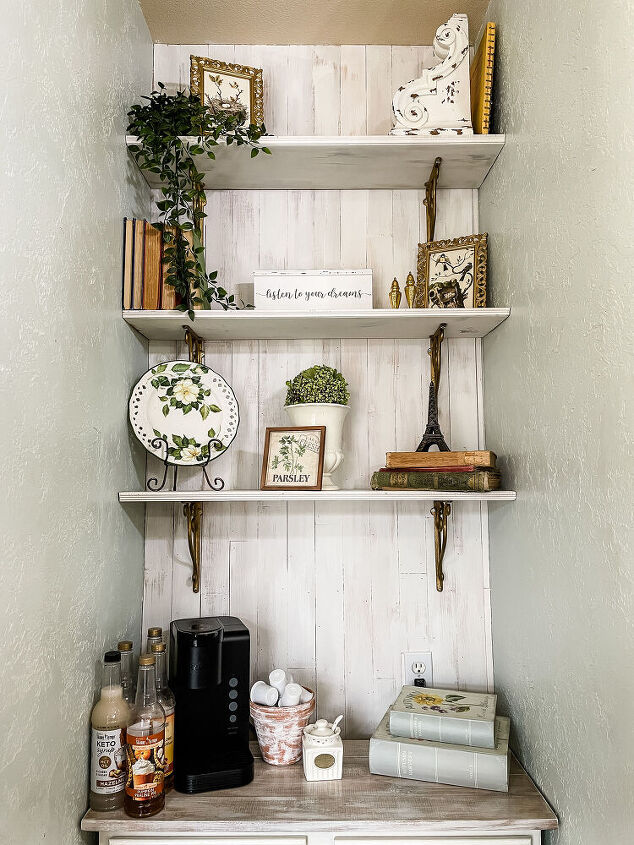
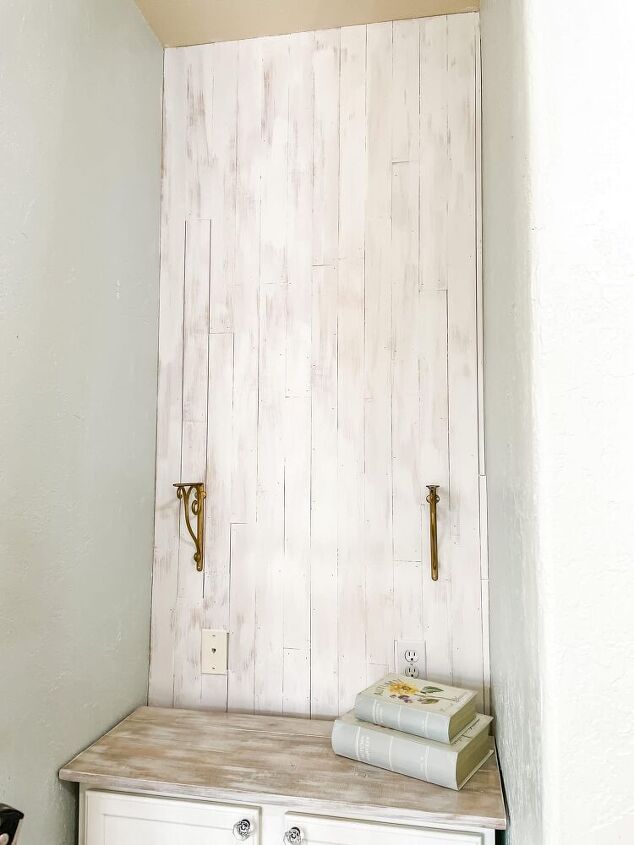
You see, I’ve been working on a special little nook in my kitchen and transforming it into a little coffee nook. I’ve been wanting to put some shelves in this little nook but just like always I don’t want to spend much money. I already had to fork over $25 for shelf brackets (Hobby Lobby 50% off) so I wasn’t wanting to spend about $50 for the wood for 3 shelves. I was sort of putting it off until I spied them!
Tables leaves!
Solid wood (I know this because the ends were rotting a little) and plenty wide.
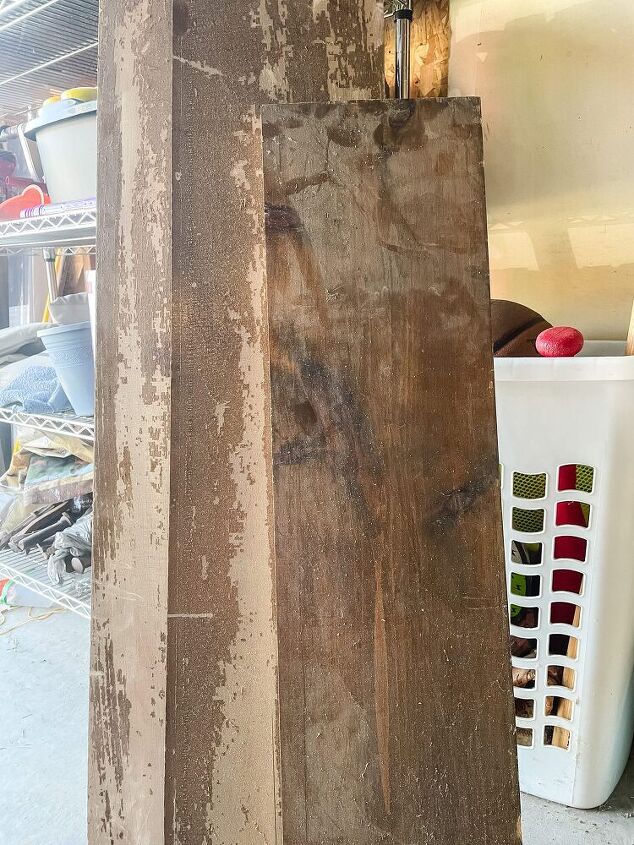
I ran them all through my table saw to cut them down to the size I wanted (9 inches wide) and then used my chop saw to cut them to length.
I made sure to cut the extra off the side of the leaves that has the little knobs sticking out the fit into the holes on the piece of table. You know how they fit together…..
That left the holes on the front edge of my shelves but that’s fine because I was going to put some trim on the edges anyways.
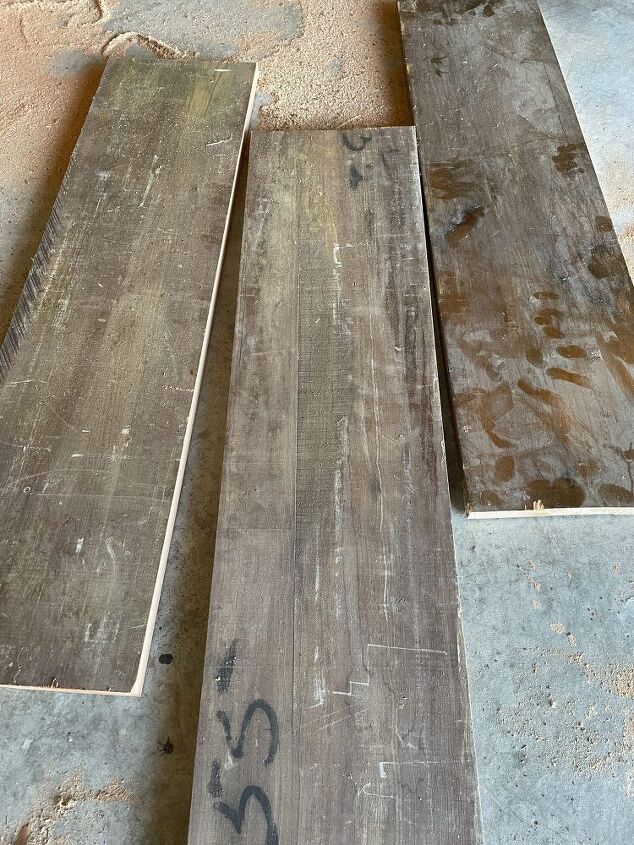
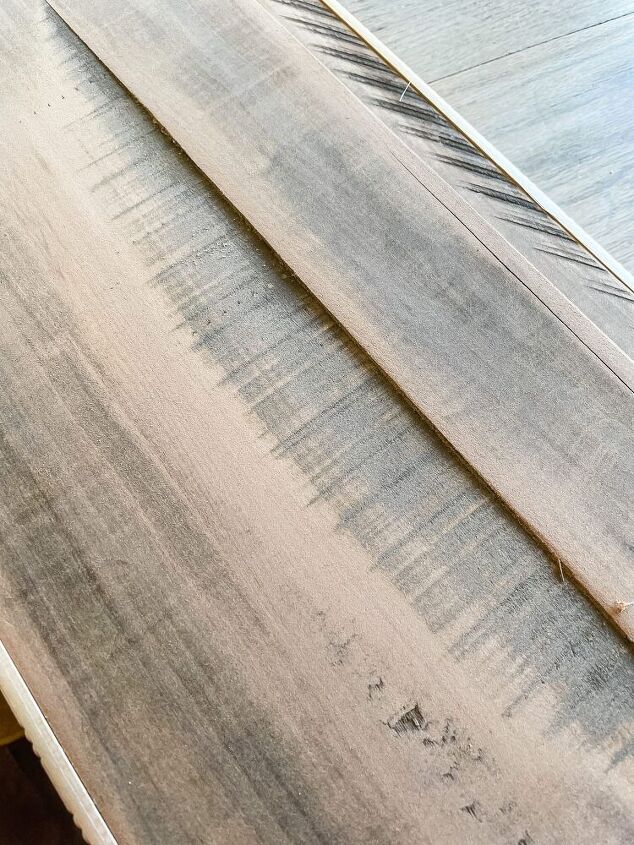
Next I got out my sander and sanded them really well getting down through all the old varnish and stain to the beautiful wood underneath. I also made sure the edges were well sanded.
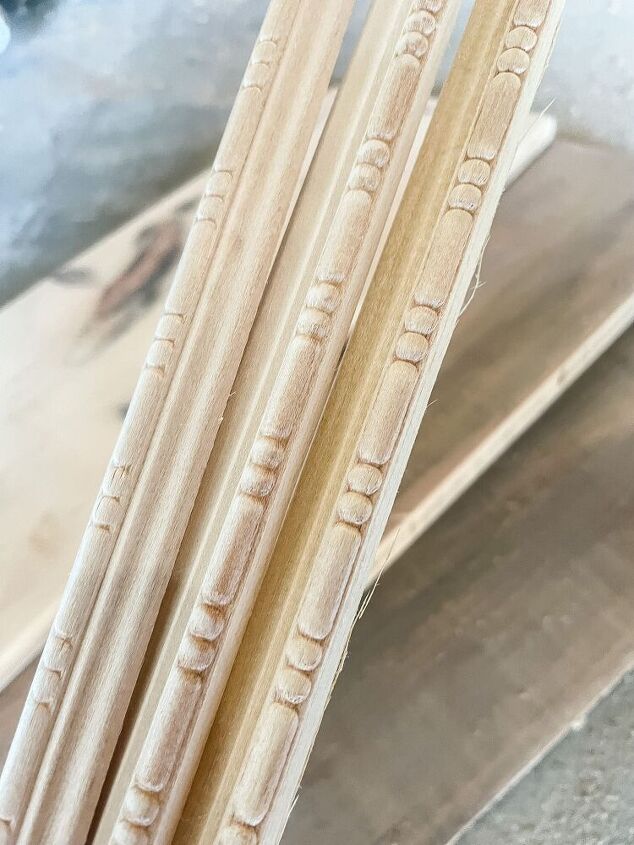
Time to add some details...
This is completely option and if you wanted to save the money you could leave this off and just use the edge of the board WITHOUT the little holes in it as your front edge.
I'm a detail person and each length of this decorative trim is only a few dollars so I decided to add some pizazz.
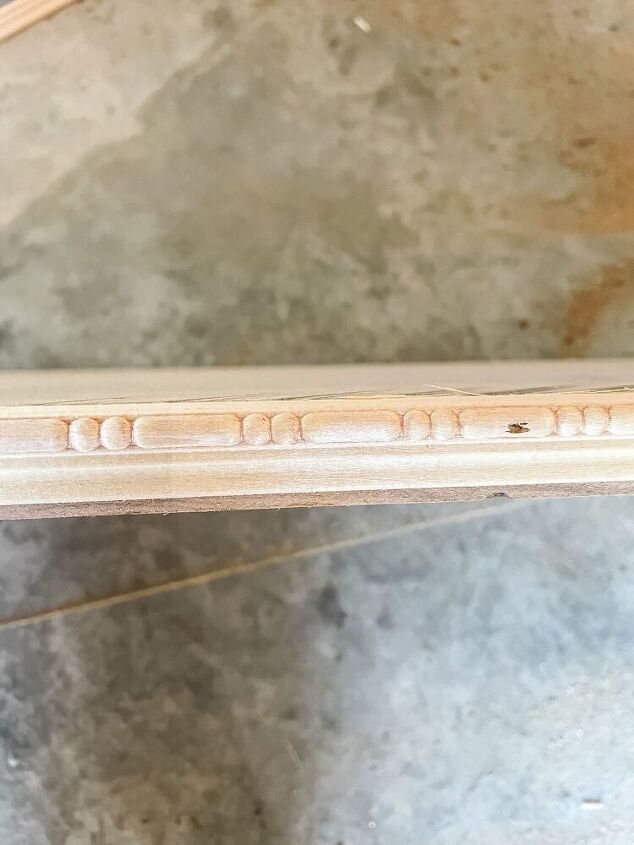
After cutting the trim to the same size as my shelves I used my Ryobi finish nailer to secure them to the front edges of the shelves.
The grain pattern and details on the table leaves were so pretty that it was all I could do to paint over it but with the addition of the trim on the edges of the shelves they really needed to be painted.
I used chalk paint and put it on very lightly allowing bits of the wood to show through still. I only did the one coat and then applied some satin polyurethane to all sides.
Time to secure the shelf brackets to the wall in the nook. I got the brackets from Hobby Lobby for $7.99 each and then they were 50% off. They were dark brown originally but I knew all along that I had to have gold brackets for these shelves so I just used my favorite Rub ‘n’ Buff in Gold Leaf to change their color.
I just set the shelves in place on the brackets and secured them with a screw into the bottom of the shelf.
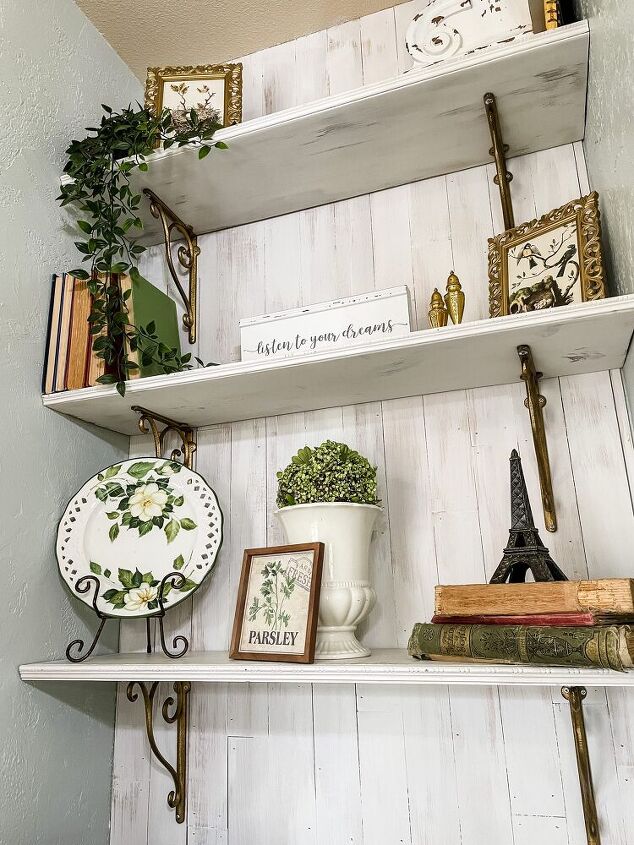
Now comes the best part of all!
Styling the shelves!

Comments
Join the conversation
-
Beautiful! I love upcycling old wood!
-
Love this and now wish I had a little nook like that to do something similar.


Frequently asked questions
Have a question about this project?