


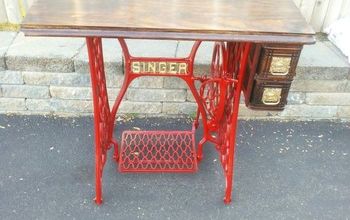
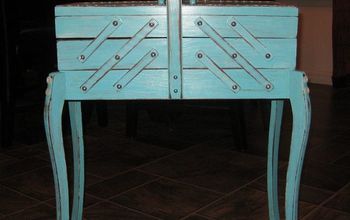
How to Patch up an Old Sewing Table!

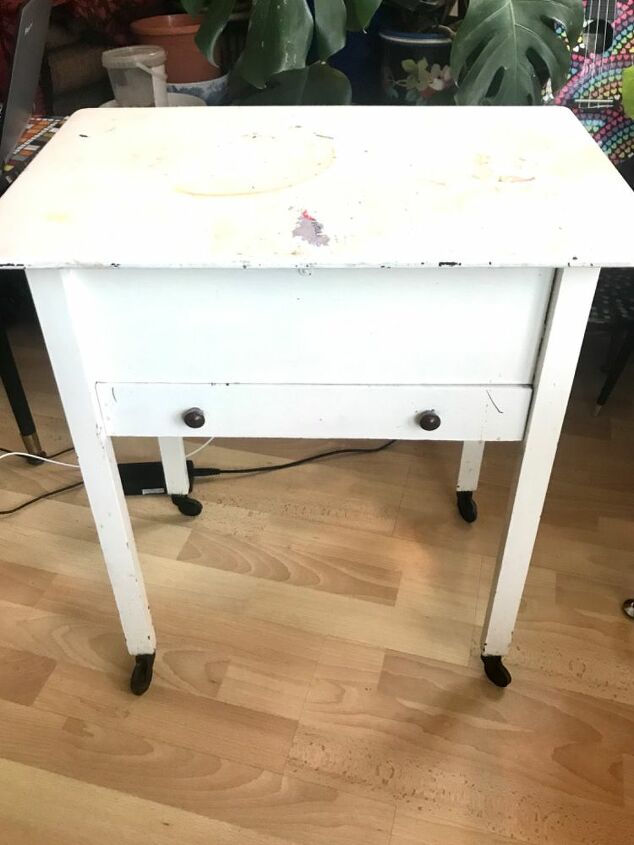
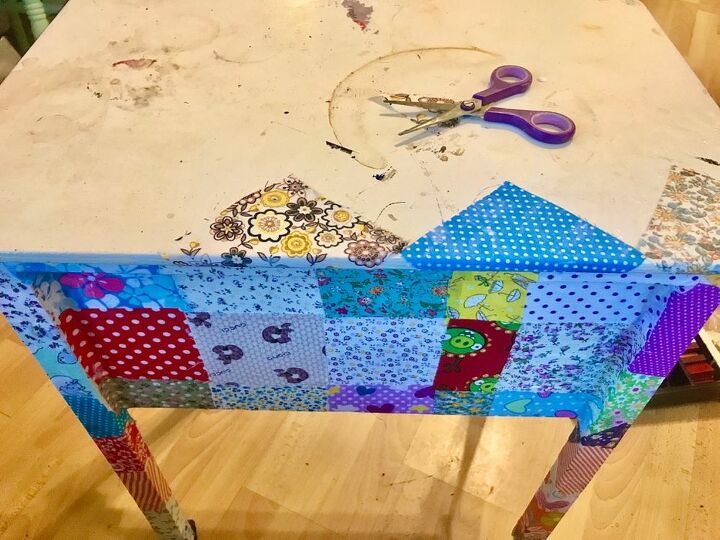
I have had this rather tatty old vintage sewing table for years and it is such a handy storage item that i thought I would vamp it up for its new purpose to hold all my jewellery making tools and beads. I decide it needs to be cheerful looking and fit for its creative use so I choose to decoupage patchwork it.
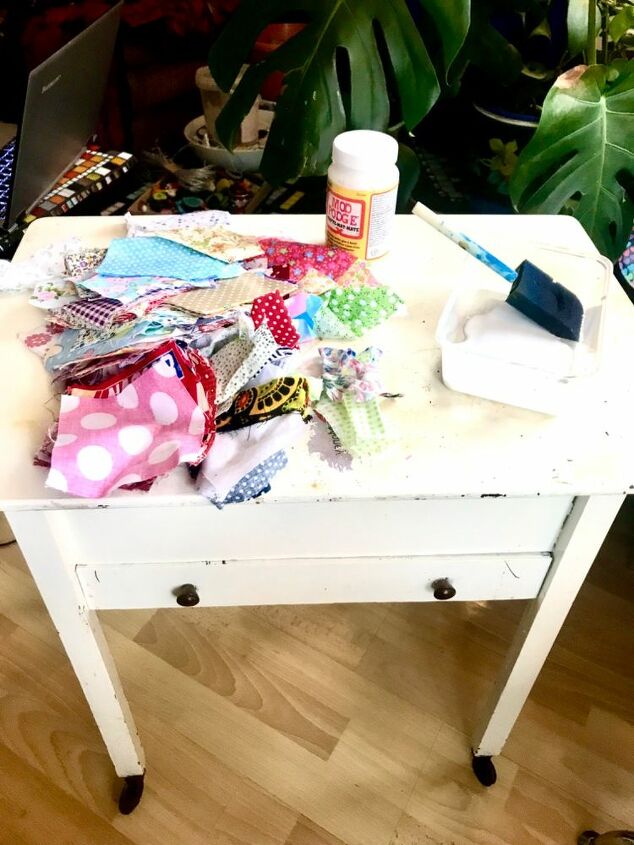
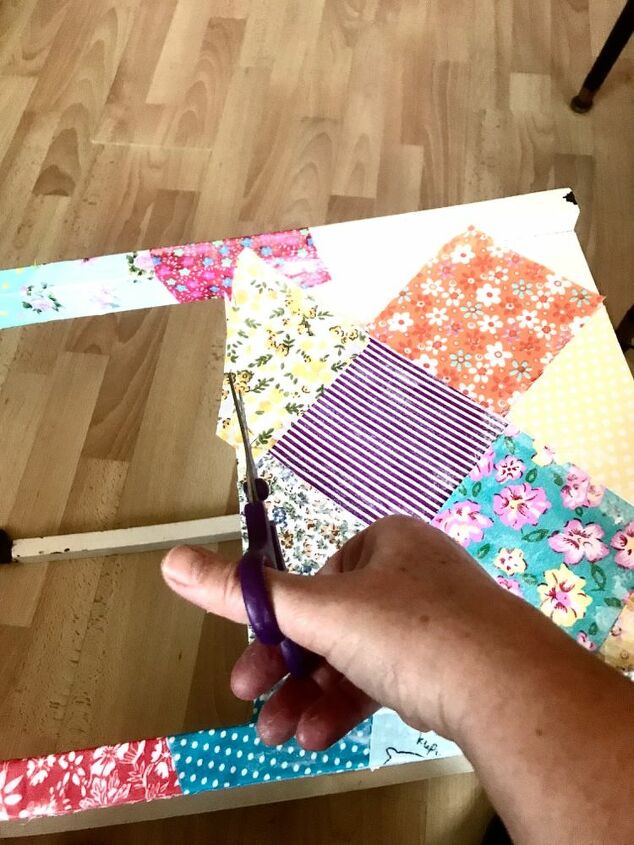
I get my mod podge out for sticking and protection along with all the squares of thin cotton fabric I have left over from old projects. I love to mix and match patterns and colours to really get a good patchwork effect.
I start by covering the base of the legs with mod podge and fabric squares laying at angle and covering the fabric also over the top to create durable surface.
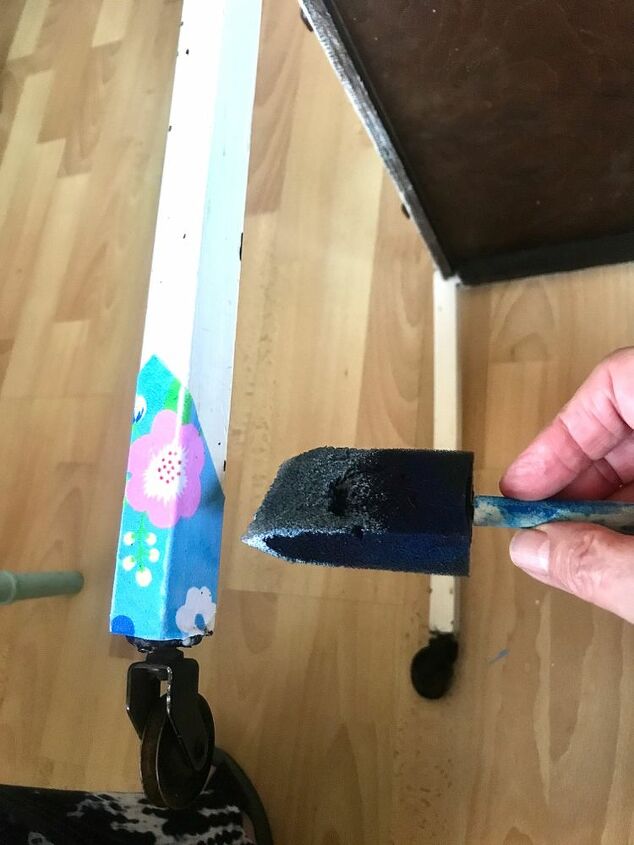
I repeat this process on the other legs
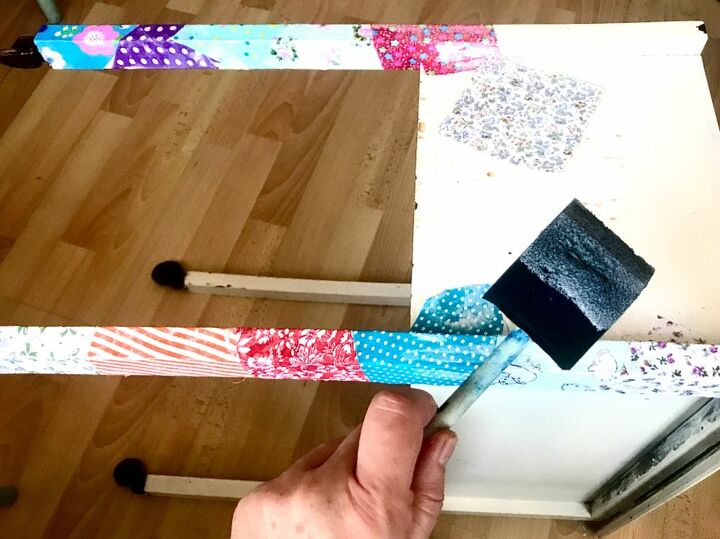
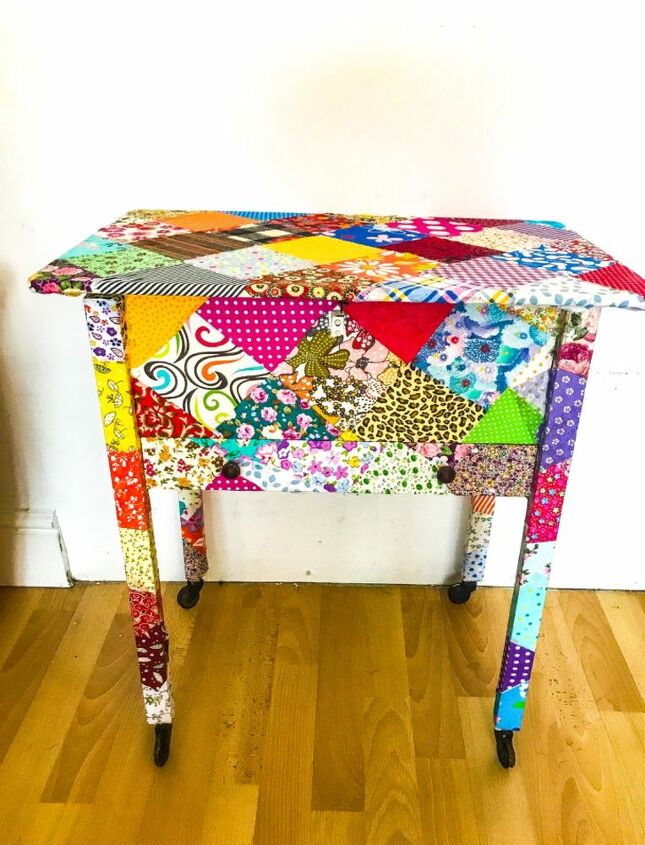
I continue to layer the fabric on the sides and back . Making nice contrast of patterns and colours. Building the bold pattern and texture.
As it is with a lid I cover to curve around edges to make sure every surface that is visible is decoupaged
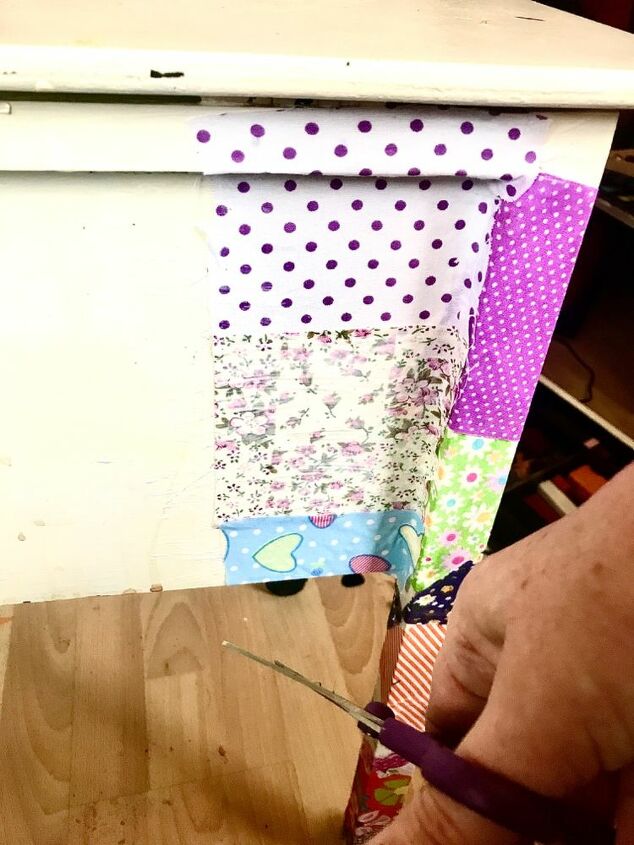
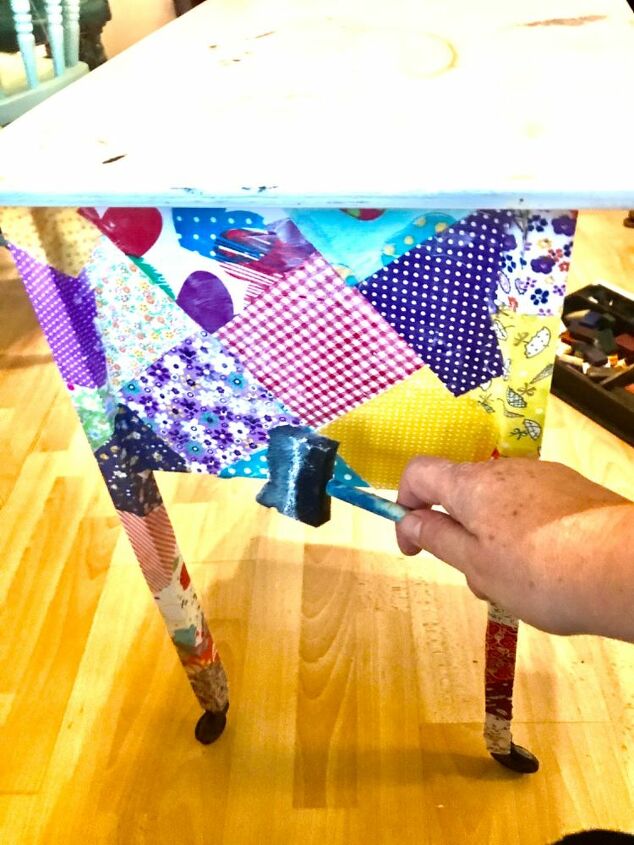
Making sure fabric curves evenly around edges and plenty of mod podge over the top of the fabric.
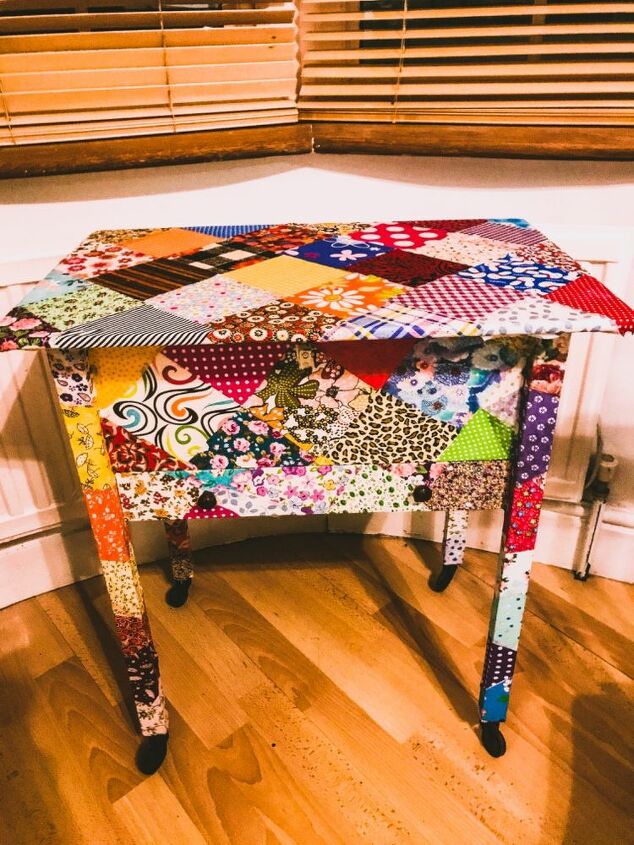
It is starting to look so beautiful and colourful .
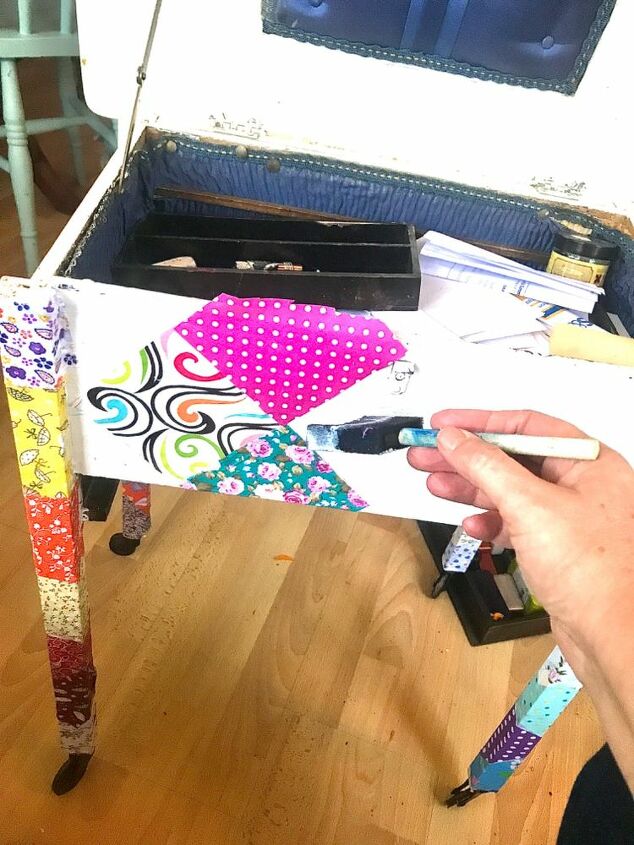
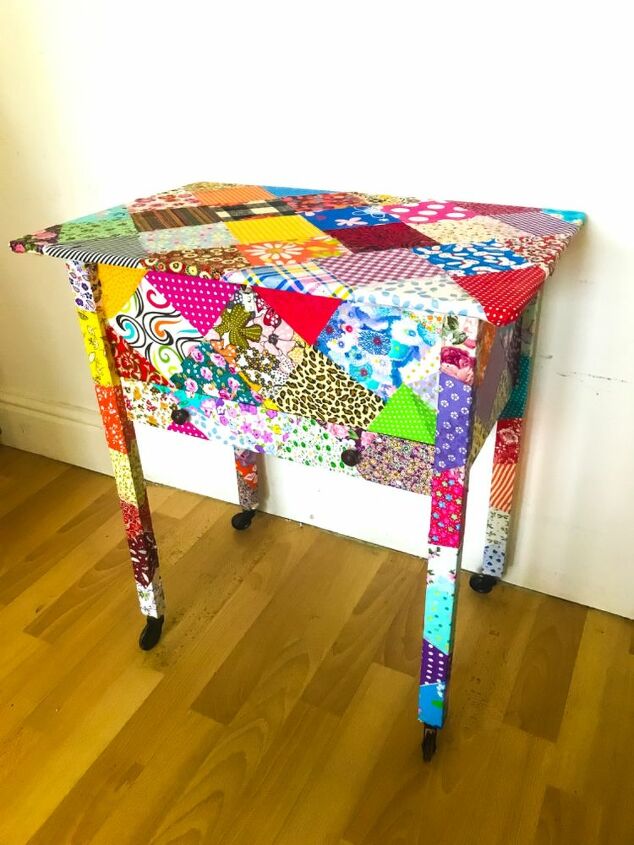
The top I leave till last and begin with diamond shapes along edge to allow for easy layering to balance and give super finish.
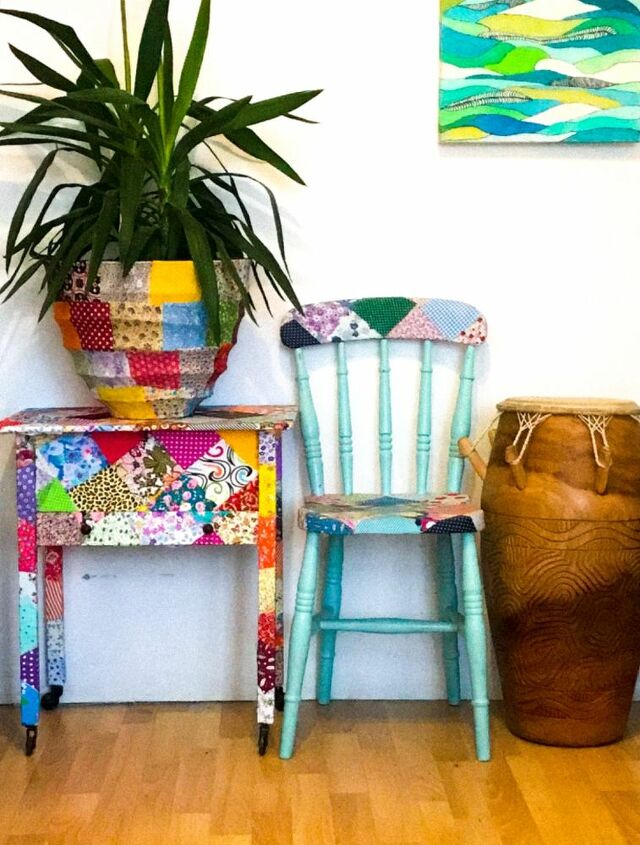
At last I t is finished and so so happy with truly! Totally terrific patchwork!!
Resources for this project:
See all materials


Comments
Join the conversation
-
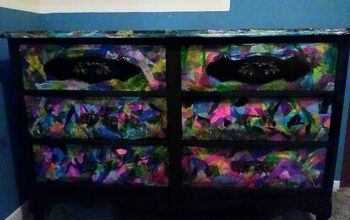
I did this same technique to an old dresser I've had for years! ❤ Love 💘this! I Used old tissue paper , mod podge and black acrylic paint!😜
-
I have my mom's old sewing cabinet that I currently use as a nightstand. I'm swapping my bedroom with my sewing room to get more creative workspace. Since I only sleep in my bedroom it makes sense to have the biggest room for my sewing space. I had already decided to keep the sewing cabinet in my "new" sewing room, and I think this caninet makeover will be an amazing addition. Thanks so much for sharing!


Frequently asked questions
Have a question about this project?
That truly came out lovely! Thank you for sharing your idea. I have one question/concern. Did you think of polyurethaning the top at least for wear and tear and mostly staining?
Love your project. It should definitely feed your creativity! I wonder how it would look if you used some sort of paint pen and drew faux embroidery stitches to look like a crazy quilt? If anyone tries it, can you post a pic? Thanks