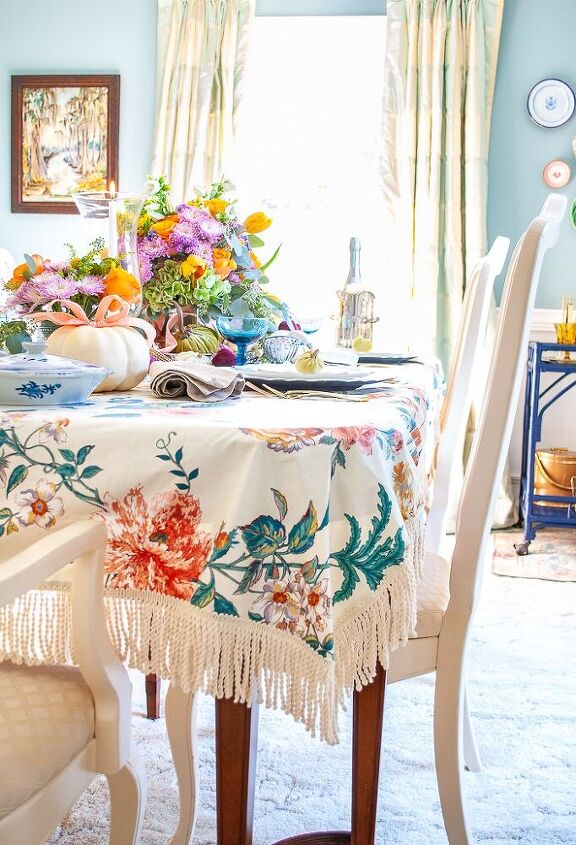
How to Sew a Pretty Chintz Tablecloth

Katherine
by Katherine
7 Materials
$20
2 Hours
Medium
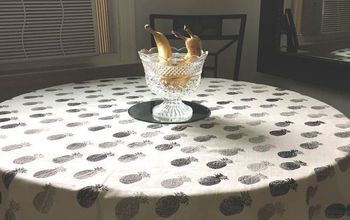
Make your own pretty chintz tablecloth with this basic 5 step method to sew a tablecloth with a bullion fringe edging!
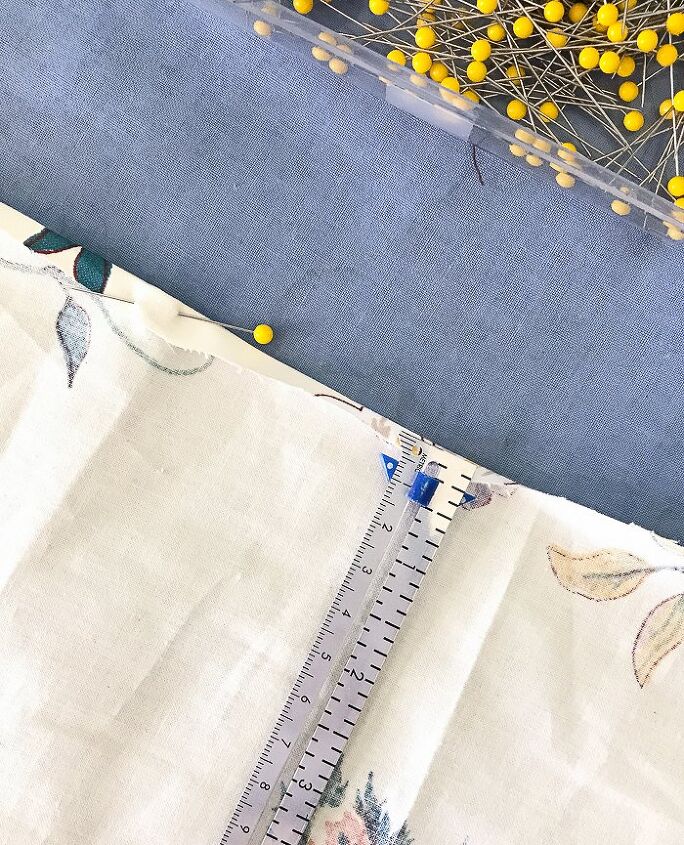
Measure & Cut Your Fabric


Measure the length and width of your table then decide how long you want the fabric to extend down the sides. The general drop down is 10 to 12 inches. Add this drop down length to your table measurements. Then decide how much fabric to allow for the seam. I will show you how to create a basic double fold hem, which will need at least 3/4″ of fabric. Add this amount to the length and width.My fabric was 54″ width, which allowed for 5″ of drop down on either side of my dining table. To get the additional length, I added a 4″ bullion fringe. This put me at about 9″ of overhang. The selvedges of my fabric were useable, so they were worked into the hem.Be sure to cut your fabric with sharp scissors. I love the Ginger scissors my mother gave me when I first learned to sew. Don’t forget to account for your drop down and hem allowance.Note: if you fabric is 100% cotton or other material likely to shrink, be sure to wash it first.
Iron Out the Wrinkles & Press the First Fold for Hem


Next take your fabric to the ironing board. Iron out any wrinkles.To start your double folded hem, choose one of the short sides and using a sliding gauge hem ruler fold the edge of the fabric down 1/4″. To get the fold to stay in place as you measure and iron use straight pins every 4 to 5 inches. Make this fold around the entire parameter of the cloth.This is really the most tedious part of this sewing project.
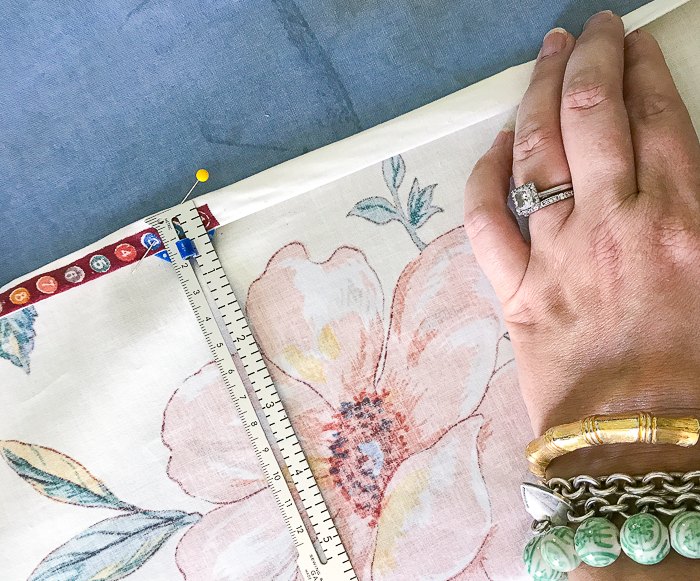
Fold & Iron Second Fold for Hem


Now it’s time to fold back the edge again to finish the hem. This puts the unfinished fabric edge inside of the hem, so that it cannot fray.Again using the sliding gauge ruler fold back your fabric edge 1/2″. Re-pin and iron down the fold as you work around all 4 edges.
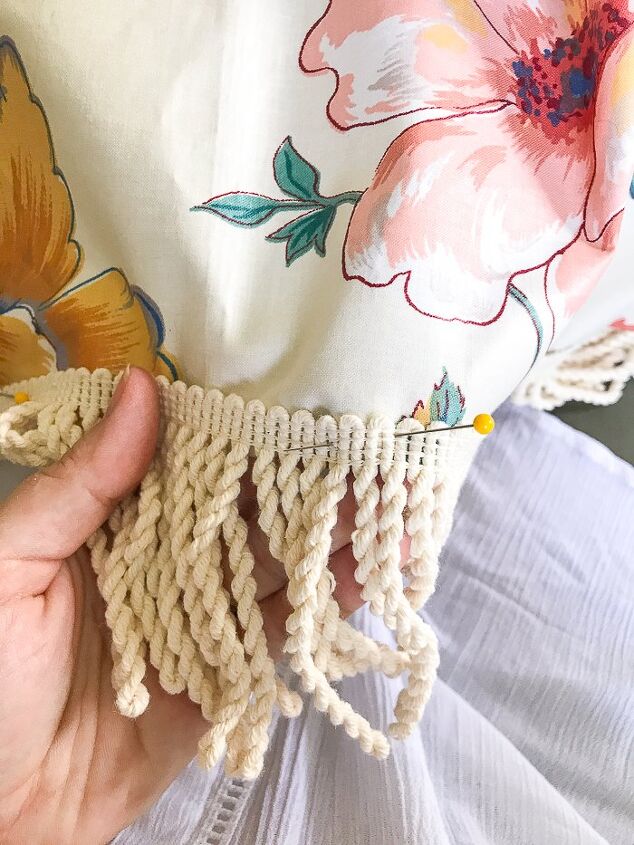
Pin Bullion Fringe to Fabric


With your double fold hem neatly pressed and pinned down, take your fringe, starting at one corner, and attach it down one side re-using the pins already on the fabric. Lay the top edge of the trim about 1/4″ overlapping on the right side of fabric that way your sewing machine catches and secures the fringe and the double fold hem at the same time.Bullion fringe is stretchy. You want to pull it taut, but do not stretch it out — a lesson I learned the hard way!It is really only necessary to pin about half way down one side, because once you start sewing it is easy to hold the fringe on top of the fabric as it goes through the machine.
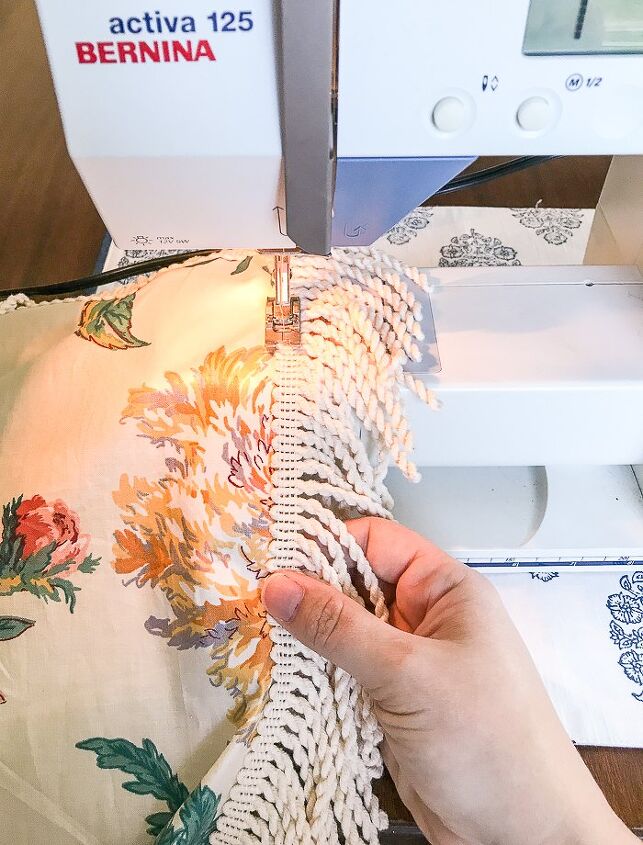
Sew Fringe to Fabric


Now you are ready to sew your fabric and fringe together! I used an elongated zig zag stitch to secure them.I placed my stitch line in about the middle of the top edge of the fringe, and held the two together as they went through the machine, removing pins as they came close to the sewing foot.For corners, leave the needle in the fabric and simply turn your fabric to sew the next side.Iron again to work out any wrinkles set while manipulating fabric and then you are ready to put your new DIY tablecloth to use!
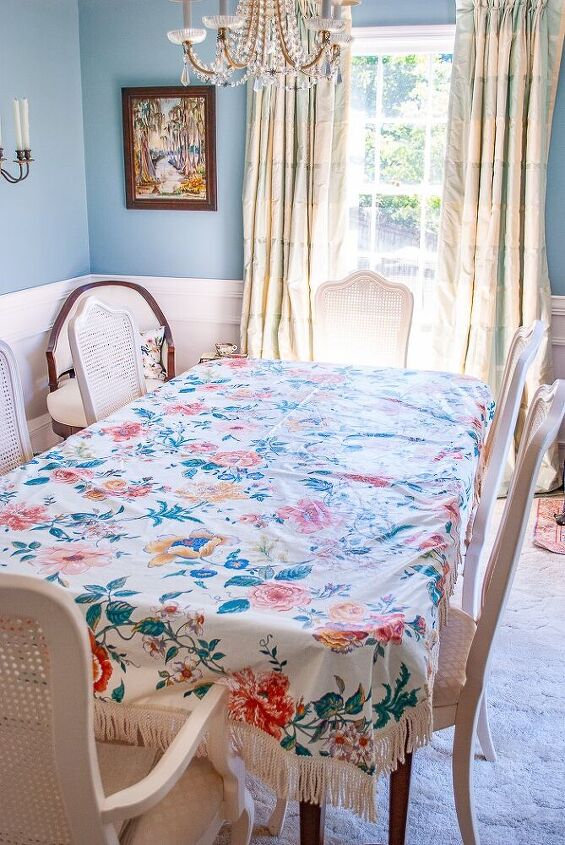
To see how my fall table came together with this beautiful chintz tablecloth head over to my blog, Pender & Peony.
Suggested materials:
  • Fabric
  • Thread
  • Hem ruler gage
See all materials
Katherine
Want more details about this and other DIY projects? Check out my blog post!
Go
Frequently asked questions
Have a question about this project?
Comments
Join the conversation
 2 comments
  • Thea Thea on Sep 29, 2020

    Oh thats so pretty! I love the retro fringe and colour scheme. Very ‘Veranda’!

Next