


HOW TO MAKE YOUR OWN CHARGERS USING DIY DECOUPAGE PAPERS
Hi there sweet friend! Welcome to my Blog!
This is where I hope to inspire you to create beautiful things for your home, for gifts, or just for your soul! There’s nothing like the feeling of creating something with your own hands and we are ALL creative! Today I want to share with you how to make your own decoupage papers and create beautiful plate chargers.
HOW TO MAKE YOUR OWN DECOUPAGE PAPERS
Did you know you can make your own decoupage papers? It’s a little bit of a process, but it’s easy! Here’s what I used!
- Printer
- Printer paper
- Image from Canva
- Rice Paper (hobby lobby)
- Plate Charger (Dollar Tree)
- Fixatif spray
- Easy tack spray
- DIY liquid patina
- DIY paint
- Gold Metallic Paint
- Paintbrush
- Brayer
- Big Top top coat
PREP
I first painted my plate charger, using a synthetic brush, in the color White Swan by DIY paint. This color is just a really good match to the color of the rice paper; a warm white; which helps camouflage the edges of your paper when decoupaging. I love the Paint Couture brushes because it gives a really smooth finish. You can get it even more smooth by lightly sanding in between each coat.
SELECTING YOUR IMAGE FOR CUSTOM DECOUPAGE PAPERS
For my images, I went to Canva.com. I selected “Create image” with “Custom size.” I found that a 7 in. by 7 in. worked well for the center of the Dollar Tree chargers. I then chose Elements and typed in the name of a particular flower, like Lily of the Valley. There are so many good graphics to choose from! Download all the images to your computer.
MAKING THE DECOUPAGE PAPERS
So once you’ve picked out some images you like, it’s time to create your own paper so it can be decoupaged onto your charger.
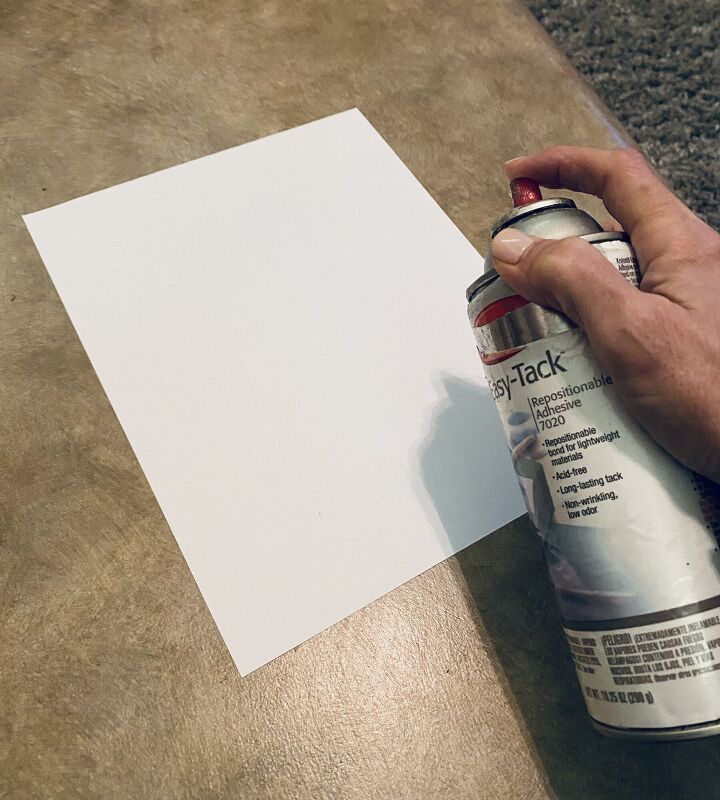
Step 1: Lightly spray a sheet of printer paper with the Easy Tack spray. This is not a permanent adhesive; just enough for the rice paper to stick and then be removed later.
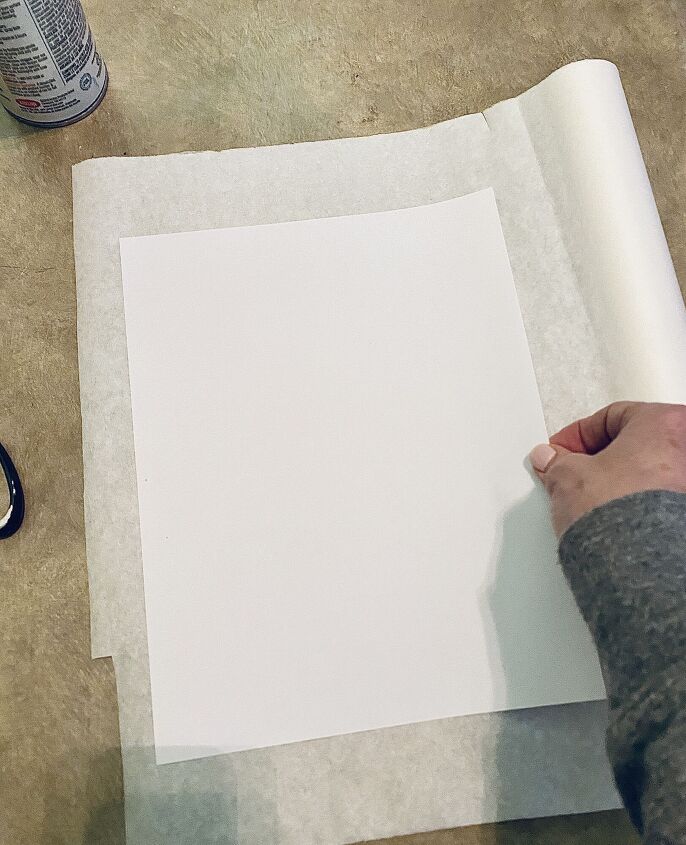
Step 2: Adhere your tacky piece of printer paper to the smooth side of the rice paper. Note: This is done to make the paper heavy enough for the printer.
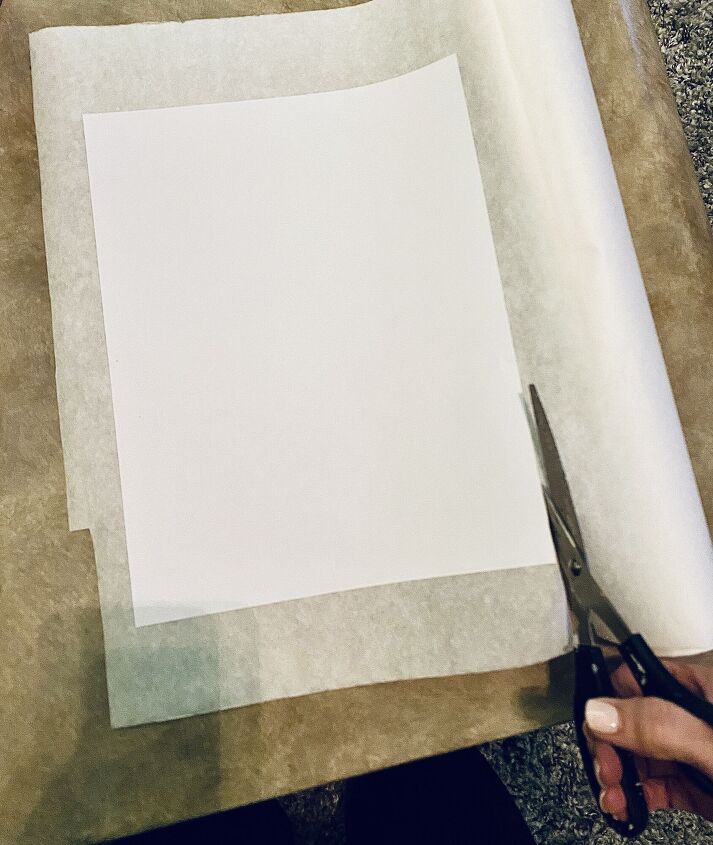
After adhering, I cut any excess rice paper from the edges of my printer paper.
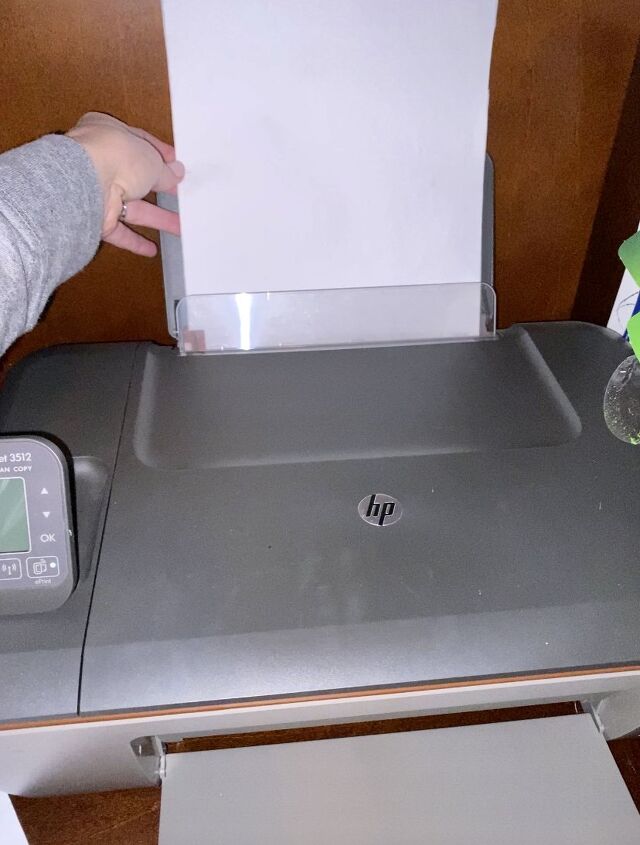
Step 3: Insert your paper into the printer in the position where the image will be printed onto the textured side of the rice paper. For me, I place the rice paper side up in the feeder.
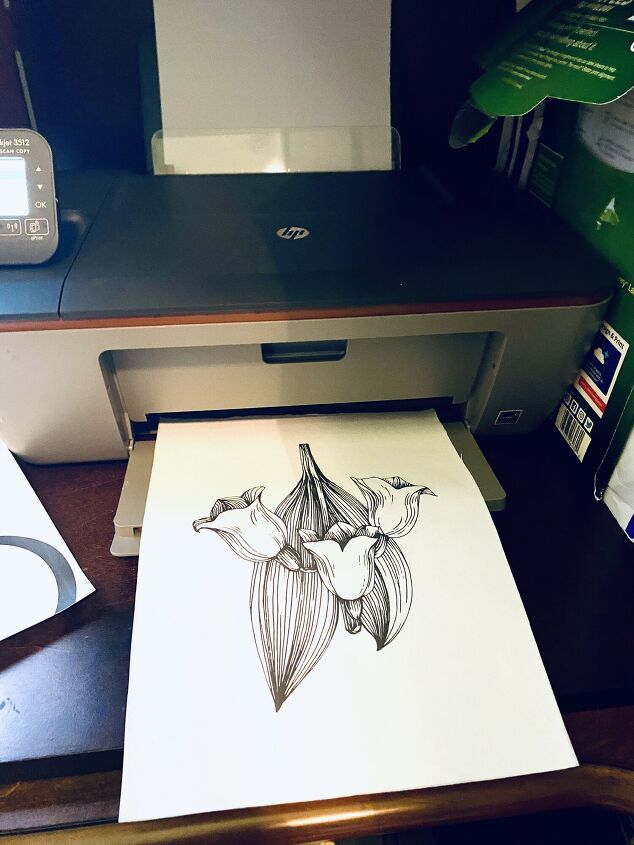
Step 4: Find your image on your computer and Print!
NOTE: If using an inkjet printer, spray the paper with the fixatif spray in order to set the ink. Allow to dry. Should not be necessary if using a laser printer.
DECOUPAGING THE PAPER ONTO THE CHARGER
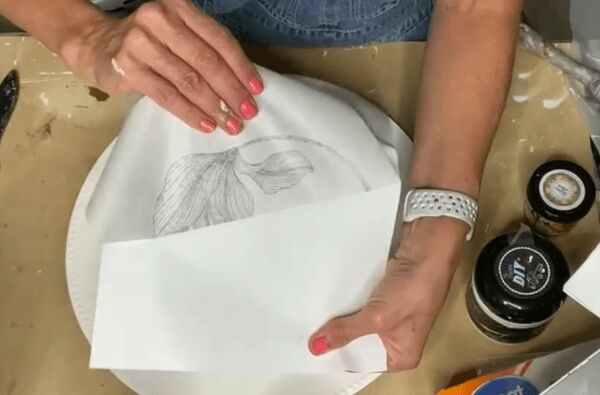
Gently separate the rice paper with your image, from the printer paper. Start at a corner and pull easily. You can cut or tear around the image to fit the center of the plate charger.
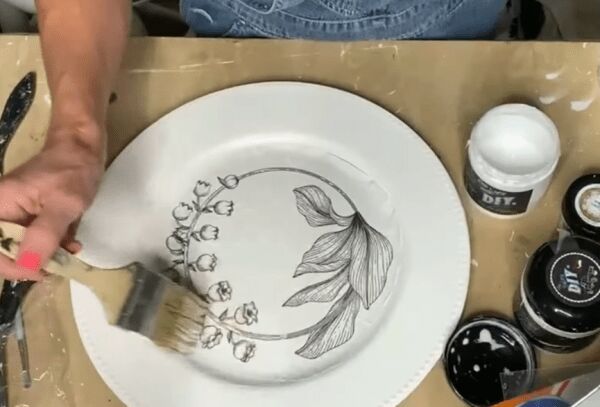
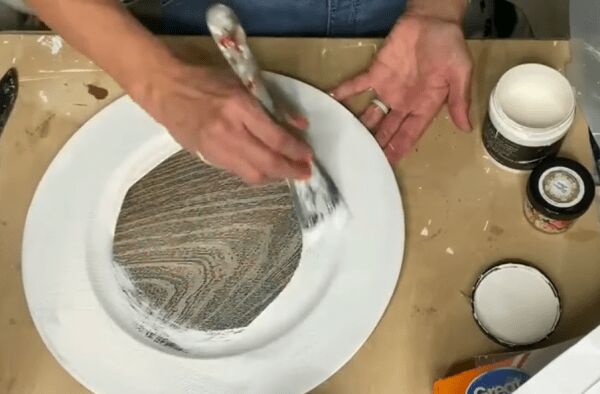
Brush the decoupage medium in the center of the plate charger. Lay your rice paper image, face side up, over the decoupage medium.
Brush more decoupage medium over the rice paper.
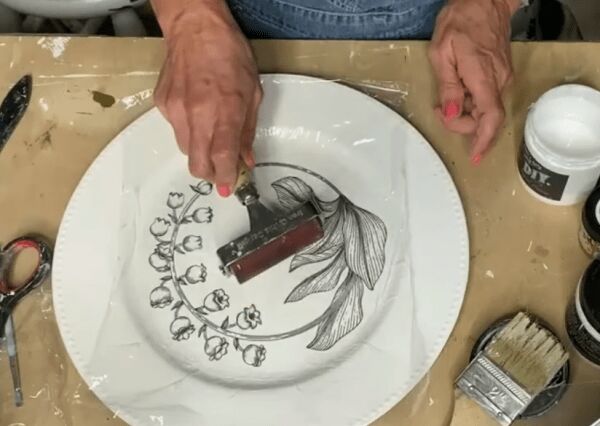
To reduce wrinkles, I laid a piece of saran wrap over the image and smoothed with a brayer. Remove saran wrap and lightly brush on a thin layer of more decoupage medium.
Allow to dry and Seal with a top coat!
One last thing you can do is highlight the edges with metallic gold paint.
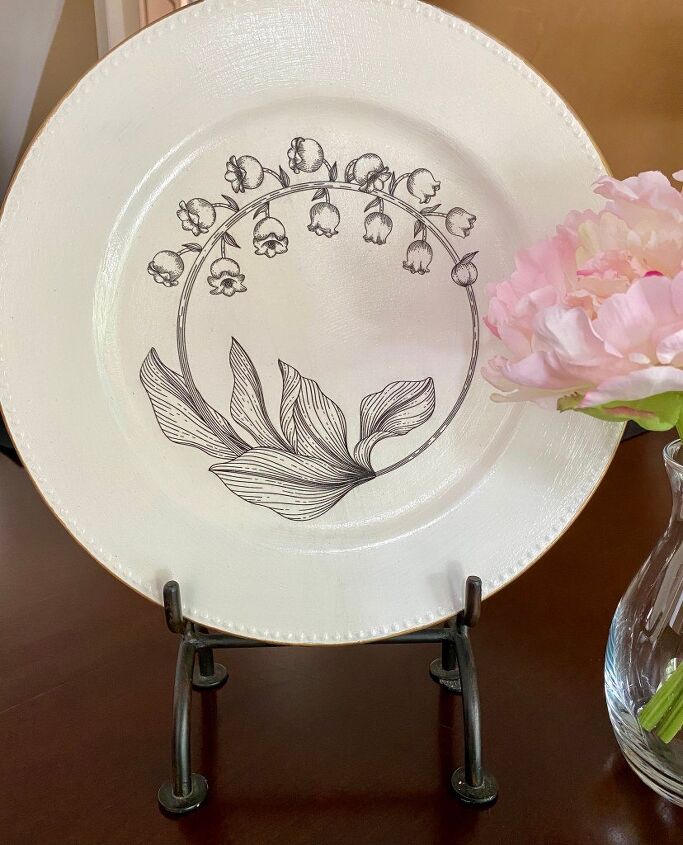
I’m really happy with how it turned out…What do you think?
You can use this technique on so many things…Canvases, Books, etc.! I hope it’s inspired you and given you some new ideas for your projects.
LET ME KNOW IF YOU TRY IT. FEEL FREE TO ASK ANY QUESTIONS YOU MAY HAVE…I ALWAYS LOVE HEARING FROM YOU. IT MAKES MY DAY!
If you would like to see the video tutorial, you can watch it here!
Follow me on Youtube!
Happy Creating friends!
Joanie


Frequently asked questions
Have a question about this project?
What type of decoupage medium did you use? Also the topcoat. Are these food safe? Or only for presentation? Love this Look!!! So many Possibilities to personalize however u Like!!!