Day of the Dead Shadowbox

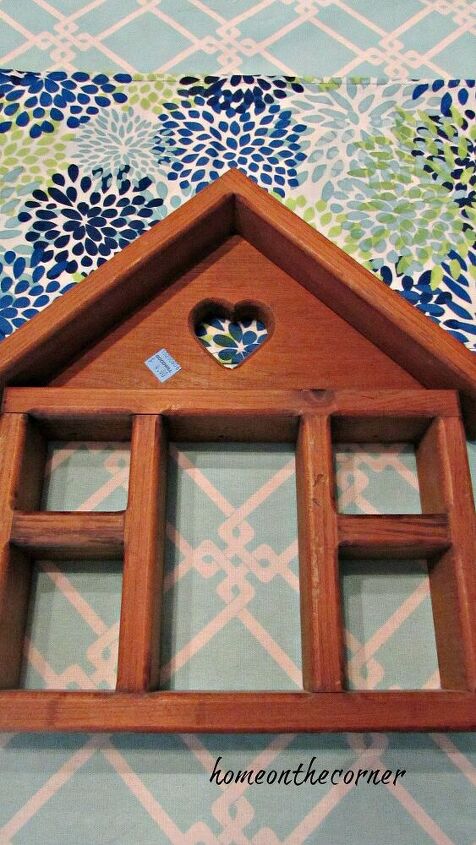
I found this small shadowbox at a local thrift store. I originally bought it for something else, but the pieces I was going to add to it were too big. So after wandering through the 99 Cent Store, I was inspired by all the Day of the Dead decor. The first step was to paint the shadowbox black. Of course, I used spray paint.
It was difficult to find items small enough to fit into the spaces, but I was able to find a couple of skeletons, cat salt and pepper shakers, and brightly colored flowers. Then I went through my scrapbooking paper to find paper for the backgrounds.
I cut out a piece of heavy weight paper to cover the heart at the top of the house. Then I covered that paper with floral and polka-dot paper.
The skeletons were actually the little solar things you put in your window and they dance, but I cut off the bottom part and then hot glued the skeletons into the top section of the house. I also added some turquoise rhinestones.
I cut the flowers off the stems and then glued them around the top edge of the house. You can see the rest of the paper that I chose for each square too. The black and white toile paper reminds me of the Haunted Mansion at Disneyland.
I had to add a dog to the box and because he was a little bit bigger he got the middle spot. I also gave him a black velvet bow.
One of the black cats was added to a spot with a pretty pink flower on its collar.
I had this paper stamped with the lock already in my stash and then added the key and the rhinestones.
I couldn’t find another small item, so I made this little sombrero out of felt, ribbon and trim.
I found the little dollhouse chair at the Dollar Store, spray-painted it black and glued the skeleton onto the seat.
I added it to the other items I already had on my entryway table.
I hope I can find more shadowboxes and create different ones for holidays and seasons. I think one with pumpkins and little trucks would be so cute!
I have more ideas on my blog, so come on by for a visit!
Enjoyed the project?
Resources for this project:


Frequently asked questions
Have a question about this project?