


Easy to Make Patriotic Serving Tray!
Hi there Sweet Friends, It's Cynthia Nessel from Create With Cynthia and today I am creating a Wooden Serving Tray. You can repurpose or purchase wood trays to be painted and stenciled. Add some patriotic decor to your home.
Serving Trays are so much fun to create. I like to pick up old and dingy trays at the local Second Hand Store. You can also find nice wood trays, ready to be crafted, on Amazon or at your local craft store.
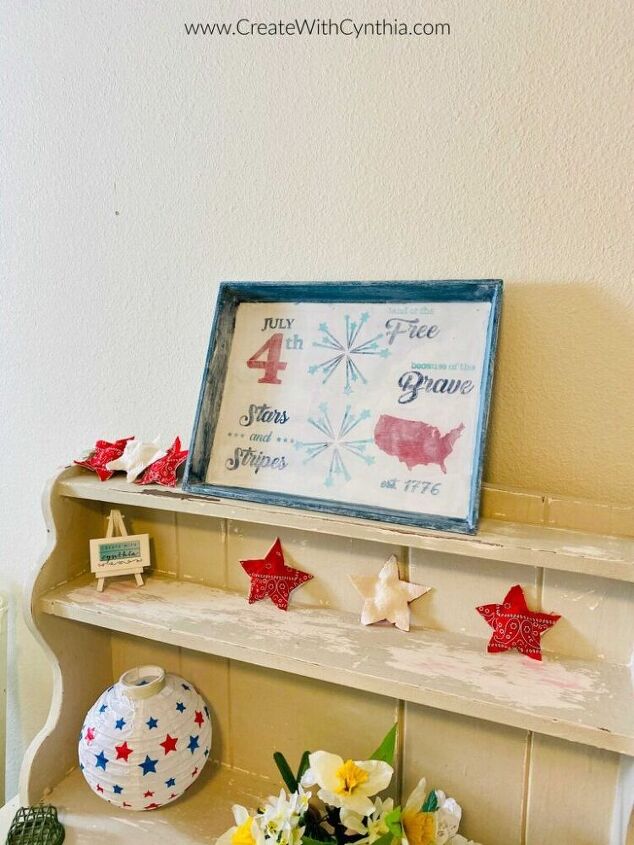
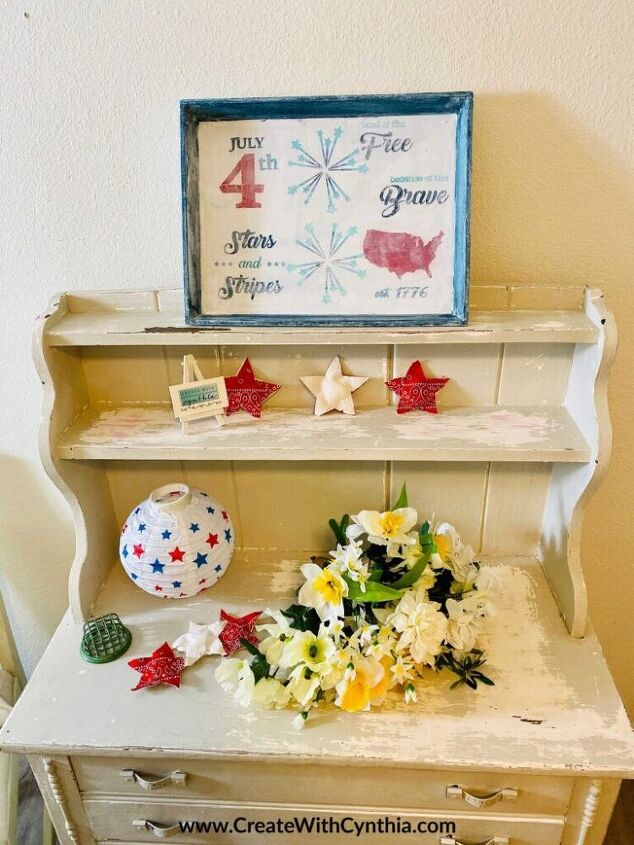
Wood Serving Trays can be used to serve your family and friends goodies or you can set them on a bookshelf or hand them on the wall.
This month has been all about Patriotic Decorations. Here are my other patriotic decorations; Check out my Tips on Hosting an Outdoor Luncheon. Patriotic Wreath with Wood Stars and an Embroidery Hoop, Patriotic Decorations – 4th of July Art and a Patriotic Tablescape outdoors with bandanas and sunflowers.
This project was super simple and took me about 30 minutes. I used a water based paint and wax and a blow dryer to dry the paint so that I could finish up the project within 30 minutes.
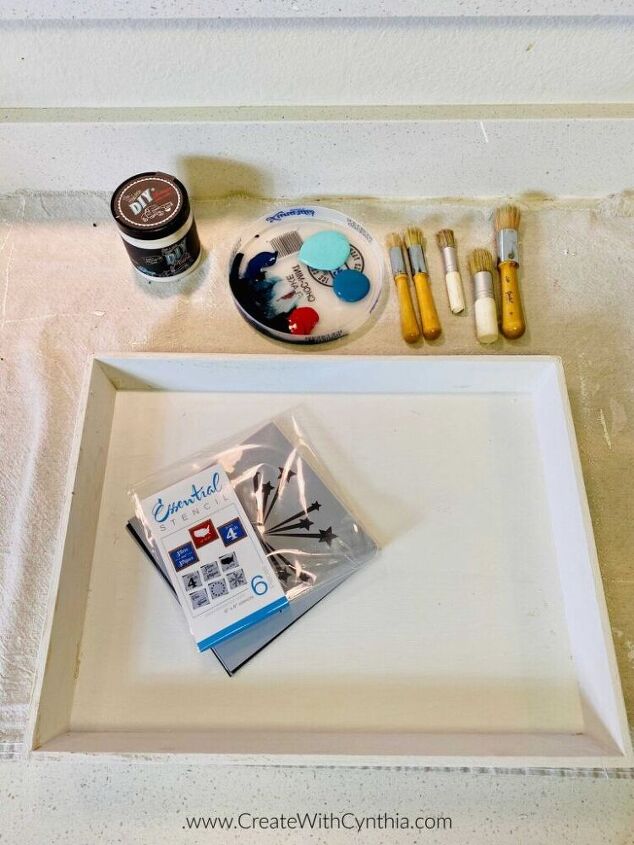
MATERIALS NEEDED TO CREATE A PATRIOTIC SERVING TRAY!
- Wood Serving Tray
- Paint and Wax
- Stencils
- Paint Brush
- Stencil Brush
STEP ONE: Paint your tray. I used white paint – DIY Paint Bead Board with a paint brush – DIY Paint Blending Brush.

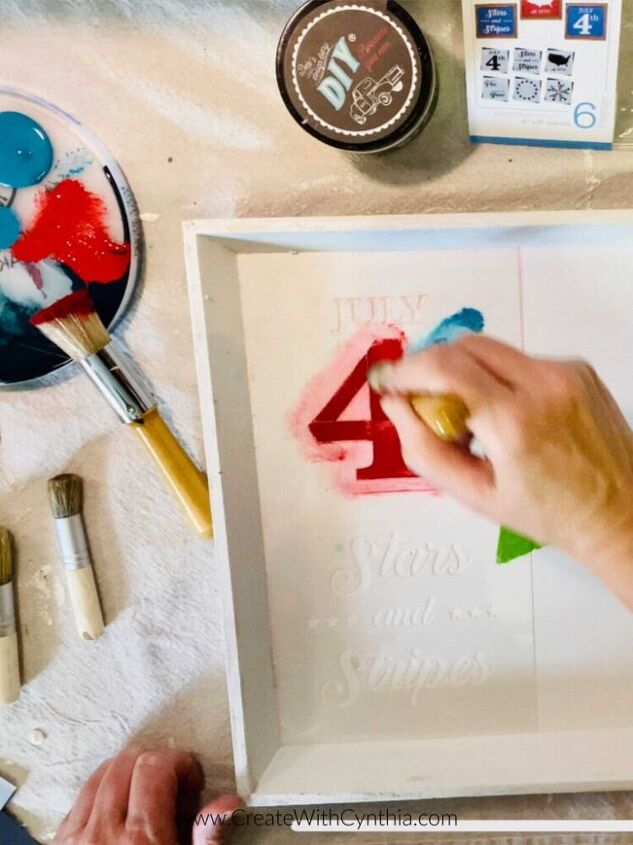
STEP TWO: Pick your stencils. I used Essential Stencils in the Patriotic pattern.
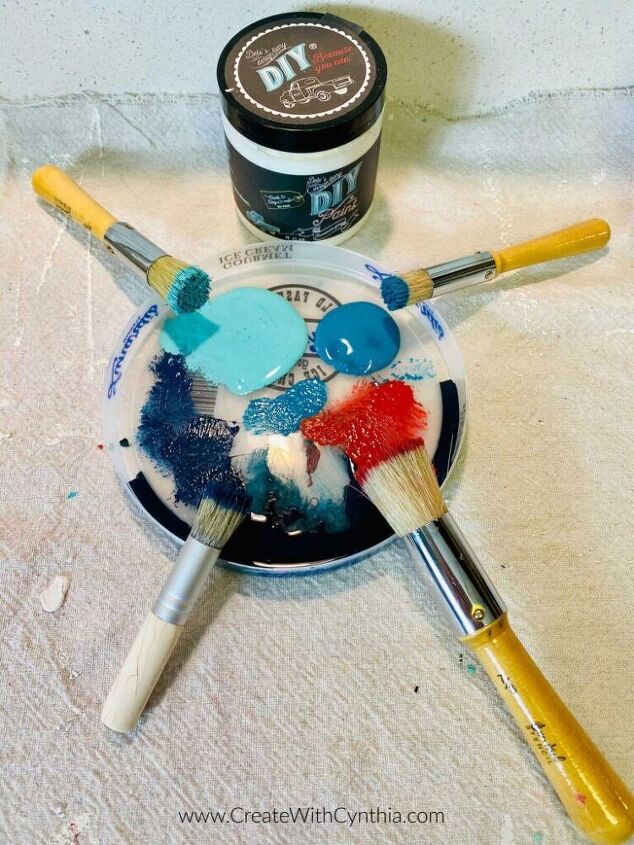
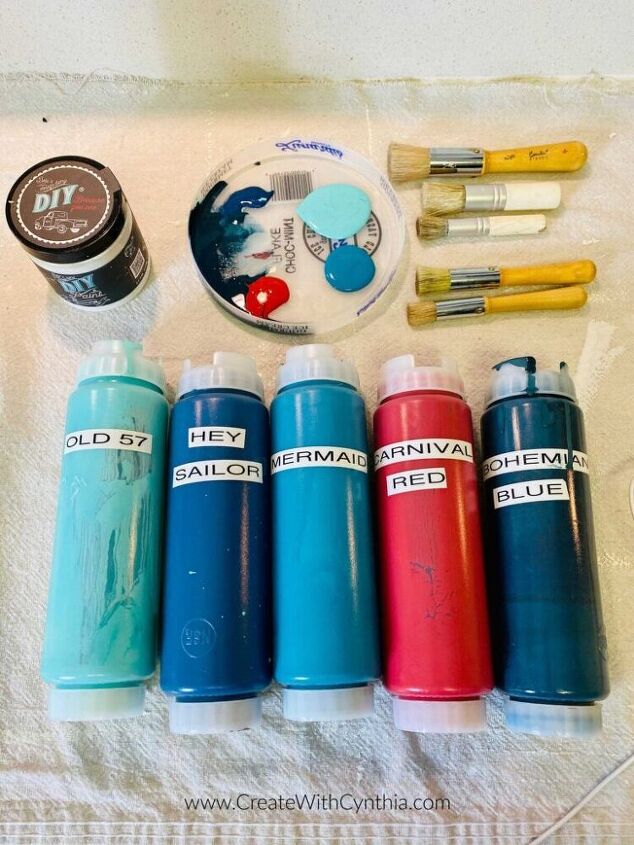
STEP THREE: Choose your paint colors. I chose a variety of blues and one red color. On this project all of the paints are Debi’s Design Diary DIY Paint.
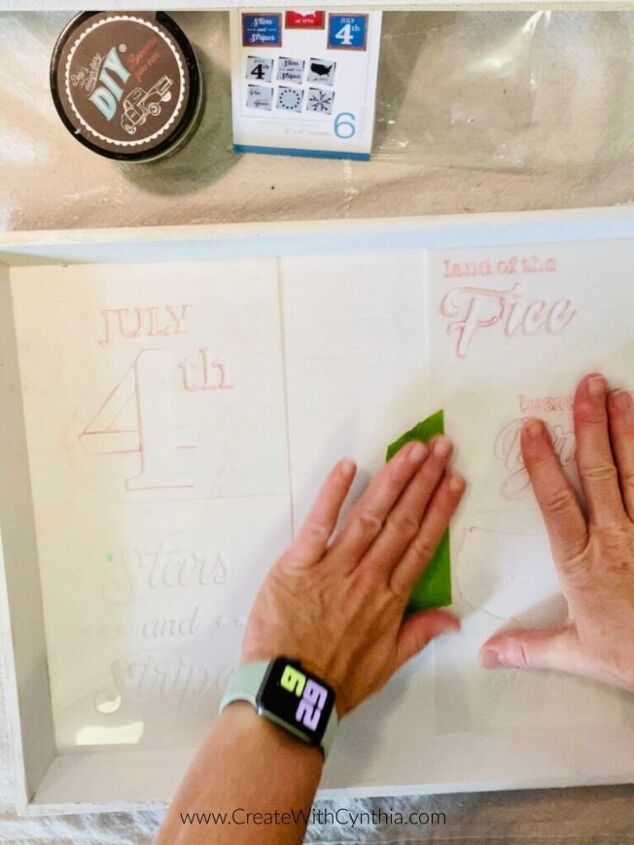
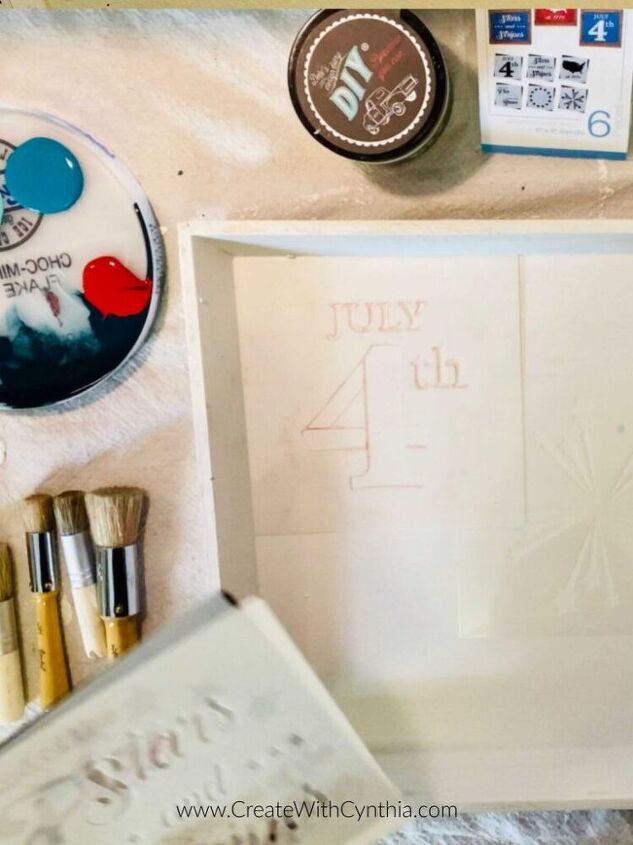
STEP FOUR: Place your stencils on the tray to determine your design. Use painters tape to hold the stencils in place.
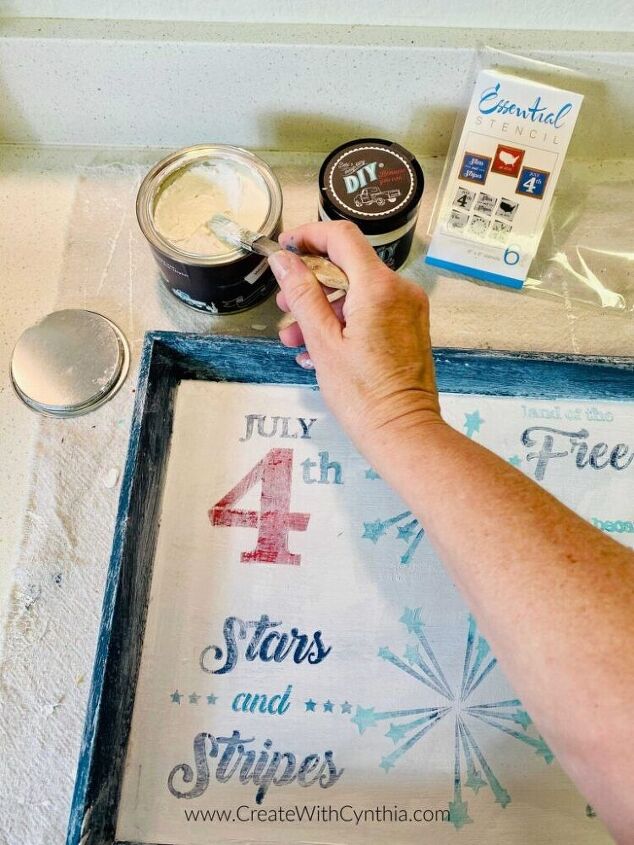
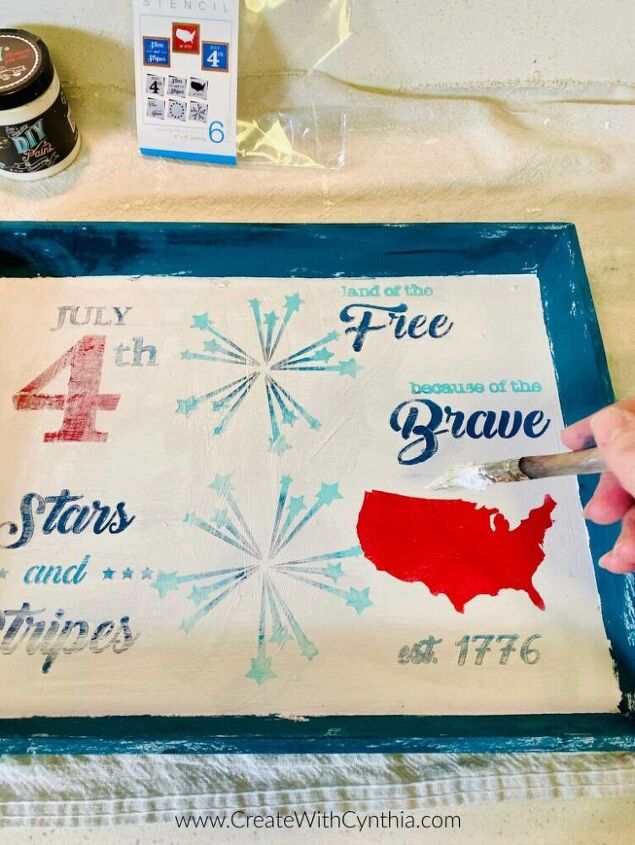
STEP FIVE: Use a Stencil Brush to apply the paint to the project. I used a swirling and pouncing method when stenciling.
Tip: When stenciling it is best to use a small amount of paint, in fact a dry brush is best. If you’d prefer your design to be darker, then add multiple coats.
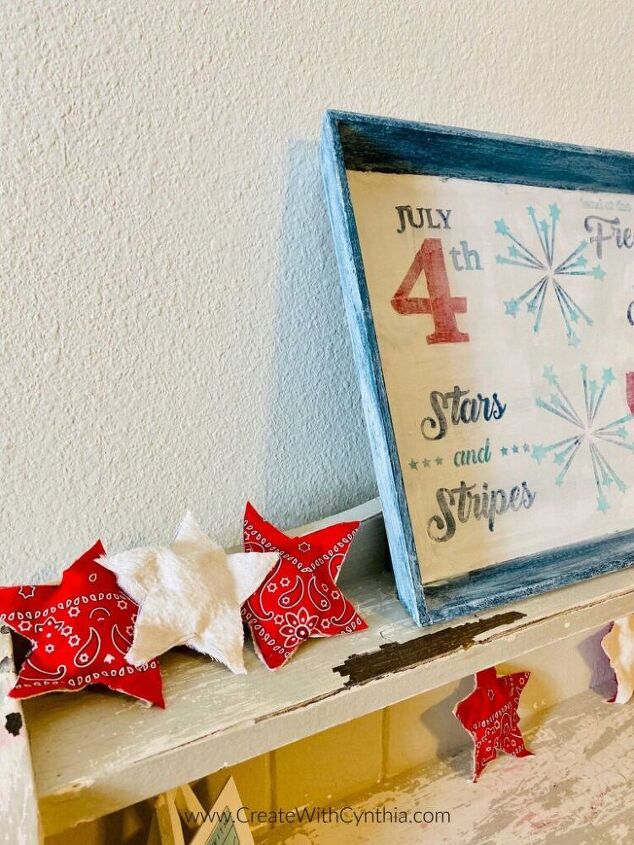
STEP SIX: For this project, I painted the back and sides of the tray with a dark blue color. Once the paint has completely dried, apply a coat of White Wax.
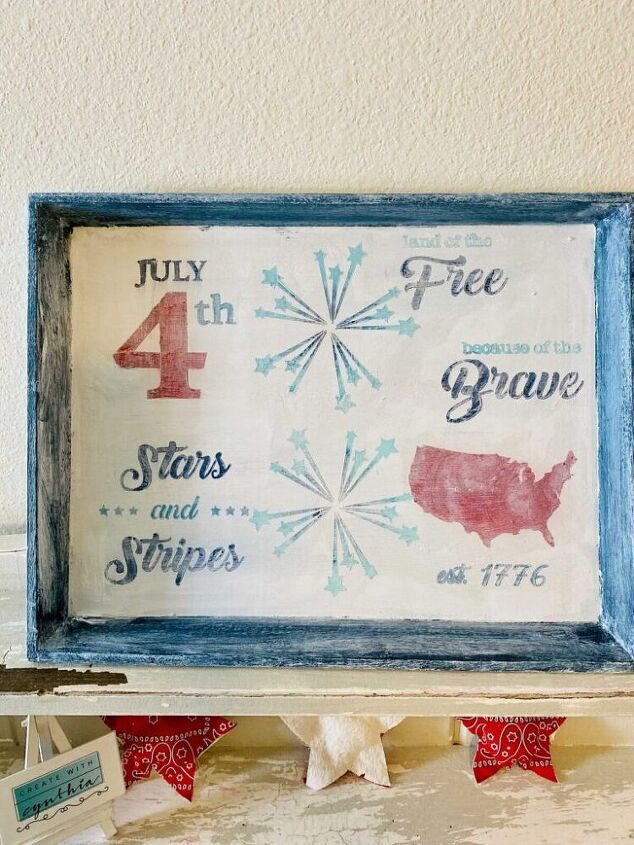
STEP SEVEN: Enjoy your wood serving tray. Use it as wall art or to serve goodies to your loved ones.
This project took me about 30 minutes because I used a blow dryer to dry the paint. It was a super fun project and if you’d like to recreate the project, you can watch my video tutorial as well.
I hope I’ve inspired you to go out there and Create Something!
Cynthia
Resources for this project:
See all materials


Frequently asked questions
Have a question about this project?