


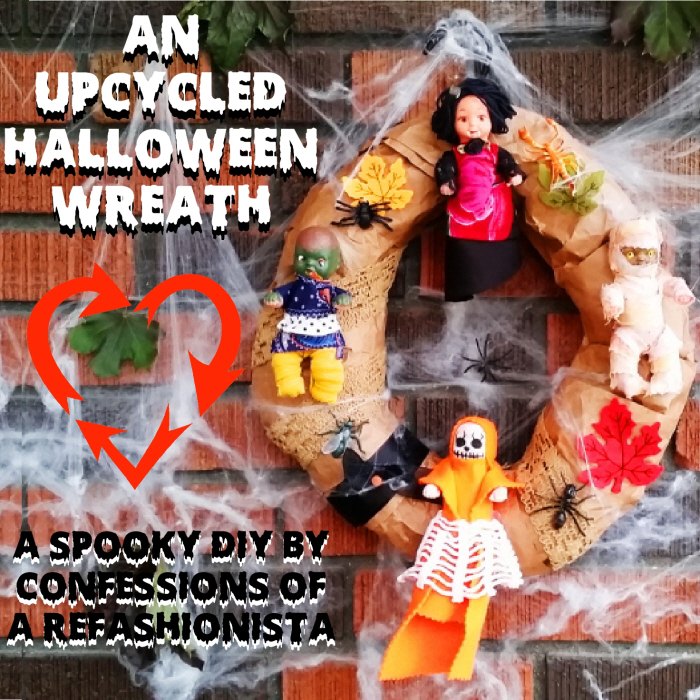
Upcycled Halloween Wreath Tutorial
Sift through your stash, check out your junk drawer, hunt in your closet and raid your kiddo’s ever-growing plastic toy collection to create adorably spooky decor with my upcycled Halloween wreath tutorial!
This is the fab companion tutorial to my upcycled DIY creepy dolls!
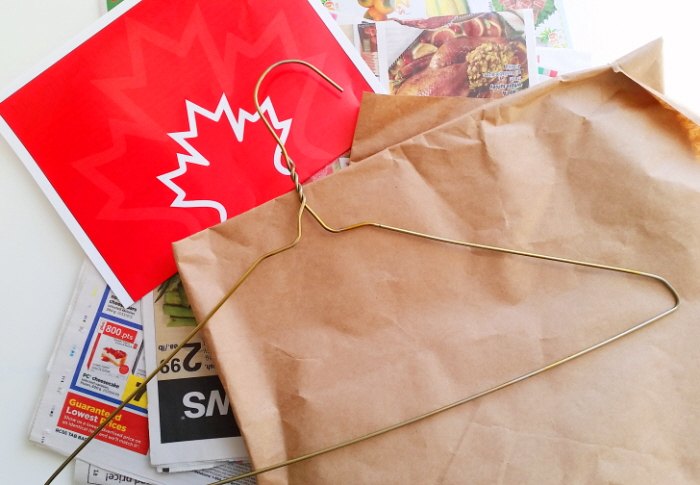
Grab a wire hanger, a bunch of flyers as well as some of that excess packing paper you’ve stashed away for upcycling.
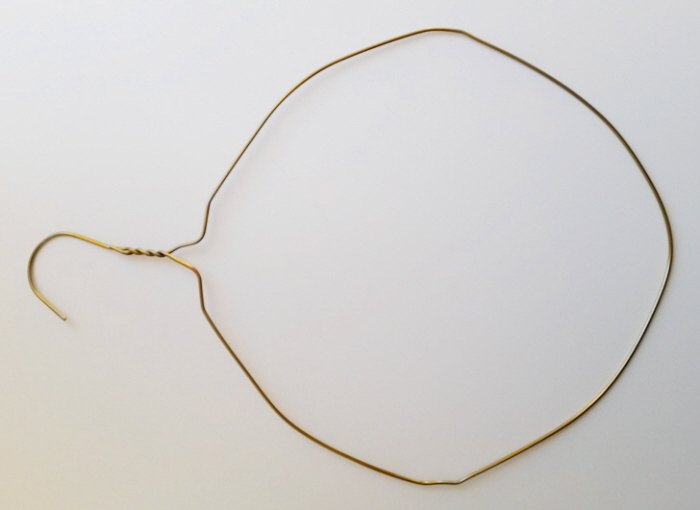
Stretch and reshape the hanger into a circular shape.
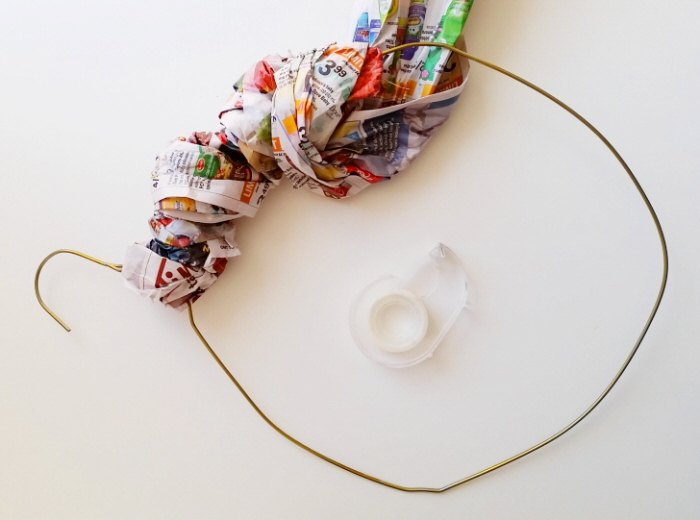
Twist and wrap the flyers around the hanger and loosely secure with tape.
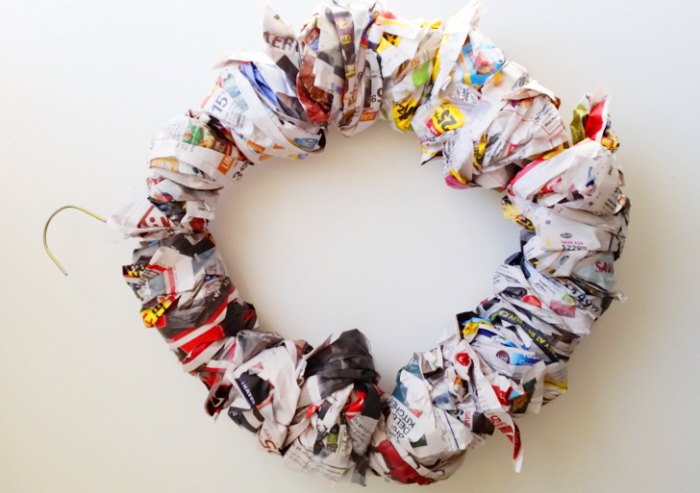
Continue wrapping until the entire hanger is covered with a puffy layer of paper.
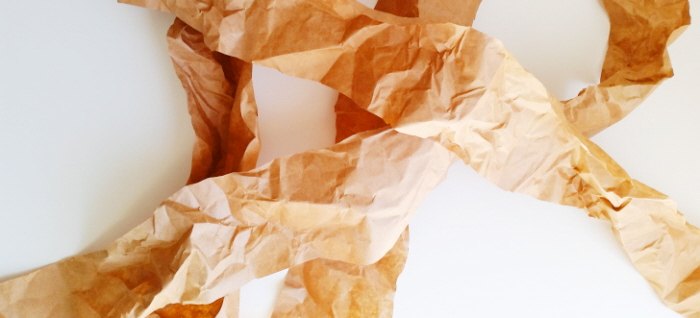
Chop the packing paper into wide strips and wrinkle it all up.

Wrap the strips around the paper covered hanger and secure with tape.
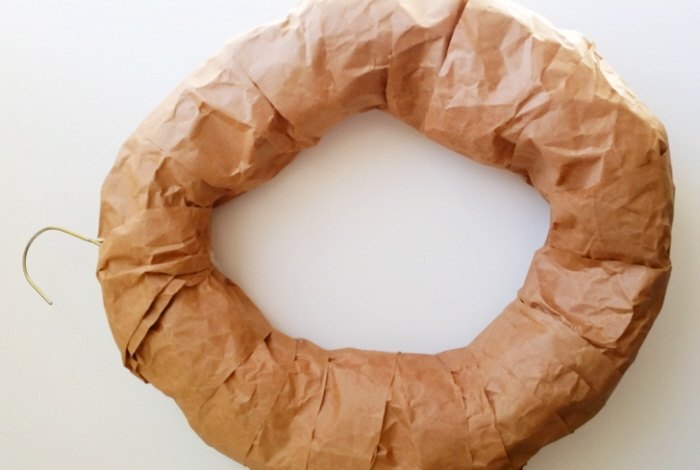
Your upcycled wreath is now ready for some spooktacular decorating!
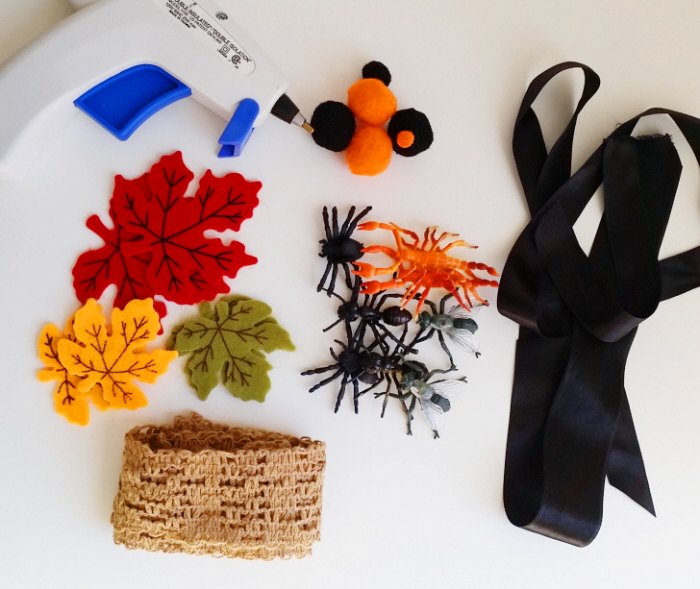
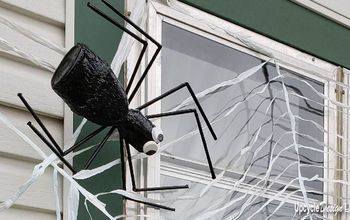
Raid your stash (& your kiddo’s collection of mini toys) for a few Halloween themed bits & bobs and grab your glue gun.
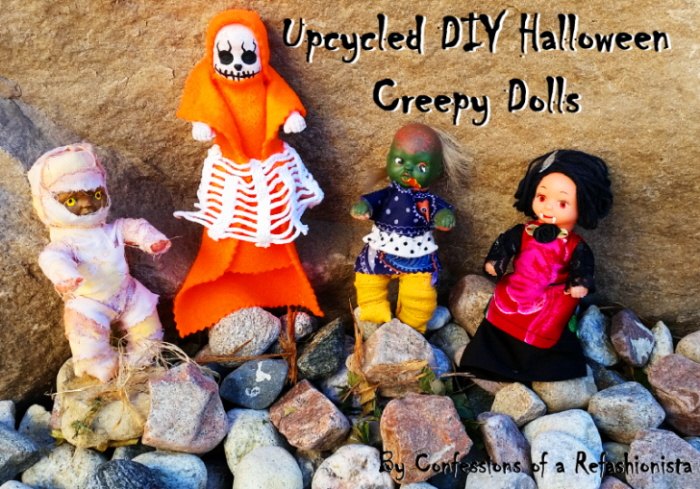
Whip up a few of my cute DIY creepy dolls too!

Arrange your eerie ornaments then carefully stick them all onto the upcycled wreath with your glue gun and hang up your mostly ghostly DIY Halloween decor!
Pop on over here for all of my hauntingly upcycled Halloween tutorials!
Resources for this project:
See all materials


Frequently asked questions
Have a question about this project?