


Handmade Paper Envelopes In 3 Simple Steps
Please don't neglect your envelope when mailing a beautiful handmade card. That beautiful card you made deserves an equally thoughtful and beautiful envelope to carry it to its special destination.
Handmade paper envelopes aren’t complicated or time consuming. Follow our fun & easy approach and end up with an envelope you're proud to put a stamp on. Head over to our FULL BLOG POST for even more tips & pictures to making your own handmade envelopes.
3 Simple Steps To Handmade Paper Envelopes
Envelopes look more complicated only because they have lots of folded edges and seem more like a geometry problem than a craft project. I am here to tell you that just isn’t the case.
Step 1: Choose The Size, Shape, And Make A Template
To start, you need to decide the size and shape. If you already have the card designed, then that should help answer this question. But if not, you have lots of options. My suggestion is keep it simple, especially if you are just starting out with this paper craft.
Size
You could come up with an infinite number of envelope sizes, but I don’t recommend that. Stick to the basic measurements and you’ll end up with great handmade envelopes that are also easy to mail. Here’s a little cheat sheet to help get your measurements going.
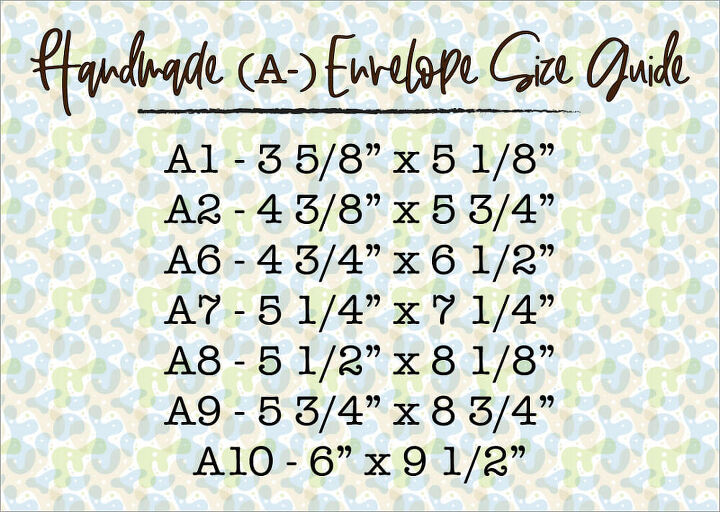
My favorite trick is find an envelope you like and just measure it. Odds are it will be on the chart above. It’s also a great way to get familiar with what the different sizes look like.
For the full rundown of all things handmade cards including envelopes and USPS mailing, here's our full guide on Card Making Kits: Card Making Kits Deliver A Heartfelt Message
Shape
Rectangles, squares, rounded or pointed edges. Surprisingly, the post office does not like square envelopes and treats them as special, and that’s not a good thing. For mailing, rectangles are the way to go. Keep it simplistic and go with a standard sized (which is anywhere from A1 to A7) envelope and just leave the corners square. This is much easier to evenly cut & glue together.
Make A Template
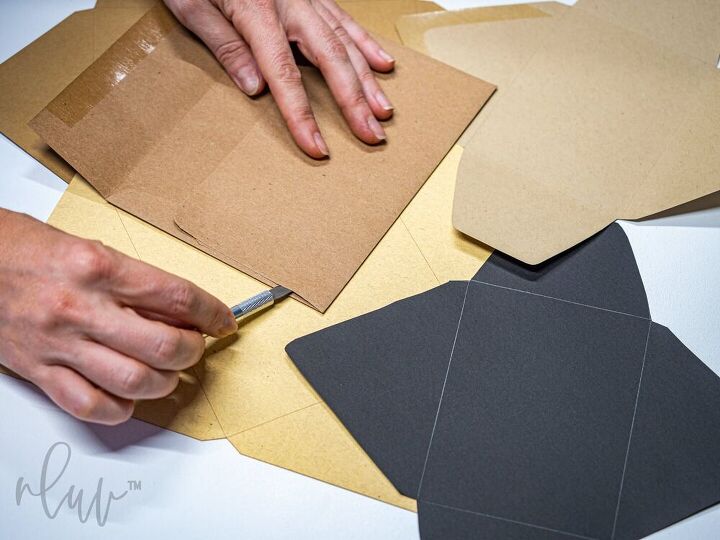
If you took the advice to just find an envelope you like and use that as your template, this step will be so easy. I strongly recommend using an existing envelope as your guide. Carefully separate the seams to create an envelope template.
Don’t worry if you didn’t find an envelope to use as your guide. There are oodles of free online designs for drawing out an envelope. Find one you like, and either print it or draw it out. Then simply create a template by tracing a flattened envelope design.
Step 2: Pick Your Material And Cut It
Material
Think of the envelope as the protective layer for your special card. Envelopes get beat up so they need to be sturdy enough to take the abuse. We love using 100% recycled 100 lb. cardstock. It is heavy enough to endure the mailing process but still flexible enough to cut and score by hand.
Cut It
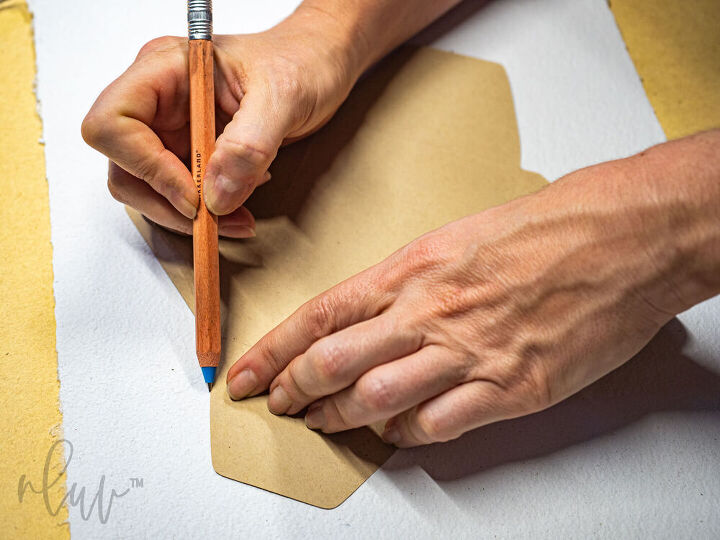
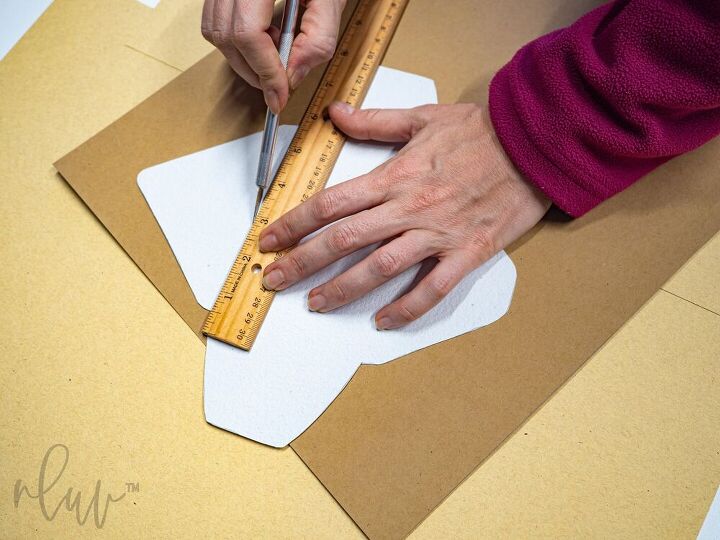
Take your envelope material and lay it out on a flat safe cutting surface. Then lay your template over it. Lightly trace around your template for the exterior shape. Then take a ruler and lightly line out where you will make the folds. I like to lightly score these fold lines so they crease easier and cleaner.
Step 3: Decorate and Assemble
Decorate
You don’t need to do anything else at this point except fold and glue it together. But, if you want a little extra pizzazz, try putting in an envelope liner. This is your chance to test out a really delicate paper type like lace, lokta papers, or even a fun fabric or foil.
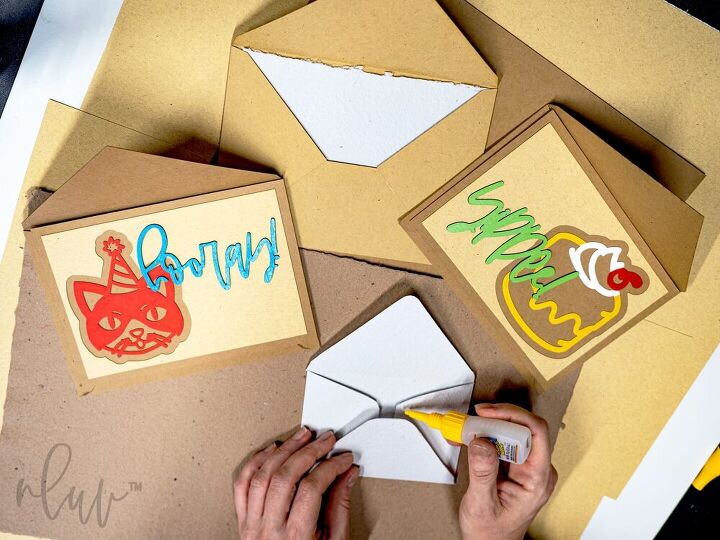
Assemble
Fold, glue, and slip in that card. With a thicker paper, I really like Gorilla Super Glue with Brush & Nozzle. It dries fast, strong, and clear. I use it to assemble the card and to seal it up for mailing.
Great job on your handmade paper envelopes! With a mailbox always stuffed with junk mail and bills no one wants, how fun is it to see a unique, creative envelope hiding in there… only to wonder, what’s inside?
Resources for this project:
See all materials


Frequently asked questions
Have a question about this project?