


Super Cute Halloween Treat Bags and Decoration
30 Minutes
Easy
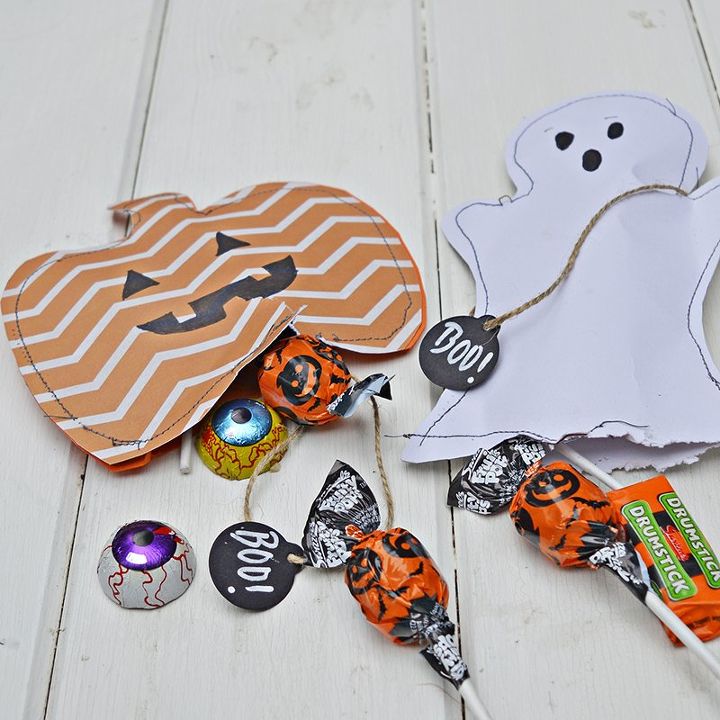
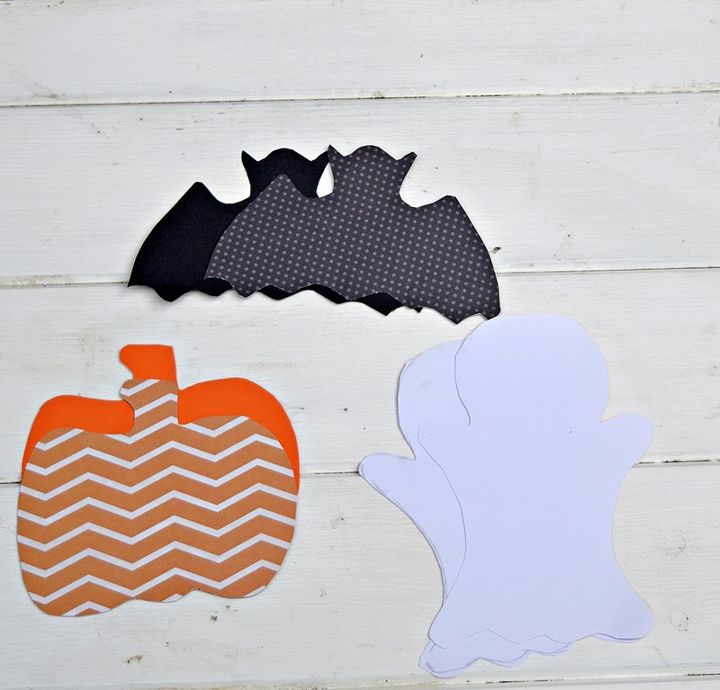
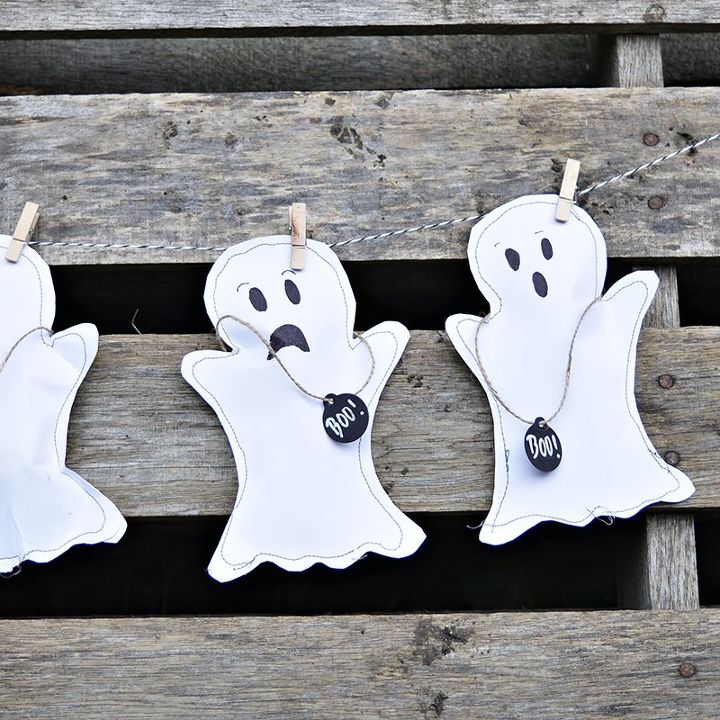
These super cute Halloween treat bags come in 3 different designs, a ghost, a pumpkin and a bat. Fill them with your Halloween treats and hand them out at the end of the party or to trick or treaters.
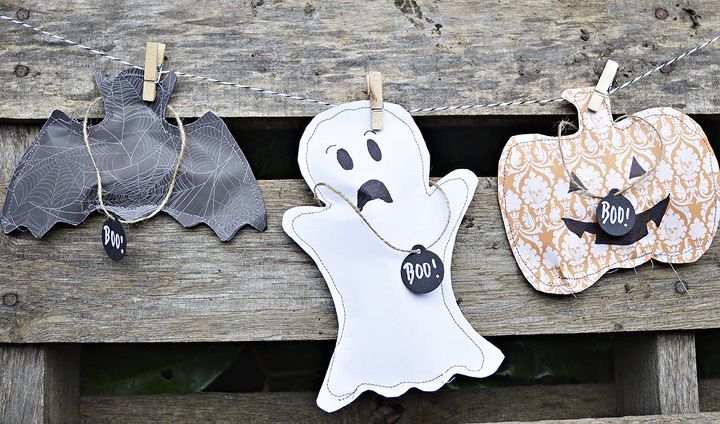
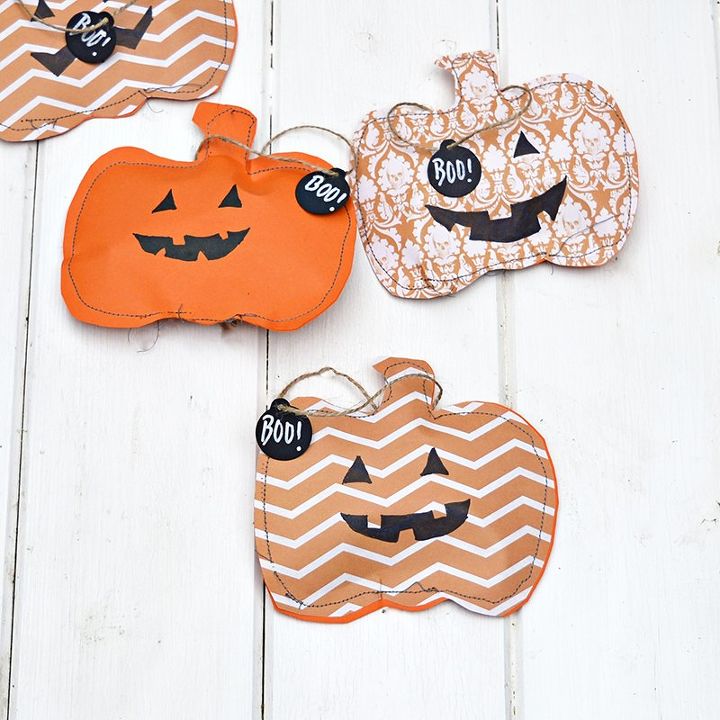
Also when the Halloween treat bags are hung up they make for a really sweet Halloween garland decoration.
Also when the Halloween treat bags are hung up they make for a really sweet Halloween garland decoration.
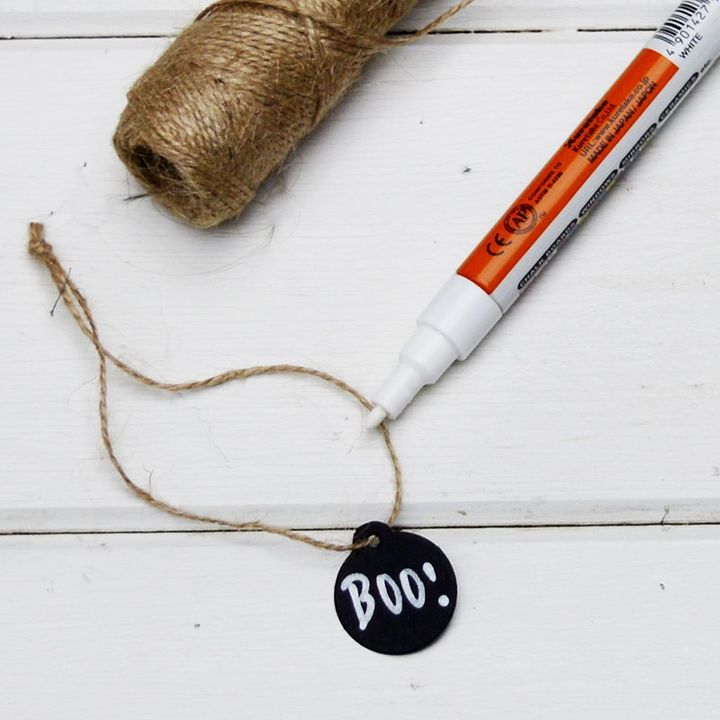
What I used:
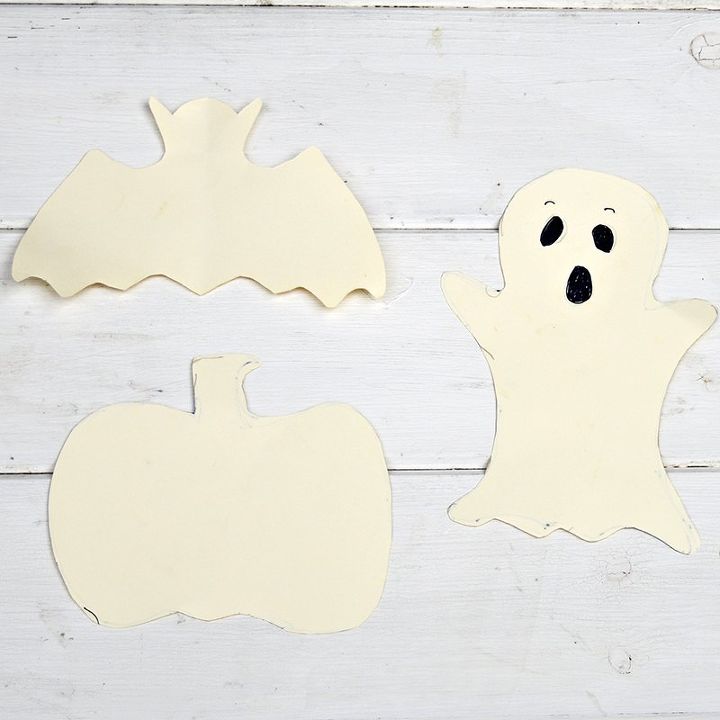
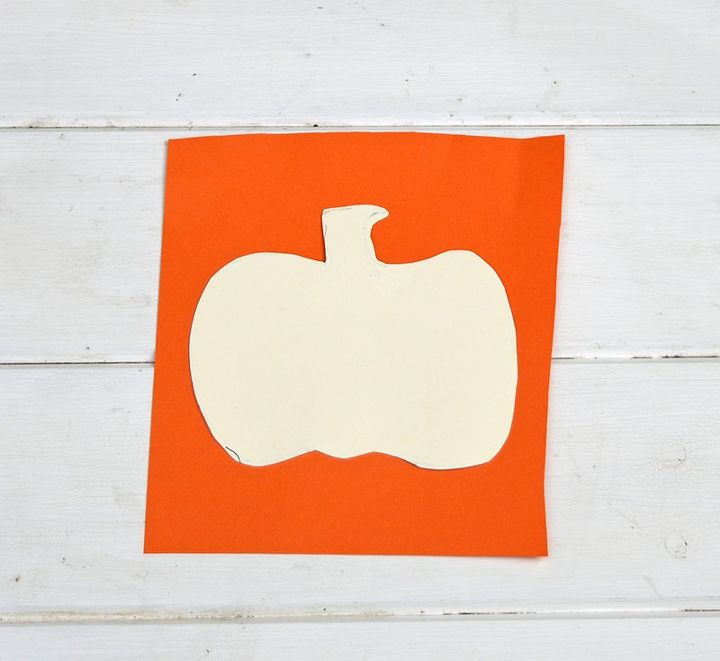
Download and cut out the Halloween shapes using my template or draw your own. Use the template to draw and cut out shapes from your craft paper. You will need 2 shapes per treat bag.
Before stitching draw faces on your pumpkins and ghosts. Stitch the bags together leaving an opening.
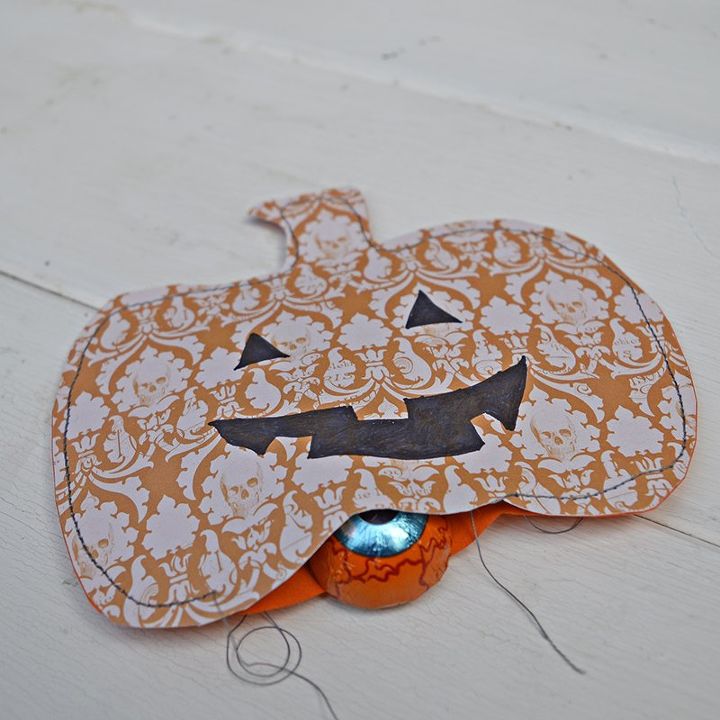
Fill your bags with your Halloween treats and stitch to close.
If you have never sewn on paper before, you are in for a treat, it's really fun and easy.

Want more details about this and other DIY projects? Check out my blog post!


Frequently asked questions
Have a question about this project?