


How to Decoupage Christmas Ornaments in 4 Different Ways

Are you looking for some creative ways to decoupage Christmas ornaments? You've come to the right place. Take inspiration for your DIY holiday decorations with these impressive decoupage ornament projects.
So, grab those 2-ply napkins and a bottle of Mod Podge, and enjoy the magic of crafting your own unique holiday decor.
For even more ideas, see Hometalk's ultimate guide to DIY Christmas decor here.
How to make decoupage Christmas ornaments
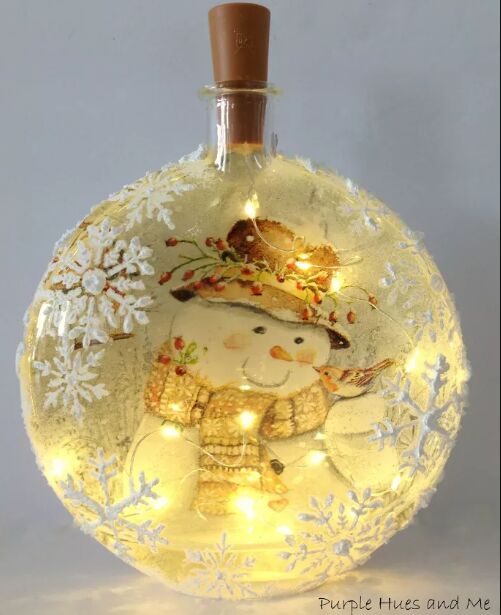
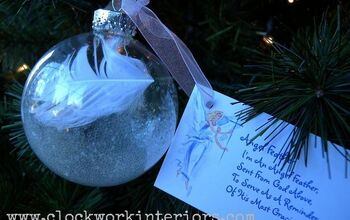
1. Light-up decoupage ornament
First, Gail@Purple Hues and Me shows us how to transform your winter nights with a touch of DIY magic by creating a cozy and enchanting lighted decoupage ornament. Using reverse decoupage, you'll customize a glass bottle with a winter-themed napkin and dimensional snowflakes.
Simply wet, tear, and apply the napkin to the bottle, then seal with Mod Podge. Paint the back with white chalk paint for a less transparent look, add snowflake stencils with Snow-Tex for dimension, and smooth any rough edges. Insert cork twinkle lights, and voila – you have a charming night-light that captures the warmth of the season.
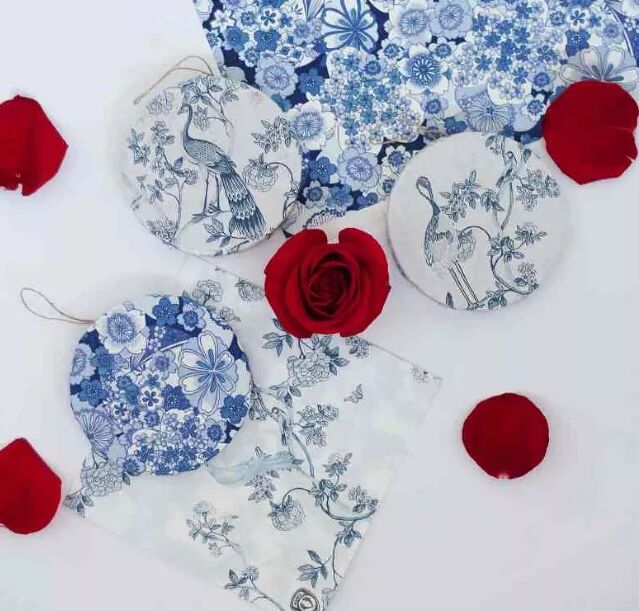
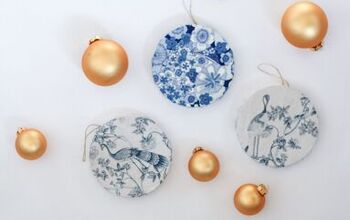
2. Chinoiserie decoupage ornaments
Embrace a new Christmas decorating theme with a touch of chinoiserie elegance. Discover how to craft DIY decoupage Christmas ornaments with this project by This Dear Casa. Using blue and white floral multipurpose paper from Paper Source and delicate paper napkins, apply Mod Podge to adhere the paper onto ornaments.
Align the focal point for a centered design, trim, and glue separate paper sections, then seal with another layer of Mod Podge. Let dry, and adorn your tree with these charming creations, all while enjoying the ease and versatility of decoupage.
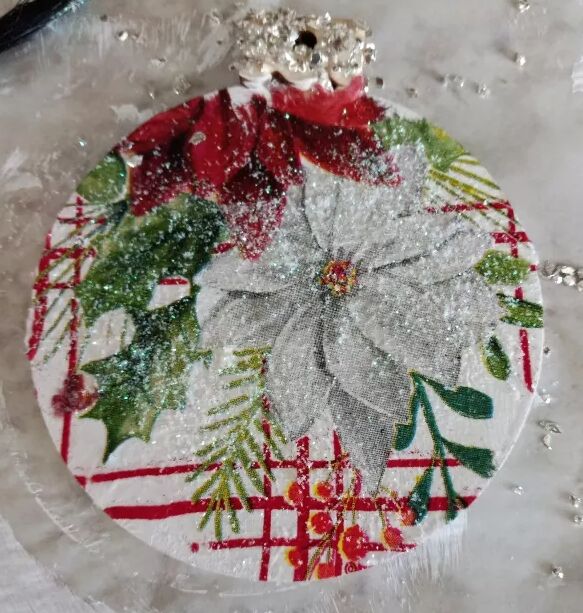
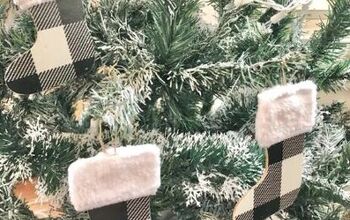
3. Festive decoupage wood ornament
Get creative this holiday season with this decoupage wood ornament craft by Corine Mapes- Junk to Gems. Transform plain wood ornaments into charming treasures with a few easy steps.
Paint the ornaments white for a clean base, then add crushed glass to the tops to achieve a vintage feel. Decoupage beautiful 2-ply napkin designs onto the ornaments using glue, removing excess paper with sanding. Distress the edges for added dimension using an ink pad, and embellish with glitter and ribbon for a finishing touch.
These lovely ornaments make perfect favors for a cookie exchange or delightful decorations for your tree.
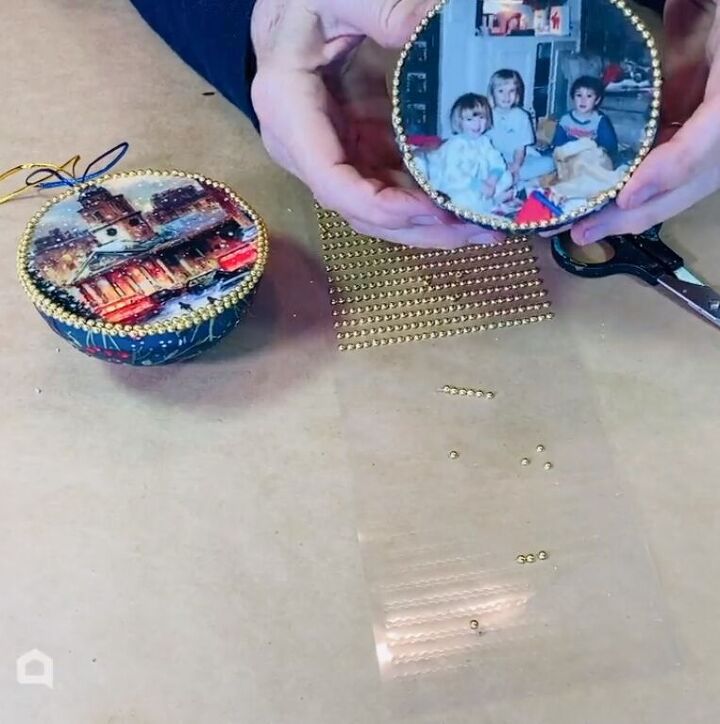
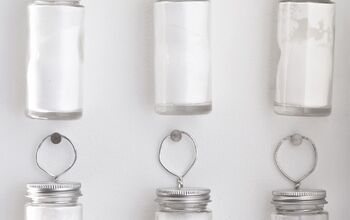
4. Photo ball ornament
Next, Julie McDowell - Design Artist shows us how to create a personalized DIY photo ornament with these easy steps. Begin by cutting a styrofoam ball in half and sanding the top for a smooth finish. Cut a photo to size and enhance it with clear contact paper. Decorate the back of the ornament with a Christmas napkin using decoupage techniques.
Glue the photo onto the flat side of the ornament. Add your personal touch by embellishing with gold trim or other decorative elements.
Finally, insert a cord for hanging, and your unique and meaningful ornament is ready to adorn your tree. This project offers a special way to capture memories and sentiments for the holiday season.
How to decoupage Christmas ornaments
Explore the versatility of decoupage and craft ornaments that tell your story and add a special touch to your festive celebrations. Have you ever used decoupage to create your own holiday ornaments? Share your DIY Christmas ornaments in the comments below.


Frequently asked questions
Have a question about this project?