


DIY Birch Slice Christmas Ornament
One of my favourite things to give and receive for Christmas are ornaments. I just love decorating and looking at trees that have character and charm, and I think the easiest way to achieve both of those things is with ornaments that make you think of someone or something special in your life.
This year, I decided to DIY ornaments for everyone in my family, and I used something I've never worked with before: a wood-burning tool. To see how they turned out, keep reading!
If you're new to wood-burning, like I am, you're going to want to practice on scrap pieces before attempting to work on the good stuff.
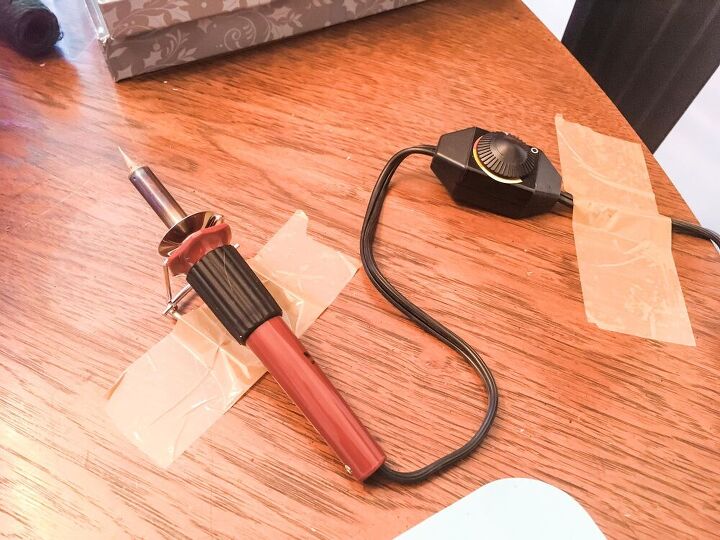
I experimented with different attachments and temperatures before finding the setup that I was most comfortable using.
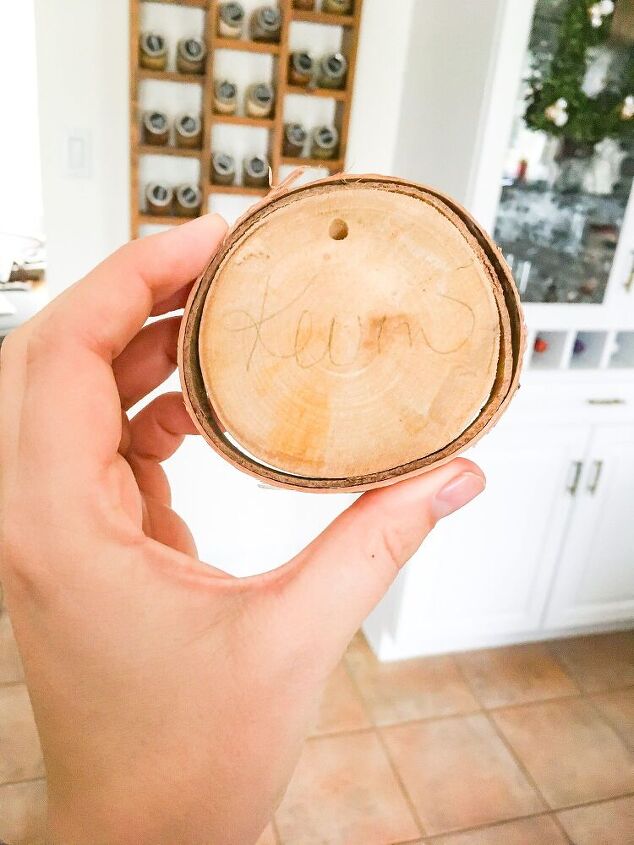
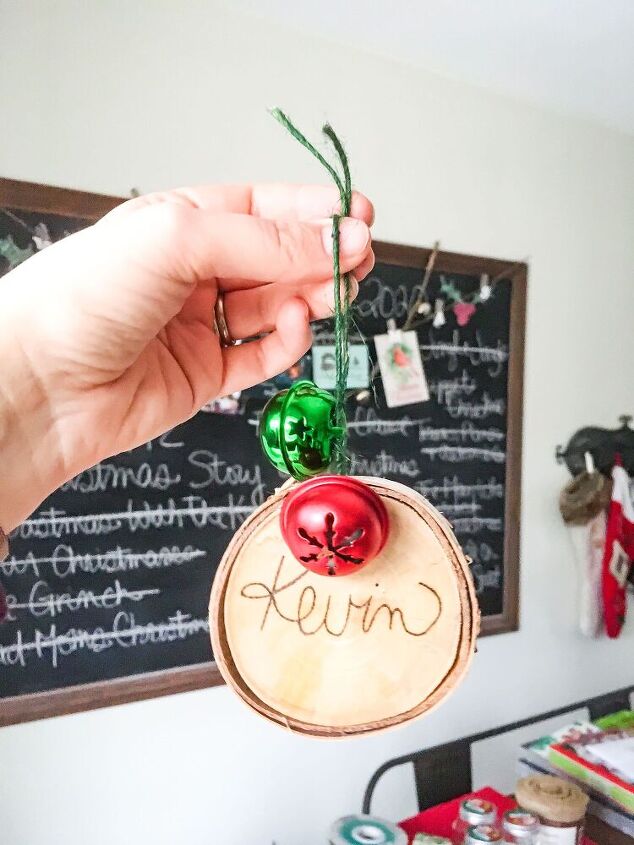
Once I was ready to start my first ornament, I used a pencil to create my design on each side of the birch slice.
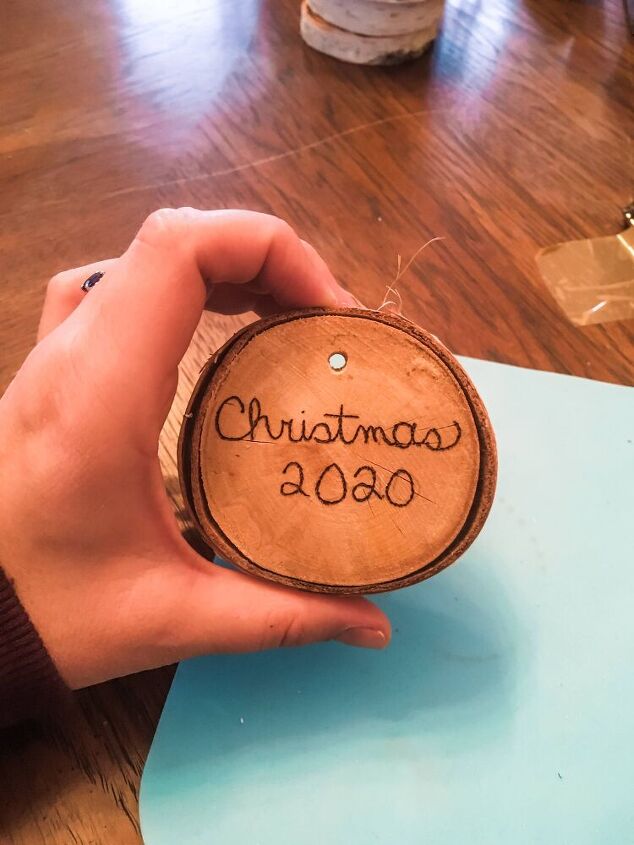
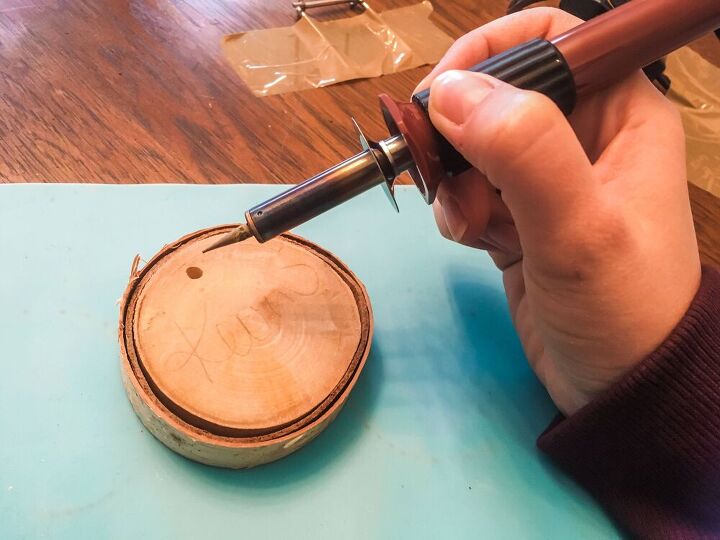
I then slooooowly followed the pencil marks with the wood-burning tool, making sure not to apply too much pressure as I worked my way across the wood. After going over the design once, I went back to the start and went over it a second time. I then used small strokes to darken any areas I wasn't happy with.
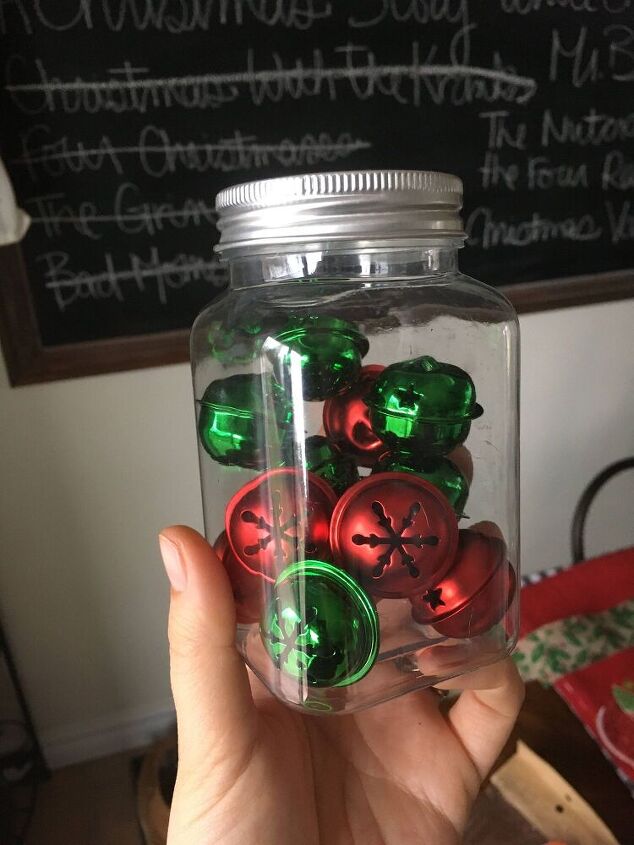
To finish things off, I strung a couple of bells onto a piece of twine and threaded it through the small hole in the top of the slice.
I learned very quickly that wood-burning takes a lot of time and patience. Don't let yourself get discouraged! Take your time and you'll end up with results that everyone will appreciate.
Resources for this project:
See all materials


Comments
Join the conversation
-
They are so cute. Handmade ornaments are the best. Good share


Frequently asked questions
Have a question about this project?