


Fabric Pumpkin Fall Craft Tutorial
$2
30 Minutes
Easy
I am here today to share a quick tutorial for a craft you can make with your kids (or grandkids) and use as a décor piece for autumn! This was another one of my ideas while drooling over décor pieces in Target. Fabric pumpkins are very cute but I did not want to spend $ to buy one. I had the materials needed already at home! Enjoy this fabric pumpkin fall craft tutorial.
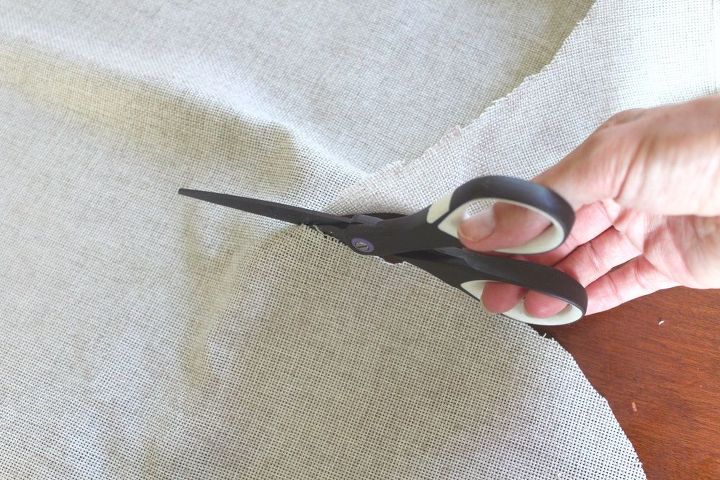
Step 1: Cut Fabric In a Circle
First I found some fabric I no longer needed (this was from semi-transparent curtains). You could use burlap, too, that would be cute! I cut it in a circular shape.
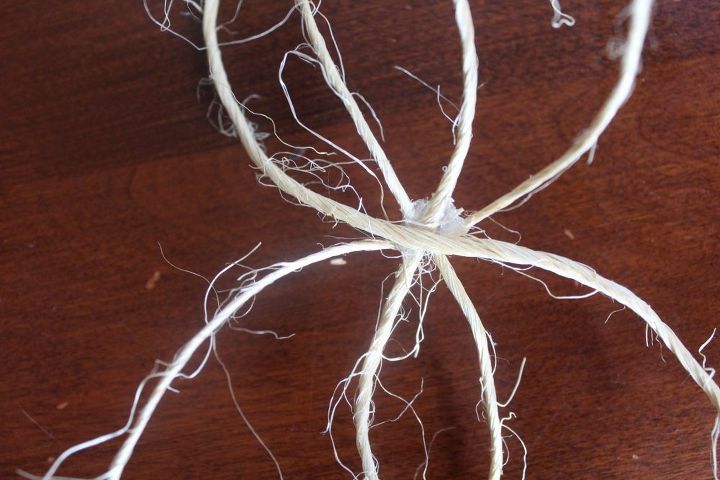
Step 2: Cut Four Pieces of Twine and Glue in A Spiral
The twine would look even cuter drenched in espresso stain first. Be careful not to burn yourself with the hot glue gun in this process!
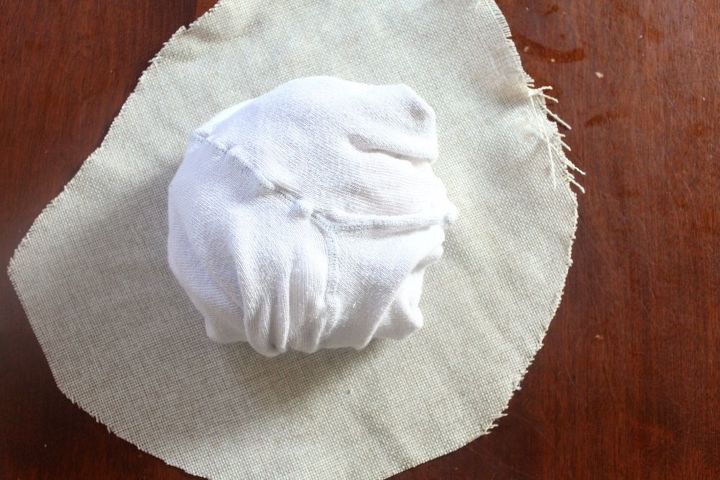
Step 3: Roll Old Cloth Into a Ball And Set it On Top Of Fabric Circle
Okay, I didn’t do a great job of cutting a circle. My ball of fabric is stained children’s clothes (I'm all about reusing stuff).
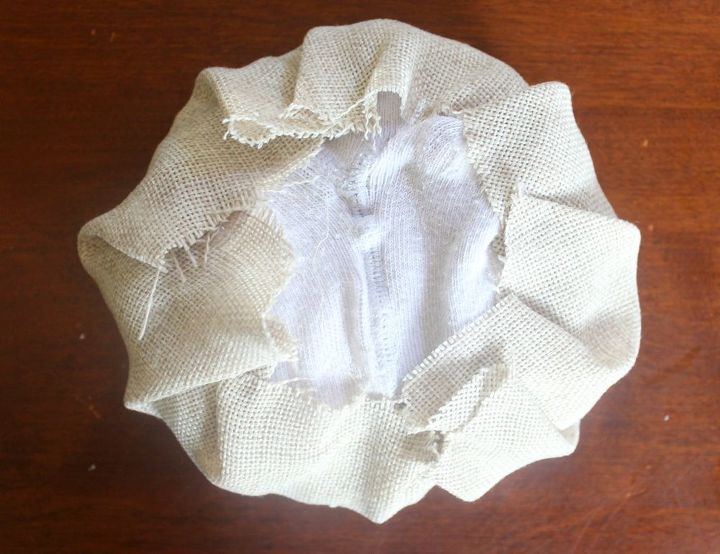
Step 4: Hot Glue Fabric Up Over Ball of Cloth
If I had cut a perfect circle, the fabric would have reached all the way around the ball. Oh well, it will still work.
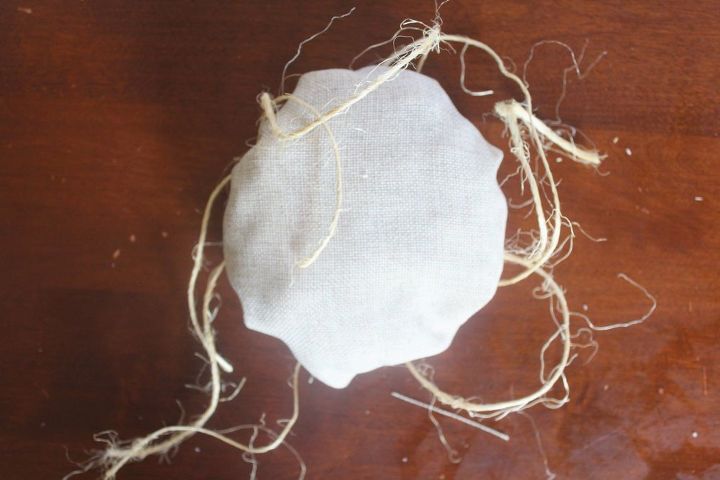
Step 5: Flip it Over and Place It on Twine Spiral
Space out the twine evenly before the next step.
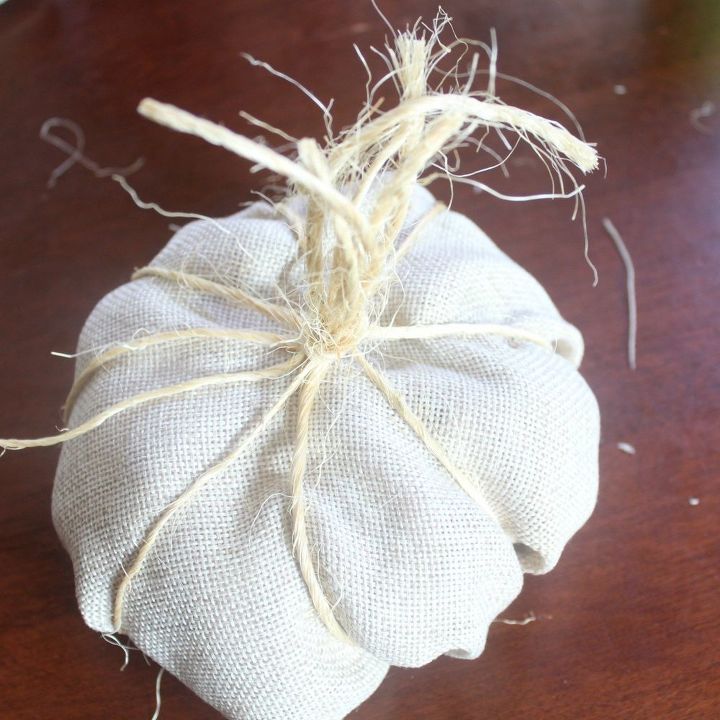
Step 6: Pull Together the Twine On Top
Tie one strand around the group of twine and tie it off.
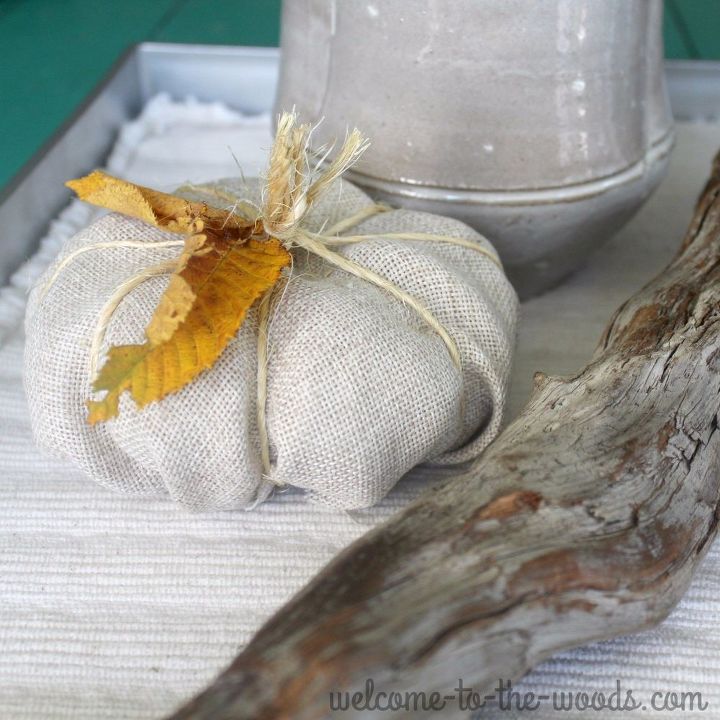
Step 7: Trim The Twine Stem And Add Leaves As a Finishing Touch
I just added a dot of hot glue to the leaves.
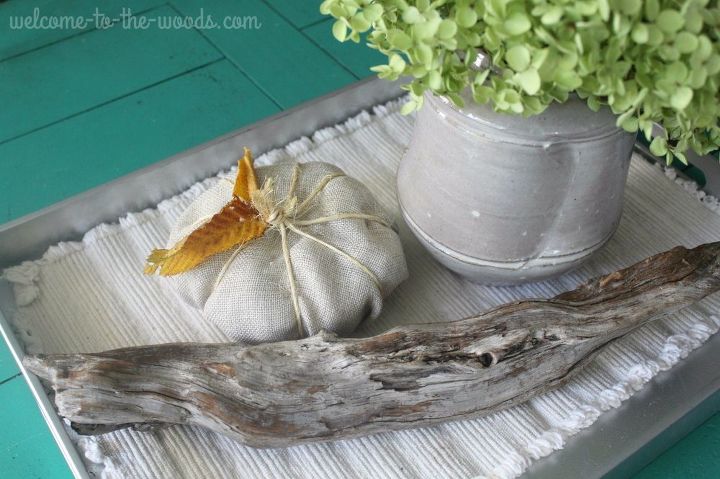
Definitely a neutral, relaxed look to this kind of pumpkin décor. I am not quite sure what direction I’m headed with my fall decorations this year, but I'm enjoying how this turned out.
Be sure to check out my other handmade pumpkin craft - the one made from a toilet paper roll and pizza box!

Want more details about this and other DIY projects? Check out my blog post!


Frequently asked questions
Have a question about this project?