


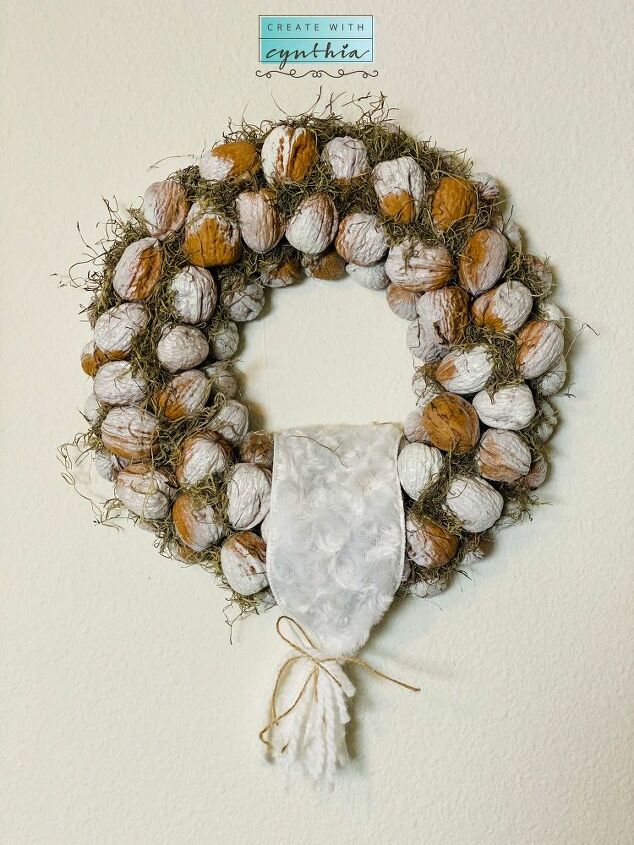
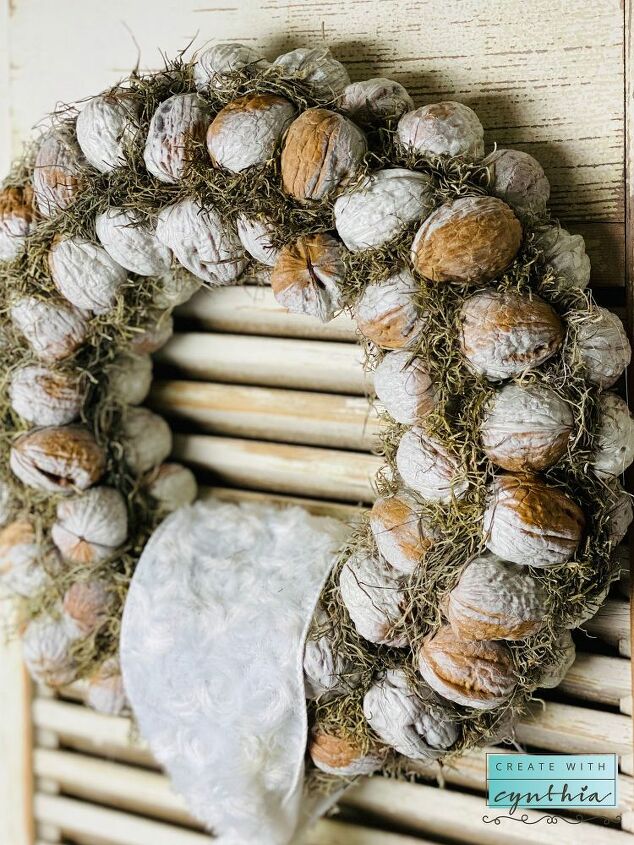
Walnut Wreath DIY
9 Materials
$25
25 Minutes
Easy
Nutcrackers and Walnuts go hand in hand. They seem to be a timeless and traditional decor piece used all year long. Do you decorate with Nutcrackers, Sweet Friends? It's Cynthia from Create With Cynthia and today I'm going to show you how to create a Walnut Wreath.
I decorated with a few Nutcrackers this holiday year and find them to be so unique and individual. I guess I got a little hooked on Nutcrackers, as much as I was trying not too. After Christmas and my Nutcracker Tablescape Blog Hop, I started thinking it might be fun to create some additional decor to go hand in hand with the Nutcrackers. Since Nutcrackers are used in decor all year long, I plan to keep my Nutcracker decor alive through January.
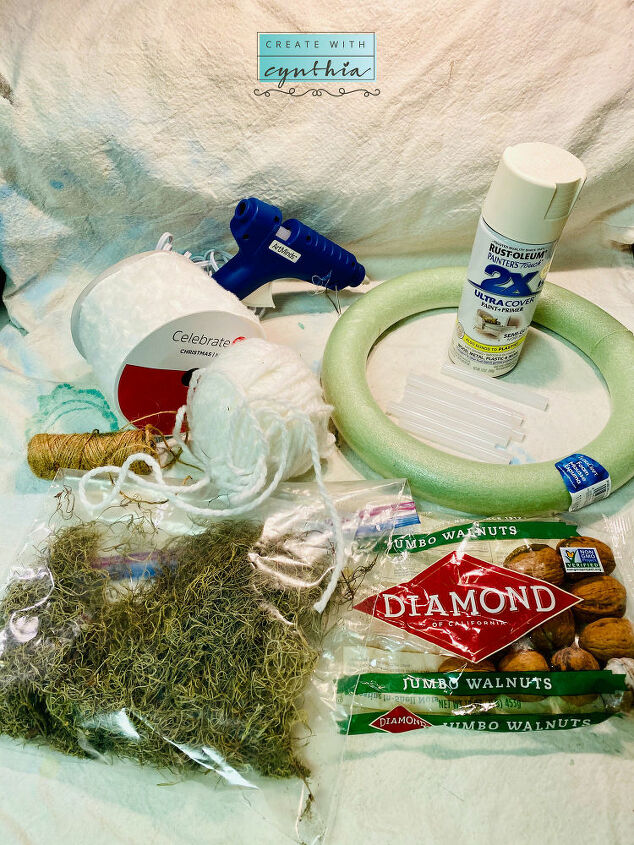
The Walnut Wreath DIY is simple and took less than 30 minutes to make. These are the materials needed for the Walnut Wreath DIY:
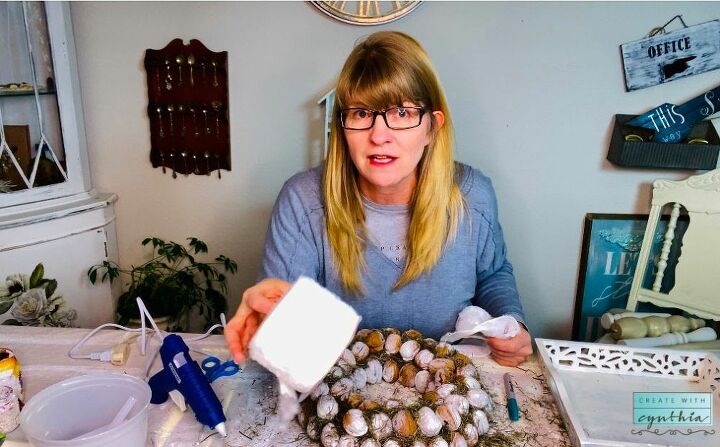
- 10 inch foam wreath - I used a green wreath from the Dollar Store
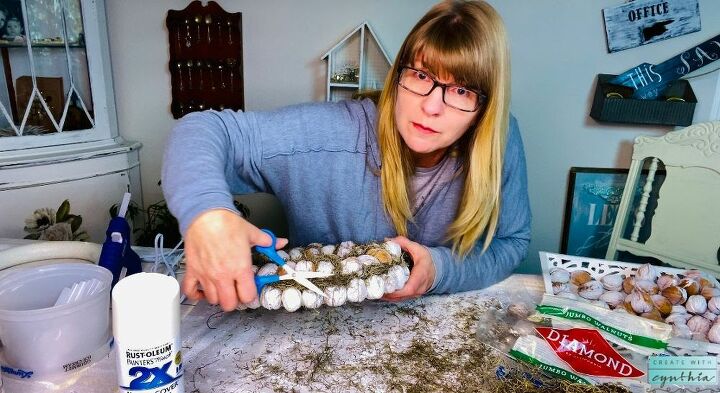
- 2 lbs of Jumbo Walnuts - I used Diamond of California Jumbo Walnuts (2 - 1 lb. bags for one 10 inch wreath)
- Glue Gun and Glue Sticks - I used Art Minds Glue Gun and Sticks
- Moss - I used brown moss from the Dollar Store
- Spray Paint - I used Rustoleum 2X Ultra Cover in the color Ivory Bisque
- Ribbon - I used Faux Fur Ribbon, White Yarn and Twine

Directions on how to create a Walnut Wreath:
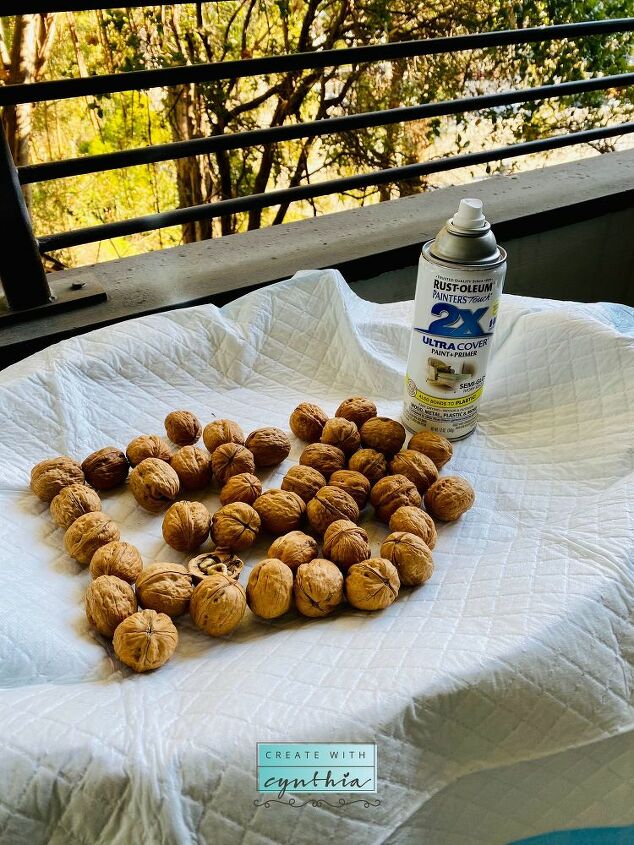
Step one: Gather your walnuts to be painted. This step is optional. I liked more of a white colored wreath so I painted my walnuts.
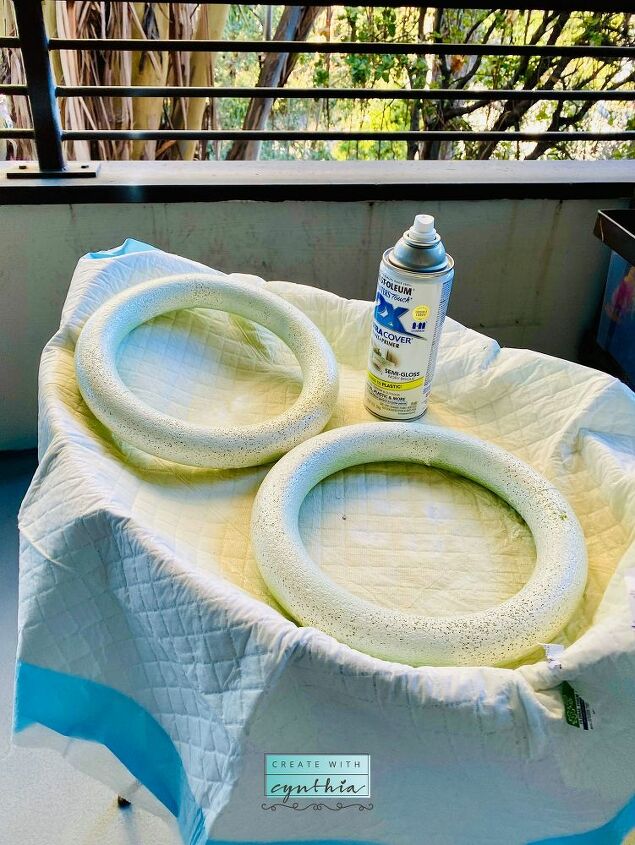
Step two: Spray your foam wreath. This step is optional if you plan to use moss on your wreath. I did both, I spray painted my wreath and I used moss.
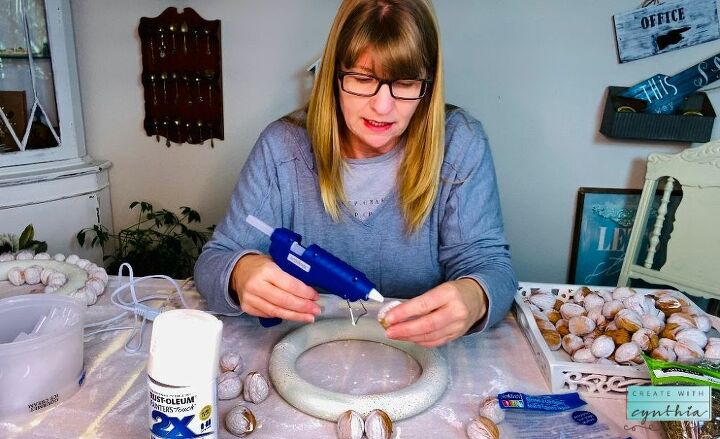
Step three: Keep wreath on a flat surface and using glue gun, gun walnuts to wreath. Add a dollop of glue to walnut and hold onto wreath for a few seconds.
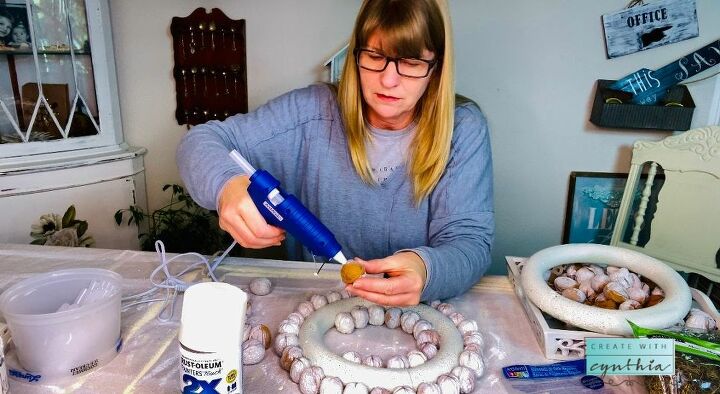
Step four: Start by gluing the exterior first, then the interior.
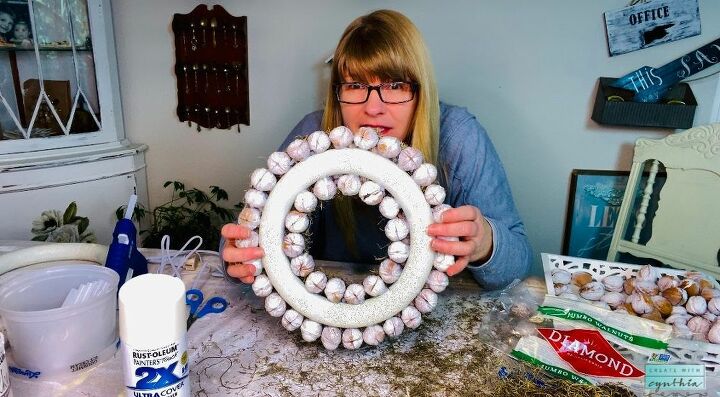
Step five: Once the exterior and interior is complete, add walnuts to the top center.
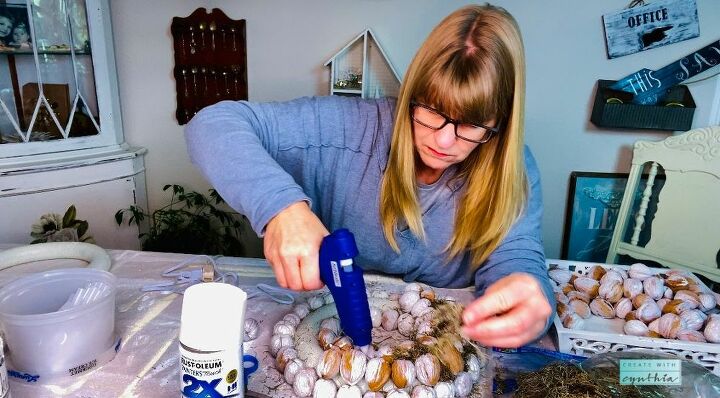
Step six: Once the wreath is full of walnuts, add moss. Trim moss into small pieces. Use glue and add moss in between each walnut. Be careful not to burn yourself when adding the moss.
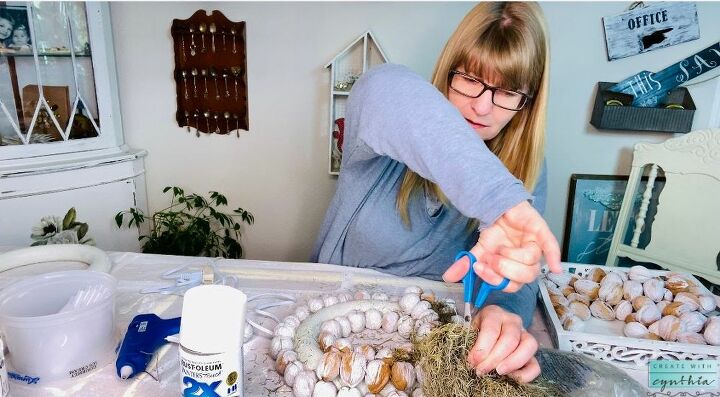
Step seven: Trim moss so that it does not over load wreath. Think of it like you are giving the wreath a haircut.
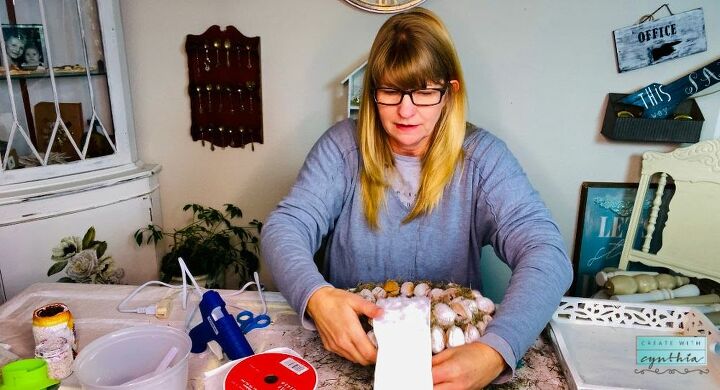
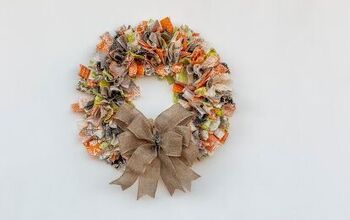
Step eight: Add ribbon to your wreath.
Any ribbon combination will look great. I used a Faux Fur Ribbon with white yarn and twine.
Hang your wreath on the wall and enjoy!
Watch my video, Walnut Wreath DIY on You Tube at Create With Cynthia. Don't forget to subscribe.
Resources for this project:
See all materials


Any price and availability information displayed on [relevant Amazon Site(s), as applicable] at the time of purchase will apply to the purchase of this product.
Hometalk may collect a small share of sales from the links on this page.More info

Want more details about this and other DIY projects? Check out my blog post!
Comments
Join the conversation
2 of 17 comments
-
very nice, but our militant squirrels would have it naked by evening. Like they did the hanging Indian corn in October. Tried twice before I realized that I needed to do the same thing I have to with flower pots that are in full bloom one day and the flowers are on the groud the next because the squirrels are burying their walnuts and acorns in the nice squishy potting soil. That would be - sprinkle a bit of cayenne pepper powder on them. Doesn't harm the critters, but they really, really don't like the smell. (I also sprayed the Indian corn with matte clear poly. They didn't touch them, but yelled at me from the maple tree. I think they were quite annoyed.)
-
Beautiful wreath for the squirrels, but I think it is ugly.


Frequently asked questions
Have a question about this project?
How do you stop bugs from entering the walnuts?
Love the wreath