


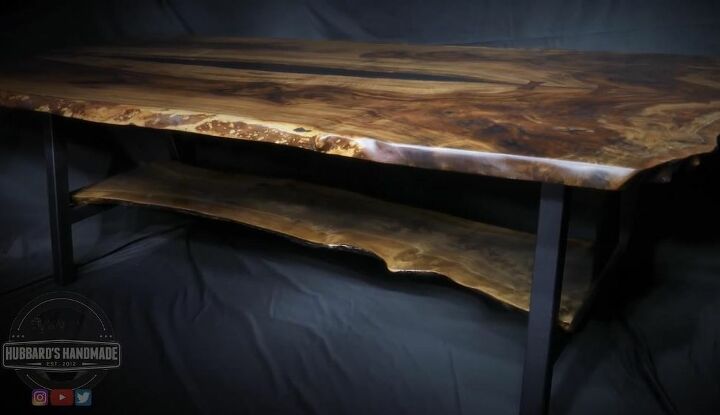
DIY Walnut Table From Heritage Tree Branches

I’m always on the lookout for beautiful lumber to use in my projects and love learning about the history of the century-old trees in our area. When a local arbor company thinned branches from a 139-year-old walnut tree in a park in our area, they turned one of its branches into live edge slab lumber and I was fortunate enough to get three slabs to create a beautiful table. The unique beauty of the wood combined with the history behind the tree it came from made the table such a special project to work on and produced a stunning result. I used two slabs for the tabletop and one for the base and created a wood and metal table that turned out better than I could have hoped it would. If you are lucky enough to find a marketplace listing for kiln-dried slabs or live edge slabs, remember how this project shows the potential to turn gorgeous wood slabs into an amazing piece of furniture.
You Will Need:
- Whiteside router bit
- Epoxy
- Mold release spray
- Ready-made table legs
- OSMO satin finish
- Carbide scraper
- Track saw
- SuperMax 19-38 drum sander
- Festool 125 Rotex sander
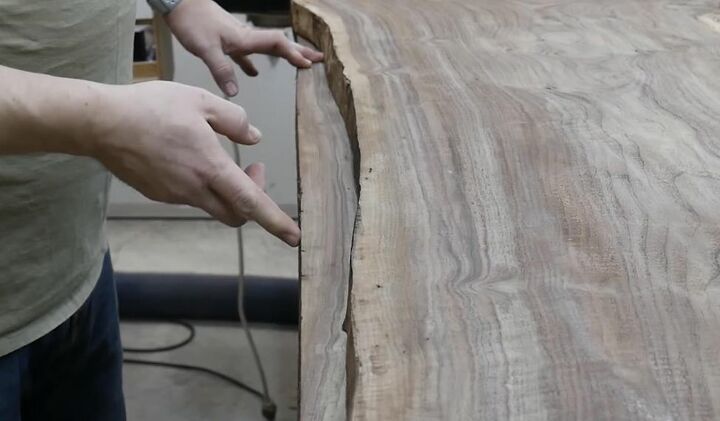
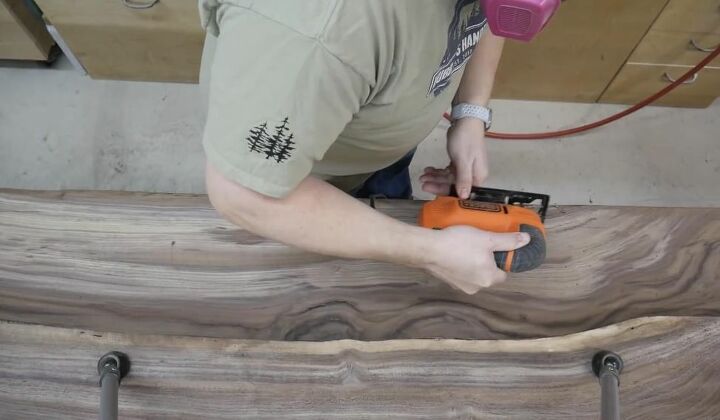
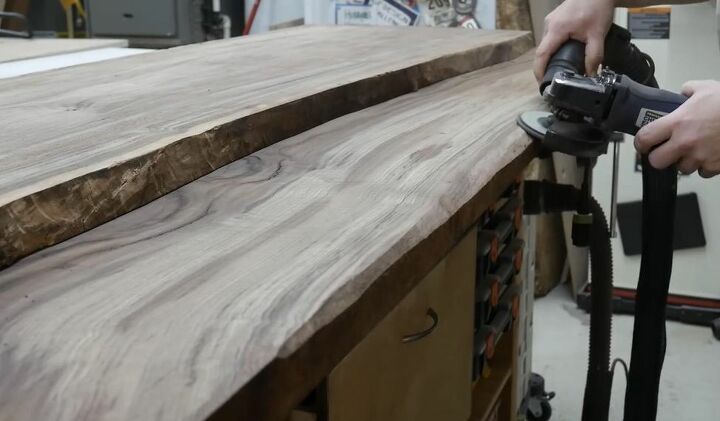
One of my slabs had a live edge and the other had a straight edge so I used a jigsaw and an angle grinder to take a little wood off of the edge of the straight edge slab to have better symmetry with the live edge slab it would be joined to with epoxy. I lined the two slabs up together so that the live edges faced each other.


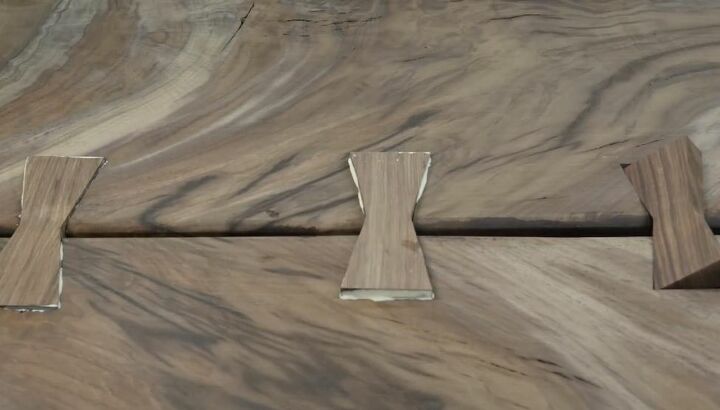
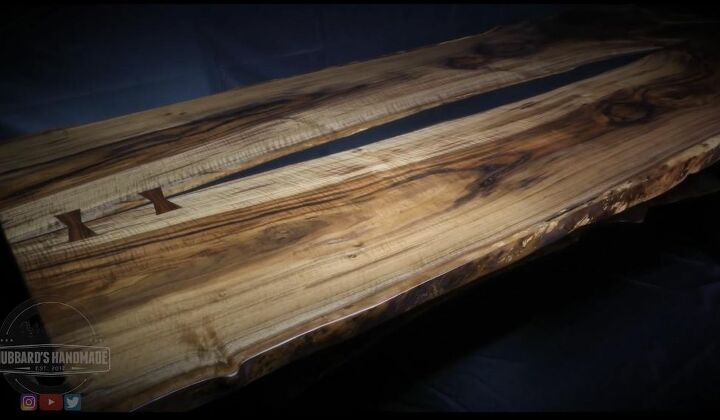
I traced bow tie joint shapes in pieces of the wood and cut them out with my band saw. These bow tie joints provide inlays in the center of the two slabs for both a beautiful finish and to provide stability.
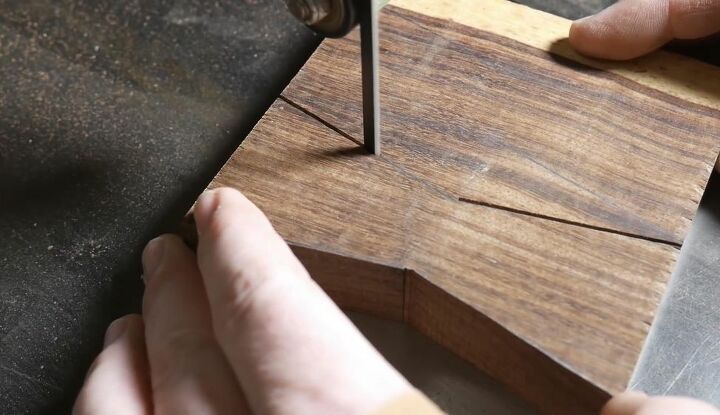
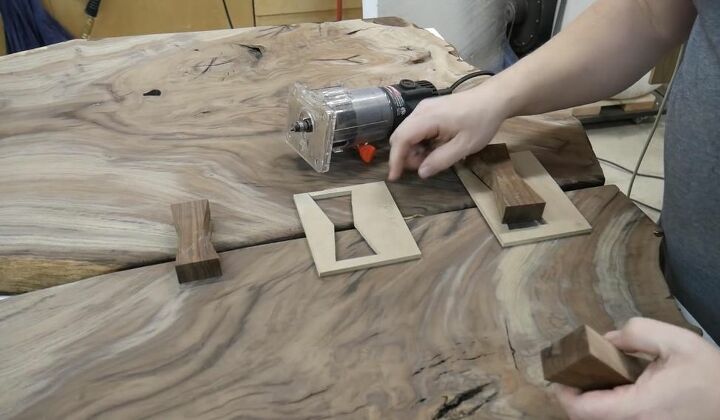
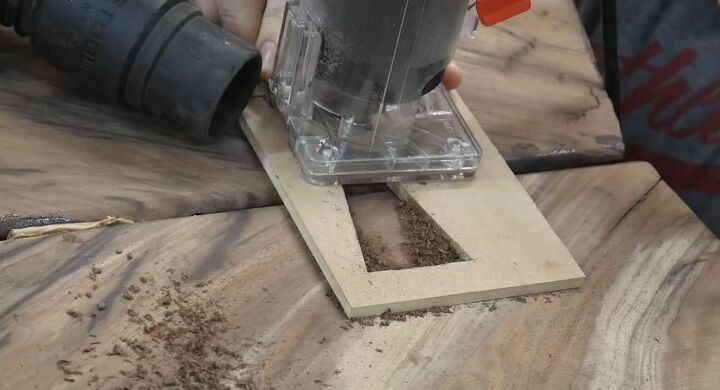
I cut bow tie templates with the band saw to cut the shape into the slabs, used double-sided tape to adhere the template to the wood, and used a router and a chisel to create the space to inlay the pieces. I then used wood glue to inlay the bow ties into each cutout.
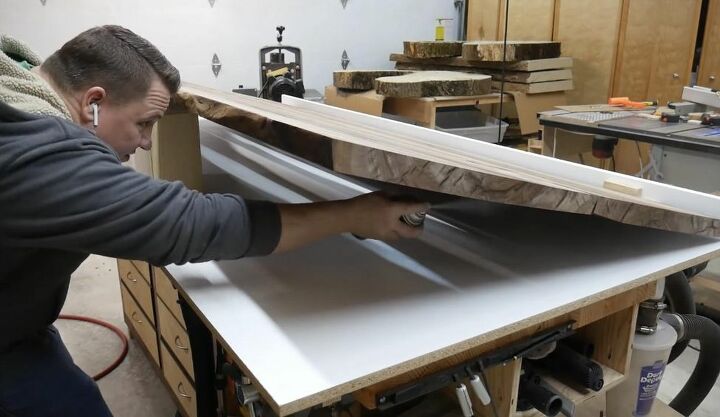
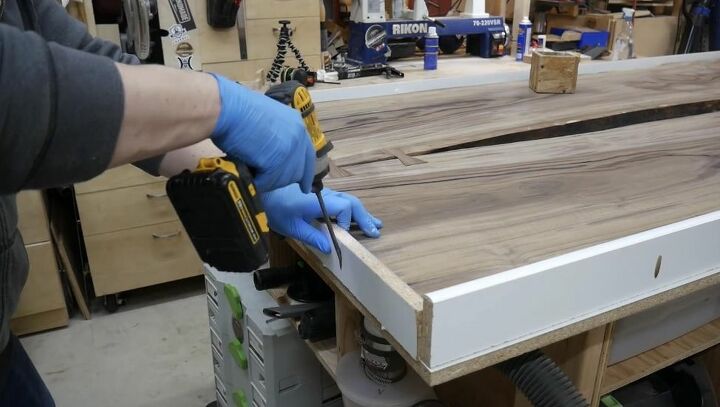
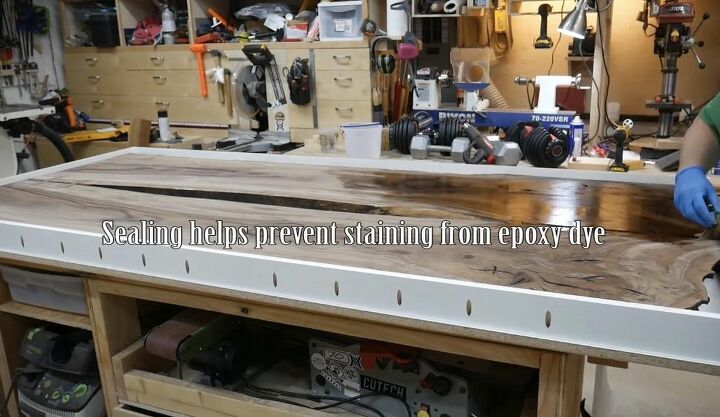
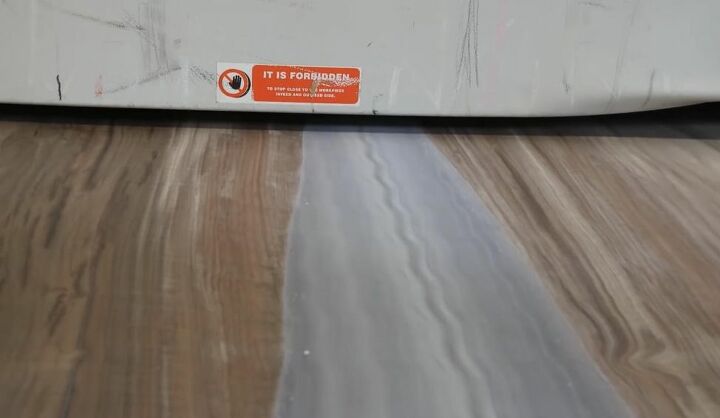
I built a containment form to temporarily house the slabs and prevent the epoxy from spilling out. I sprayed the form with mold release so the slabs wouldn’t bond to it, and then applied sealer to the slabs to prevent the epoxy dye from staining the wood.
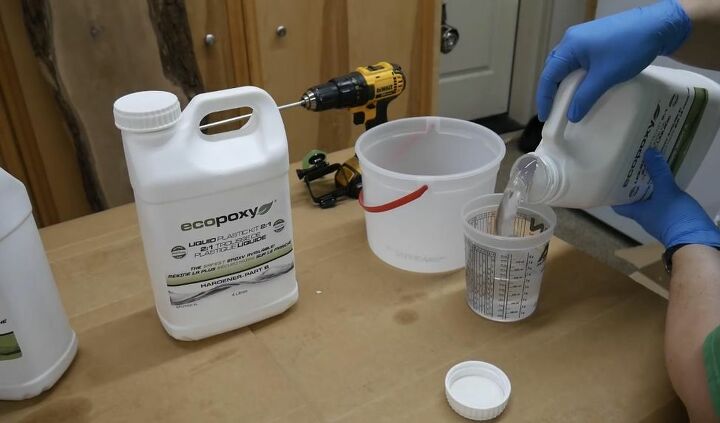
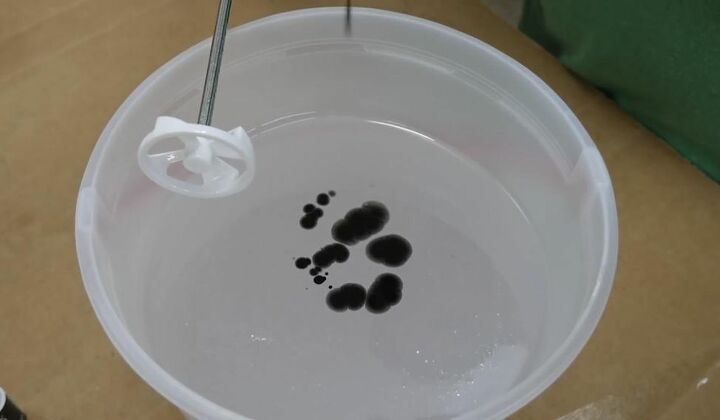
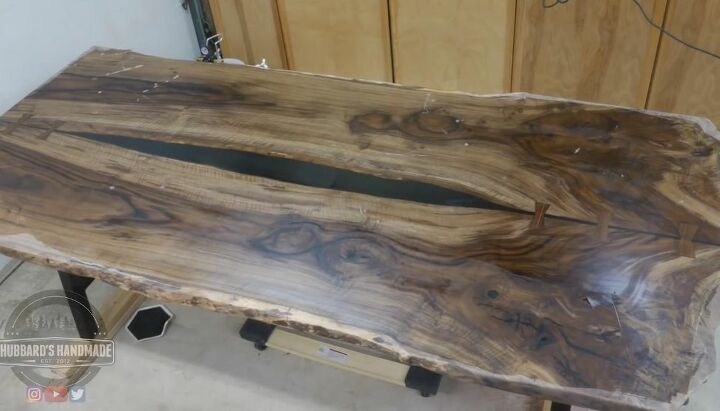
I used a paint stirring bit and a drill to add drops of a dark dye coloring and to completely mix the epoxy to be used in the gap in the center of the two slabs’ live edges. I slowly poured the mixed epoxy back and forth throughout the gap. I added clamps and weights to the slabs to keep the epoxy from running out of the pool in the center where it needed to stay. Wait 48 hours after pouring before moving on to the next application.
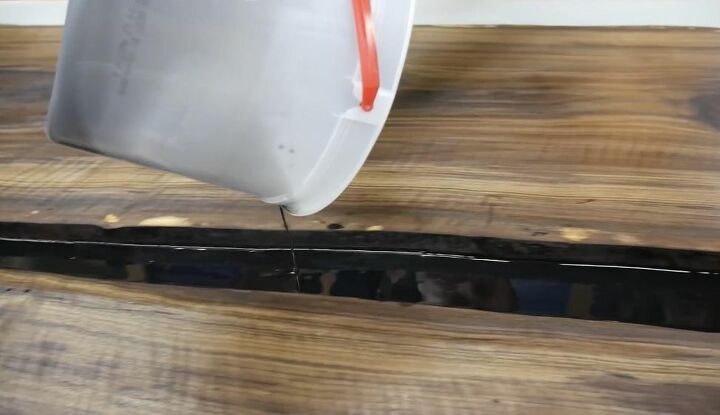
After waiting 48 hours, I poured the second batch of dyed epoxy into the center as well as over any large knots on the wood surface.
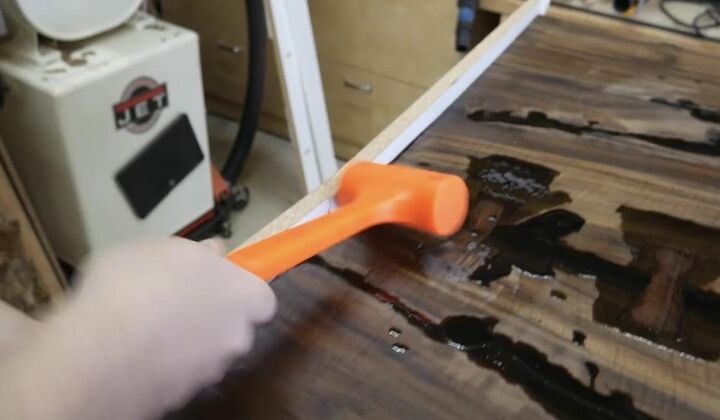
After letting the second coat of epoxy harden, I gently tapped the form edges with a mallet and removed the slabs from the form.

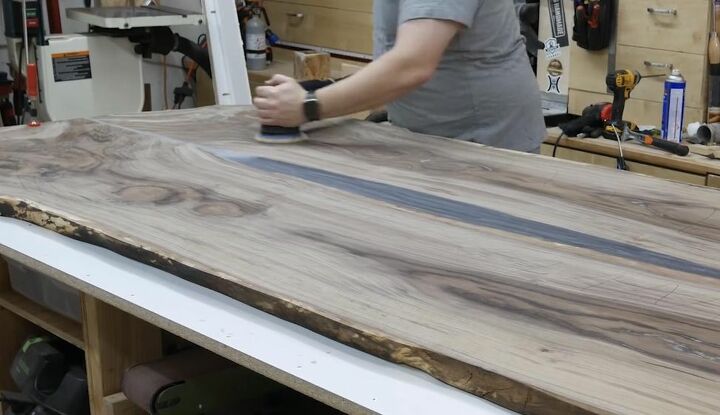
To save time, I brought the slabs to a woodworking shop with a belt sander large enough to easily and quickly flatten both sides of my slabs. This step can be done as a DIY but would take an enormous amount of time and effort on a large surface like this.
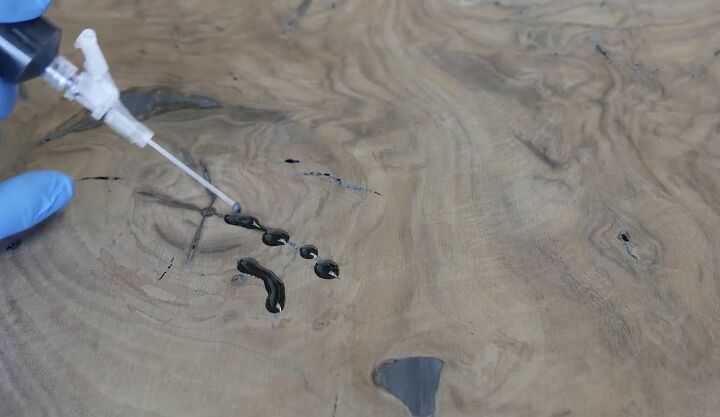
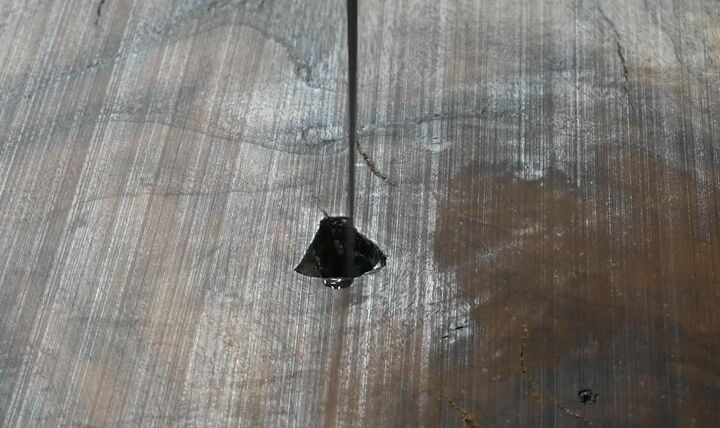
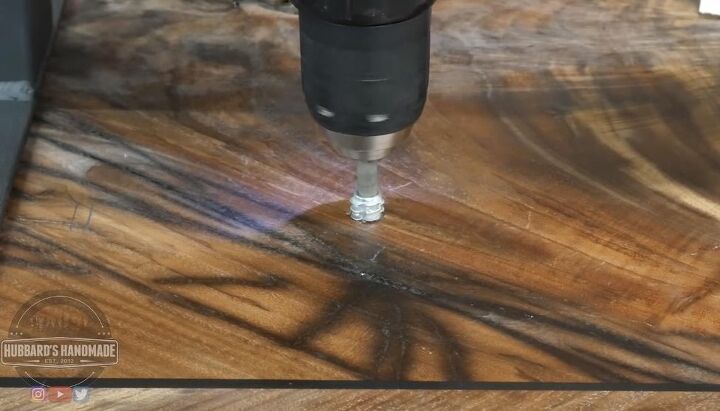
After flattening the slabs, I used a needle to touch up any tiny gaps and cracks revealed by the process with epoxy and then lightly sanded them when dry. The flattening process commonly brings out these cracks after seemingly smoothing the top.
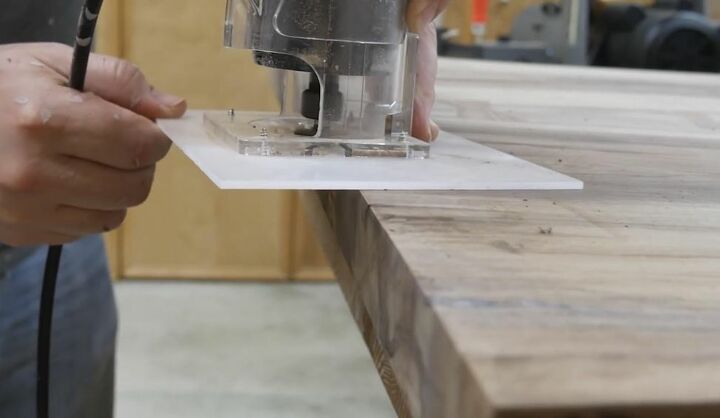
I used my router to smooth away the 90-degree edge on the ends of the table and rounded them for a more natural look.
I applied a penetrating natural Hardwax-Oil finish to the surface of the table to give it a satin sheen. The product I chose bonds to the wood and creates a beautiful and extremely durable surface finish. Apply two coats and wait at least 8 hours in between coats.
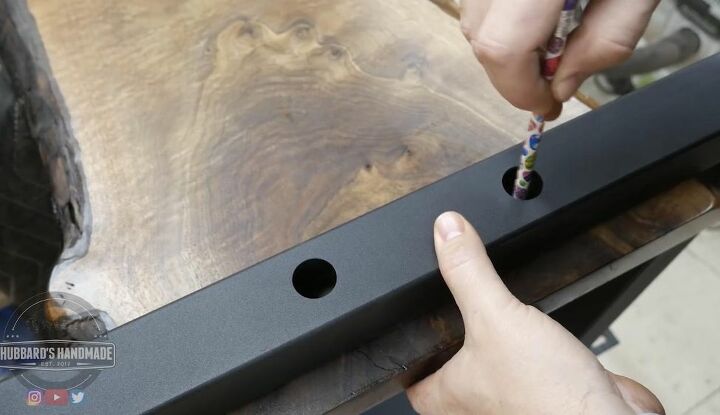
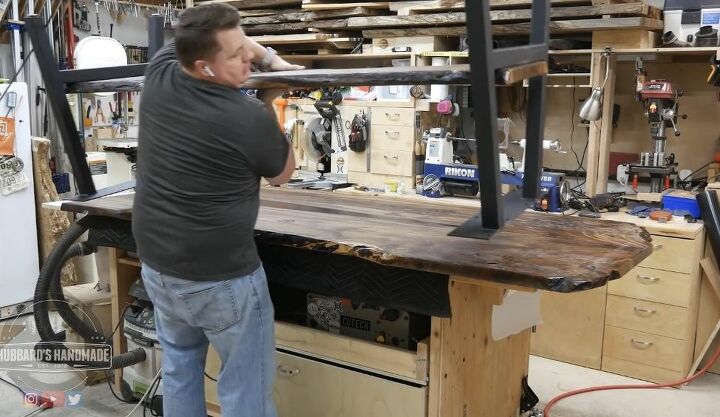
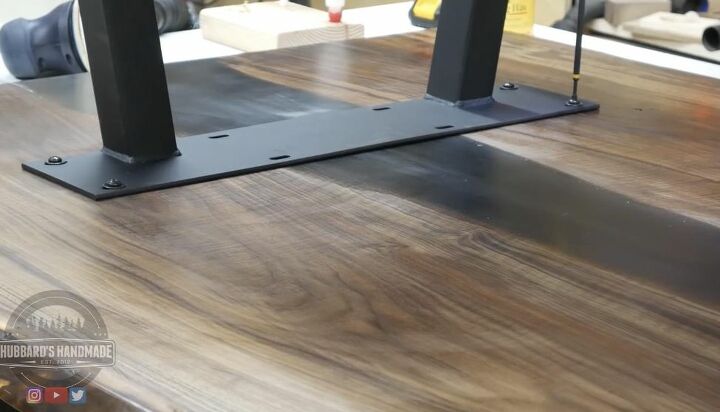
I threaded inserts into the crosspiece slab for the bottom of the table and attached the metal legs to it. I moved the whole assembly to the overturned tabletop and attached it with 8 threaded inserts. I chose ready-made welded steel table legs in a black finish to provide a modern contrast to the 139-year-old wood tabletop.
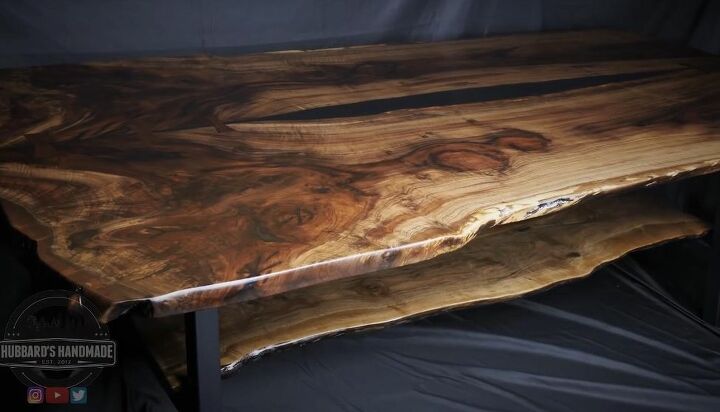
I was so honored to create with and transform wood from a tree with such a rich history in the area we live and to make use of some of its beauty for my table. The finished table has so much historical and sentimental value woven through its grains and the stunning beauty is simply remarkable. It was a privilege to ensure that the gorgeous walnut slabs would continue to live on, preserved in the form of such an incredible table!
Have you used wood with a historical significance or family history to create furniture for your home? Share your favorite projects or find inspiration for more one of a kind wood furniture creations at Hometalk!


Comments
Join the conversation
-
UNBELIEVABLE result! Of course, I've seen many live edge tables and I do like them all because of the material. Yours takes things to a whole 'nother universe! I can "feel" how much respect you have for the boards and their history in your town. This "channeling" is what separates a craftsperson from a true artist; the way your table is a symphony of vision/skill/tools; the way a singer paints a story with their tone and words; the way a painter speaks emotion within your heart.
Keep on channeling, Ryan! 🎨 📐 👁🗨
ps - I'd love to see a profile view - where is the shelf?
Show us the chairs you paired it with! And it set for dinner!

-
Stunning!


Frequently asked questions
Have a question about this project?
Gorgeous; my favorite wood. Beautifully done!
Absolutely beautiful!!! Thank you for taking the time to make something out of this beautiful tree.
I just want to run my hands over that beautiful table! I'm happy it found a good home and is appreciated. I did wonder what kind of wood the bowties were?