


How I Organized a Large Refrigerator Deli Drawer
A recent refrigerator purchase gave me a new dilemma - what to do with the wide deli drawer? If you looked at refrigerators now, some have a super-wide "deli" drawer that usually has one or two dividers in it and not a lot of flexibility. Adding items to this drawer can be quite annoying - the items lay on top of one another and over time get forgotten and pushed into the back where it is left uneaten. No good! We don't like wasting food in our home so this drawer needs to be updated. Read on to see how I organized this drawer.
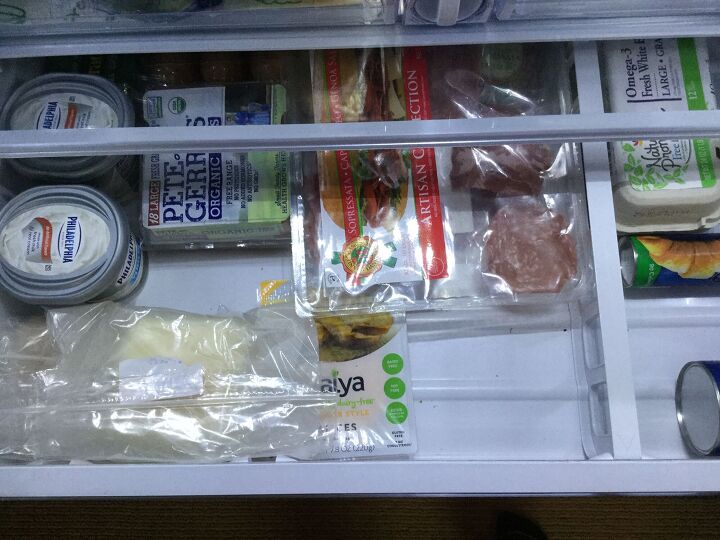
BEFORE drawer: Here is what my drawer looked like before I reorganized it. There are other things underneath the lunch meat and cheese. These items would move around when I opened and closed the drawer. And, some of the things would fall back behind the drawer, and the deli drawer wouldn't close.
First, empty the drawer.
Next, I wrote down how many containers and what size I needed. I also made a note of the measurements of the drawer. I start by measuring the length of the item I wanted to store in the container. If it has measurements on the packaging, like 4 cups of shredded cheese, I made a note of these measurements because most containers show how much volume they hold.
If items are flat, like lunchmeat, I measure the height and width, and length of them. This will help with determining the container size also.
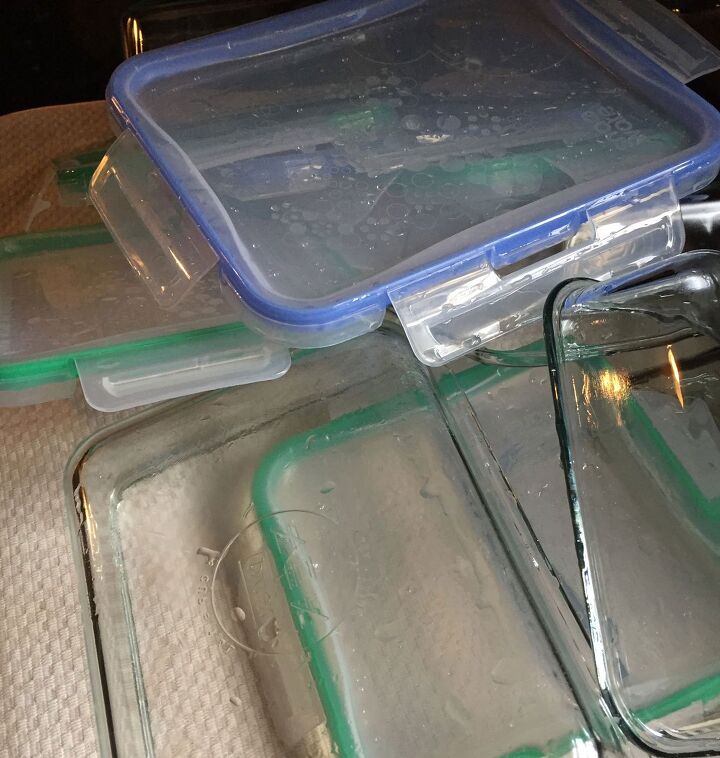
Then, I bought shallow containers with or without lids shown in the image above. I used some with and without lids. The one with lids held the loose cheese and wrapped lunch meat. This contained the smell of the food and helped stay fresh longer.
I found these Pyrex® Snapware® glass containers at my nearby grocery store. I used the rectangle and the square ones. They snap on all four sides and have a great seal around the glass container. You could use plastic containers, but I like the glass ones because they were heavier and the weight helped not move the bins around when they opened and closed.
I cleaned the containers first and let them air dry. I prefer to let them completely dry instead of drying them myself if I miss an area and there is a wet spot in the container.
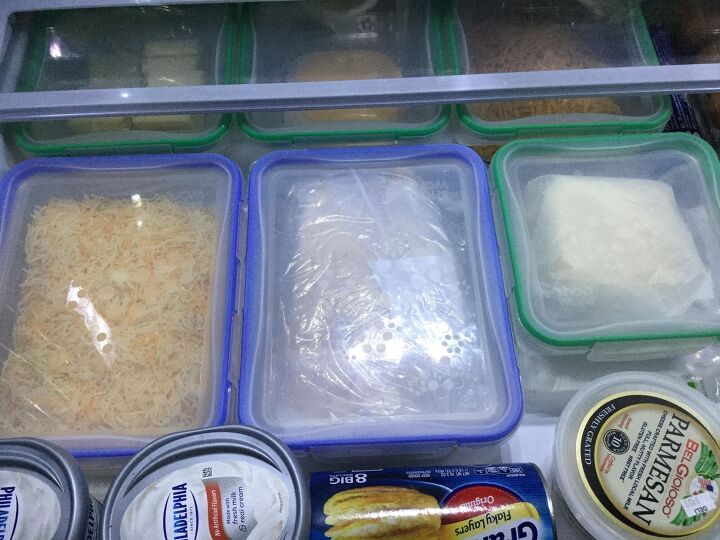
Then, I removed the affixed divider in the drawer and removed the food from the wrappers. I added the lids to the containers.
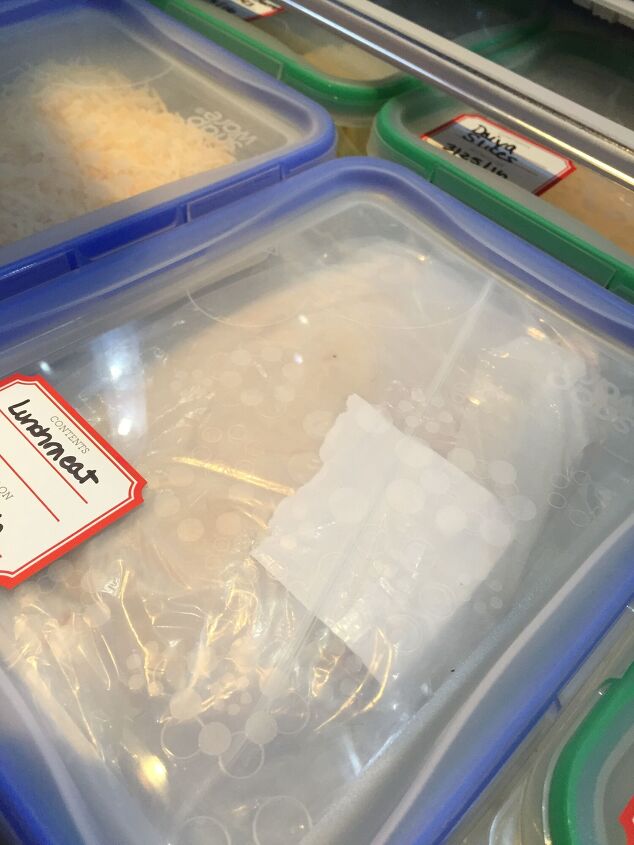
I also added a label to each with the date of when I purchased the food. You can also write the expiration date on the label if you want. It usually finishes before the expiration date in our house, so it's not that important for us.
With different lunch meat, I kept them in their original wrapper and laid them on top of each other.
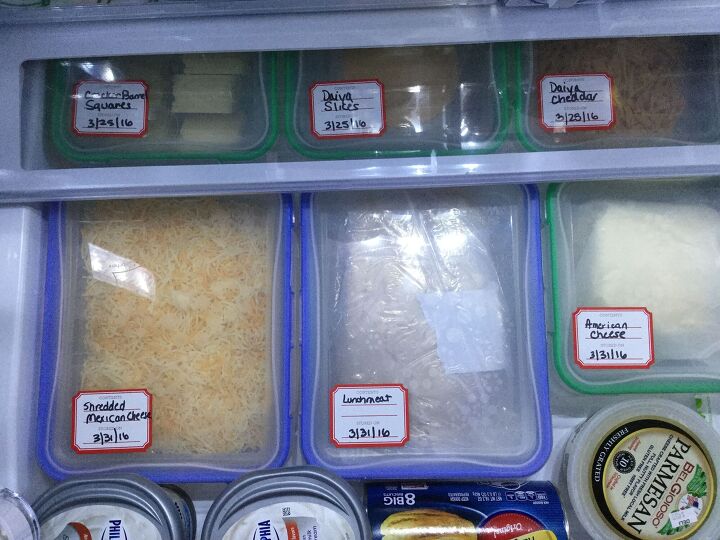
After Photo: This is how the drawer looked after this project. It worked really well.


Frequently asked questions
Have a question about this project?