


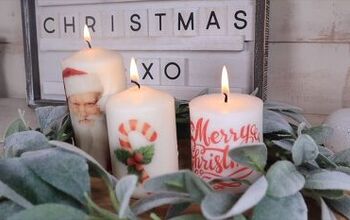
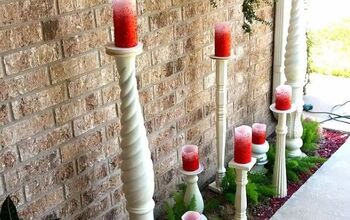
Christmas Candle Wrap DIY
With my Christmas candle wrap DIY, you can make unique and fun candles for any area of your home all year long.
Any decorative napkin will work.
And, tissue paper works extremely well too.
You can even apply this technique to colored candles using metallic tissue paper.
Also, if you have white candles that have stain marks from coming in contact with colored wax, with my Christmas candle wrap DIY, you can easily cover that area.
Just follow the simple steps below!
Supplies
Candle
Napkins/tissue paper of your choice
wax paper
blow dryer/heat gun
Directions
- If you are using a napkin, remove all layers but the one with the decorative piece you will be using. With tissue paper, you can skip this step.
- Cut around the shape you will be transferring to the candle.
- Place the shape on the candle.
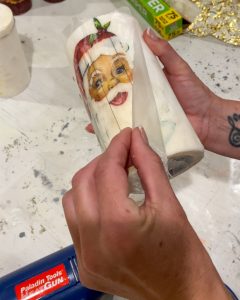
- While holding the decorative piece, place a piece of wax paper over the design.
- Using the heat gun or blow dryer on low, gradually move around the design, melting the design into the wax.
- I start with the candle on its side, then once the design starts to adhere, I turn the candle vertical and finish the process.
- You will know it is working when you see the design become shiny.
- If you get some bubbles within the design on the candle, use the flat slide of your scissors to smooth it out.
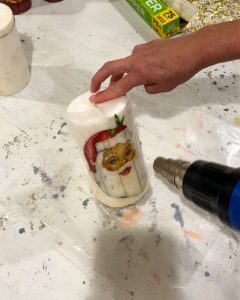
- Allow the candle to cool.
- Once cool, gently peel away the wax paper.
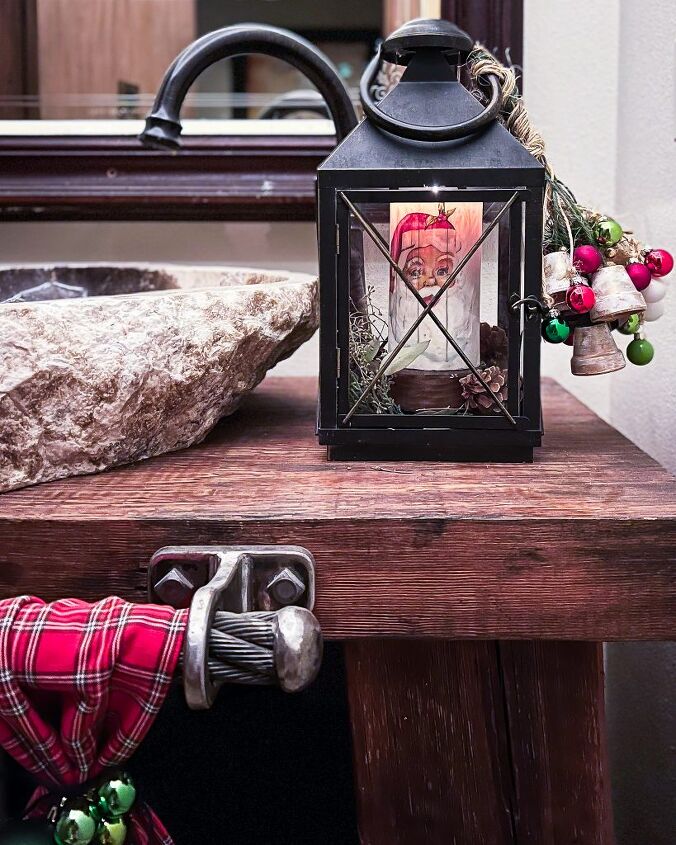
- Style your candle and ENJOY!
- TipsI recommend using the heat gun and the blow dryer on low. If you turn them to high, the candle will start to melt very quickly.
- For colored candles, metallic tissue paper works best. If you use a paper napkin, the colored candle wax will bleed through and change your design.
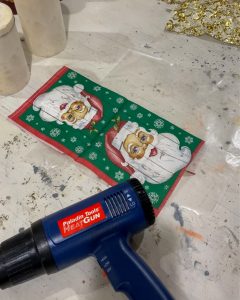
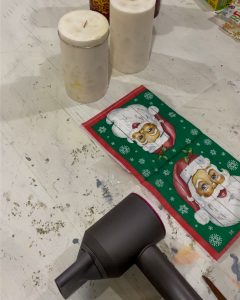
Lay out your supplies.
You can either use a blow dryer or a heat gun.
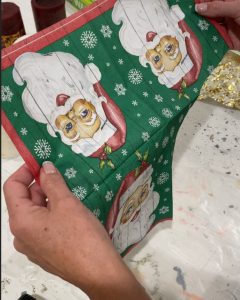
If your napkin has several layers, remove all layers. You will only be using the decorative piece.
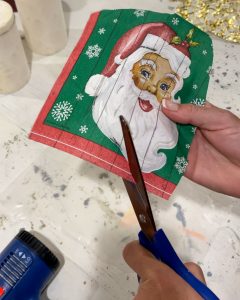
Trim closely around your design.
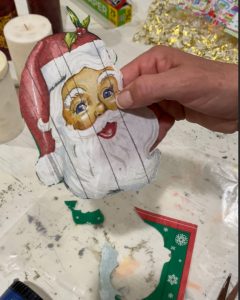
I chose this Santa, but you can use any design you want.
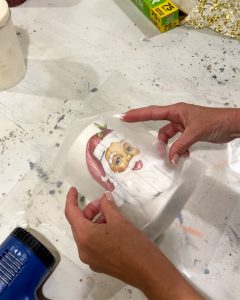
Place a piece of wax paper over your design. It needs to be big enough to cover the entire design.
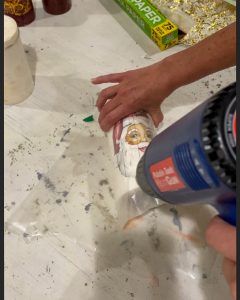
Using the heat gun on low, move it over the design slowly.
Once the design starts to adhere, you can turn the candle vertical to finish melting the napkin into the wax.
Allow the candle to cool and then gently peel away the wax paper.


Frequently asked questions
Have a question about this project?