


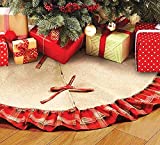
DIY Christmas Tree Collar
I love DIYs and have always wanted to make a Christmas Tree Collar. I can’t wait to share how I made this for our Christmas tree!
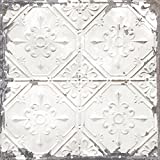
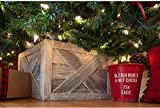
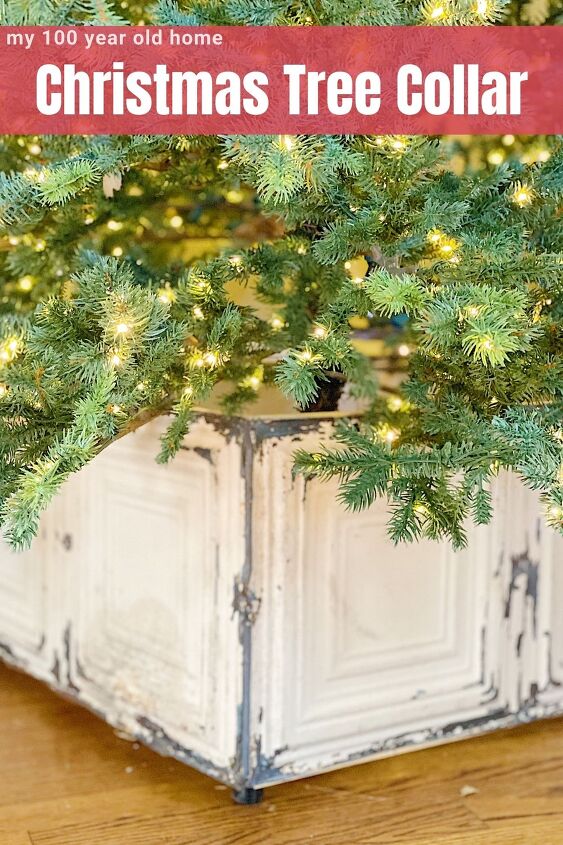
This rustic and vintage tree collar is a fun new addition to my Christmas decor. This DIY Christmas tree collar is not hard to make and can be made with vintage ceiling tiles or faux tile peel and stick paper.
Christmas Tree Collar
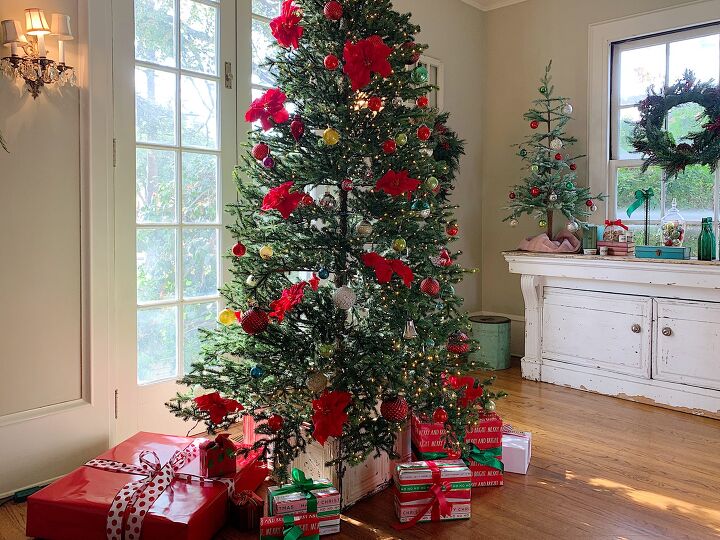
I love having a vintage tree collar. Isn’t this fun?
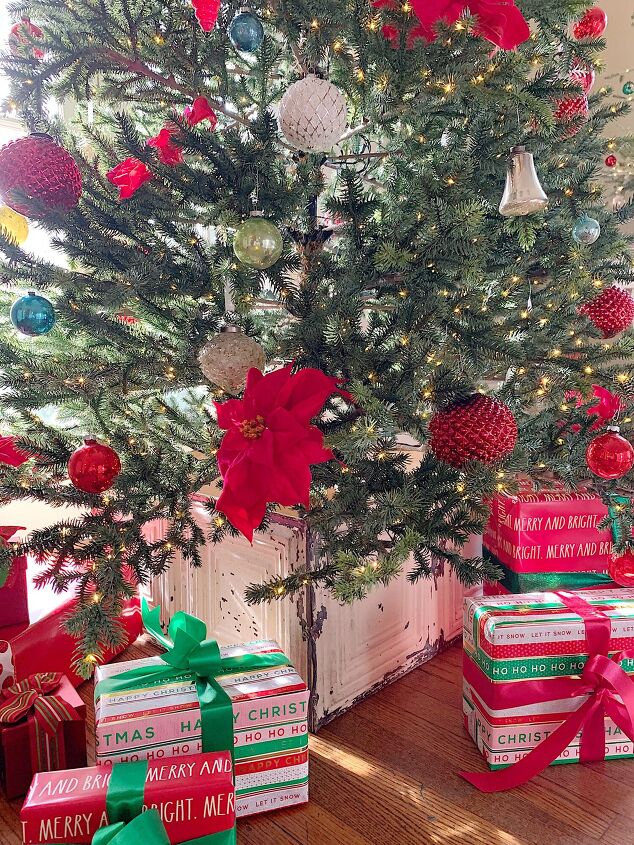
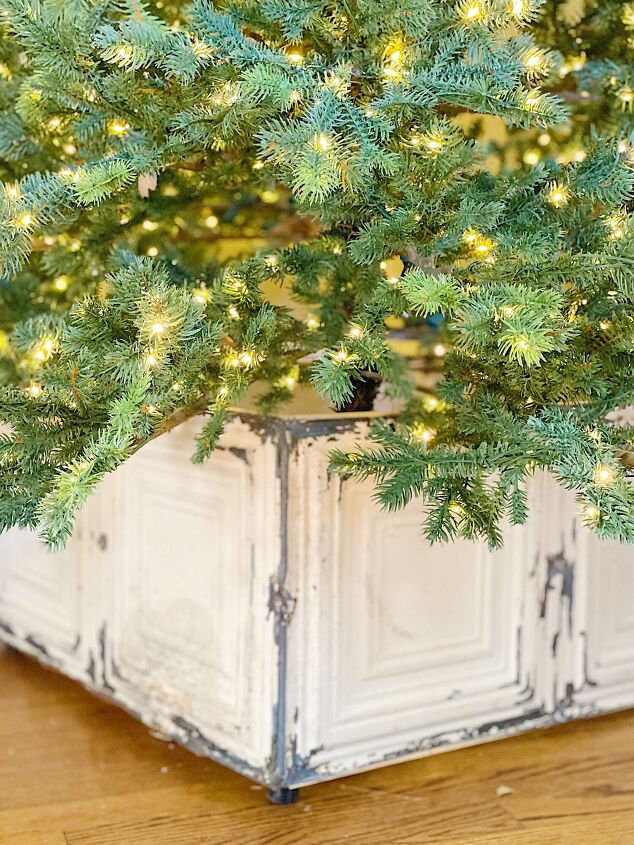
I am so in love with my new tree collar! I’ve had these vintage ceiling tiles in my storage shed forever and I am so excited I came up with a new way to use them.
Look at the previous DIYs I have created using vintage ceiling tiles.


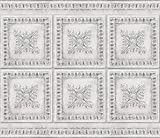
Where to Find Vintage Ceiling Tiles
I am sure you are wondering where you can find ceiling tiles.
I see them at flea markets all of the time. I have also bought them on eBay. I found some on Facebook Marketplace too. But please know that I have never paid high prices. I bought a huge box of these ceiling tiles (eight large sheets) fun about $70.
I only used one of the eight sheets for this DIY Christmas tree collar.
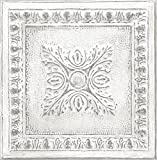
But here’s the thing, you can also make this and use Faux Peel and Stick Ceiling tiles!
Look at these Faux Peel and Stick Tiles

How To Make a Christmas Tree Collar
What You Need to Make This Tree Collar
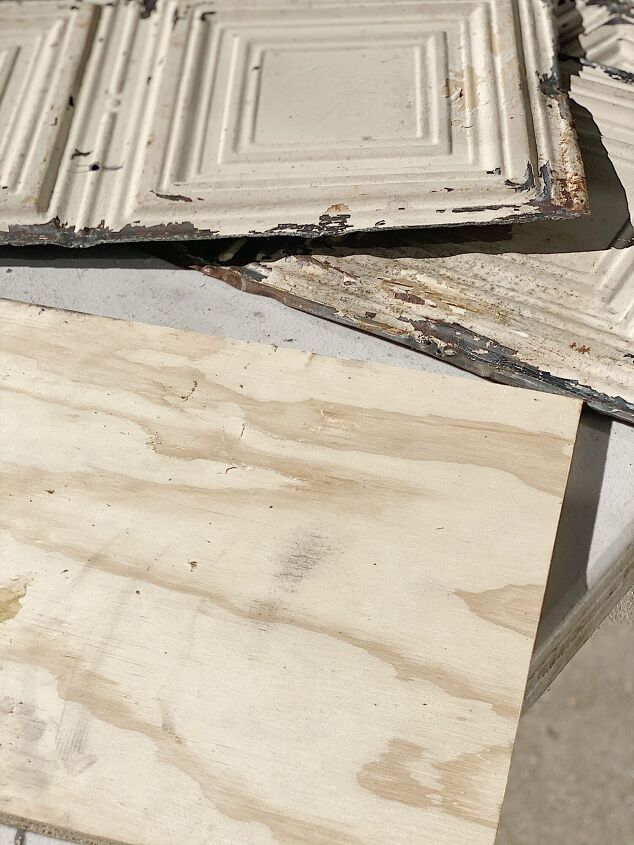
Before you get started, measure your tree to see what size box you need. I used the measurement of the ceiling tile to determine the box size. Each square measures 14″ x 14″. So I used 14″ x 28″ as my size for each side.
- Four cut pieces of plywood, based on your measurement (see above)
- Four ceiling tiles OR Peel and Stick Faux Ceiling tiles
- Nails – 1 3/2″ wood nails to attach wood pieces together.
- Brad Nails – (which are finer than finishing nails) to attach ceiling tiles to wood.
If you are enjoying my blog, you can sign up to receive my blog updates here. .
Step-by-Step Instructions to Make Christmas Tree Collar
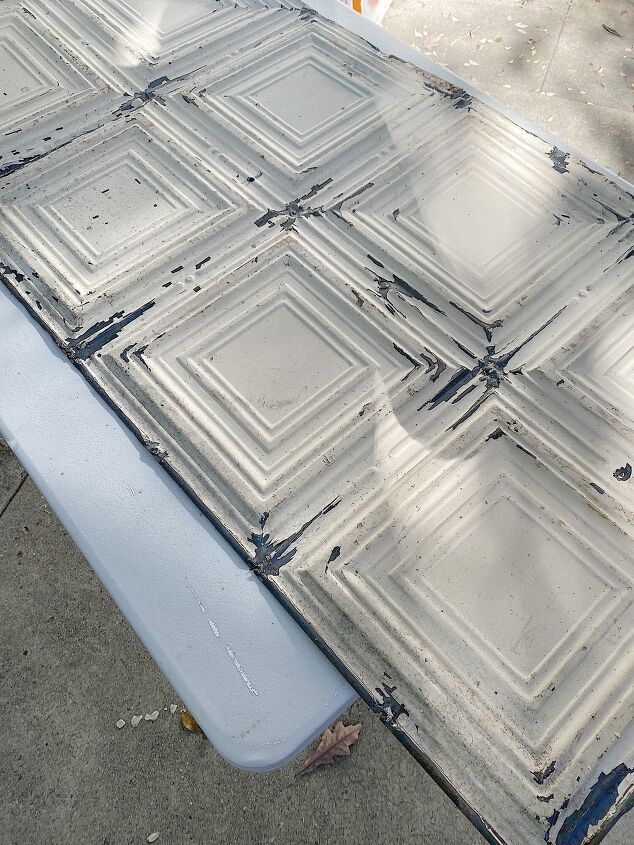
Cut the tin to the desired size.
If you are using faux peel and stick tin, skip this stip.
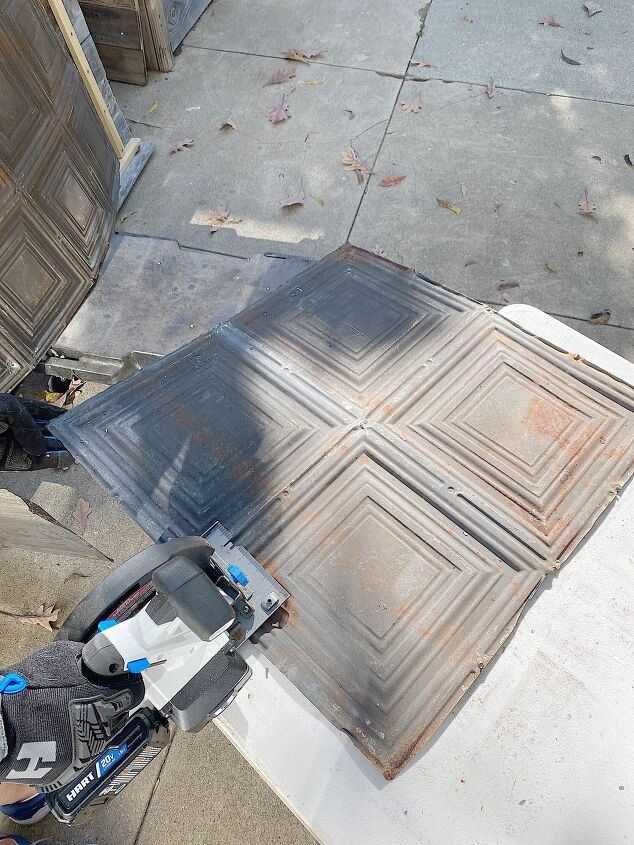
I used a saw but you can also cut the tin with large tin snips.

The cut pieces of tin should look like this.
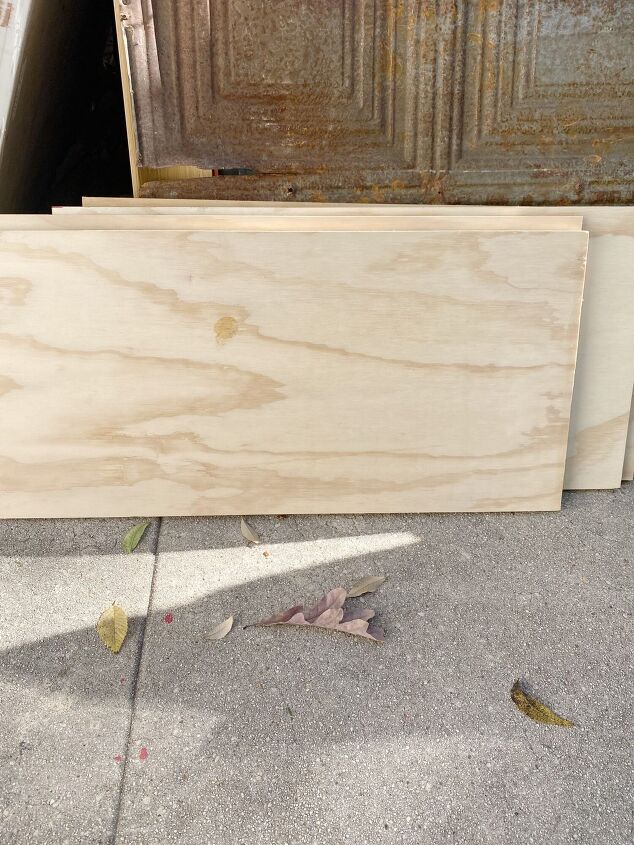
Cut the wood to match the size of the tin.
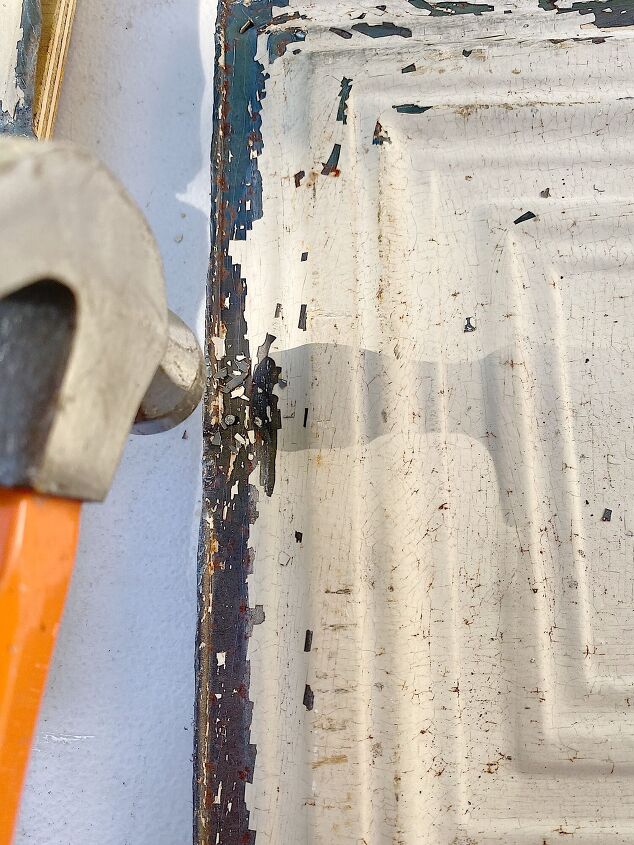
Use the Brad nails to attach the tin to the wood. Cover each piece of wood with the tin pieces (or peel and stick tin paper). Use as many nails as needed to secure the tin.
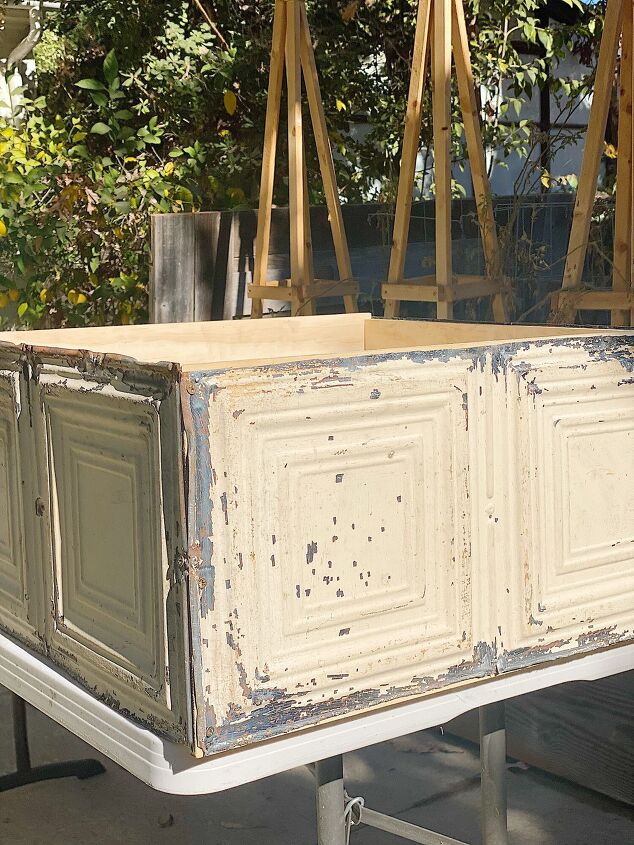
Use the 1 1/2″ nails to nail the four wood pieces together. That’s it!
Get This Look
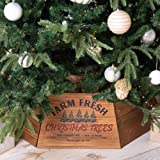
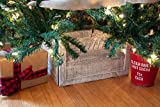
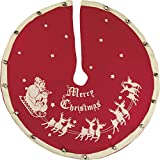
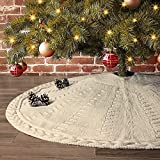
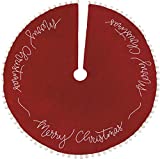
If you don’t want to make a Christmas tree collar, you can buy one too. They really enhance the look of your tree.

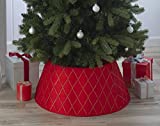
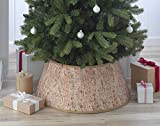
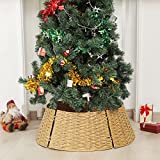
If you are a traditionalist and love a tree skirt, there are so many cute ones to choose from. I love the ones that give a nod to vintage. Sharing some of my favorites below.
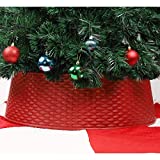
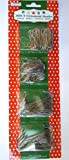
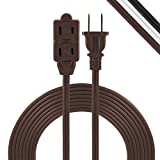
You can never have too many essentials for decorating the tree. Here are some of my favorites to stock up on!
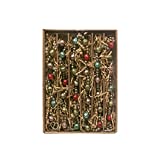
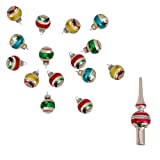
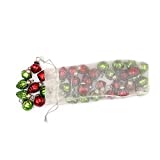
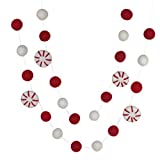
It seems we always have an issue that there is always one strand of lights that won’t light. And why can’t I ever find where the ornament hangers and the extension cord? Do you have a remote control for the lights? Yes please!


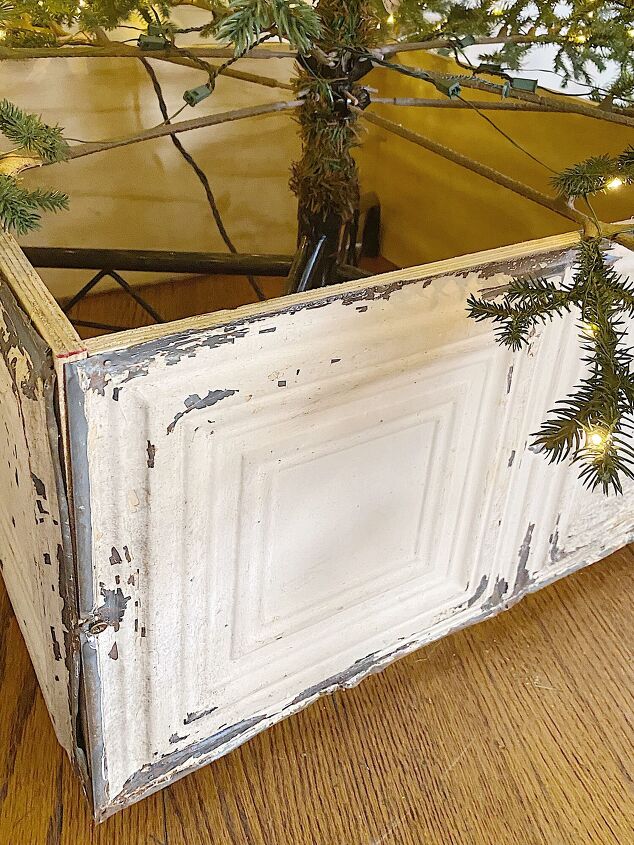
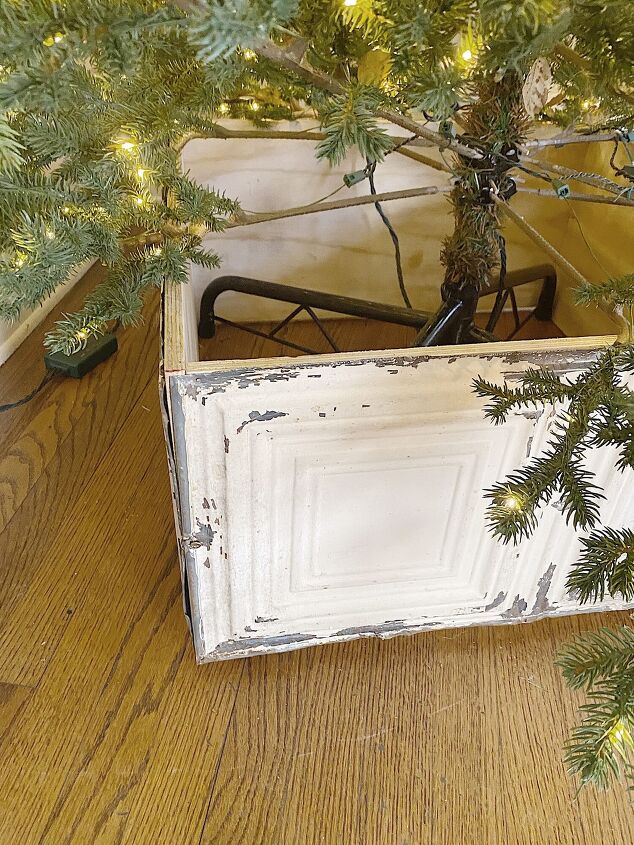
Here are some closeups of the tree collar.
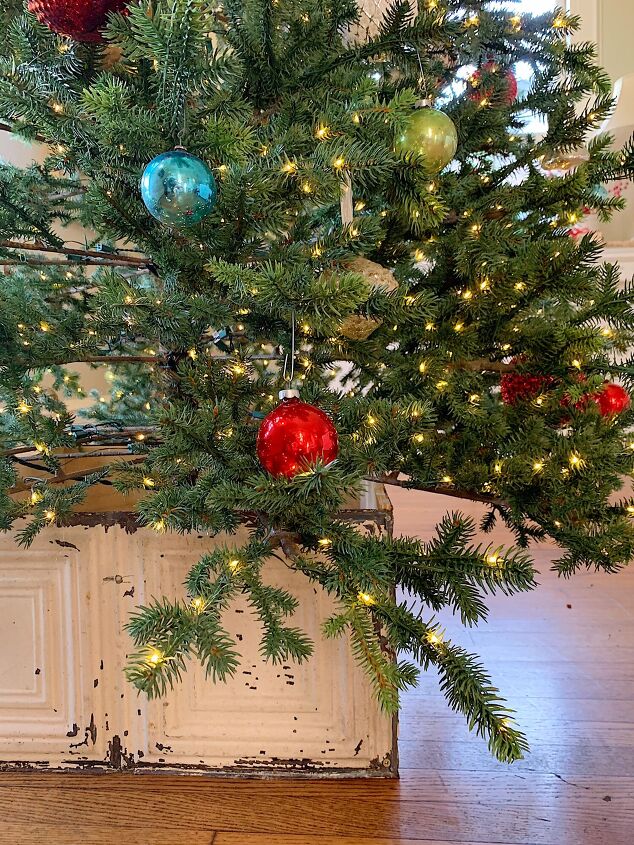
As you can see, the tree stand just fits inside the tree collar. It’s so perfect for this tree.
Pin the image below to your decor boards on Pinterest (just click the Pin button in the top left corner). You can also follow along with me on Pinterest!
For more real-time updates, follow me on Instagram @My100YearOldHome

ABOUT LESLIE
Welcome to My 100 Year Old Home. I started my blog so I could share my passion for entertaining, décor, cooking, and crafts. You will find all this and more right here. Read more…
Resources for this project:
See all materials


Comments
Join the conversation
-
Nice for Christmas tree but I love the idea as a box. It’s so beautiful! Hate for it to be hidden until next year. But I’m sure your creative mind has ideas.
-
Fun approach to stand. As kids we had my dad’s old tree stand. It was metal, painted with Santa and reindeer and lights around the base. Cone shaped. Like a collar but not exactly. Over 100 years old. Brother took when needed refresh. He redid and it’s just as lovely as it was when I was very little. It was meant to be show case of tree. Wish that style was still made. Didn’t take up lots of room, finished off entire tree, and easy to use. We put 18’ tree in it. Brother uses 7’ tree.


Frequently asked questions
Have a question about this project?