


DIY Farmhouse Shiplap Sign
Do you need a new layer piece for a gallery wall or even just for a piece in your dining. I have been in the market a new layering piece and a huge thank you to Worx MakerX ‘s rotary tool that helped me create is amazing sign. Worx MakerX is one of the most useful tools I have been able to work with.

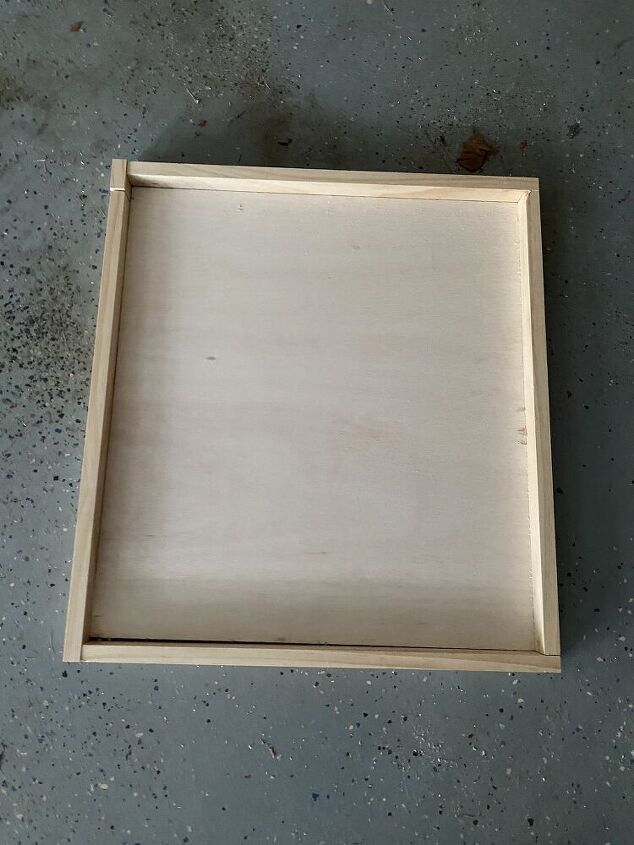
Step 1. Cut Frame
Cut the 8ft 1x2 Pine board into (4) 24inch pieces. Then
use your nail gun to attach the boards to make the frame to the plywood board.
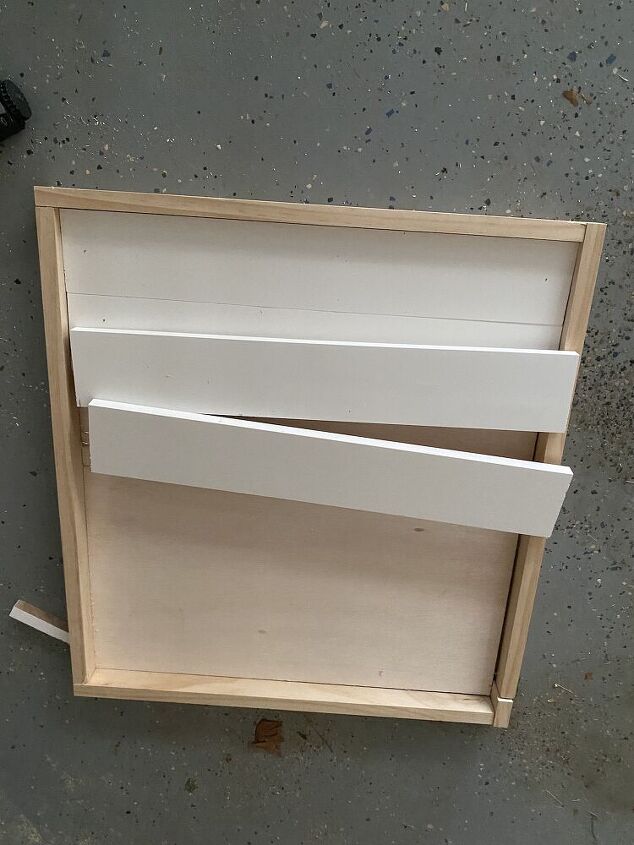
Step 2. Measure and Cut Inside Boards
You will measure the inside of your frame and cut the 1x4 pine boards (6 pieces). Mine interior length was 22inches. Just depending on your board you length may be different.
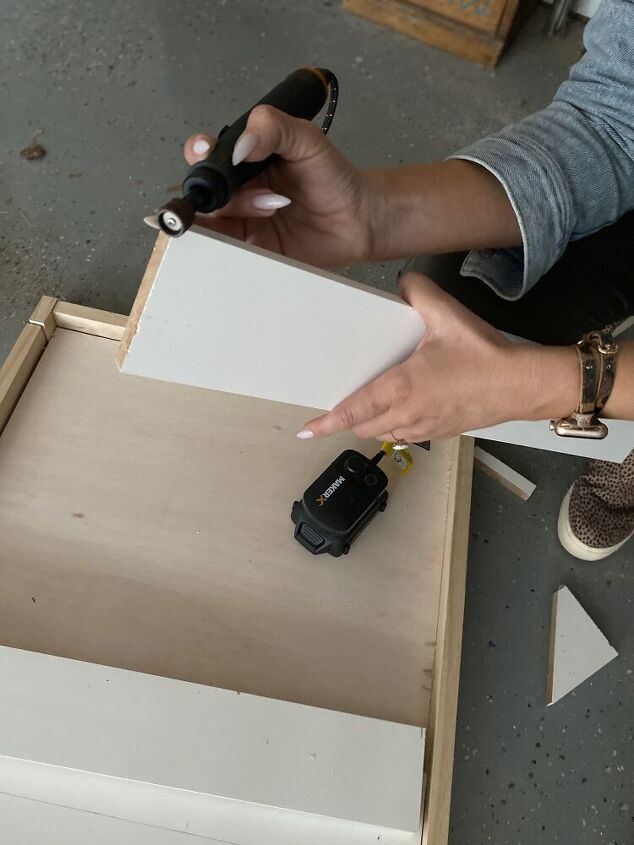
Step 3. Smooth the edges
Once you have the boards cut you will want to smooth your edges off because if not they will not fit snuggle. This is where you will use your Worx MakerX Rotary tool kit with the dremel tool. This is a wireless tool and it works at different speeds to create the smooth edge. I used a low speed (as seen in the picture) to smooth the edges so the boards would line up.
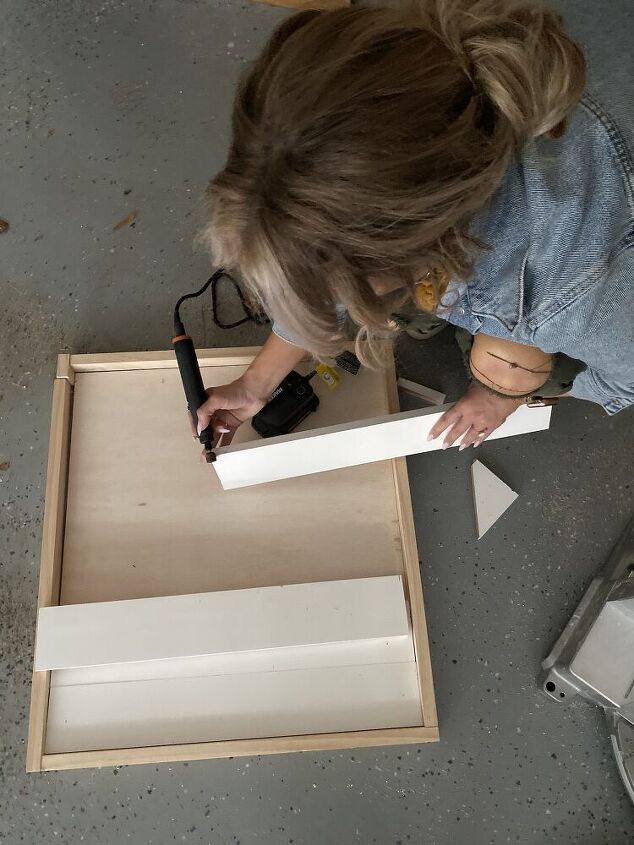
Step 4. Place boards inside frame
Place the boards inside of the frame and attach them to the plywood board with the nail gun. They should be snug since you smoothed the edges down with your tool.

Step 6.
Style your sign by layering it in your home in a cute space.
Resources for this project:
See all materials


Frequently asked questions
Have a question about this project?