


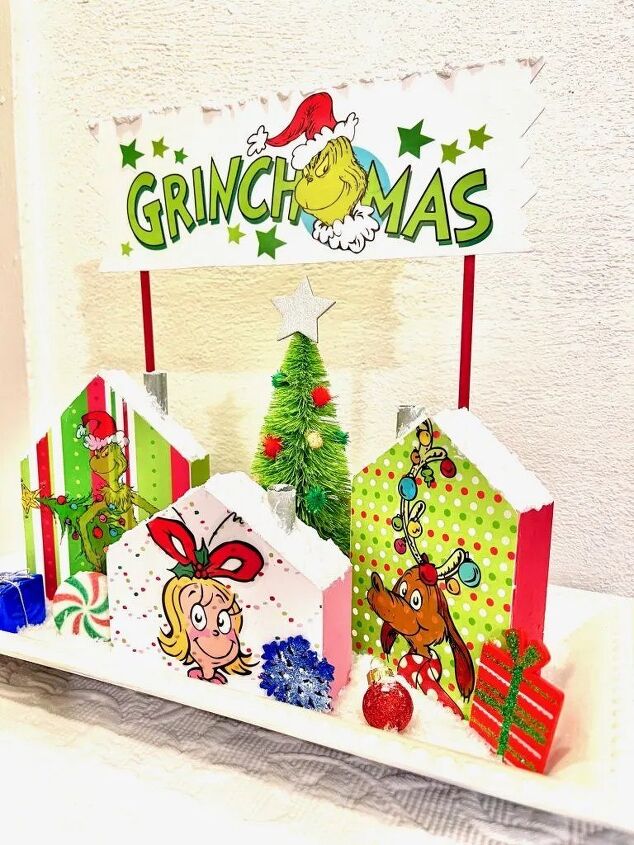
DIY Grinch Whoville Village
If you’re a fan of Christmas you most likely have a soft spot for The Grinch, I know I do. I know that I always enjoy watching the original cartoon Christmas shows and being able to decorate with the characters or the scenery is always a fun time. So who wouldn’t want to have their own little Whoville at home?!? I had so much fun making this and am beyond excited to share it with all of you, I hope that I get to see what you create. This DIY is full of endless possibilities, so lets get those creative juices flowing!! Follow along with me and learn how to make your own DIY Grinch Whoville Village.
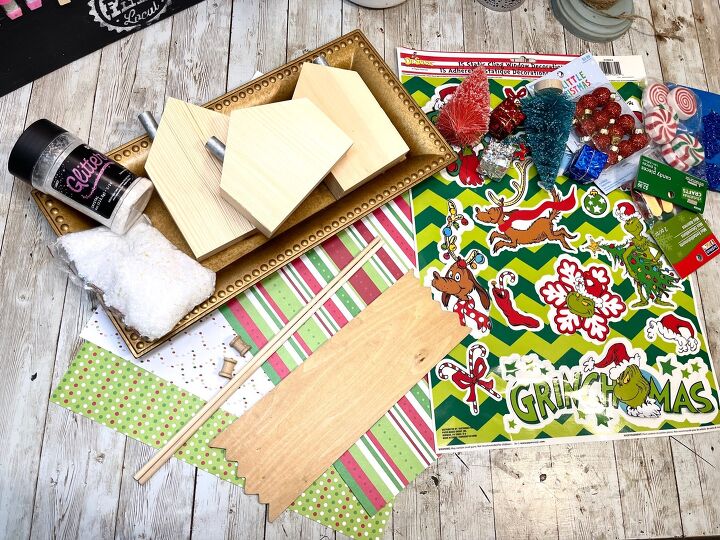
Supplies:
Grinch Window Clings- Wal Mart
Wooden Houses- Target (Dollar Spot)
Tray- Dollar Tree
Scrapbook Paper- Hobby Lobby
Wooden Sign- Hobby Lobby
Dowels
Mini Spools
Acrylic Paints- White, Red, Green, Pink
SnowTex Faux Snow
Faux Snow
Mini Christmas Tree
Mini Christmas Embellishments
Pompoms
Mod Podge
Hot Glue
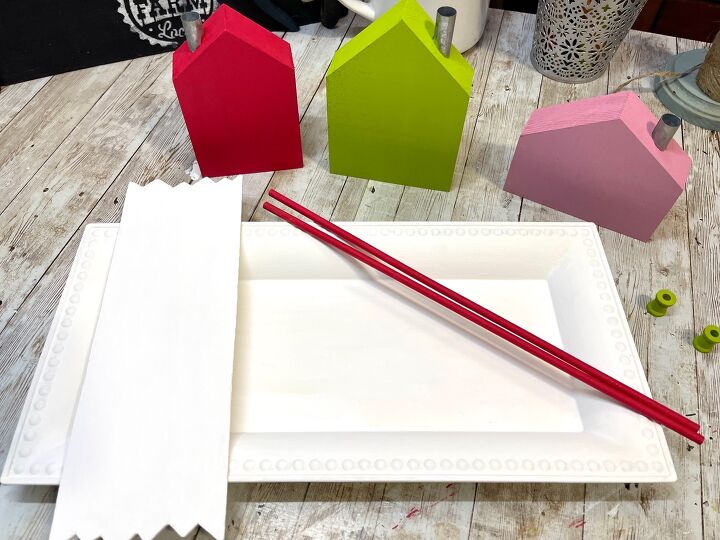
I started this project by doing some painting, in order to let things dry to be able to put everything together. We are going to paint each one of the wooden houses a different color, I chose green, red and pink because to me they fit best. I painted the wooden dowels red, the mini spools green and both the tray and mini sign white. You are going to have to use more than one coat to make sure that everything is fully covered, make sure that you let the paint dry in between coats.
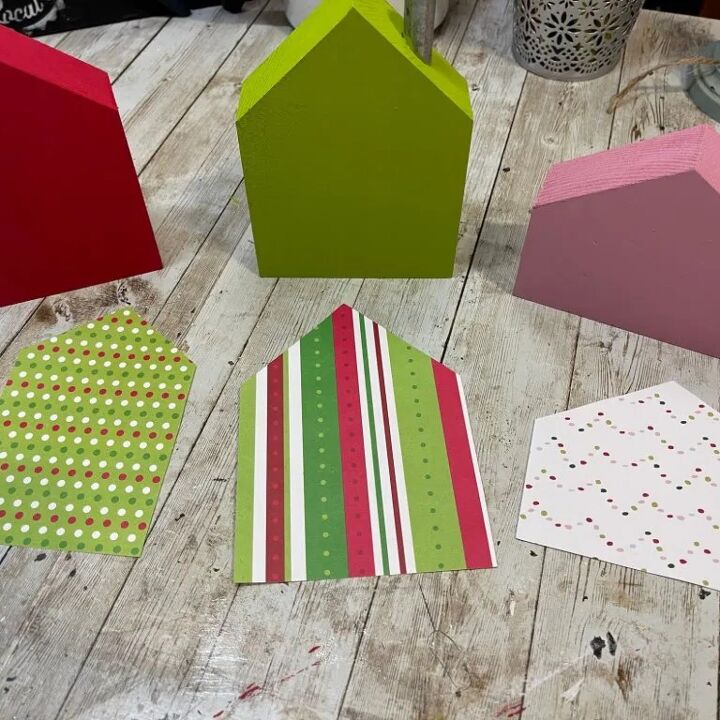
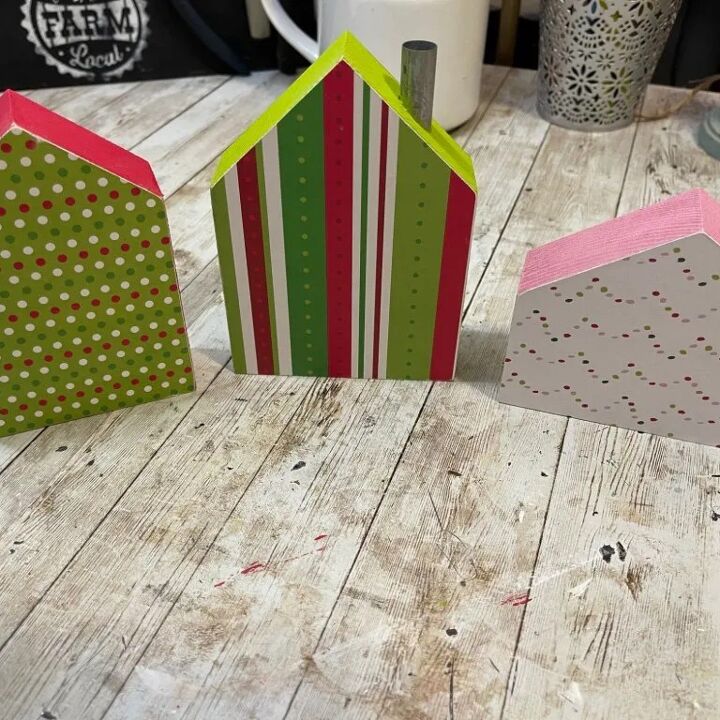
After the paint on the houses was dry, I cut 3 different pieces of scrapbook paper to the sizes of the houses. I then used Mod Podge to attach the scrapbook paper to the houses.
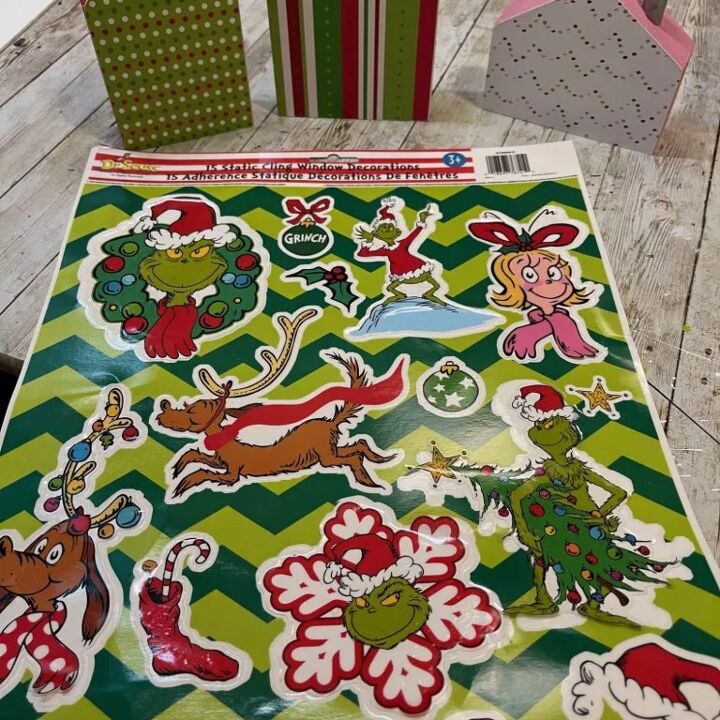
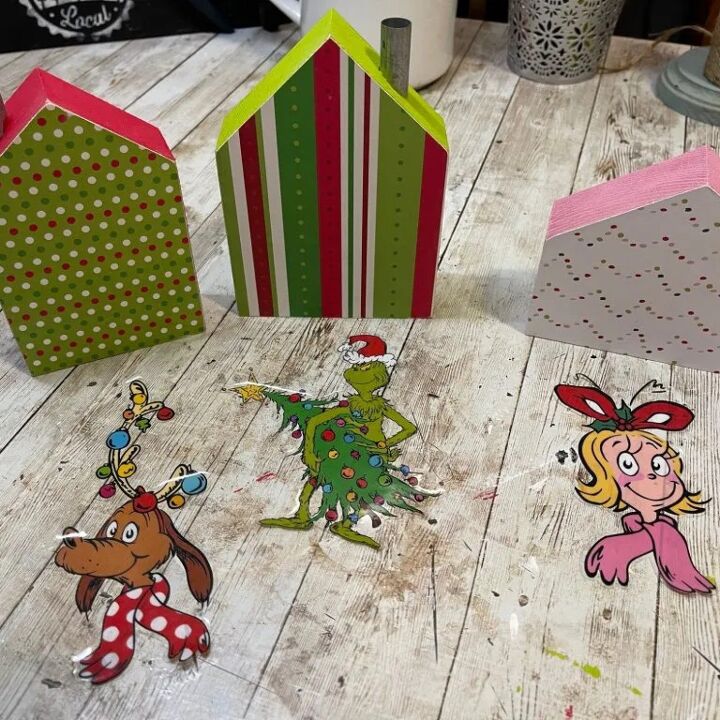
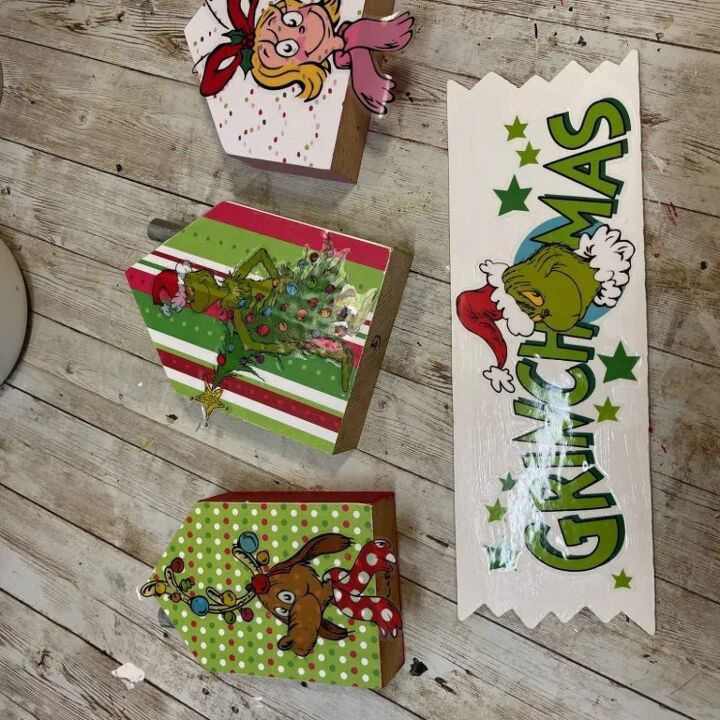
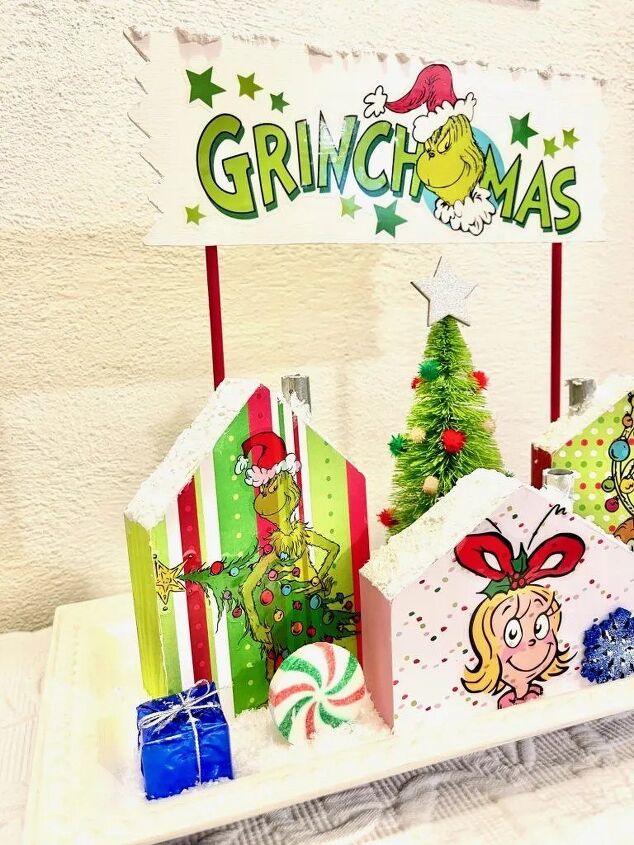
Once the Mod Podge used for your scrapbook paper is dry we are going to add our window clings. Which might I say are so super cute! We are going to add a different window cling to each house as well as the mini sign. Once again they are going to be attached with Mod Podge.
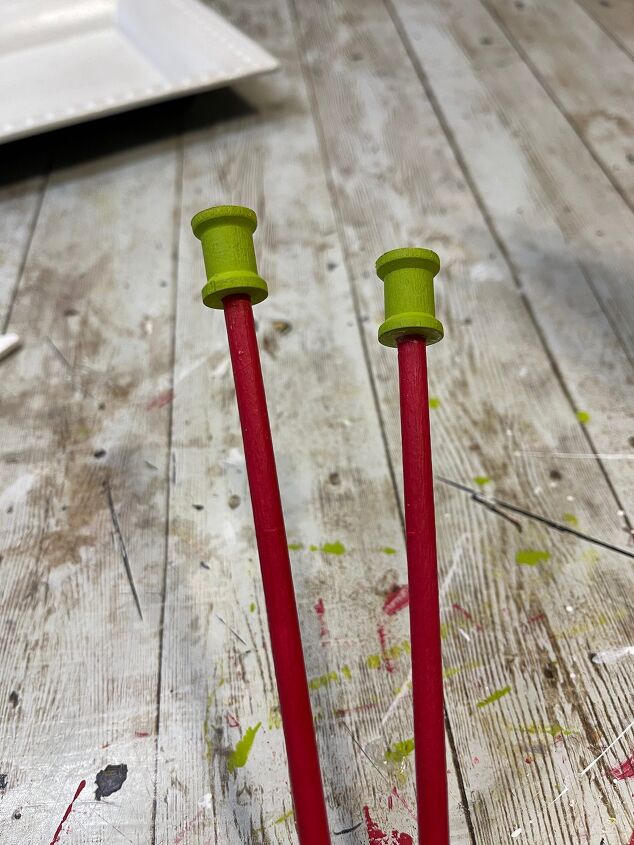
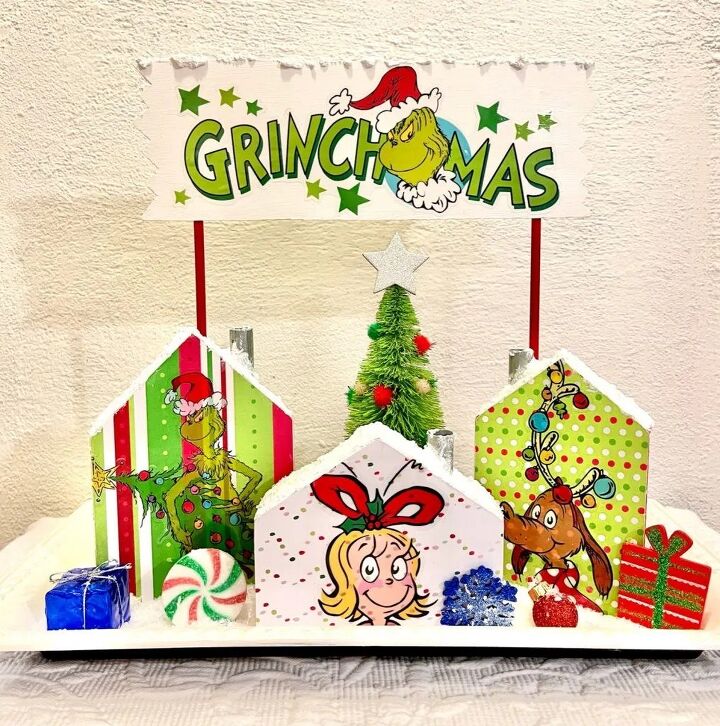
Once the glue is dry on your mini spools and dowels we are going to attach them to each other. I did this using a small amount of hot glue inside of the mini spool, it helps to stabilize these while you glue them.
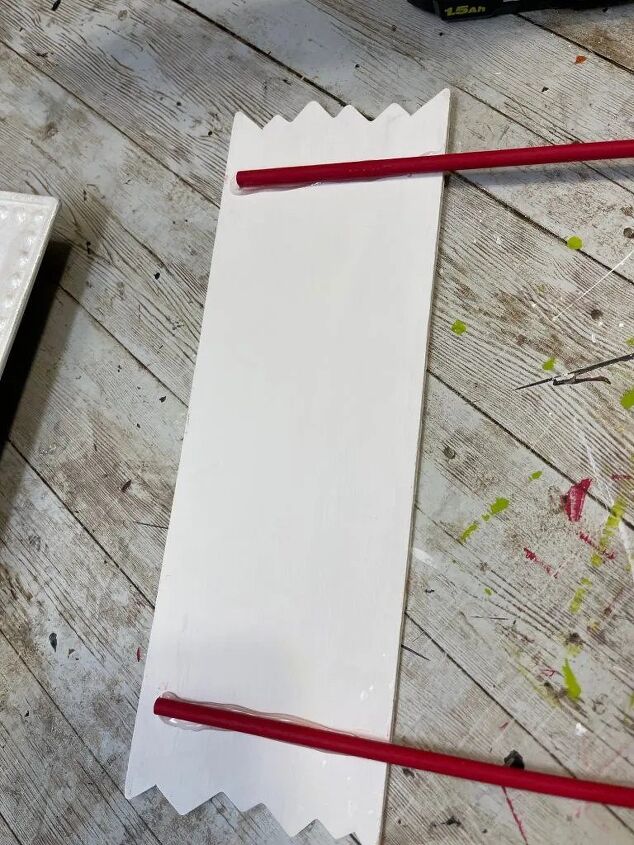
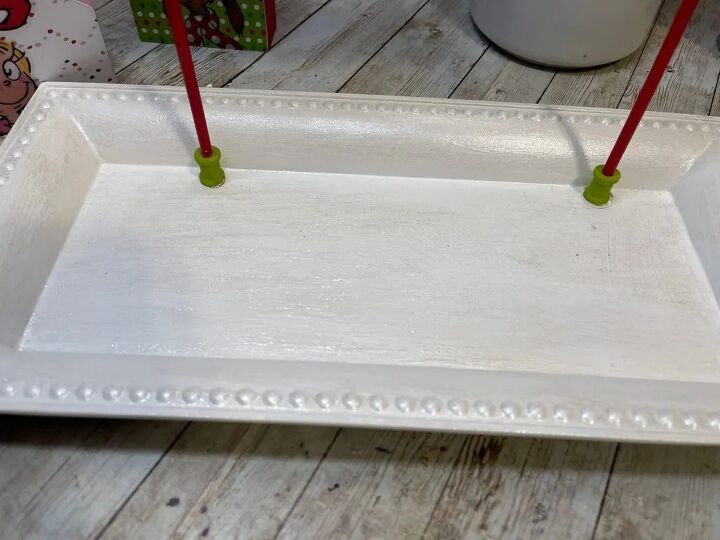
Now that the dowels are attached to the mini spools, once they are dry we are going to attach them to the mini sign, once again using hot glue. Once the glue attached to the sign is dry we are going to attach the entire set up to the Dollar Tree Tray. Use your hot glue and hold in place until the sign is secure.
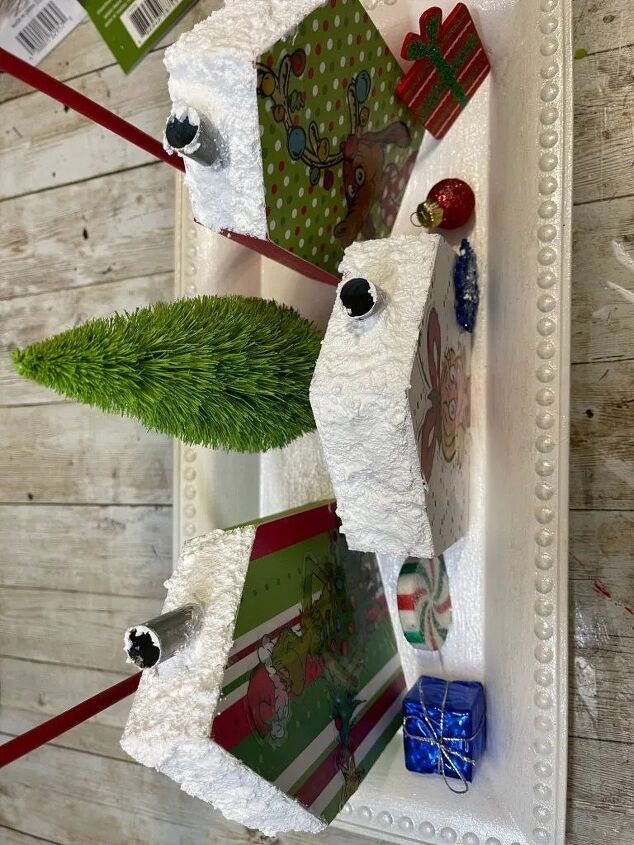
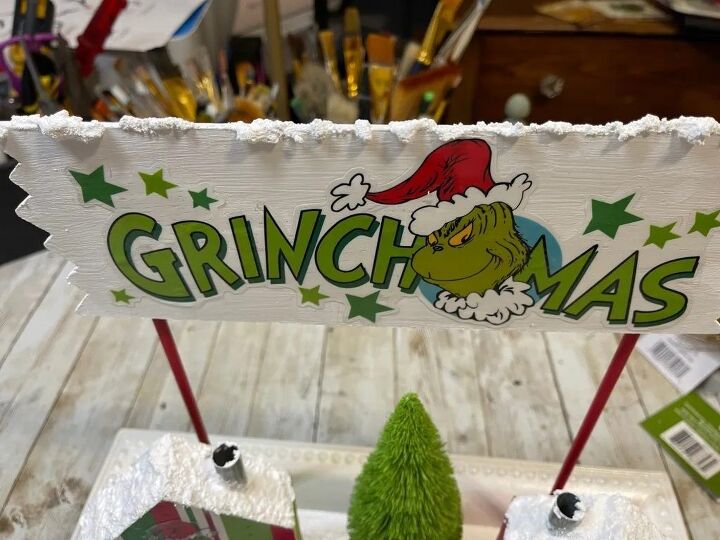
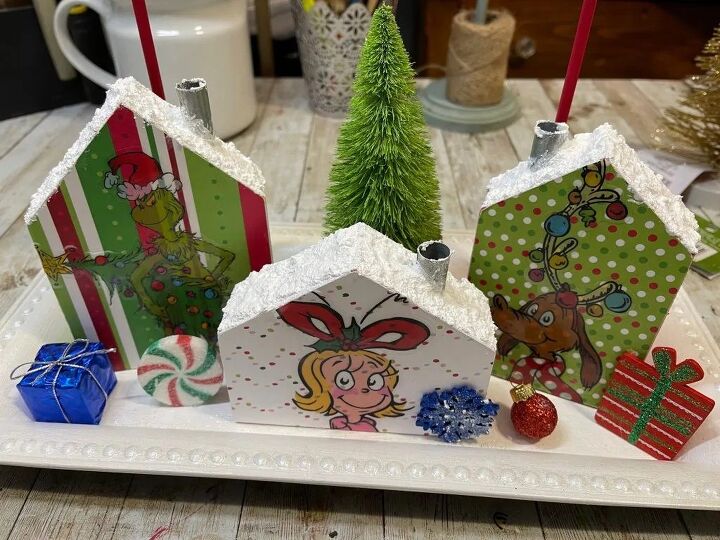
Now all the creativity comes into play, attach your houses to the mini tray with your hot glue, then use your SnowTex Faux Snow, cover the tops of the houses as well as the top of the mini sign. Once you have applied your fake snow it’s time to decorate the village, using your Mini Christmas Embellishments and Mini Christmas Tree, place them around your village however you would like. All of the decorations are secured to the mini tray using hot glue.
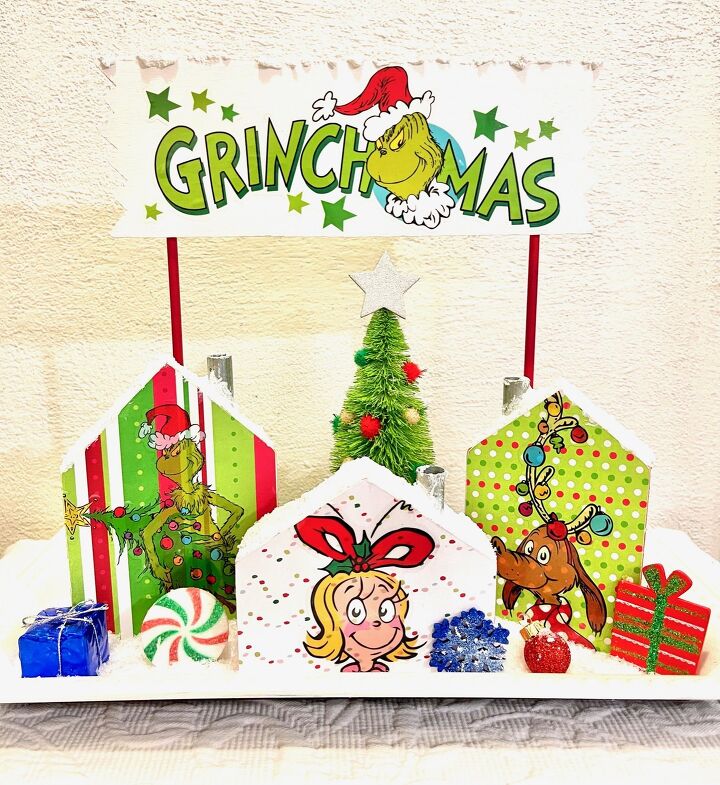
Next using the hot glue I attached little pompoms and a star to my mini Christmas tree. This really helped the tree stand out. I also added some faux snow to the tray itself around the houses and embellishments.
I had so much fun making this project, and absolutely love how it came out. It’s so festive and absolutely adorable. It is also a project that would be great to do with the little ones, and a fun craft for the older kids to tackle on their own. I hope you enjoyed this craft as much as I did, and hope that you will all share your little villages with me. Do you think you will try to make your own DIY Grinch Whoville Village?
If you like this DIY, check out more below and follow me on social media!
- DIY Dollar Tree Pallet Turkey
- DIY Grinch Whoville Village
- Dollar Tree Winter Birdhouse
- Dollar Tree Christmas Tray
- Dollar Tree Snowman Pallet
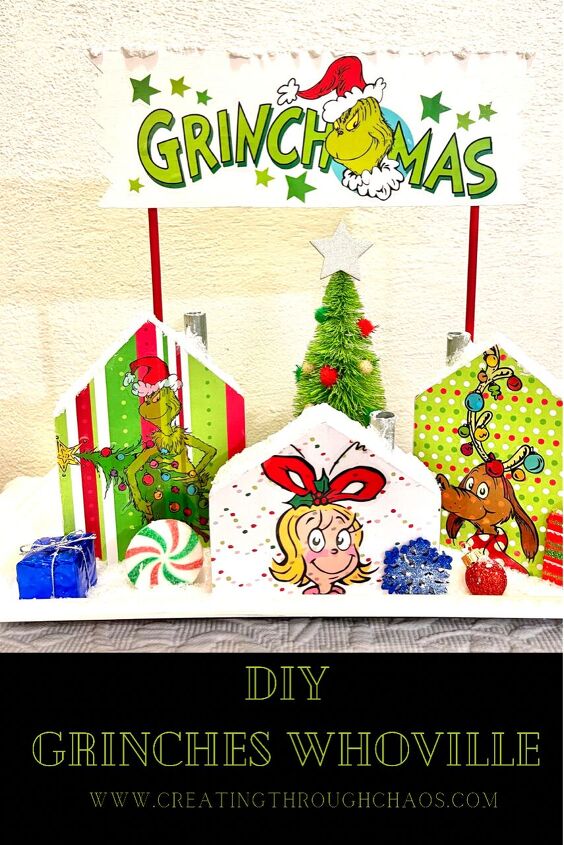
PIN FOR LATER!

Comments
Join the conversation
-
This is such a great idea.
-
My grand daughters and I will doing this project very soon


Frequently asked questions
Have a question about this project?