


Holiday Porch Planter
PERK UP YOUR PORCH
A perfect addition to your front porch in winter is a Holiday Porch Planter. These are easy to make, and expensive to buy so I’m going to share with you how to do it. This hands on project can be done with foraged items and an old pot, or vessel of any kind. If you foraged everything and used a pot or container you have, it’s basically free.
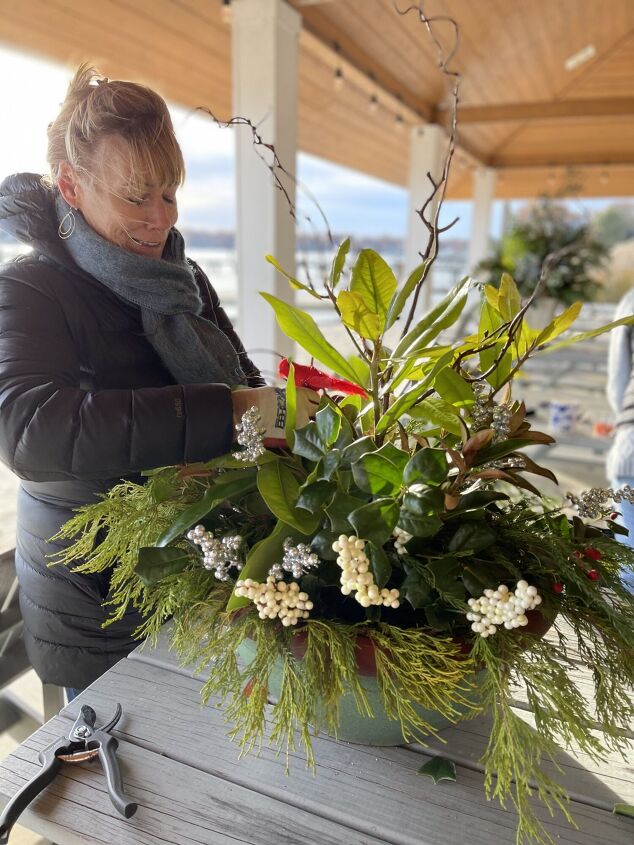
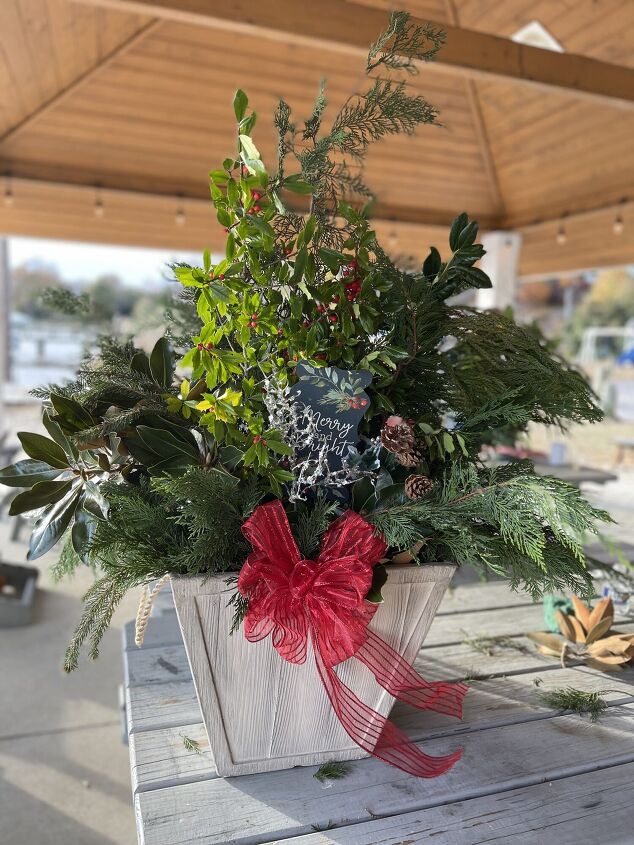
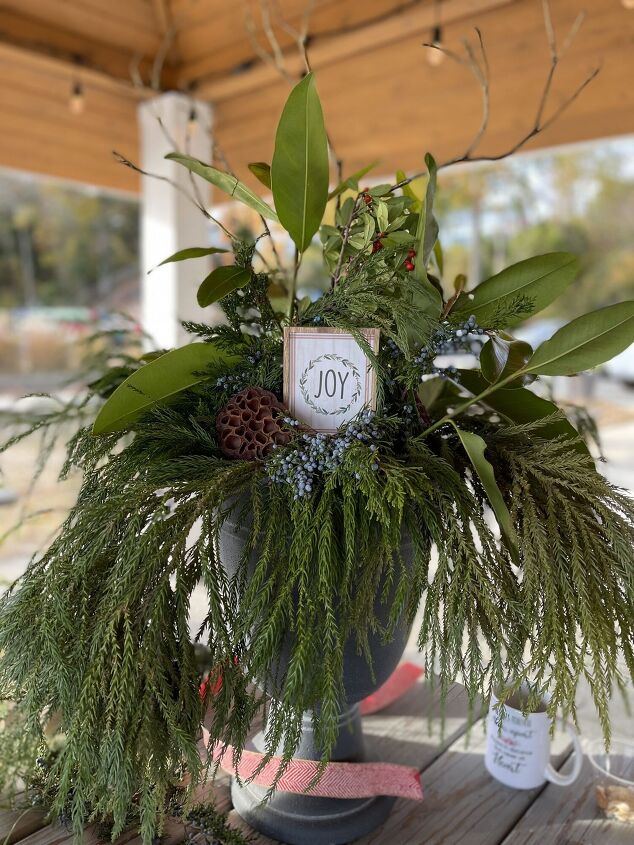
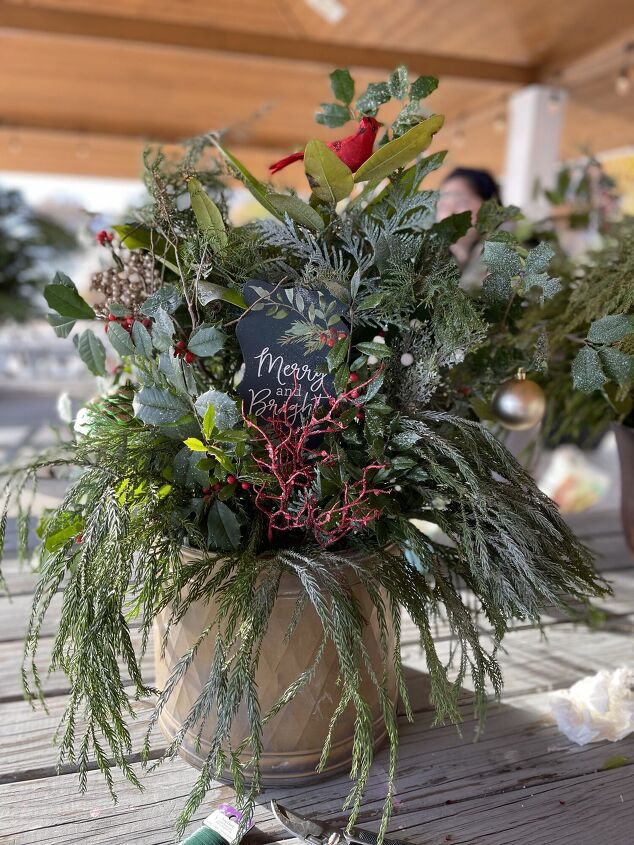
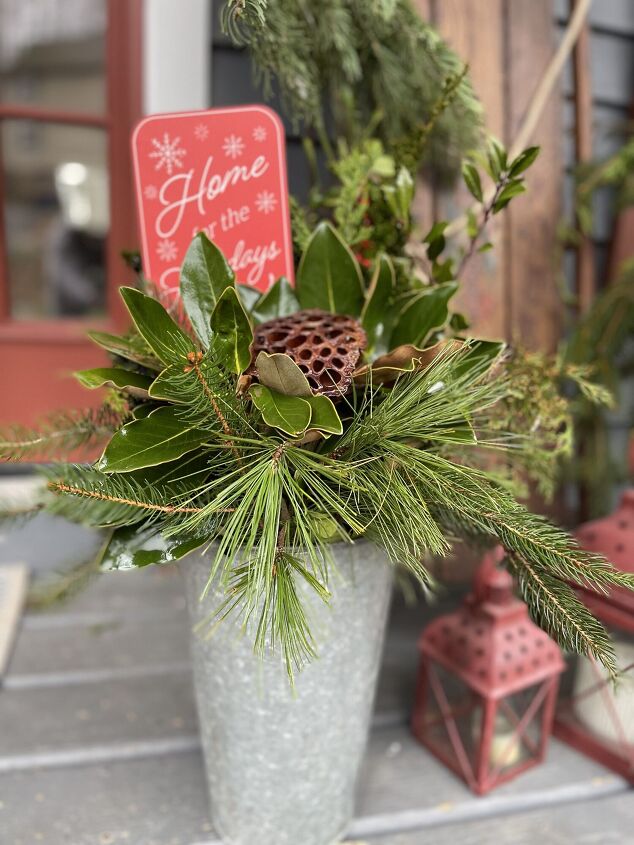
PORCH PLANTER WORKSHOPI had the pleasure a few weeks back of leading a workshop to create holiday porch planters with friends. It was a chilly day on the banks of the Severn River. We were all bundled and sipped hot (maybe spiked) cider to stay warm.

It was so much fun to watch everyone get creative. Even those who were less than confident in their skills ended up making the most beautiful planters.
I’m sharing pictures of our workshop and then I’ll provide direction on how to create your own holiday porch planter to brighten up the front of your home.
BEFORE YOU BEGIN YOUR PORCH PLANTER
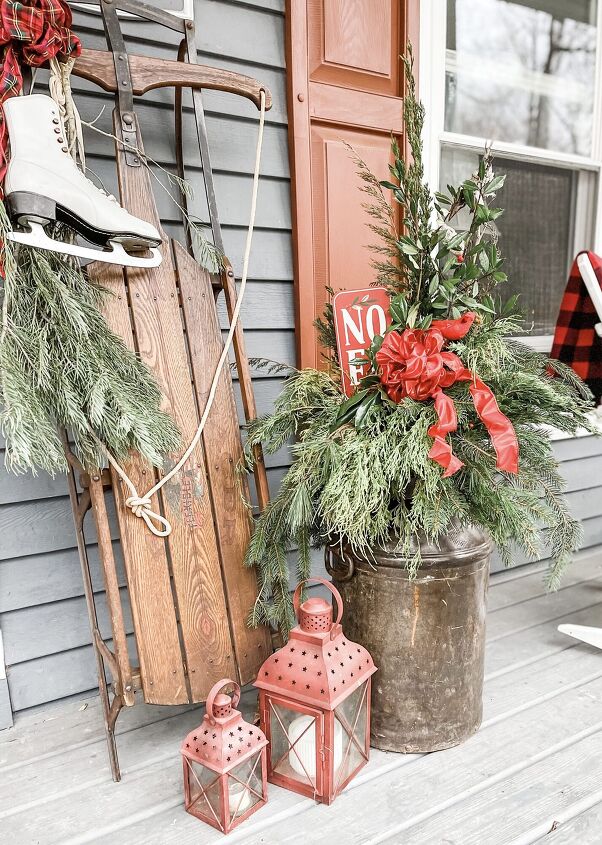
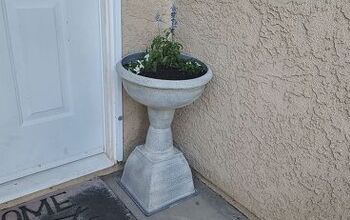
To begin you will need to select your planter. Any shape or size works, you could use a vintage milk can or watering can to create your porch planter, there are no rules to follow here.
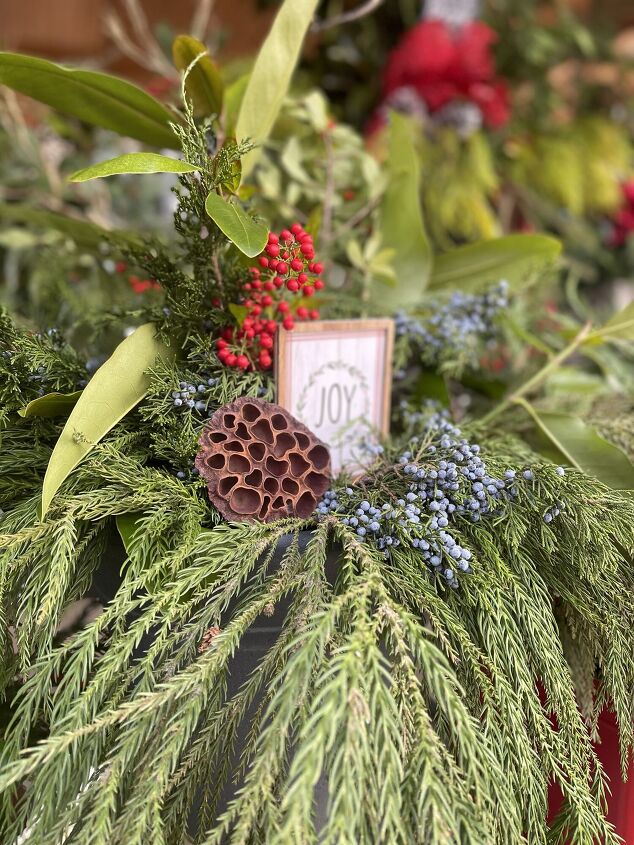
First you can forage to gather a variety of greens. A mix of greens adds dimension and color.
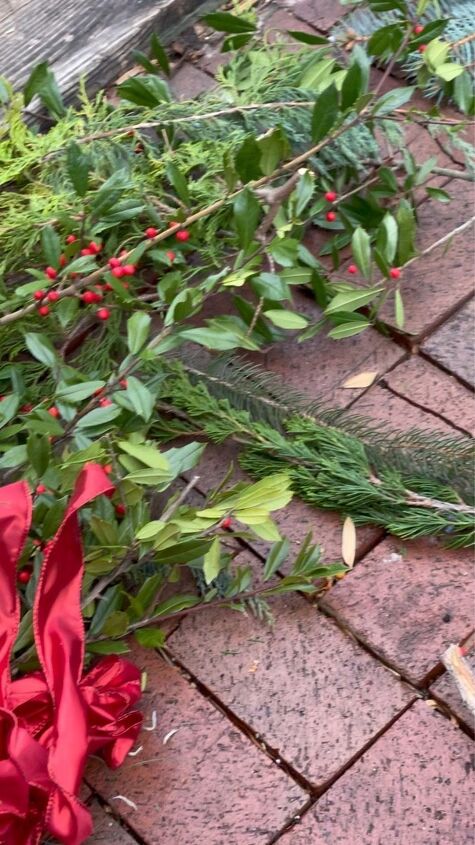
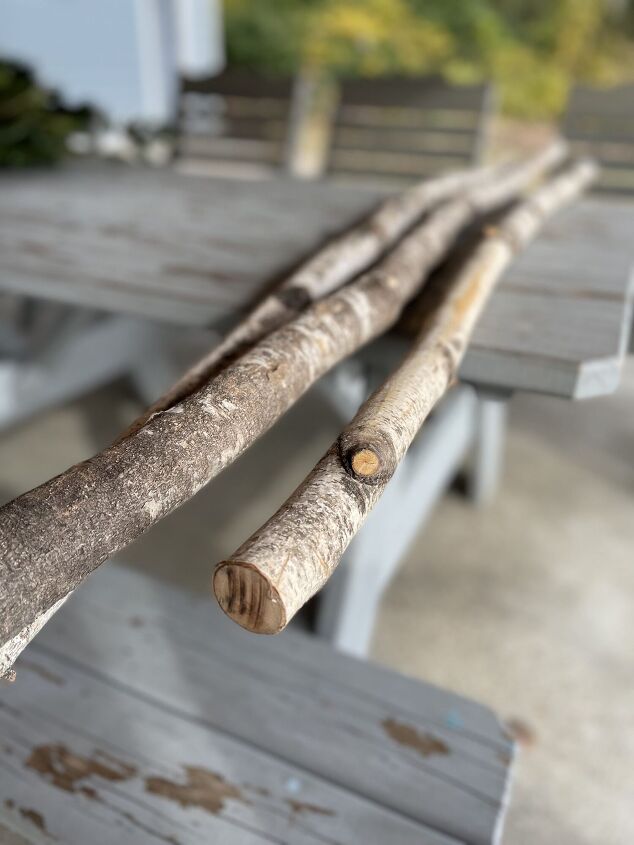
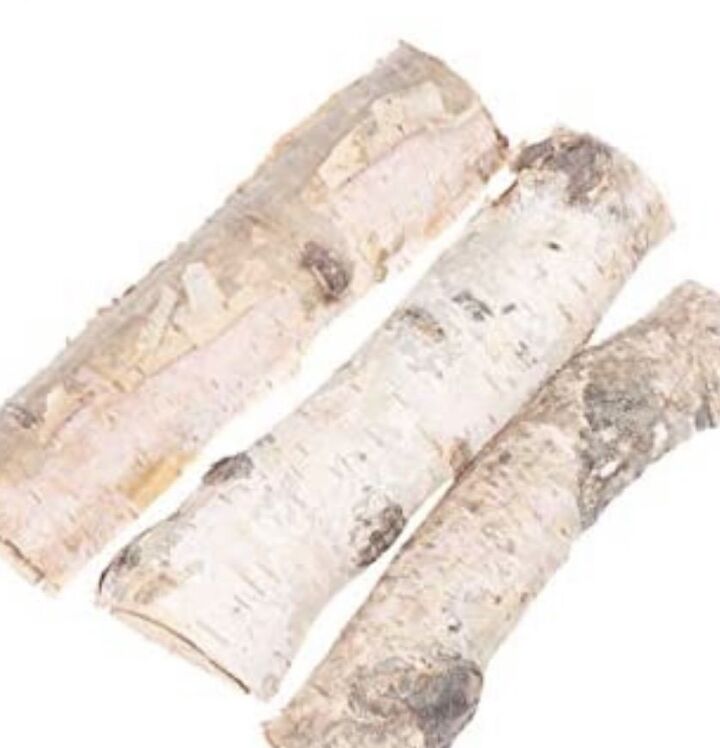
You can collect pinecones to add, seed pods, magnolia leaves, holly and birch logs or sticks.
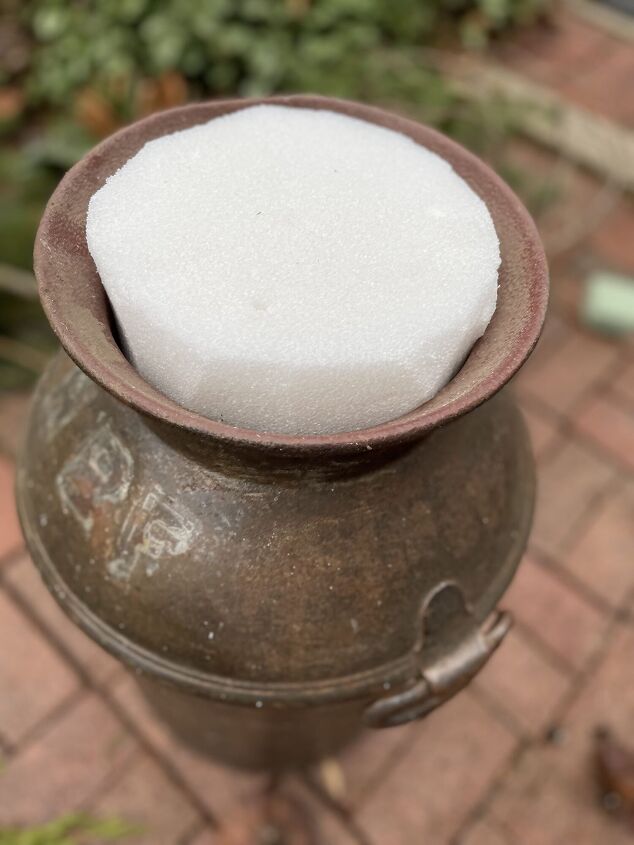
You will need sand, soil or styrofoam depending on your vessel. The styrofoam or floral foam is to have a spot to hold the stems of your greens. The sand and dirt provide weight so it does not blow over.
THE THRILL – SPILL – FILL METHODJust like when you are planting a pot for the summer, you want to focus on these three things: Thrill – Fill – Spill. This means that you want to add something with height in the center, that’s your “Thrill.” Think spike plant in a summer pot.
“Spill” is a layer of greens that can hang or drape over the edge of your vessel. If this were a summer planter, it might be vinca vine or creeping jenny.
After you have your “Thrill” and “Spill” it’s time for your “Fill.” This is where you will fill in the remainder of your vessel with a variety of greens.
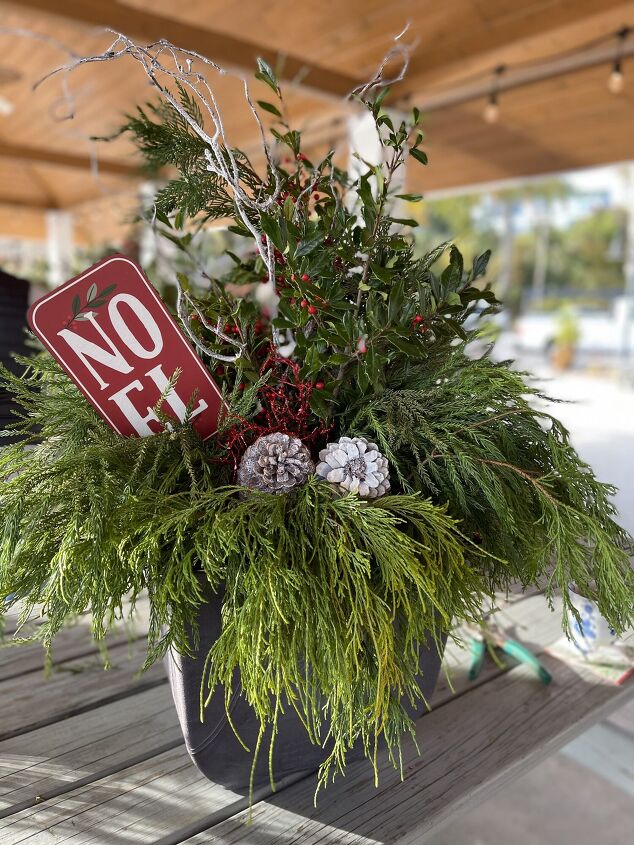
ADDING WHIMSYYou may want to add some whimsy to your Holiday Porch Planter too.
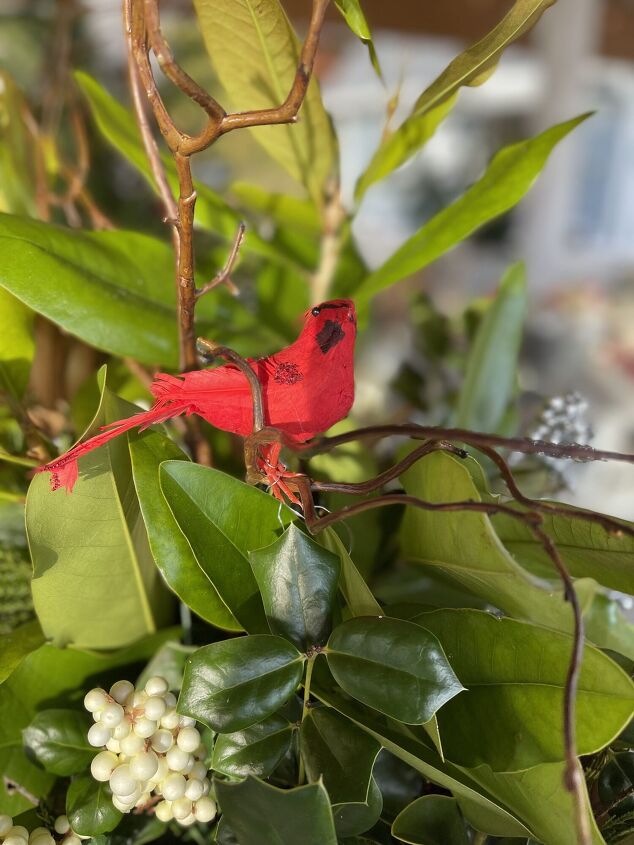
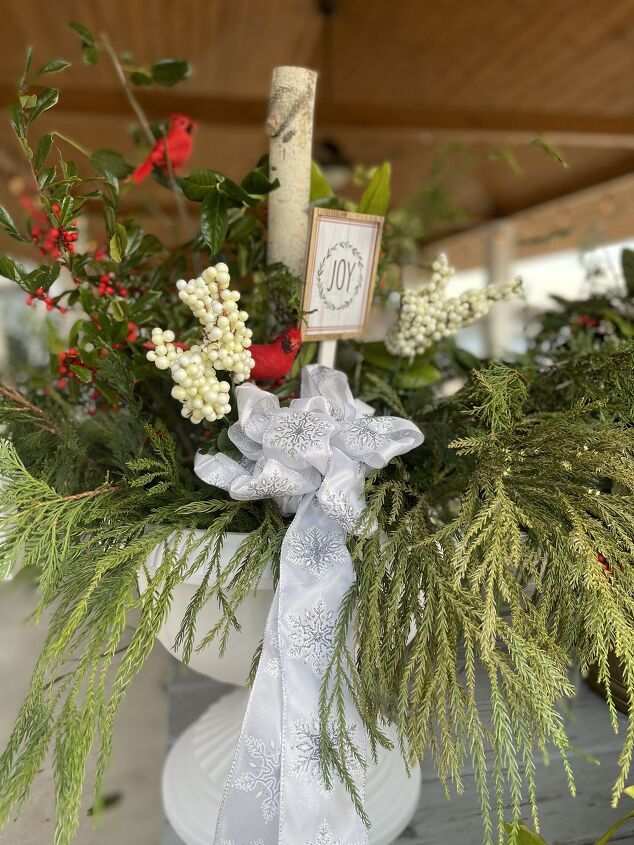
This could include small signs to add in, pods, ornaments, birds, or picks. Below are some really cute metal signs I purchased at Walmart. For the pinecones, pods or birds, I used floral wire pieces to wrap around my item and then tucked it into the foam or dirt. You could find branches and tuck them in for additional height and even spray them with fake snow or spray glitter for some sparkle.

Keep in mind, unless you have a covered porch, you want to be careful on what you tuck into the Holiday Porch Planter.
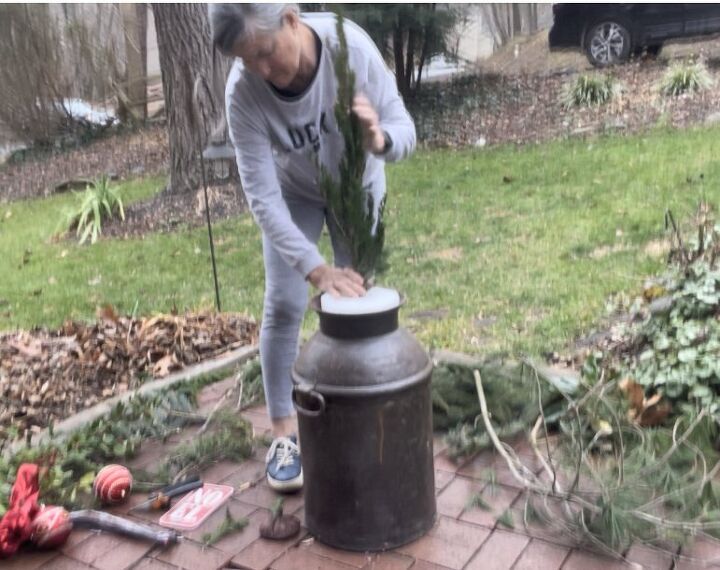
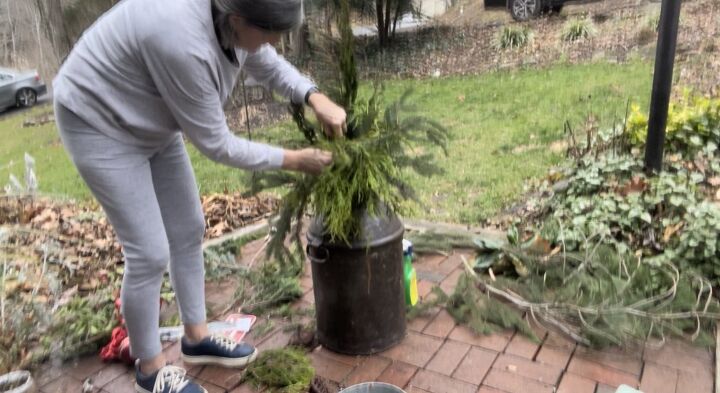
STEPS TO BUILD A HOLIDAY PORCH PLANTER- Depending on the type of vessel you use, you will need to fill it with some sand or soil. For a larger milk container like I used, I only used a round piece of styrofoam to fill the top. The milk can is very heavy so I didn’t need anything for weight.
This container below is super cute to use. This was from Target, I’ve linked some others from Target below.

2. A vessel that is larger and needs sand or soil, still can benefit from floral foam or styrofoam in the center of your vessel to use to poke the stems into.
3. The first greens to add will be your tallest and should go in the center of your vessel. If your vessel has some depth, you could use the soil inside to put the stems into. Since this foam was stiff, I used a screwdriver to poke a hole in the foam so it was easier to put the stems in. If you are using floral foam this won’t be necessary because it is softer.
4. The next greens should go around the edges of your planter or foam. This will be. your greens that drape over the edge.
5. After the Thrill and Spill are added, it’s time to fill in the remainder with any greens that you would like.
6. Lastly you will add any whimsy or additional decor. For example, you could tuck in a sign, add a bird, pods or pinecones.
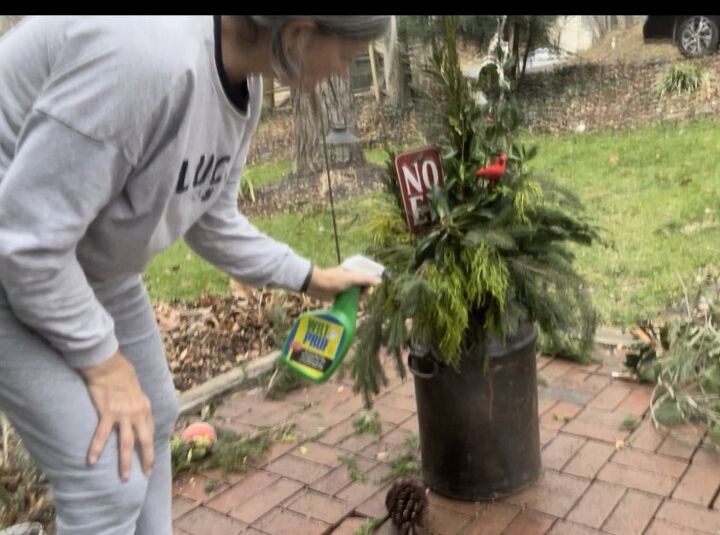
7. Spray the entire vessel of greens with Wilt Pruf. Coat until completely dripping. This is important to do because it will increase the life of your Porch Planter. I do the same with the wreaths I make.
SUPPLIES NEEDED TO BUILD A PORCH PLANTER
Container
Various Greens
Holly Branches
Magnolia Leaves
Birch Branches
Sticks
Picks
Pinecones
Seed Pods
Ornaments
Dirt
Sand
Floral Foam or Styrofoam
Garden Clippers
Garden Gloves
Spray Glitter
Fake Snow
Floral Wire
Styrofoam
Wilt Pruf

YOU’VE GOT THIS!
I encourage you to give this a try. You can start on a smaller scale and perfect your look, by next year you’ll be making large planters to flank your front door.
If this is too daunting for you, maybe start with my TWINE TREES post!
When I made mine, I had leftover greens so I added the extras to a sap bucket. It’s smaller and would be perfect on a table as a centerpiece. For this, I filled it with dirt and tucked the stems into the dirt.
SHOP THIS POST

Snowman Container

G arden Gloves

Wilt Pruf
Garden Clippers
Birch Logs
THANK YOU
Did you enjoy seeing how easy it is to create a one of a kind Holiday Porch Planter?
If you follow the Thrill, Spill and Fill method, you can’t go wrong.
I always make fresh wreaths and planters for the holidays. You can save so much money and you can customize it just the way you like.
Last year I tried a new way to make my wreaths. I used zip ties instead of floral wire and I really liked it. It made the wreath making faster and easier.
By doing this you could drop it from a second story and it wouldn’t fall apart. That’s my kind of wreath.
I’ll be sharing that post with you next.
I hope your holiday prep and shopping is going smoothly. If you’d like to see some fun ideas for wrapping your gifts, see my COZY, CREATIVE CHRISTMAS WRAPPING post.
Wrapped but need ideas for tags and bottles or breads? You need to see this post on BAGS, TAGS AND BAKED GOODS, it features some blogging friends and ideas for yummy baked goods.
Remember build in time to do what makes your heart happy. Today was one of those days where I was able to meet up with two dear friends for lunch.
I really appreciate you visiting my blog – I hope you like the new site, I’m so excited to have a new platform. If you don’t want to miss any posts – please subscribe to my blog (again if you did on my last site) because I’m starting from scratch again.
Merry Almost Christmas!
XO, Regina
This post contains affiliate links. I will receive a small commission if you shop from these links, there is no additional cost to you. Thanks for supporting my small business.

Comments
Join the conversation
-
Wow!!! You HAVE inspired me to do this next year. I’ve always wanted to, because I have an 1857 log cabin and any of these would look gorgeous on the porch!! Thanks for sharing and I will be following! Patti
-
Ok - so I'm am totally jealous of your 1857 log cabin. Amazing! Glad you were inspired and you can see how easy they are! Merry Christmas and thanks so much for the follow!


Frequently asked questions
Have a question about this project?